


Focus Stacking in Photography: A Complete Guide to Tack-Sharp Images
Dec 1, 2025
Darlene Lleno
Darlene Lleno brings a unique perspective to DIY Photography as someone who grew up surrounded by camera gear but chose words over lenses. With five years of writing experience, she specializes in photography content that’s both technically informed and genuinely passionate. Growing up with a photographer twin brother meant camera talk was everyday conversation in her household. While he mastered capturing moments, Darlene discovered she preferred being the subject and the storyteller behind the scenes. As a travel enthusiast and mother of two, she understands the importance of preserving life’s precious moments. When not exploring new destinations or writing for DIY Photography, you’ll find her reading or tending to her garden. Her approach to photography writing is refreshingly authentic, she may not be behind the camera, but she knows exactly what it takes to help others capture the shots that matter most.
Share:

Focus stacking helps you get every part of your photo perfectly sharp. You take multiple shots at different focus points and blend them together. The result is one super crisp image with everything in focus.
Your camera only focuses on one spot at a time. Everything else gets a bit fuzzy. That works great for portraits when you want that blurry background. But what if you need the whole scene sharp?
This technique solves that problem. You shoot several frames of the same scene. Each photo focuses on a different area. Then, you use software to combine them. Every detail comes out crystal clear.
What Focus Stacking Does for Your Photos
Focus stacking takes multiple photos shot at different focus points and merges them. Some photographers call it focus blending. This result gives you way more depth of field than one shot ever could.
Your eyes naturally adjust focus as they move around a scene. You probably don’t even notice it happening. But your camera locks onto just one distance. Everything closer or farther gets soft.
Photographers run into limits pretty fast. You might stop down to f/16 or f/22 to get more in focus. But here’s the problem. Those tiny apertures actually make your images softer through diffraction.
Diffraction bends light around your aperture blades. Smaller openings create more bending. Your overall sharpness drops. Many shooters hit this wall and get frustrated.
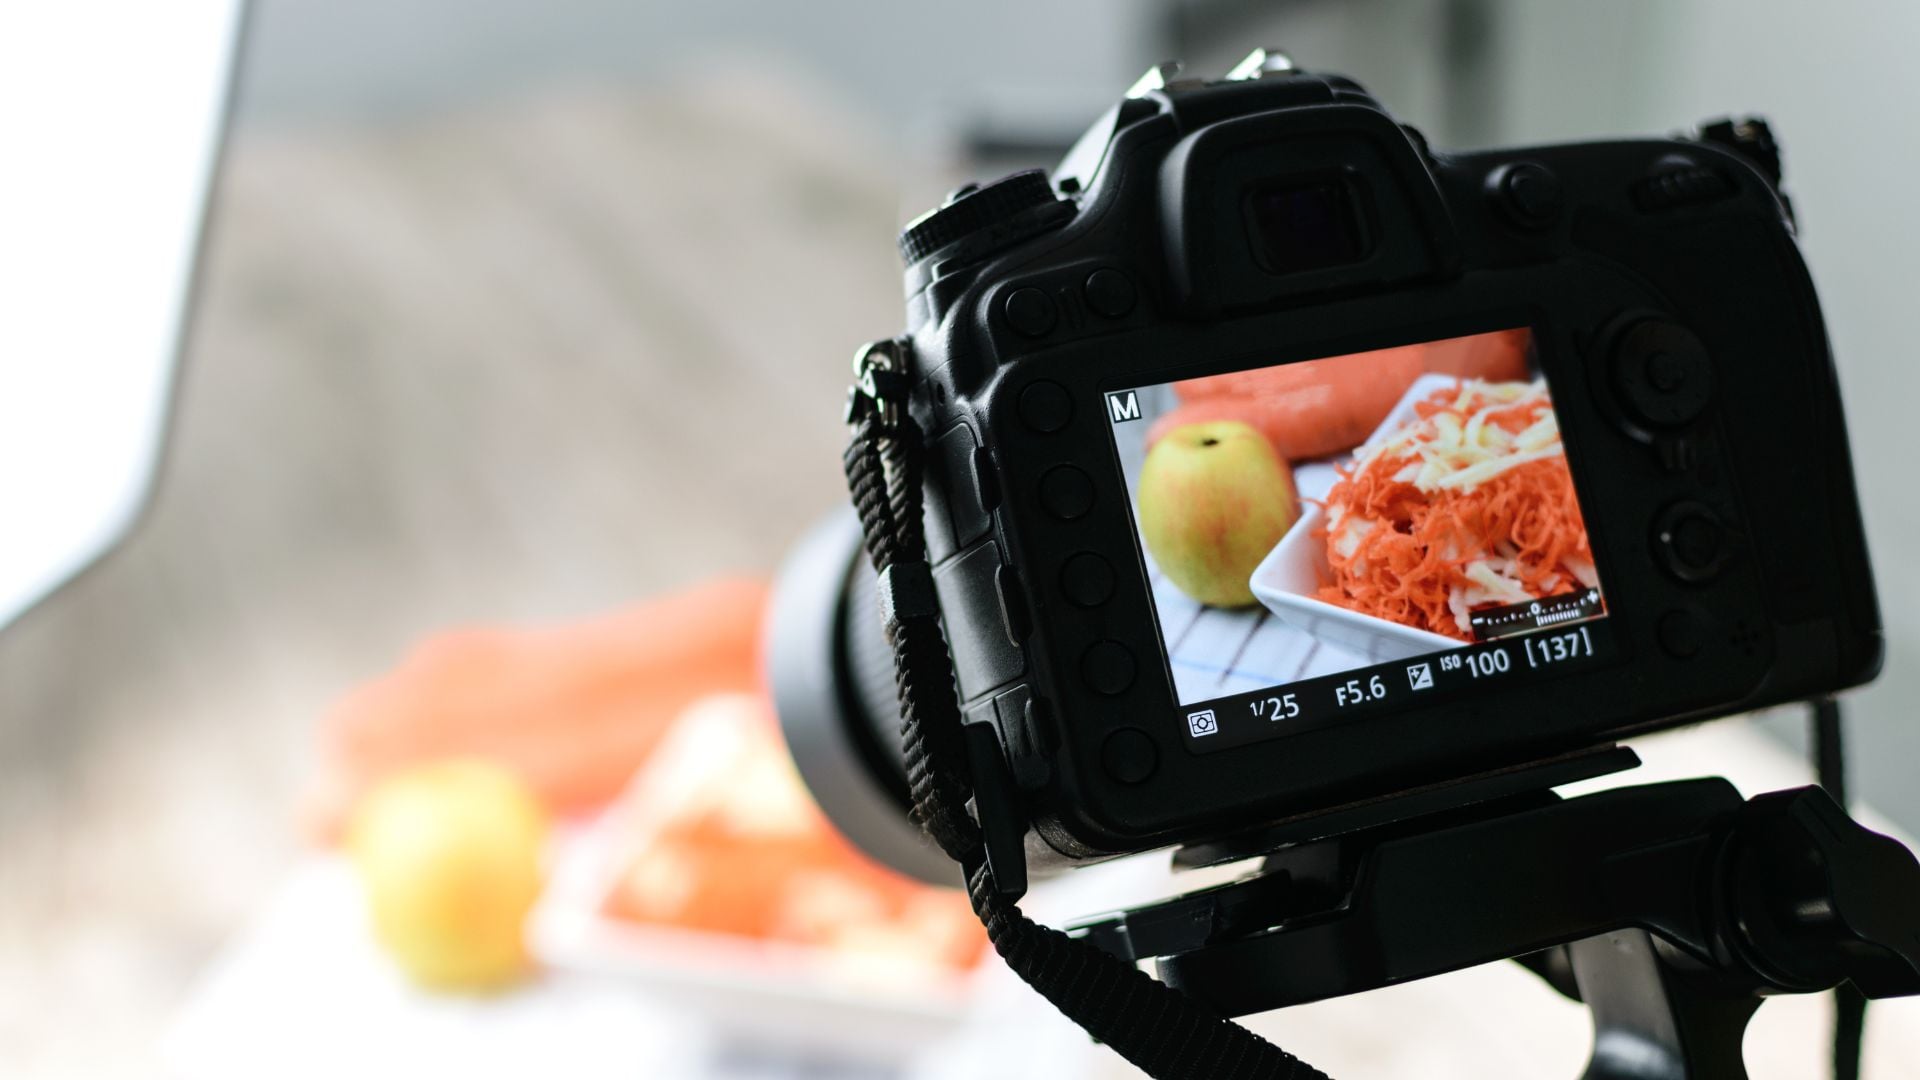
Focus stacking gets around this issue completely. You shoot at your lens’s sharpest aperture. That usually sits between f/5.6 and f/8. Your images stay crisp. Then you stack multiple shots to get everything sharp from front to back.
Lastly, this technique also dodges other problems. High ISO adds noise to your photos. Slow shutter speeds risk camera shake. By shooting at better settings and stacking later, you keep quality high.
Best Types of Photography for Focus Stacking
Some photography styles benefit more from this technique than others. Let’s look at where focus stacking really makes a difference.
Macro Photography Gets the Most Help
Macro photography deals with super shallow depth of field. When you shoot at life size magnification, things get tricky. Your sharp zone might only be a few millimeters deep.
For example, a single flower part might span more distance than your entire focus range. Similarly, getting a whole bug sharp becomes impossible. Even at f/22, maybe one eye stays crisp.
As a result, macro shooters routinely stack 20 to 50 images for one final photo. In fact, some extreme work needs over 100 frames. Ultimately, the results show details you can’t see with your naked eye.
Product Photography Needs Everything Sharp
Clients paying for product shots expect flawless photos. Every item in frame must be tack sharp. Watch faces, jewelry, and cosmetics all need perfect detail.
Studio photographers often shoot products arranged in rows or patterns. The front row needs the same sharpness as the back. Without stacking, you can’t pull this off.
This method has become standard for online store photography. Customers can’t hold products in their hands. Photos must show every detail clearly.
Landscape Photography Reaches New Levels
Landscape scenes create unique challenges. You might have flowers right at your lens. Mountains sit miles away. Traditional depth of field tricks struggle with this range.
Most landscape photographers now stack shots regularly for their best work. They shoot one frame focused close. Another targets the middle distance. A third hits the background. Three shots usually work for most scenes.
Gear You Need for Focus Stacking
You don’t need expensive equipment to start. Basic gear works fine. However, some tools make the process easier.
First, any camera with manual focus works. Notably, mirrorless cameras show advantages since their screens display exactly what the sensor captures. Additionally, some newer cameras have built-in focus bracketing that automates everything.
Meanwhile, a solid tripod is almost essential. Your camera position must stay constant between shots. Even tiny movements create blending headaches later.
For example, landscape and product photographers always use tripods for stacking. Similarly, macro shooters benefit from them too, especially indoors.
Finally, manual focus lenses with smooth rings work best. You can make tiny, precise adjustments between frames easily.
How to Shoot a Focus Stack Step by Step
The shooting process needs careful attention to details. Following these steps ensures clean images that blend smoothly together. Here’s how pros approach focus stacking.
Lock Down Your Setup First
First, mount your camera on a tripod before anything else. Next, frame your shot exactly how you want it. Nothing should move except where you focus.
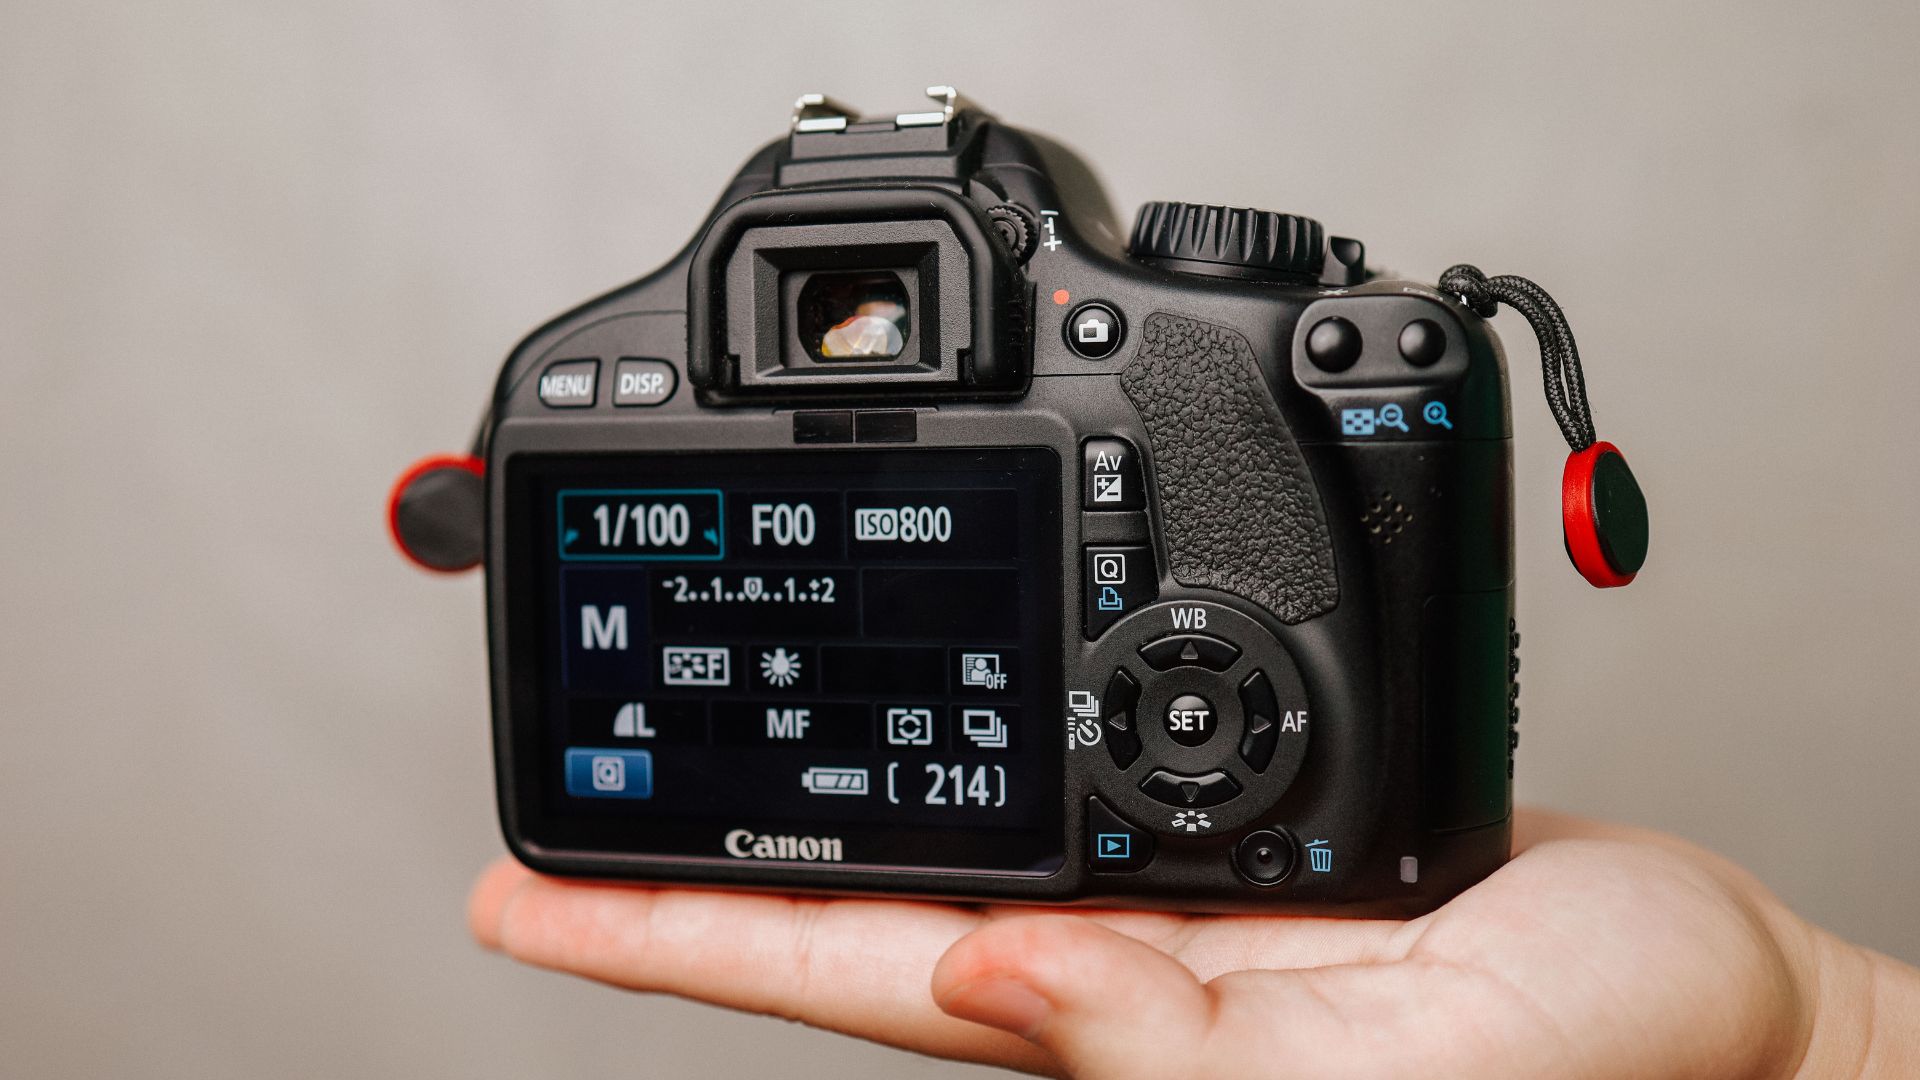
Lastly, switch to manual exposure mode right away. You need consistent brightness across all frames. Otherwise, auto exposure might change between shots. That creates problems when blending.
Set your white balance manually too. Auto settings can shift colors between frames. Manual keeps everything consistent throughout your stack.
Pick the Right Aperture
Choose an aperture where your lens performs best. This typically ranges from f/5.6 to f/8. Some lenses shine at f/8 or f/11. Check what works for your specific glass.
Skip very small apertures like f/16 or f/22. Diffraction kills sharpness at those settings. You’re defeating the whole point of stacking. The goal is maximum sharpness everywhere.
Your aperture choice affects how many shots you’ll need. Wider openings mean less depth per frame. You’ll need more images to cover the scene.
Plan Your Focus Points
Figure out where your closest sharp element sits. That becomes your starting point. Also, note where your farthest element is. This marks your end point.
Think about how many images you’ll need based on:
- How far away your subject is
- What aperture you chose
- Your lens focal length
- The total depth you need to cover
Macro work might need 20 or more shots. Landscape scenes often just need 3 to 5 images.
Shoot Your Sequence Carefully
Start with your nearest focus point and take the first shot. Then, adjust focus slightly farther. Take the next shot. Keep going through the range systematically.
Each frame should overlap the previous one’s sharp zone. You don’t want gaps where nothing is crisp. Move your focus ring in small, steady increments. Big jumps leave gaps. Too many shots just waste time.
Software for Blending Your Focus Stacks
Several programs can merge your stacked photos together. Each one offers different features and ways of working. Photographers debate which software gives the best results.
Photoshop Works for Simple Stacks
Photoshop has built-in focus stacking tools. The Auto-Blend Layers feature handles most basic stacking jobs. It works pretty well for straightforward scenes.
The process is easy to follow. You load images as layers and select them all. Then pick Auto-Align Layers followed by Auto-Blend Layers. Photoshop analyzes each frame and builds a composite.

Photoshop handles simpler stacks best. Complex scenes with lots of overlapping stuff can confuse it. You might need to manually mask problem areas. The software sometimes creates weird halos around edges.
Speed matters too. Photoshop processes stacks slower than dedicated software. Big stacks with many high-res files take forever.
Helicon Focus Delivers Speed
Helicon Focus only does focus stacking. This specialized approach shows in how it performs. The software processes stacks way faster than Photoshop.
The program gives you multiple stacking methods to choose from. Method A works well for most situations. Method B handles high-contrast objects better. Method C keeps fine details in complex subjects.
Helicon Focus saves files in different formats. You can export as DNG files. This lets you make raw adjustments later. Photoshop only exports stacked images as TIFFs.
Zerene Stacker Gives You Control
According to testing by Photography Life, Zerene Stacker offers the most control over stacking. In fact, pro macro photographers often pick it. Additionally, the software provides two main stacking methods.
PMax mode keeps fine details really well. Furthermore, it handles overlapping stuff like grass and hair beautifully. However, it can boost noise slightly. Colors may shift a bit too.
In contrast, DMap mode keeps original colors more faithfully. Plus, it produces smoother results with less noise. However, it might lose some fine detail compared to PMax.
Picking Your Software
Photoshop works fine if you only stack occasionally. If you already pay for Creative Cloud, try it first. Furthermore, simple landscape stacks often turn out perfect.
However, dedicated software like Helicon Focus or Zerene Stacker pays off for regular use. They process files faster and handle tricky scenes better. Therefore, the investment makes sense if you stack images often.
Fortunately, both Helicon and Zerene let you try them free. First, download both and test with your own images. Then, compare results against Photoshop. Ultimately, hands-on testing shows which one suits your needs.
Stacking Images in Photoshop
The Photoshop workflow is straightforward once you know the steps. This works in Photoshop CC and newer versions.
Select all your stack images in Lightroom. Then, right-click and choose Photo, Edit In, then Open as Layers in Photoshop. This loads all photos as separate layers in one document.
Select all layers in the Layers panel. Go to Edit and pick Auto-Align Layers. Choose Auto and click OK. Photoshop lines up your images perfectly.
Furthermore, with layers still selected, go to Edit again. Then, pick Auto-Blend Layers this time. Choose Stack Images and check Seamless Tones and Colors. Click OK.

Photoshop now analyzes every pixel across all layers. It builds layer masks showing which parts of each layer contribute. Sharp areas appear white. Blurry spots show black.
Check your stacked image carefully at full size. Sometimes Photoshop creates artifacts or halos around edges. These need manual fixing with Clone Stamp or Healing Brush tools.
Common Problems and Quick Fixes
Even experienced shooters run into issues. Here’s what to watch for and how to fix common problems.
Watch Out for Movement
Any subject movement wrecks a focus stack. Wind, moving bugs, or crawling subjects create blending disasters. Shoot on calm days for outdoor work. Early morning offers the stillest air.
Sometimes you can save sequences with minor movement. Just use frames without movement. Accept shorter depth in your final shot.
Fixing Alignment Issues
Software struggles with complex overlapping objects. Photoshop especially shows this weakness. You might see halos around edges or soft patches.
Make a new layer above the problem area. Use Clone Stamp or Healing Brush to fix issues. Sample from the sharpest source layer.
Focus Steps Matter
Not enough overlap between frames creates gaps. Parts might fall between focus points. The fix is shooting more images next time. Smaller focus steps ensure complete coverage.
Pro Tips for Better Focus Stacks
Professional photographers develop tricks that improve their stacking results. Therefore, apply these to level up your own photos.
First, Live View gives you the most accurate focusing method. The screen shows exactly what your sensor captures. Zoom in to 10x magnification and place focus precisely where you need it. Notably, this careful approach saves hours of fixing problems later.
Many mirrorless cameras offer focus peaking features. Colored outlines highlight sharp areas instantly. You see clearly where each shot’s focus falls. Consequently, this makes planning your sequence much easier.
In addition, RAW files keep maximum image quality for later work. Process your RAW files in Lightroom first. Furthermore, apply basic tweaks like exposure and white balance identically across all frames. Then, export as 16-bit TIFFs before stacking.
Finally, manual focus gives you complete control. Autofocus can jump unpredictably between shots. Practice turning your focus ring in steady increments. Over time, this skill improves with experience.
When You Shouldn’t Use Focus Stacking
This technique isn’t right for every situation. Knowing when to skip it saves time and frustration.
Anything moving wrecks the blend. Wildlife, sports, and portrait photography rarely work with stacking. People, kids, and pets move constantly. One sharp shot beats a failed stack every time.
Street photography depends on catching fleeting moments. You can’t ask the world to freeze for multiple shots. One perfect frame wins.
Sometimes you want selective focus. Portrait work relies on beautiful background blur. Shallow depth of field creates visual punch by isolating your subject. Focus stacking would kill this effect completely.
Many scenes get enough depth with basic techniques. A distant landscape without close elements needs just one frame. Don’t complicate your workflow unnecessarily. Save the technique for situations that truly need it.
Achieve Stunning Depth and Clarity in Every Shot
Focus stacking opens creative options once thought impossible. For instance, macro work reveals worlds invisible to your eyes. Meanwhile, product shots meet commercial standards. Additionally, landscapes reach technical perfection.
However, the technique needs extra effort. You’ll shoot more frames and spend more time processing. Nevertheless, the results justify this investment. In fact, according to Amateur Photographer’s research, this method is now essential for professional macro work.
First, start simple with your first attempts. Try a basic landscape with obvious front and back elements. Next, shoot three frames at different focus points. Then, process them in Photoshop using Auto-Blend Layers.
Ultimately, success with simple stacks builds confidence for trickier work. Over time, the process becomes faster. Eventually, you’ll spot perfect stacking opportunities automatically. Therefore, your investment in learning this pays off for years.

Darlene Lleno
Darlene Lleno brings a unique perspective to DIY Photography as someone who grew up surrounded by camera gear but chose words over lenses. With five years of writing experience, she specializes in photography content that’s both technically informed and genuinely passionate. Growing up with a photographer twin brother meant camera talk was everyday conversation in her household. While he mastered capturing moments, Darlene discovered she preferred being the subject and the storyteller behind the scenes. As a travel enthusiast and mother of two, she understands the importance of preserving life’s precious moments. When not exploring new destinations or writing for DIY Photography, you’ll find her reading or tending to her garden. Her approach to photography writing is refreshingly authentic, she may not be behind the camera, but she knows exactly what it takes to help others capture the shots that matter most.


Join the Discussion
DIYP Comment Policy
Be nice, be on-topic, no personal information or flames.
One response to “Focus Stacking in Photography: A Complete Guide to Tack-Sharp Images”
since more than ten years Olympus Cameras (now OMDS) can do it inside the camera.