


















What Camera Mode Should Beginners Actually Use?
Oct 3, 2025
Darlene Lleno
Darlene Lleno brings a unique perspective to DIY Photography as someone who grew up surrounded by camera gear but chose words over lenses. With five years of writing experience, she specializes in photography content that’s both technically informed and genuinely passionate. Growing up with a photographer twin brother meant camera talk was everyday conversation in her household. While he mastered capturing moments, Darlene discovered she preferred being the subject and the storyteller behind the scenes. As a travel enthusiast and mother of two, she understands the importance of preserving life’s precious moments. When not exploring new destinations or writing for DIY Photography, you’ll find her reading or tending to her garden. Her approach to photography writing is refreshingly authentic, she may not be behind the camera, but she knows exactly what it takes to help others capture the shots that matter most.
Share:
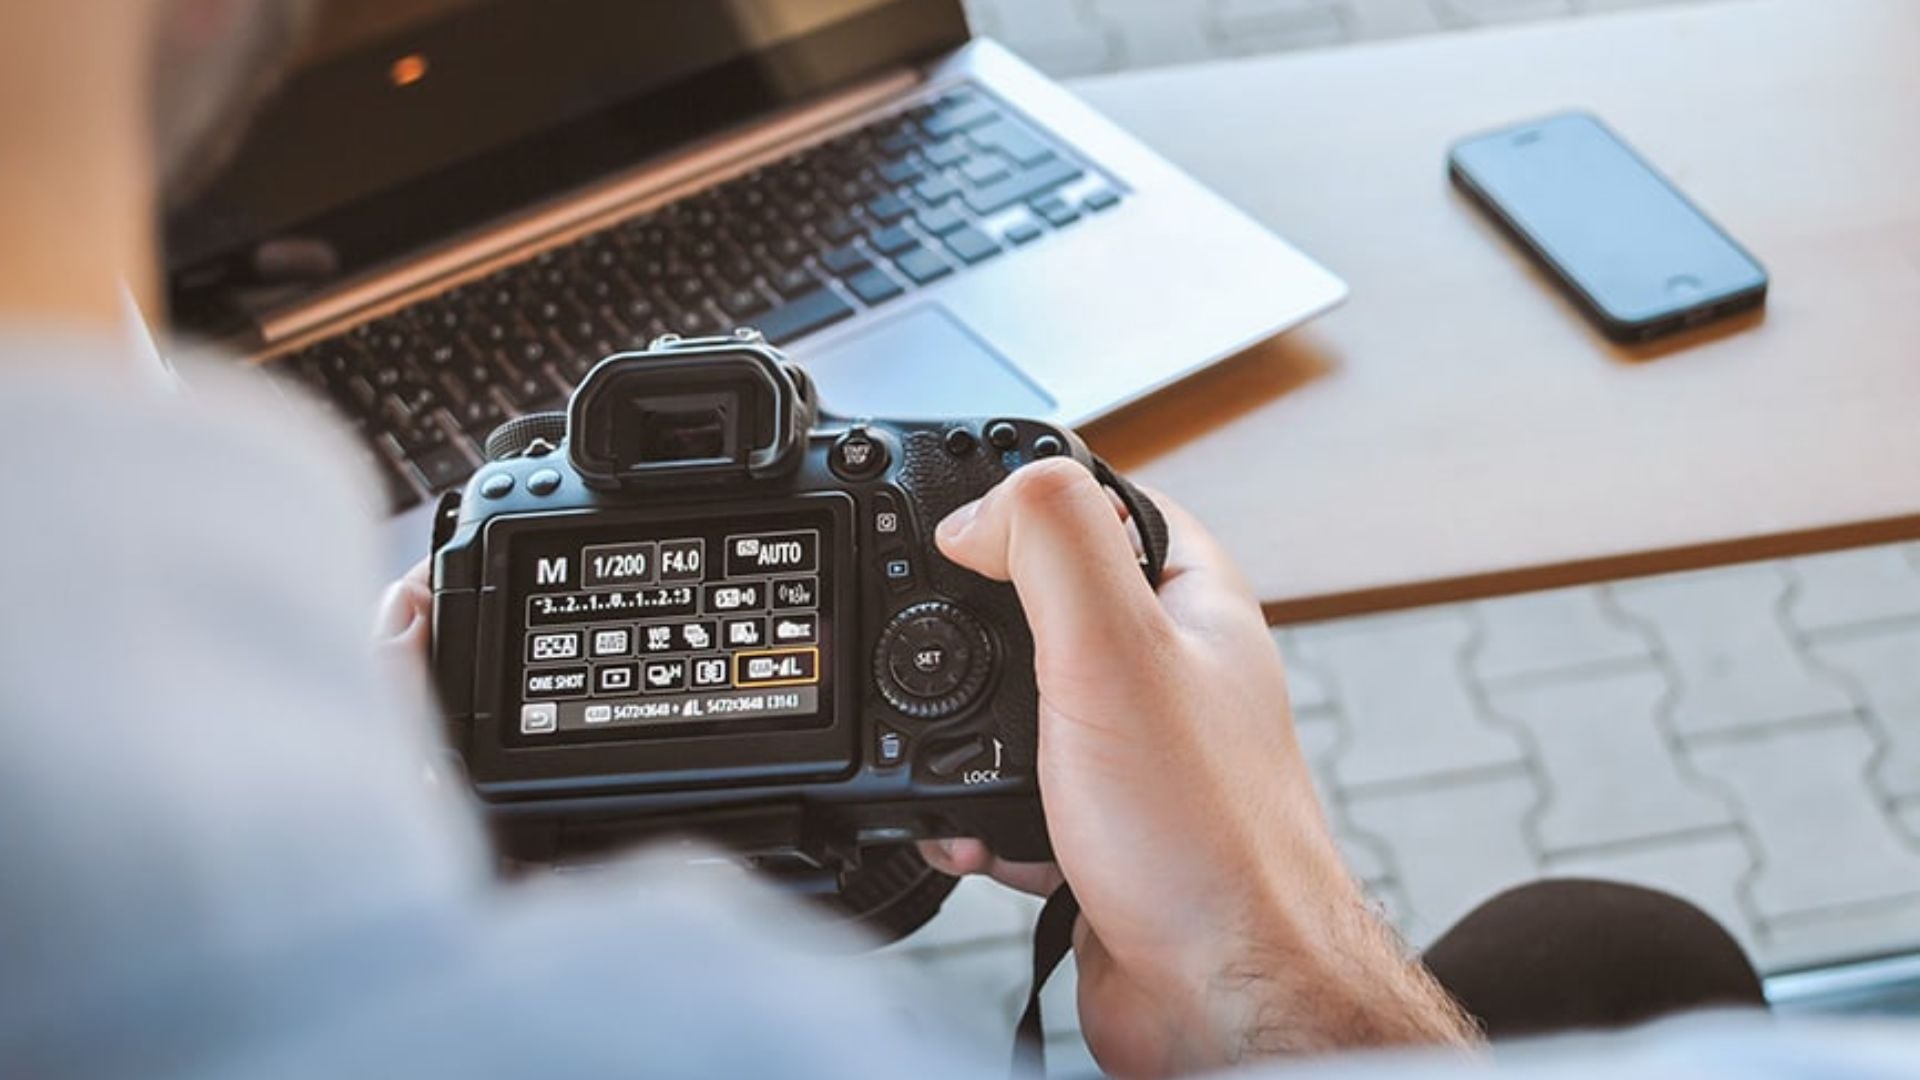
Camera mode selection makes or breaks your photography progress. Most beginners get stuck switching between auto and manual without knowing the middle options that pros use daily.
Photography experts love to complicate things with technical talk. Some say jump straight to manual mode. Others suggest staying in auto until you master exposure theory. Both miss the point. Different camera modes help you learn at different stages.
Real skill happens when you match your camera mode to your abilities and shooting conditions. Your camera has modes that help you learn step by step while taking great photos. Knowing when to use each mode speeds up your progress way more than jumping to manual or staying in auto forever.
Read more: What Camera Mode Should Beginners Actually Use?Your Camera Mode Options
Modern cameras give you multiple shooting modes that balance automation with creative control. These modes exist because pros need different control levels based on their shooting situation.
Each camera mode handles the exposure triangle differently. The exposure triangle includes aperture, shutter speed, and ISO working together. Different modes give you control over different parts while automating the rest.
Understanding how these modes work together helps you pick the right one for each situation. Your camera mode choice affects everything from depth of field to motion blur in your final images.
Full Auto Mode
Full auto mode gets unfairly criticized in photography circles. This camera mode handles every technical decision while you focus on composition and timing. Auto mode works great for your first few weeks with a new camera.
You can learn proper camera handling without worrying about settings. Focus on composition rules and understanding your camera’s controls. Most importantly, auto mode lets you take properly exposed photos while building confidence.
Auto mode’s main limit is that your camera makes all creative choices. Your camera doesn’t know if you want blurry backgrounds for portrait photography or sharp focus throughout landscapes. Auto mode picks settings that keep most images sharp with average brightness.
Modern auto modes have become surprisingly smart. Many cameras include scene recognition that adjusts settings based on what they detect. These smart auto modes produce excellent results in good lighting.
Program Mode
Program mode bridges full automation and creative control. Your camera selects both aperture and shutter speed for proper exposure. You gain access to other settings like ISO, white balance, and focus modes.
This camera mode includes program shift on most cameras. Program shift lets you rotate between equivalent exposure combinations using your command dial. If your camera picks f/5.6 at 1/125s, you can shift to f/4 at 1/250s while keeping the same exposure.
Program mode works great for beginners who want to experiment without risking wrong exposures. You can adjust exposure compensation to make images brighter or darker. Your camera maintains proper technical settings while you learn creative control.
Many professional photographers use program mode when lighting changes rapidly. Wedding ceremonies and sports photography often require program mode’s reliability with manual override flexibility.
Semi-Automatic Camera Mode Strategies
Semi-automatic modes teach you how individual exposure settings affect your images. These modes let you focus on mastering one concept at a time. They represent the sweet spot for learning photography.
Aperture Priority Mode for Creative Control
Aperture Priority mode puts you in control of aperture selection. Your camera chooses the matching shutter speed for proper exposure. This camera mode gives you direct control over depth of field.
Wide apertures like f/1.4, f/2, or f/2.8 create shallow depth of field effects. Your main subject appears sharp against a blurred background. This effect works beautifully for portrait photography and product shots.
Professional portrait photography relies heavily on aperture priority mode. Depth of field control matters more than precise shutter speed in most portrait situations. The blurred background effect transforms ordinary snapshots into professional-looking images.
Narrow apertures like f/8, f/11, or f/16 keep more of your scene sharp. Landscape photography and architecture benefit from these settings. You want viewers to see detail throughout the entire scene.
Your camera adjusts shutter speed automatically as you change apertures. Watch for motion blur warnings when your camera picks slow shutter speeds in low light. Most cameras display warning indicators when speeds drop below safe handheld limits.
Shutter Priority Mode for Action and Motion
Shutter Priority mode flips the control from aperture priority. You choose shutter speed while your camera selects the matching aperture. This camera mode excels when controlling motion matters more than depth of field.
Fast shutter speeds like 1/500s or 1/1000s freeze moving subjects completely. Sports photography, children playing, and wildlife photography benefit from shutter priority mode. You guarantee sharp action shots while your camera handles aperture automatically.
Slow shutter speeds create intentional motion blur effects. Water photography often uses speeds around 1/15s to 1/4s for silky flowing effects. Night photography uses very slow speeds to capture light trails from moving vehicles.
Shutter priority mode helps in low light situations too. Most photographers handhold cameras steadily at 1/60s or faster. This depends on focal length and image stabilization features.
Your camera adjusts aperture automatically as you change shutter speeds. Monitor the aperture display for limitations. Very fast speeds might force maximum aperture settings. Very slow speeds might require narrow apertures that cause diffraction.
Manual Camera Mode: When Full Control Matters
Manual mode gives you complete control over aperture, shutter speed, and ISO settings. This camera mode doesn’t automatically adjust any exposure settings. You make every decision about image exposure.
Professional photographers use manual mode in specific situations. Consistent settings matter more than perfect automatic exposure. Studio photography with controlled lighting requires manual mode because lighting doesn’t change between shots.
Learning Manual Mode Gradually
Manual mode intimidates beginners because it seems complex. You can learn it step by step though. Start using manual mode in controlled situations with consistent lighting.
Indoor photography with window light works well for practice. Outdoor photography on cloudy days provides stable lighting that doesn’t change rapidly. Both situations let you learn without pressure.
Begin with your camera’s light meter display to understand proper exposure. Most cameras show a scale with indicators for underexposure, proper exposure, and overexposure. Adjust your settings until the meter shows proper exposure.
Practice manual mode exercises help build confidence. Try photographing the same subject with different aperture and shutter speed combinations. Keep the same overall exposure while creating visually different results.
Manual mode works well for creative projects requiring consistent settings. Time-lapse photography needs identical exposures for smooth transitions. Panoramic photography often works better with manual exposure to avoid brightness variations.
Specialty Camera Mode Options
Modern cameras include specialty modes for specific shooting situations. These modes combine automatic and manual controls in unique ways. They solve common photography challenges.
Scene Modes for Specific Situations
Scene modes optimize camera settings for particular subjects or lighting conditions. Portrait mode selects wide apertures for shallow depth of field. It adjusts color processing to flatter skin tones too.
Landscape mode chooses narrow apertures for maximum sharpness. It boosts color saturation and contrast for more vibrant scenes. Sports photography mode prioritizes fast shutter speeds and continuous autofocus.
Night mode combines longer exposures with noise reduction processing. This helps capture low light scenes without excessive grain. Macro photography mode adjusts focus patterns and exposure settings for extreme close-ups.
These specialty camera modes work well when you’re learning photography. They teach you appropriate settings for different situations. You can examine camera settings after taking photos to understand what combinations work.
Custom Mode Settings for Personal Preferences
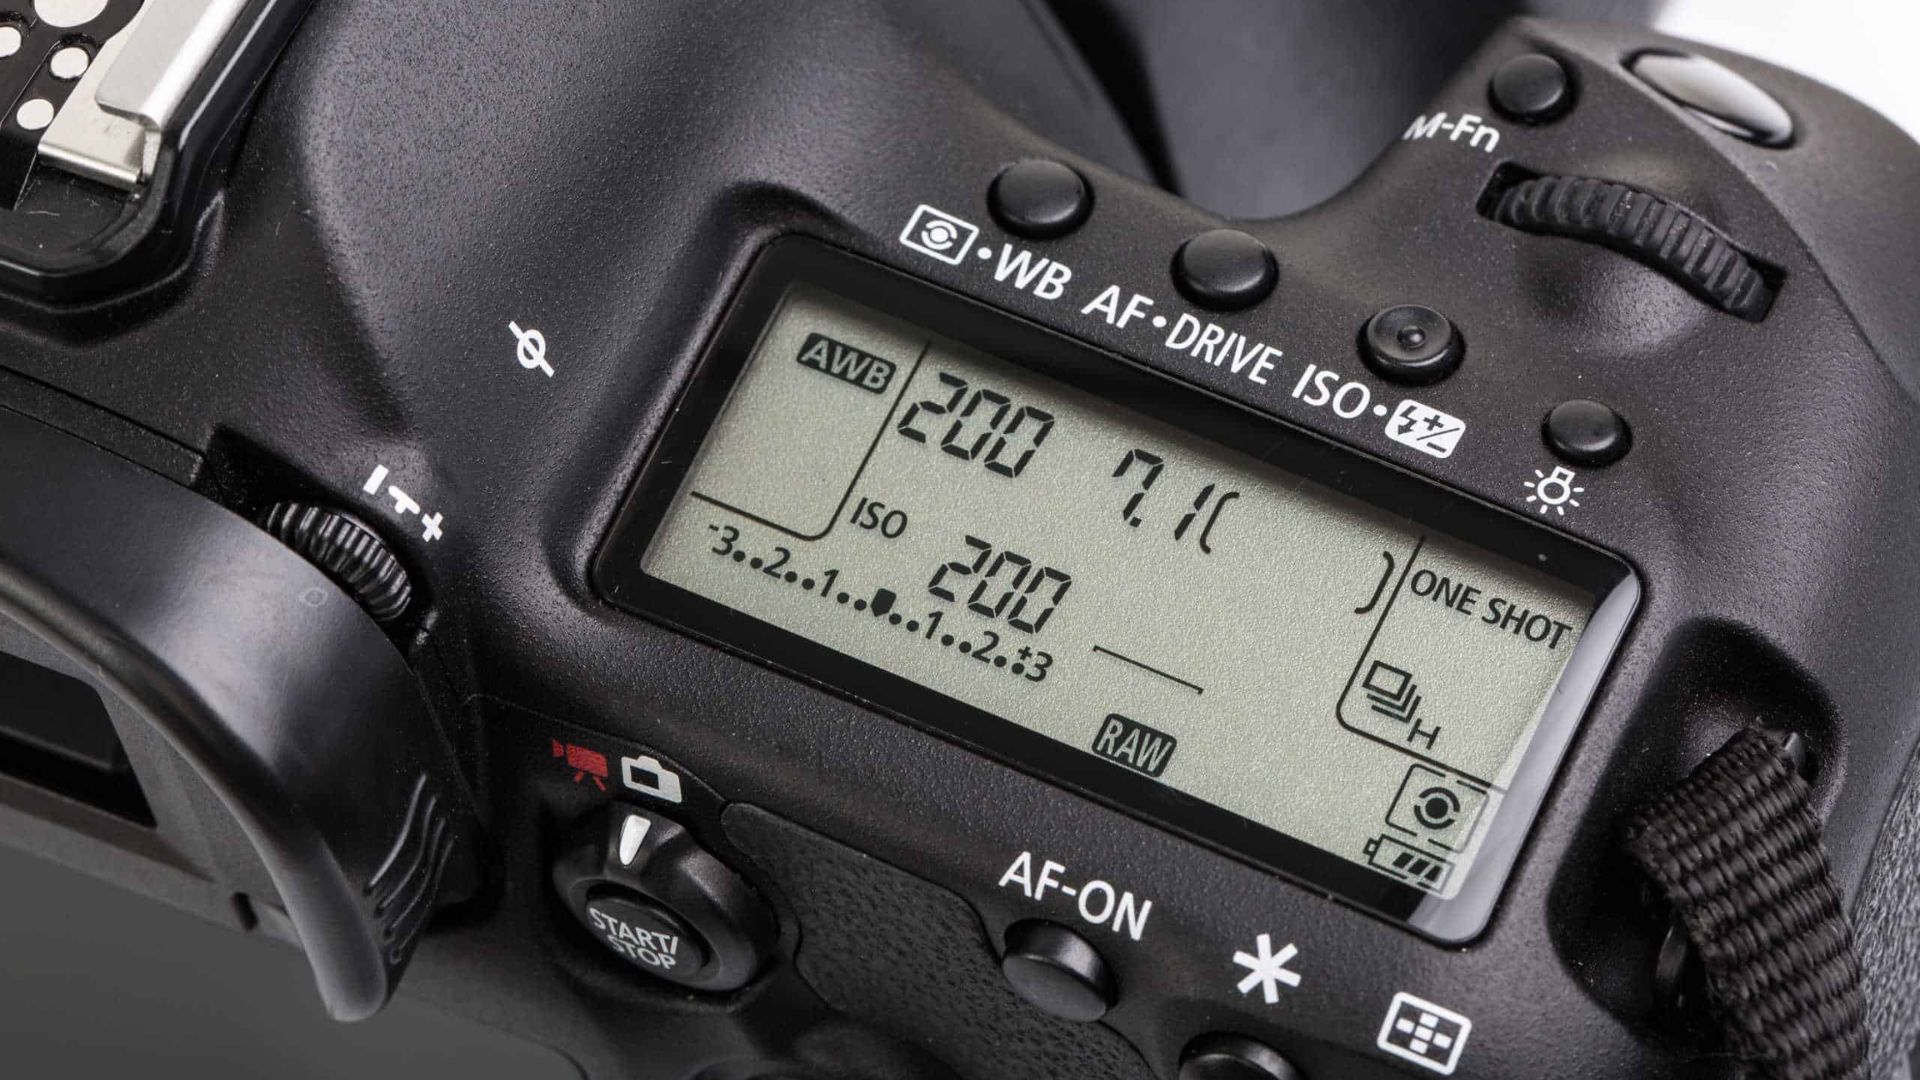
Many advanced cameras offer custom modes for saving personalized settings. You can create custom camera modes for your most common shooting situations. Include your preferred exposure settings, autofocus configurations, and image processing options.
Custom modes save time during photo sessions. You can switch instantly between different shooting setups. Portrait photography might need custom modes for outdoor natural light, indoor available light, and studio photography.
Each custom mode includes appropriate exposure settings and white balance. Focus configurations for specific situations help too. This approach streamlines your workflow significantly.
Common Camera Mode Mistakes Beginners Make
Understanding frequent mistakes helps you avoid common problems. Most camera mode issues stem from using inappropriate modes for specific situations. These problems slow down learning progress.
Several key mistakes appear repeatedly among beginning photographers:
- Staying in auto mode too long prevents creative control development
- Jumping to manual mode too quickly creates overwhelming technical challenges
- Ignoring camera mode indicators leads to technical problems
- Using the same mode for every situation limits creative growth
Staying in Auto Mode Too Long
Auto mode provides a comfortable starting point for beginners. Extended reliance on full automation prevents you from learning creative control though. Your camera makes every decision based on average scenes and standard preferences.
This approach works for basic snapshots but limits creative vision. Moving beyond auto mode doesn’t require jumping straight to manual controls. Program mode and semi-automatic modes provide stepping stones for gradual learning.
Most professional photographers rarely use full auto mode. It removes too much creative decision-making from the photographer. If you check even 2 of these signs you’re not a beginner photographer anymore, you should move past auto mode.
Jumping to Manual Mode Too Quickly
Manual mode intimidates some beginners into avoiding it completely. It tempts others to use it exclusively before developing necessary skills. Manual mode requires understanding exposure relationships and light metering concepts.
Learning aperture priority and shutter priority modes first builds foundational knowledge. These semi-automatic modes let you experiment with creative controls while maintaining exposure safety nets. Once you understand how settings affect your images, manual mode becomes manageable.
The low light photography trick every pro knows often involves mastering semi-automatic modes before moving to full manual control.
Ignoring Camera Mode Indicators
Modern cameras display extensive information about current settings and exposure recommendations. Many beginners ignore these helpful displays because they seem overwhelming. Learning to read camera display information speeds up understanding.
Exposure meters, focus confirmation, and camera shake warnings provide valuable feedback. Shutter speed displays help avoid motion blur problems. Aperture readouts show current depth of field settings. ISO indicators warn about potential noise issues.
Understanding these indicators helps you make better camera mode decisions. They guide you toward appropriate settings for each shooting situation.
Choosing The Best Camera Mode
Your ideal camera mode depends on your current skill level and shooting situation. Learning goals matter more than following rigid rules about which modes beginners should use. The best camera mode helps you capture desired images while building future skills.
Consider your primary photography interests when choosing modes to emphasize. Portrait photography benefits from mastering aperture priority mode early. Depth of field control plays a central role in portrait aesthetics.
Action photographers need solid shutter priority skills to handle motion effectively. Sports photography and wildlife photography require precise motion control techniques.
Remember that professional photographers use different modes throughout single photo sessions. Changing conditions and creative requirements dictate mode switches. Learning when to switch between modes becomes as important as mastering individual operations.
Your camera mode journey should progress gradually from full automation toward increasing creative control. Each mode teaches specific concepts that build toward complete exposure understanding and creative freedom in your photography.
See more from DIYPhotography.net on Google
Add DIYPhotography.net as a trusted source. This makes
our stories more likely to appear in your Google Search results.
 Add as a preferred source on Google

Darlene Lleno
Darlene Lleno brings a unique perspective to DIY Photography as someone who grew up surrounded by camera gear but chose words over lenses. With five years of writing experience, she specializes in photography content that’s both technically informed and genuinely passionate. Growing up with a photographer twin brother meant camera talk was everyday conversation in her household. While he mastered capturing moments, Darlene discovered she preferred being the subject and the storyteller behind the scenes. As a travel enthusiast and mother of two, she understands the importance of preserving life’s precious moments. When not exploring new destinations or writing for DIY Photography, you’ll find her reading or tending to her garden. Her approach to photography writing is refreshingly authentic, she may not be behind the camera, but she knows exactly what it takes to help others capture the shots that matter most.


Join the Discussion
DIYP Comment Policy
Be nice, be on-topic, no personal information or flames.