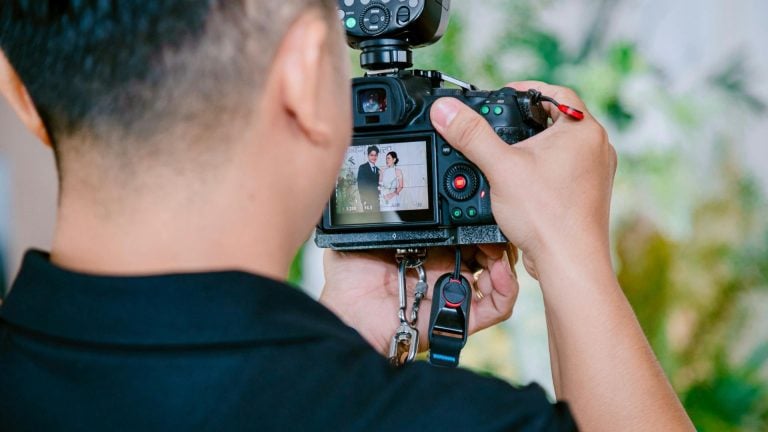


Create cool lighting effects for video and photos using a projector
Jun 1, 2017
John Aldred
John Aldred is a photographer with over 25 years of experience in the portrait and commercial worlds. He is based in Scotland and has been an early adopter – and occasional beta tester – of almost every digital imaging technology in that time. As well as his creative visual work, John uses 3D printing, electronics and programming to create his own photography and filmmaking tools and consults for a number of brands across the industry.
Share:

Adding a projector to your kit might seem a little old fashioned these days. But projecting images toward your subject or the background can be extremely effective. Whether you’re shooting video or stills, it offers results that would otherwise be impossible to create.
Doing it with video is relatively straightforward, and there are many different ways you can apply it. This video from DP Justin Jones and Ted Sim at Aputure shows us three great ways we can use projection in our work. Specifically they cover music videos, but the techniques can be applied to anything. When it comes to photography, it can be a little more tricky, but it’s definitely possible.
Front Projection

This is probably the first thing you think of when considering using a projector. Just point it at your subject from the front, and away you go. And it can work well. But you have to pay very close attention to where the shadows fall.
Jones suggests putting the projector on-axis to your camera directly above. In the video he mounts it about a foot (30cm) above the camera.
Rear Projection

Now this is where projection starts to get really interesting for me. For it to work, you want some haze or fog, because that’s what the projector’s lighting up. It’s a view you often see in movie theatres in films. But with more fog comes more drama to your results.
Through the haze the projection lights up the fog or haze in the atmosphere, creating a great look.
Top Projection

This method is a little unorthodox. It’s not a position in which we typically see projectors placed. But it offers great potential. Again, you’ll want some fog if you want to see the beam projected through the air, rather than just the light hitting your subject.
It reminds me a lot of the light coming down from a streetlight during a foggy night. Jones warns, though, that lighting in such a way, as with any other kind of top lighting, can create “raccoon eyes” on your subject. So, use it with caution. Perhaps use it with a reflector out of shot, or a second light just on the face for a bit of fill.
Using projectors like these is great for video, but what about photography? Most projectors just don’t have the kind of power photographers often need to create a good sharp image. Sure, you could use an f/1.4 lens, but in such lighting conditions, it can be difficult to nail your focus if your subject is moving. Or you could stop down a little and bump up your ISO, but you do run the risk of introducing noise.

A better option for photography is a flash powered projection system. Something like the Light Blaster. This is a device which attaches to a speedlight or studio strobe at one end, with a lens at the other. In between you can place a slide, cutout or other item to project a scene or shape. The lens used determines the distance at which the image being projected is focused as well as the size of the projection. Short focal lengths will produce a larger image, while long focal lengths will produce a smaller image but at a higher brightness intensity.
Although you won’t be able to animate your projection with the Light Blaster as you can with a standard HDMI projector, do you really need to? You’re shooting stills, so even if the projection was animated, you wouldn’t really be able to capture that anyway.

John Aldred
John Aldred is a photographer with over 25 years of experience in the portrait and commercial worlds. He is based in Scotland and has been an early adopter – and occasional beta tester – of almost every digital imaging technology in that time. As well as his creative visual work, John uses 3D printing, electronics and programming to create his own photography and filmmaking tools and consults for a number of brands across the industry.


Join the Discussion
DIYP Comment Policy
Be nice, be on-topic, no personal information or flames.