


How to add glow to sparks in Photoshop
Feb 12, 2017
Clinton lofthouse
Clinton Lofthouse is a Award-Winning Photographer, Creative Director, and artist based in the United Kingdom, who specialises in creative retouching and composites. Proud 80’s baby, reader of graphic novels and movie geek!
Share:

Ever done a shoot, and what you saw with your eye didn’t seem to translate to the camera? It happens a lot!
You see a majestic landscape, you take a photo on your camera, but when it pops up on the screen it just doesn’t capture the beauty. The same happens with fire when you use a flash. It weakens the effect. I could always try shooting without a flash, but then I wouldn’t be able to freeze the motion.
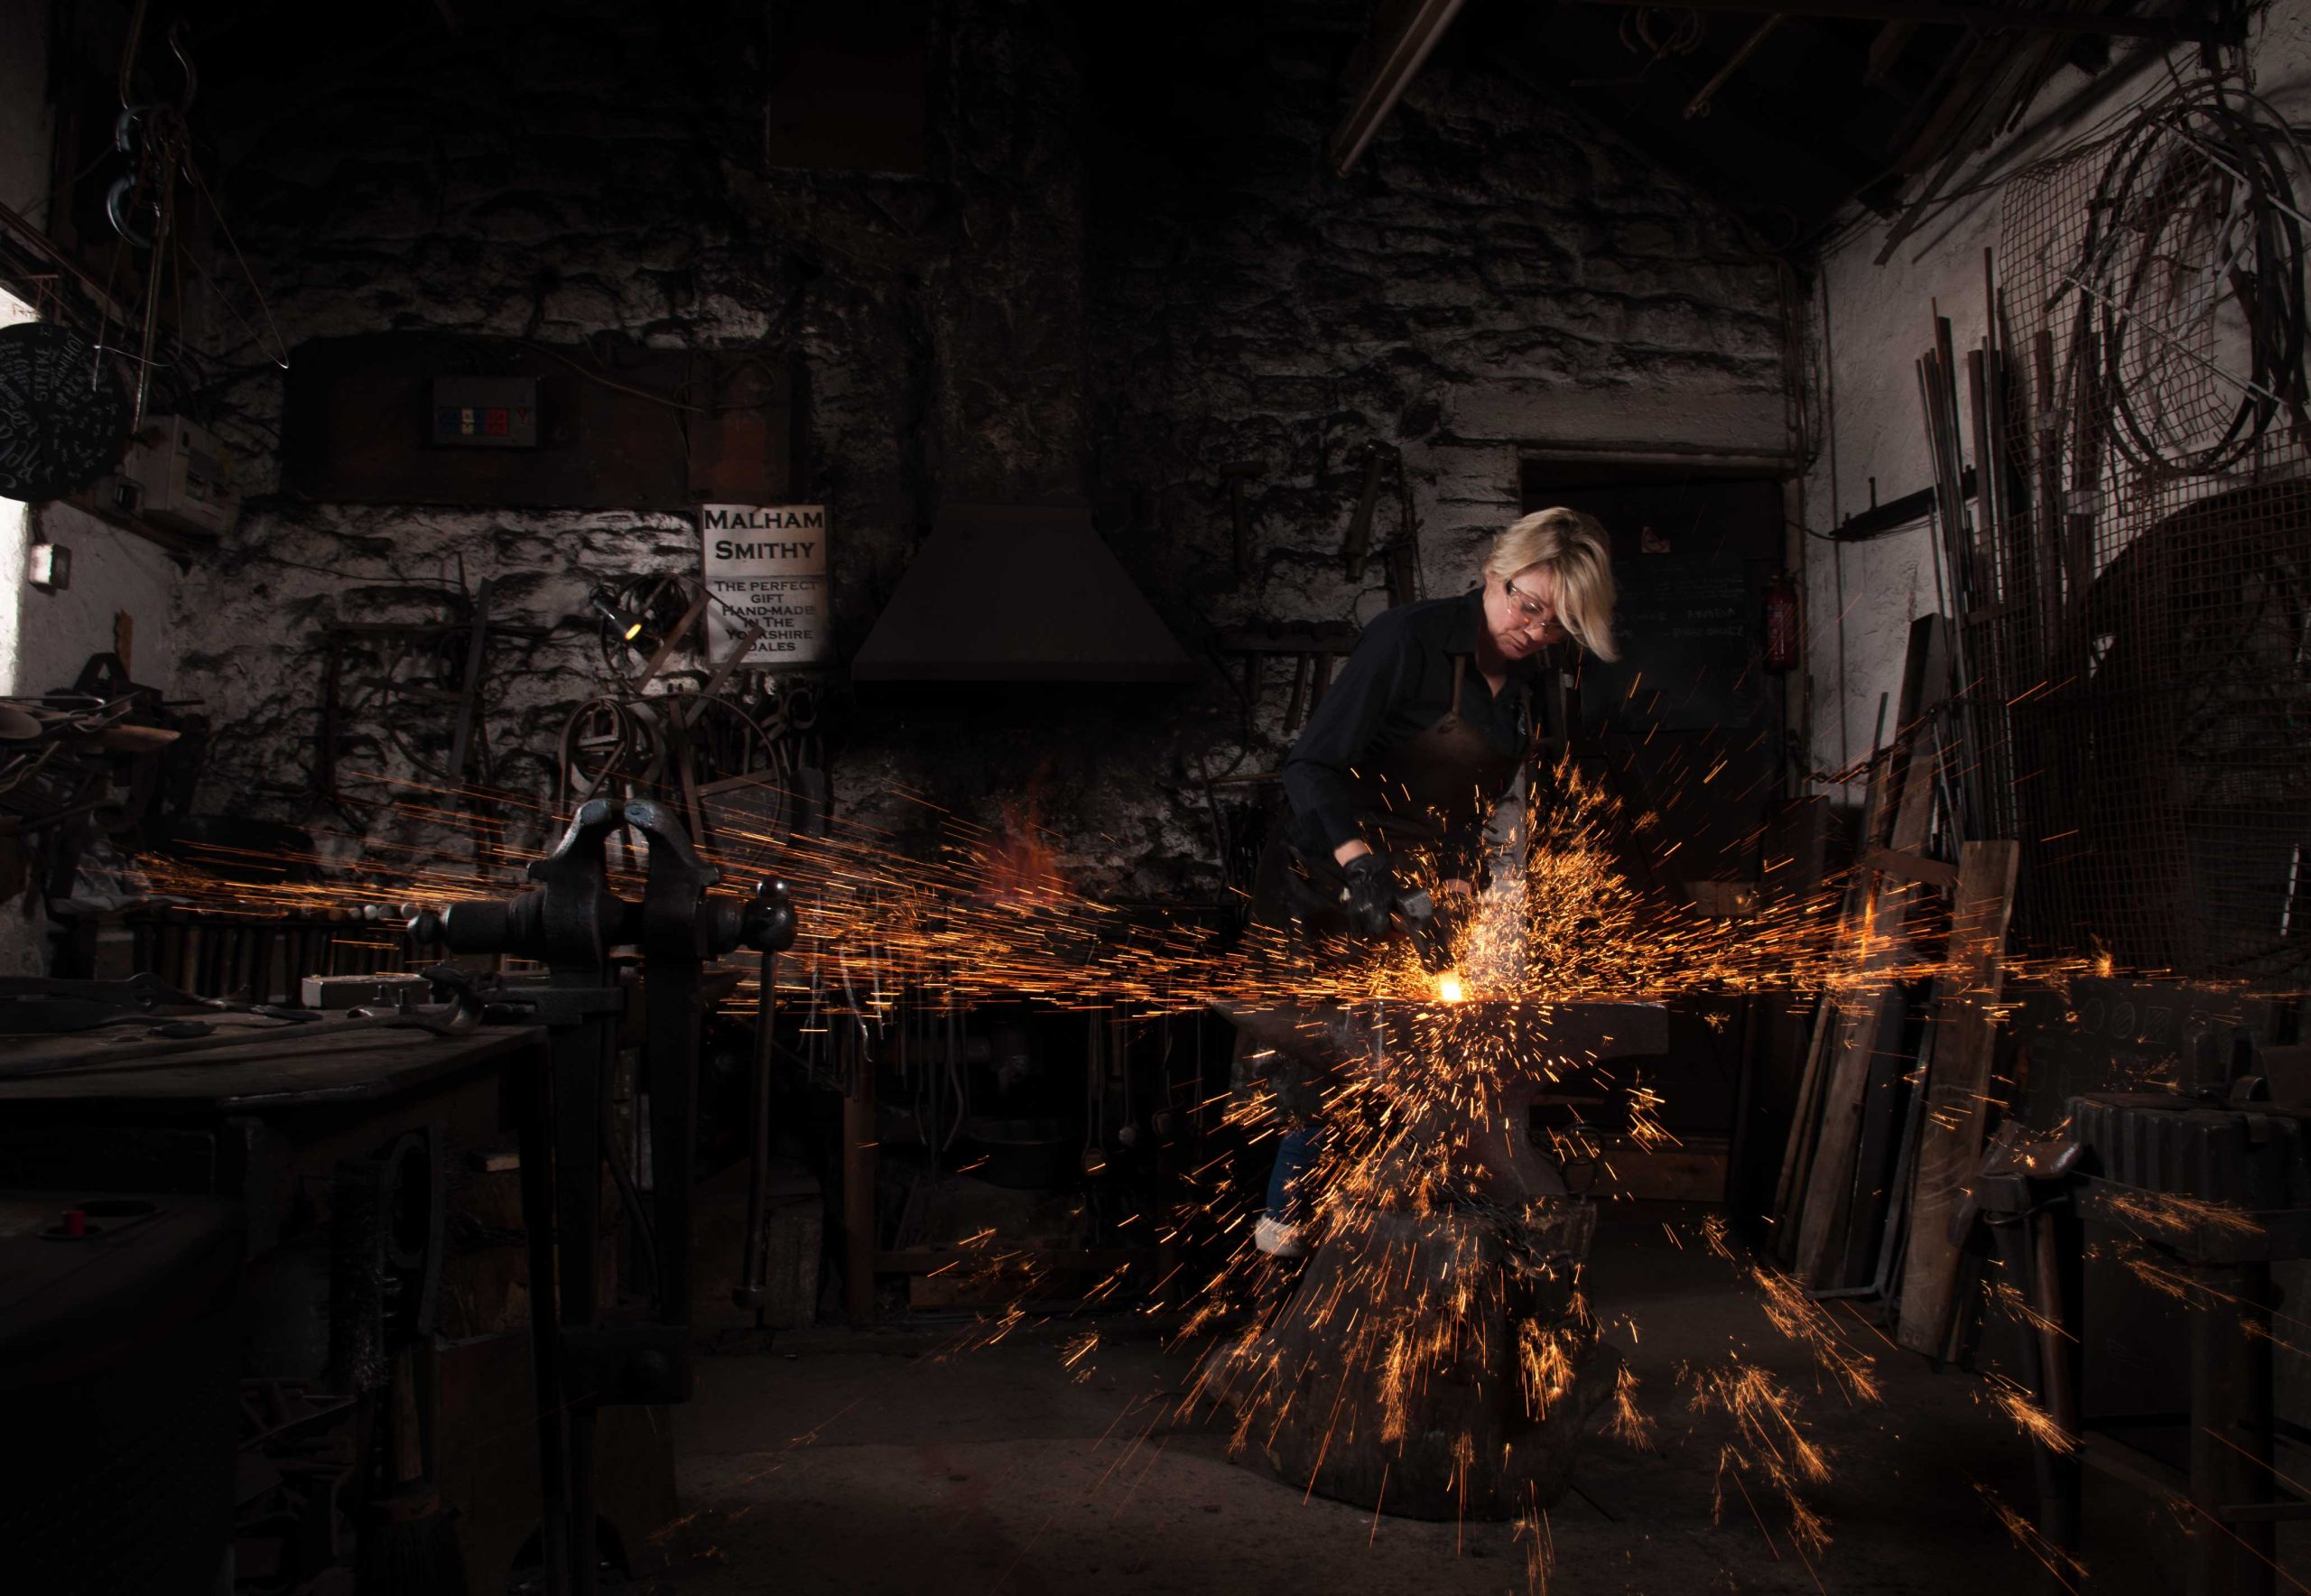
I recently shot a commercial shoot for a family run, traditional blacksmiths in Malham. On the day, the hammer seemed to hit the steel in a beautiful crescendo of glowing sparks, like an otherworldly firework display from the heavens. But yeah, you guessed it, once I got home and looked at the photos the drama and spectacle just weren’t there. Well, don’t worry if you have come across this annoying issue because today I am going to show you how to enhance your image by adding more glow to sparks.

The above image is the straight out of camera shot. Its ok, but not how it looked on the day. And yes those sparks shooting towards the camera did hit me and burn a little hahaha. But no pain, no gain! Anyway, so I knew I wanted to enhance the sparks. I always try the path of last resistance first, so my hunch was to paint over them using blend modes, with maybe some blend if thrown into the mix.

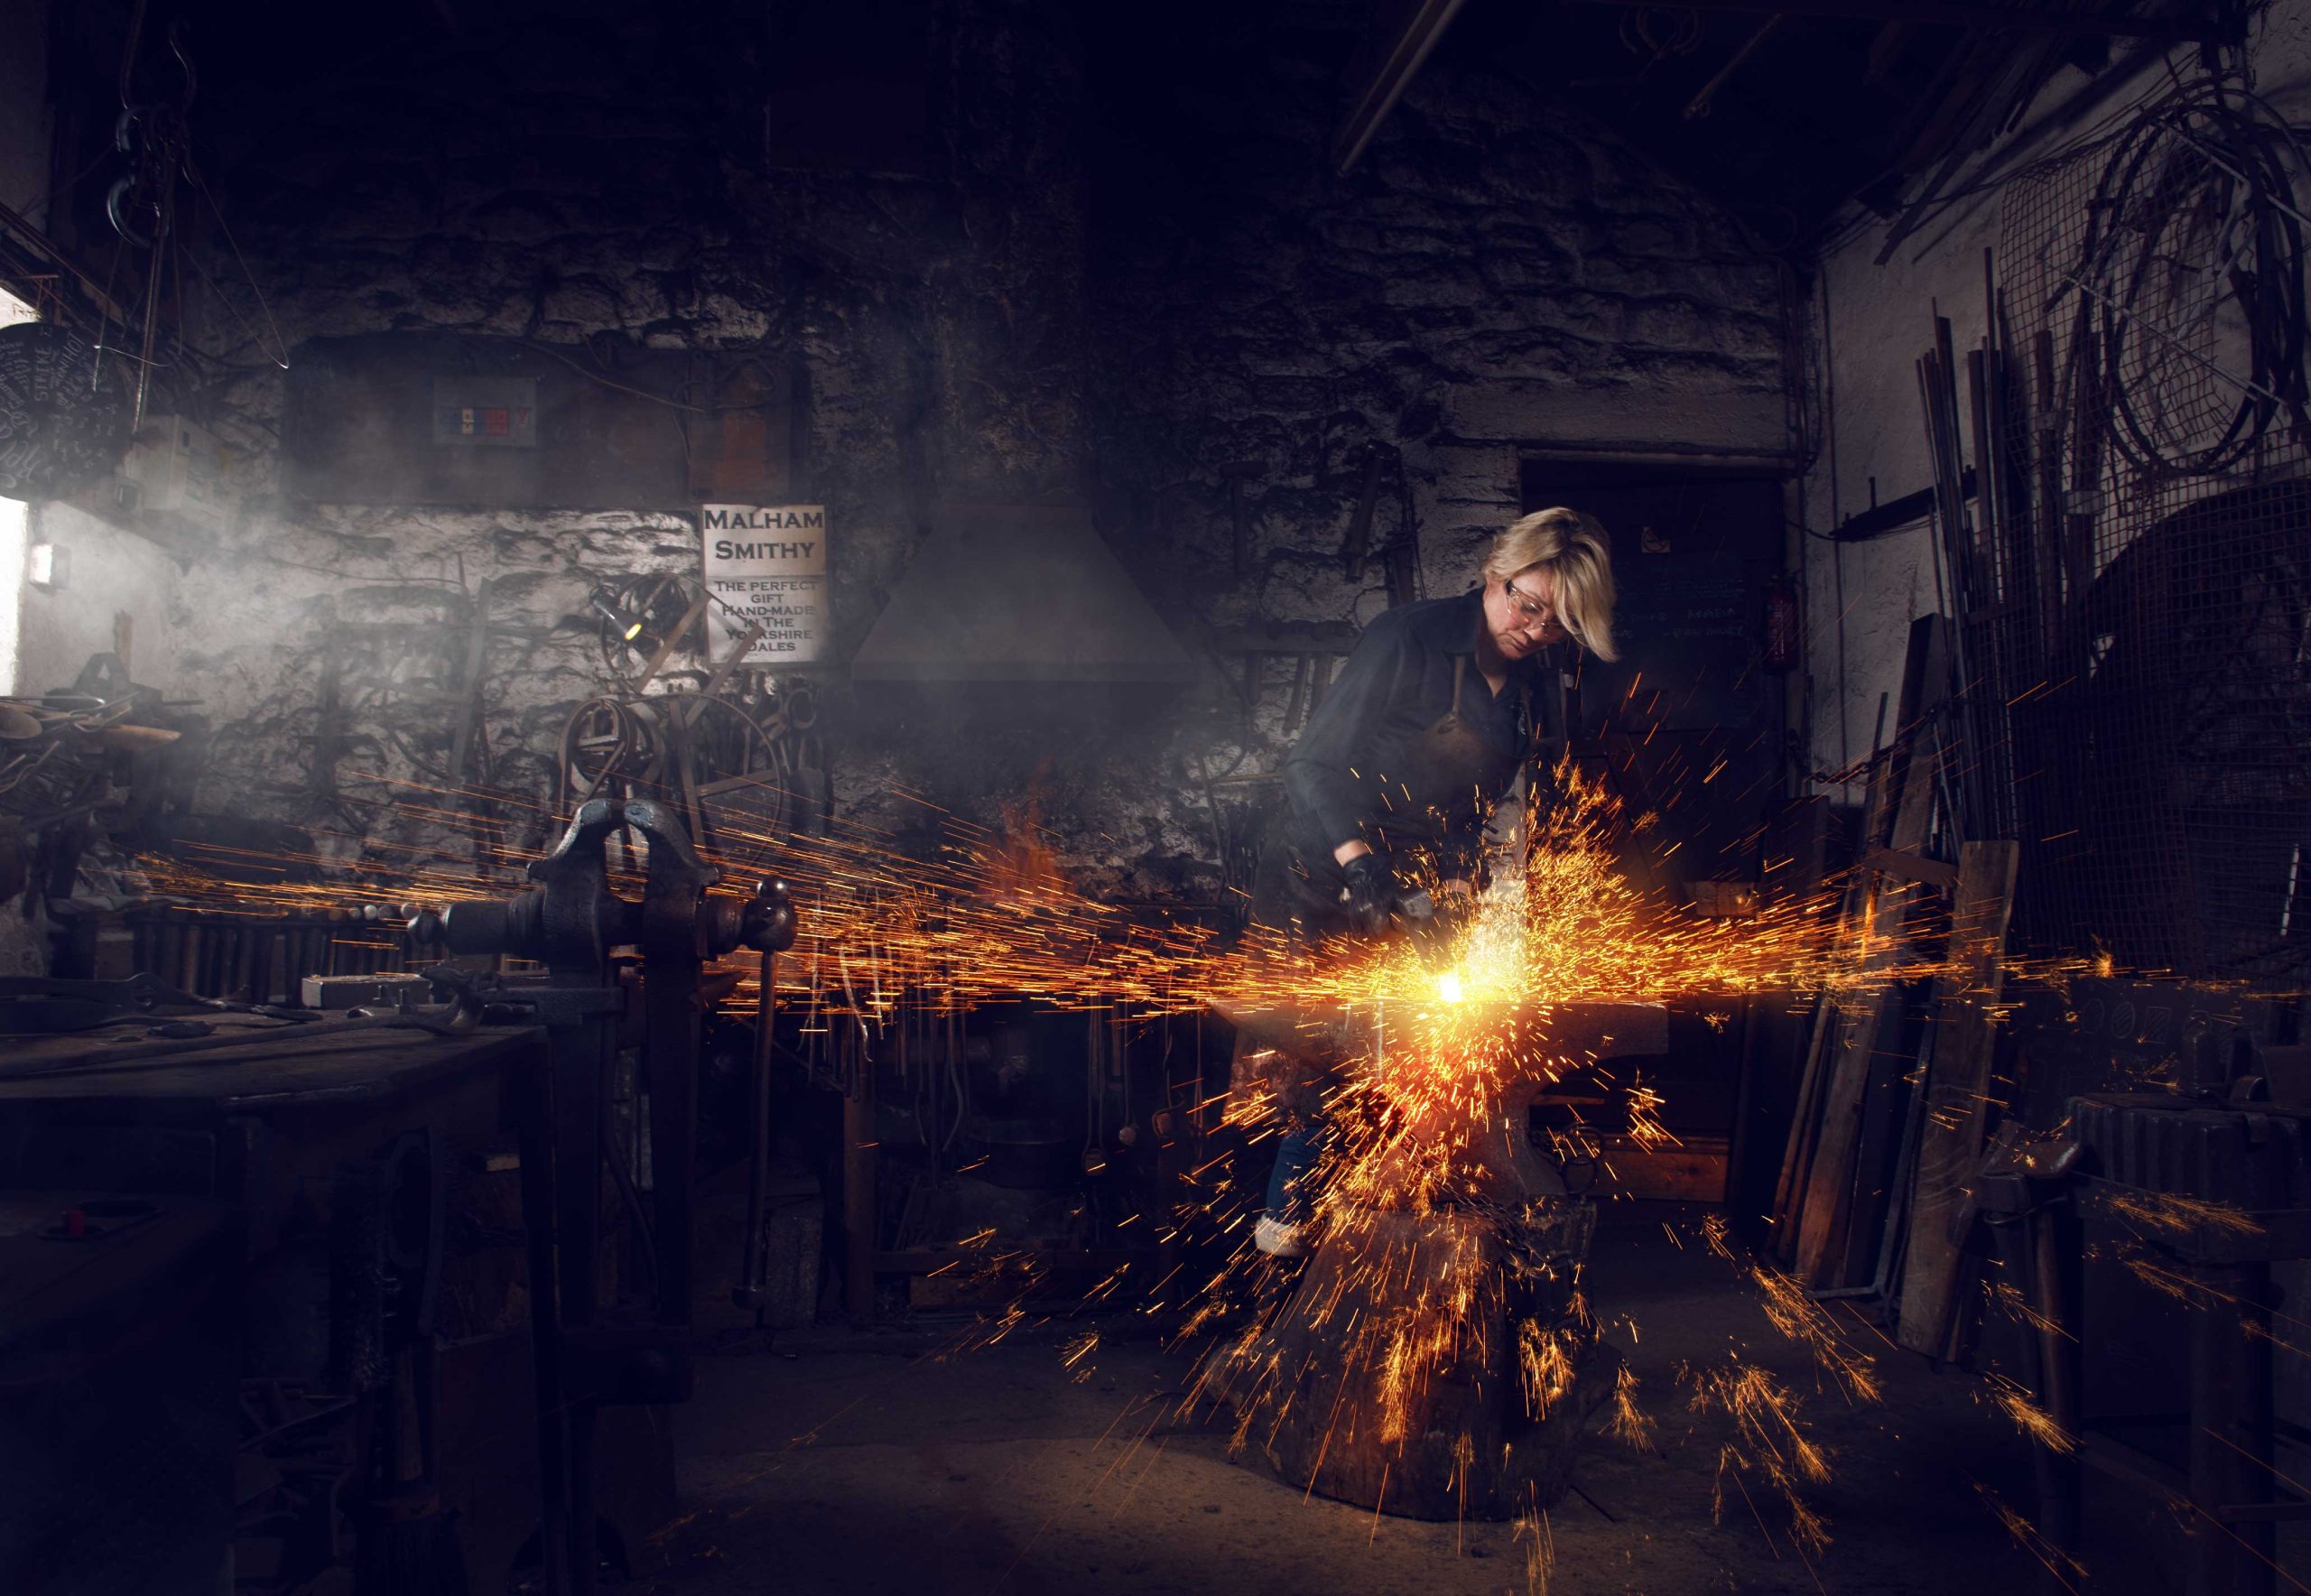
So first I wanted to add more glow to the center of the sparks, where the heat and fire would be coming from. To do this I created a blank layer and turned it to a screen blend mode. Screen blend mode is always good for lighting/glowing effects. I then picked a light-ish orange and painted around the hot metal in the center, with a brush on an opacity of around 10%. This added a nice extra glow to the image.
![]() The glow seemed a little too strong so I pulled down the fill to 68%. This meant the glow wasn’t overpowering.
The glow seemed a little too strong so I pulled down the fill to 68%. This meant the glow wasn’t overpowering.

Next, I wanted to add some colorful glow to the center, but also color to the sparks flying outwards. I knew color dodge would be my best way to do this. I created another blank layer. This time set the blend mode to color dodge. I picked a saturated orange color to add some warmth to the glow, and with a brush on a low opacity painted over the center and the sparks flying out. It was good, but I felt I wanted it a little more exaggerated, so I duplicated the color dodge layer.


So it wasn’t too overpowering, I lowered the duplicated layers opacity and fill. This toned it down, but still enhanced the color dodge.

Now with all this glow game going on, it wouldn’t look right if the floor wasn’t a little more lit. So trying to keep the image looking realistic, I added some extra glow to the floor. I did this by once again creating a new blank layer. With it left on normal, I painted a more saturated orange on the floor.

It looked a little fake, so to get it to blend in more I used the blend if sliders. Once in the blend if control panel, I held down alt and separated the black triangle. This gives you more control. I then pulled the right half towards the whites, which made the brush only visible in the whites, and less visible in the darks.

And that is how to add glow to sparks in Photoshop. Please be sure to visit Malham Smithy if you visit Malham, or online, support local and traditional business. Thanks guys, and have a good week.

Clinton lofthouse
Clinton Lofthouse is a Award-Winning Photographer, Creative Director, and artist based in the United Kingdom, who specialises in creative retouching and composites. Proud 80’s baby, reader of graphic novels and movie geek!
Related Posts
 Could Topaz Glow Be The Alternative For The Missing Oil Paint Effect In Photoshop Cc?
 How to add extra details in a photo after the shot using Photoshop
 How to use the sky replacement tool in photoshop to add sky reflections
 Trump tweets a photoshopped image of a dog receiving Medal of Honor, sparks massive meme roast
Join the Discussion
DIYP Comment Policy
Be nice, be on-topic, no personal information or flames.
8 responses to “How to add glow to sparks in Photoshop”
good job there!
I visually prefer “before” photo more.
I like the “before” shot much better, the second looks too fake (especially the “smoke”). But then I’m also a blacksmith and have a really good idea what forge welding looks like.
I do prefer the original one. The final result looks to unnatural… :-(
Sparks look much better and more defined on the original, sharper and with tight core.
Sparks look much better and more defined on the original, sharper and with tight core. We give way to much money to make things sharp, the last thing we want is something to glow.
I actually like the before picture too…
As someone who has no idea what welding looks like (without really thinking about it), I like the after image as a ‘scene’ more, because the parts you’ve added makes it more dramatic, which is your kind of imagery.
I get other comments about the before image, which I think as a snapshot of a welder at work is great as is. For me, the second ones pulls me in with more of a narrative though, even through simple changes like smoke/glow etc.