


High Speed Photography Setup: Freezing Motion with Flash Duration
Dec 2, 2025
Darlene Lleno
Darlene Lleno brings a unique perspective to DIY Photography as someone who grew up surrounded by camera gear but chose words over lenses. With five years of writing experience, she specializes in photography content that’s both technically informed and genuinely passionate. Growing up with a photographer twin brother meant camera talk was everyday conversation in her household. While he mastered capturing moments, Darlene discovered she preferred being the subject and the storyteller behind the scenes. As a travel enthusiast and mother of two, she understands the importance of preserving life’s precious moments. When not exploring new destinations or writing for DIY Photography, you’ll find her reading or tending to her garden. Her approach to photography writing is refreshingly authentic, she may not be behind the camera, but she knows exactly what it takes to help others capture the shots that matter most.
Share:
High speed photography setup lets you freeze moments invisible to your eyes. A water droplet mid-splash becomes art. A balloon exploding turns into colorful chaos. You need less gear than you’d think to start.
The trick isn’t about fast shutter speeds. Your camera can’t actually move that fast. Instead, you use super brief flashes of light. The flash duration does the real work here.
How Flash Duration Freezes Motion
Your speedlight at minimum power fires for about 1/20,000th of a second. Some go even faster. That tiny burst stops almost any motion dead. You shoot in total darkness with a slow shutter speed of 2-3 seconds.
Here’s what happens. The shutter opens and stays open. Nothing shows up because the room is black. Your subject moves through the frame. The flash fires for that split second. That’s your actual exposure. The flash speed matters, not the shutter speed.
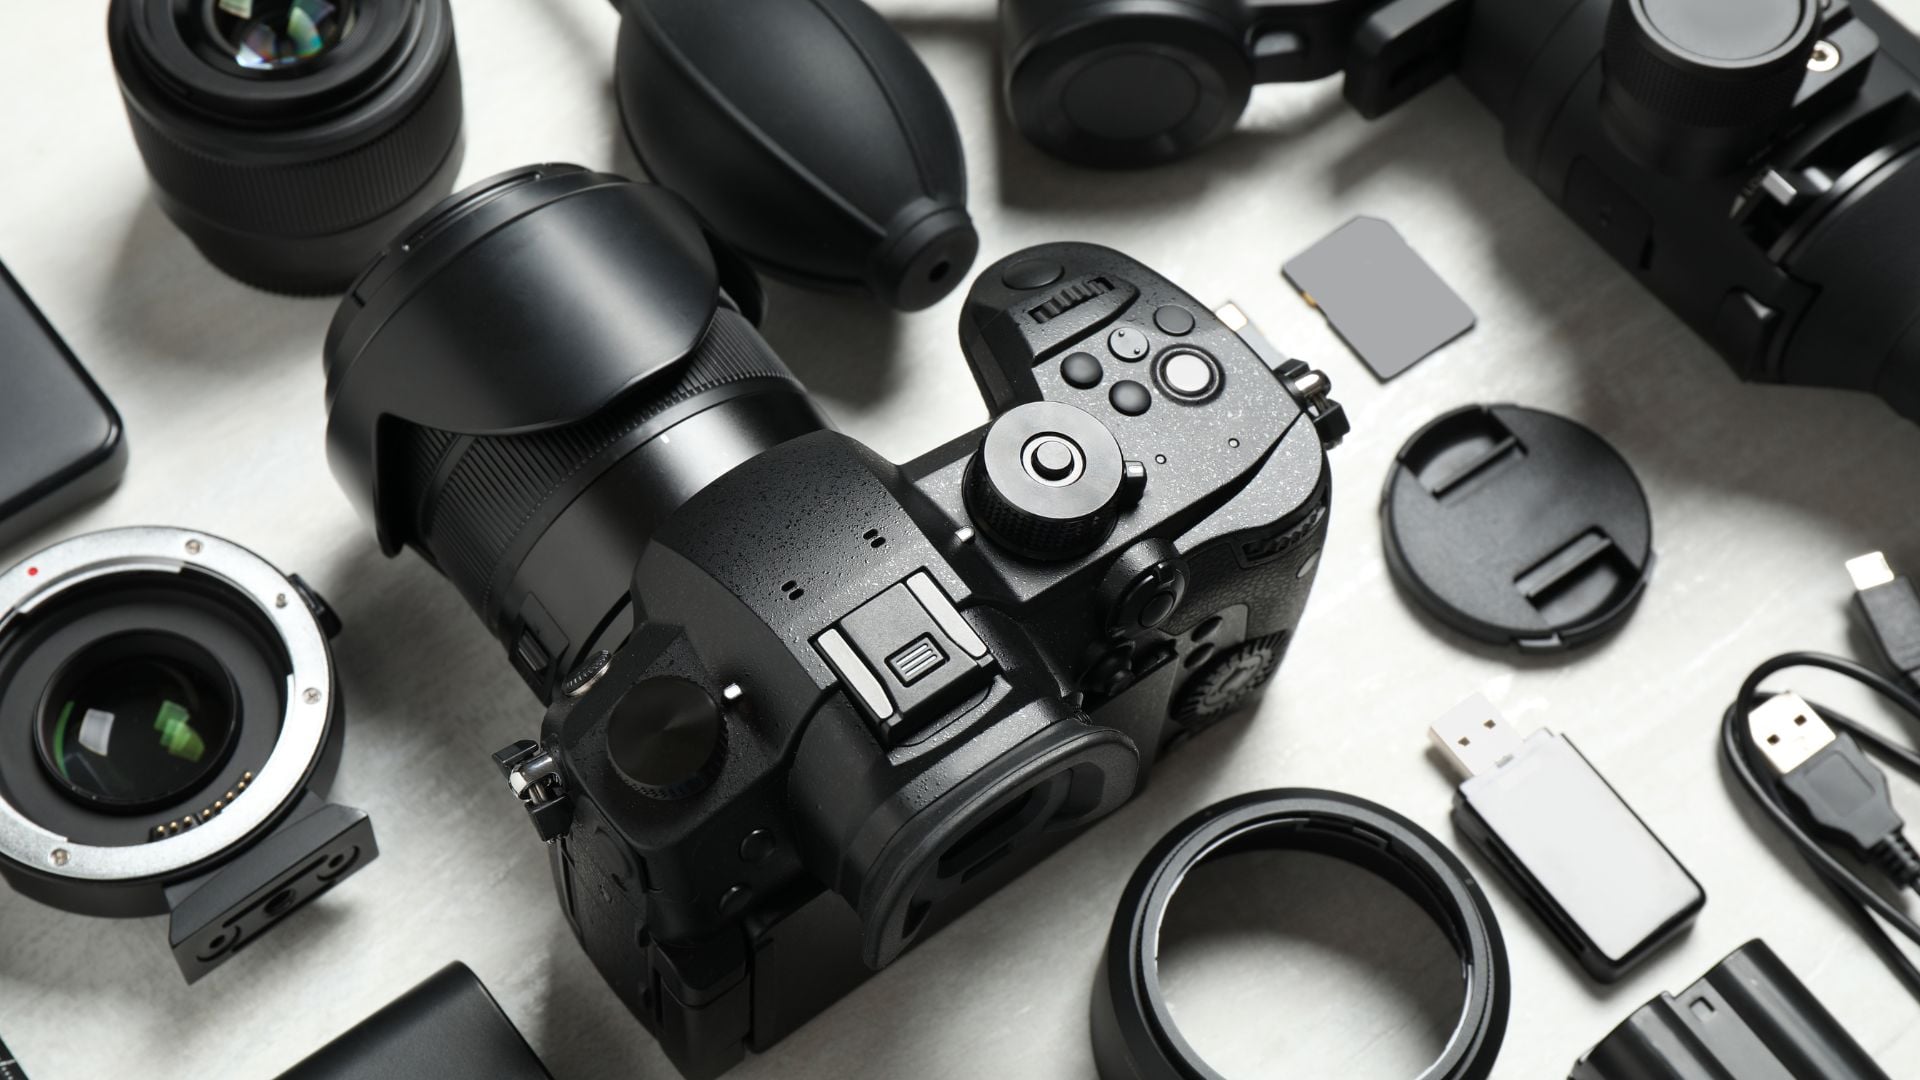
Gear You’ll Need for High Speed Photography
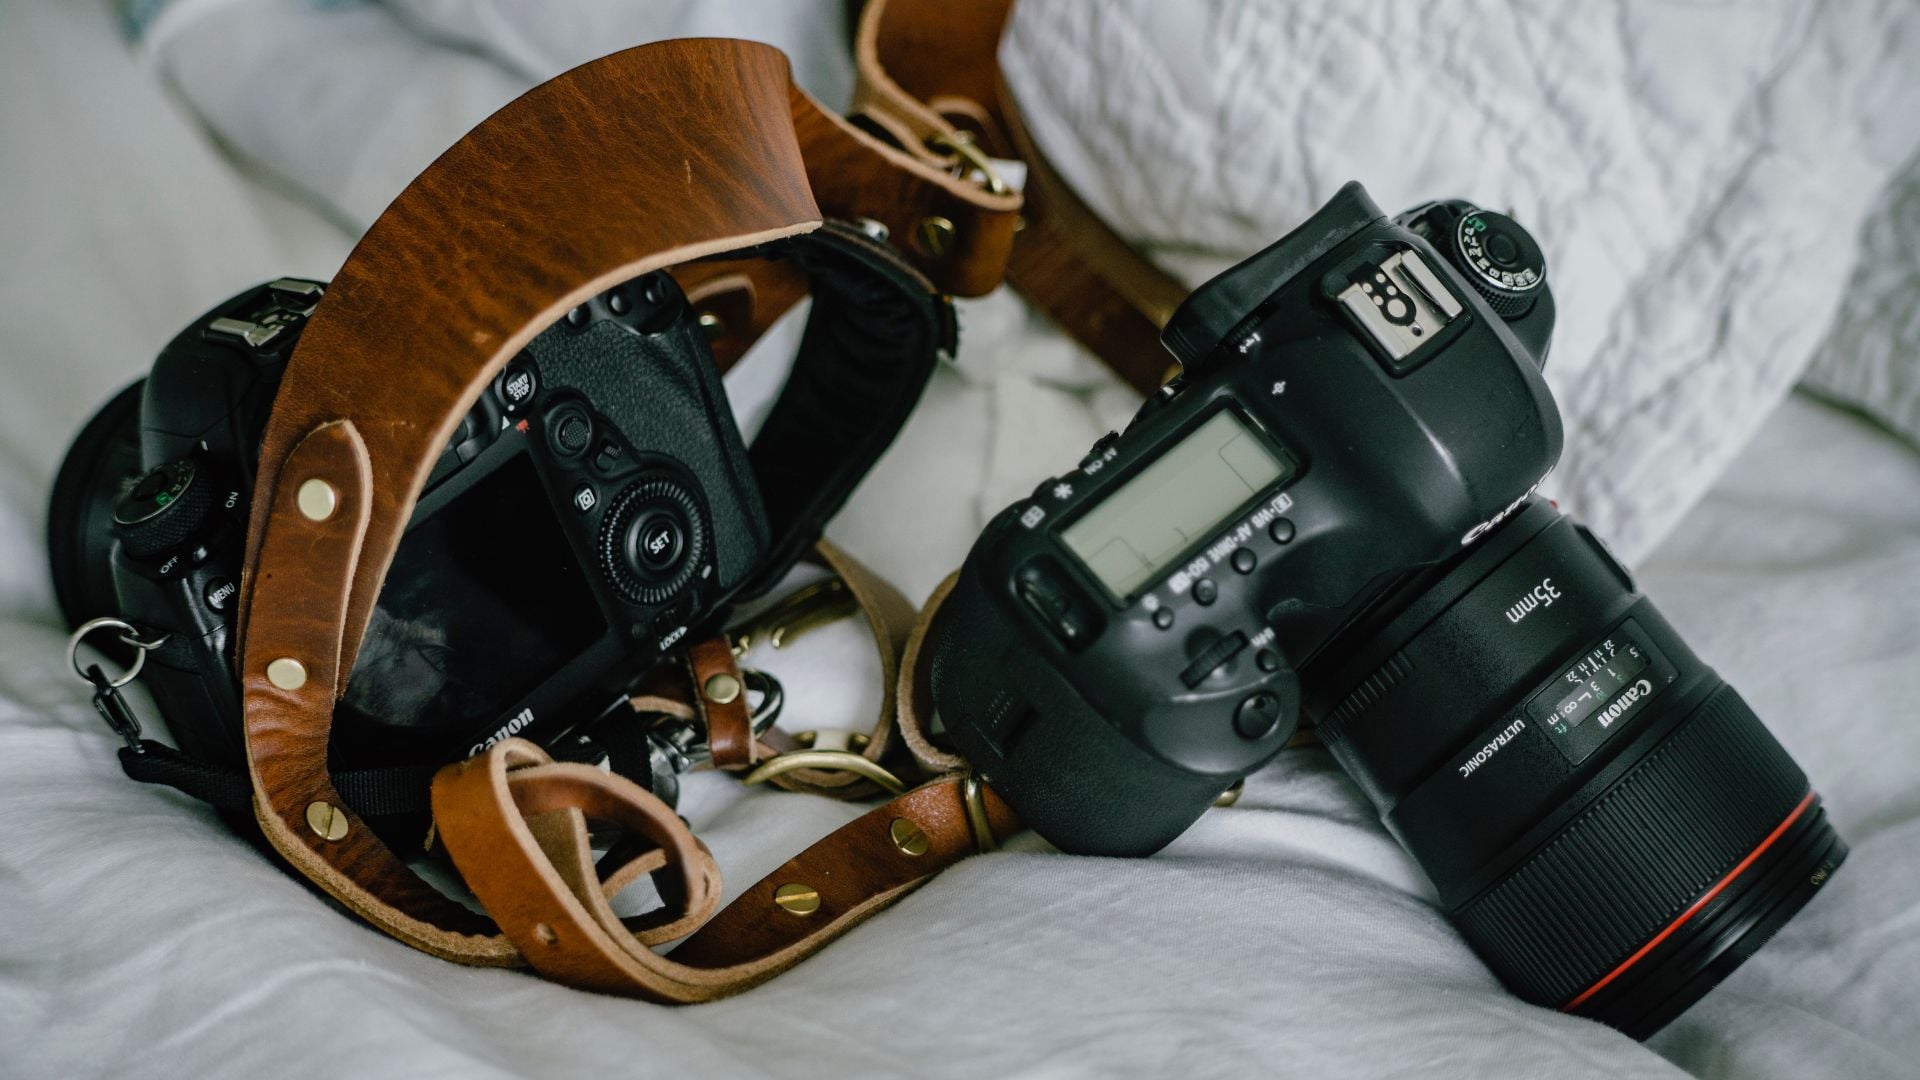
Camera and Support
You need a DSLR or mirrorless camera with manual controls. Canon, Nikon, and Sony all work great. Modern mirrorless cameras from 2024 handle this perfectly. Your camera’s burst mode doesn’t matter much here.
Get a solid tripod. Even tiny shakes ruin your shots. The tripod doesn’t need to be expensive. It just needs to hold your camera completely still.

Lenses That Work Best
Macro lenses are perfect for small subjects like water drops. For bigger subjects, any standard lens works fine. Many pros stick with 50mm or 60mm macros. These give you flexibility and great image quality.
Flash Equipment
You absolutely need external flashes. Your camera’s built-in flash won’t cut it. Get at least one speedlight. Two or three give you better lighting options. Godox and Yongnuo make affordable units that work well.
The important spec is minimum power output. Lower power means shorter flash duration. That’s what freezes motion perfectly.
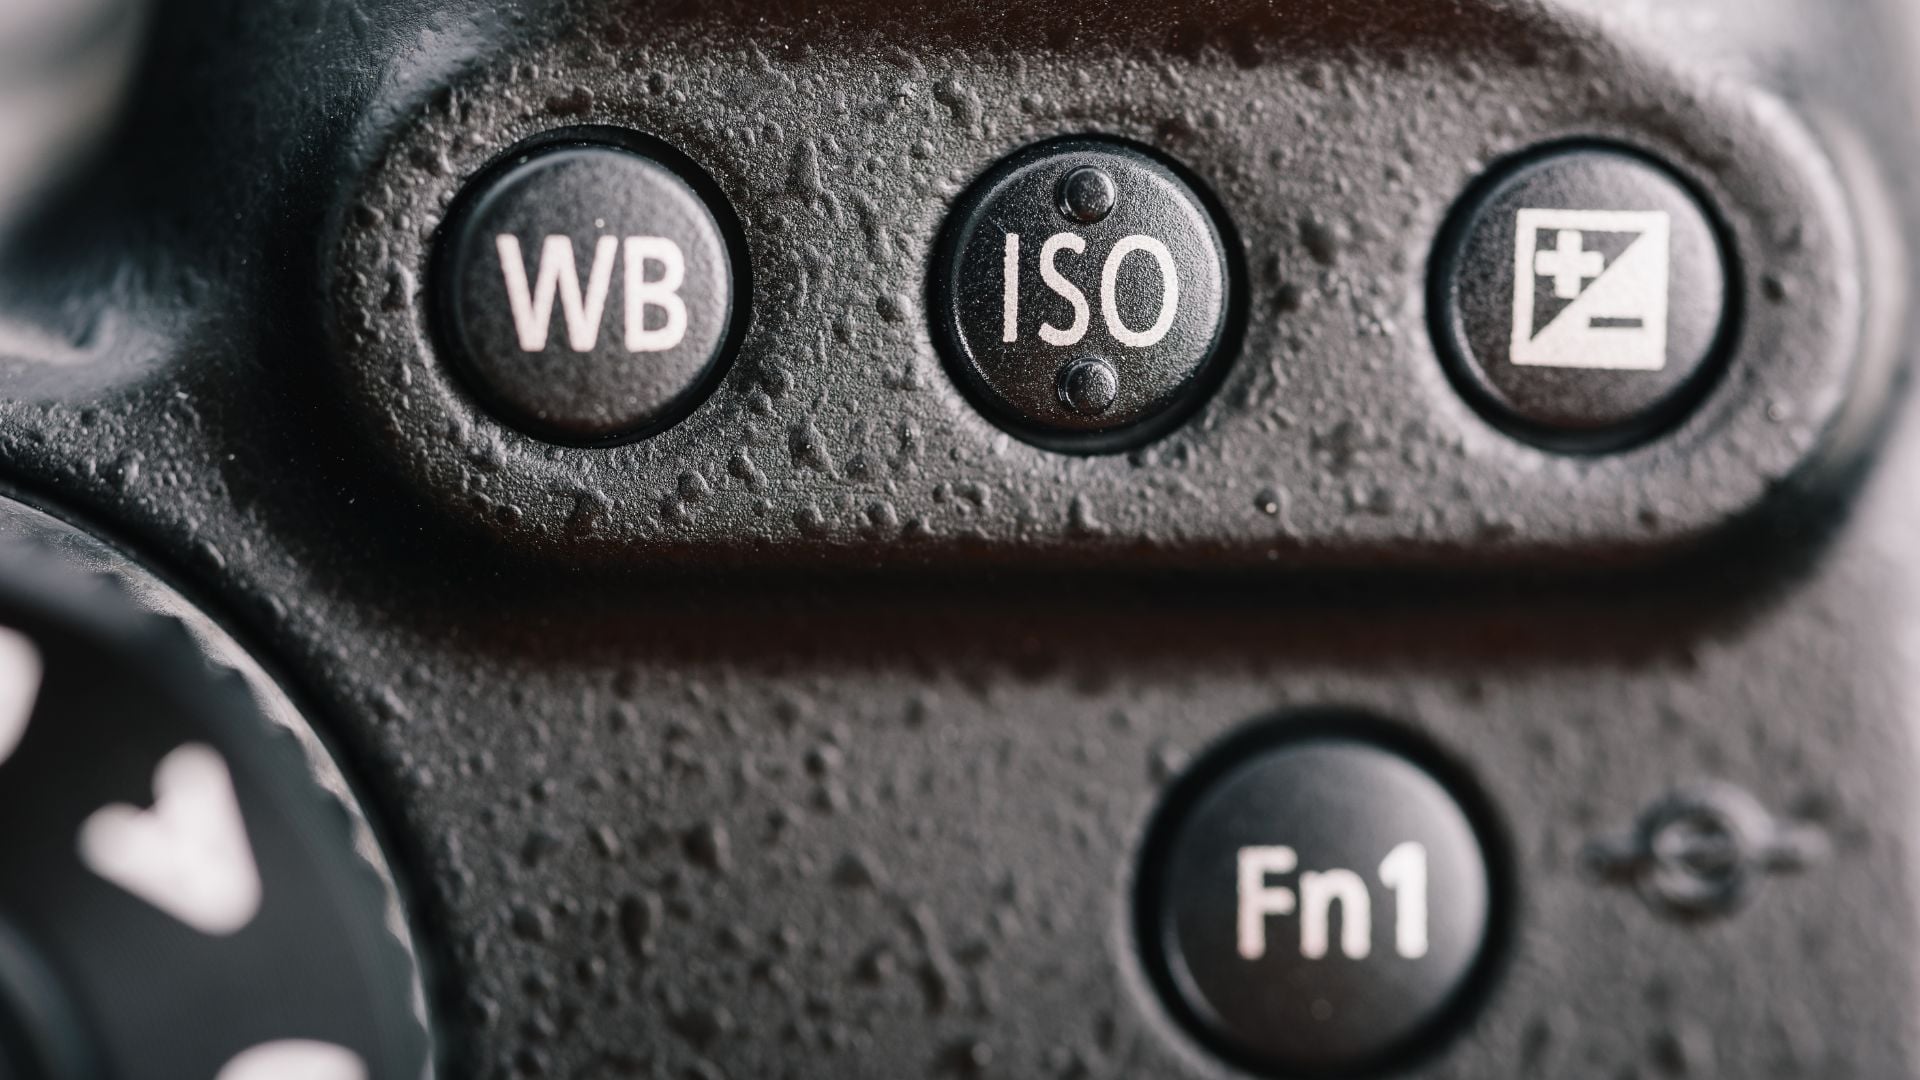
Camera Settings for High Speed Photography Explained
Basic Setup
Switch to full manual mode first. Set your shutter speed to 2 seconds. This seems weird but trust the process. The room is dark so nothing exposes during those 2 seconds.
Your aperture needs to be narrow. Use f/11 to f/16 for most shots. This gives you deep depth of field. Everything stays sharp. It also controls how much flash light hits your sensor.
ISO and Focus
Start with ISO 100 or your camera’s lowest setting. Modern cameras handle high ISO beautifully. You won’t need it here though. The flash provides all your light. Lower ISO means cleaner images.
Switch to manual focus. Autofocus can’t work in darkness. Place something at your action point. Focus on that object carefully. Switch the lens to manual mode. Don’t touch that focus ring again.
Setting Up Your Flash
Power Settings Matter Most
Set every flash to its absolute lowest power. Try 1/128 or 1/256 power. This creates the shortest flash duration possible. At 1/128 power, most speedlights fire for about 1/10,000th of a second. Drop to 1/256 and you might hit 1/30,000th.
Lower power means less light output. That’s fine because you work close to your subject. Position your main flash 12-18 inches from the action. This gives enough light even at minimum power.
Triggering Your Flashes
Use optical slave units for simple setup. Your camera’s flash acts as the master. Set other flashes to optical slave mode. They fire when they see the master flash. No cables or complicated radio triggers needed.
Some photographers use sound triggers or laser sensors. These detect when something breaks a beam. They fire the flash after a set delay. You can start with simple manual triggering. It works perfectly fine while you learn.

Creating Your Dark Room
Complete Darkness Required
Find a room you can make totally dark. Even tiny amounts of light ruin your shots. Cover windows with black garbage bags. Close all doors. Turn off every light including LED indicators.
Your eyes should see absolutely nothing after adjusting. If you see your hand, it’s not dark enough. Test by taking a shot with no flash. The image should be pure black.
Subject Placement
Set up your subject at comfortable working height. Use a table or stool. Place a simple backdrop a few feet behind. Black fabric works great. It won’t reflect flash light. Your background disappears into darkness.
Think through the motion path before starting. Water drops need space to fall and splash. Balloons need room so fragments don’t hit your gear.
Lighting Your Subject
One flash at 45 degrees creates dramatic side lighting. Add a second flash opposite for fill light. A third can light your background. Start simple with one light. Add more as you get comfortable.
The same principles from portrait lighting apply here. You’re just lighting objects instead of people.
The Shooting High Speed Photography Process
Preparation Steps
Set up everything with lights on first. Arrange your subject or its stand. Position your flashes. Take test shots to check composition. Make sure nothing distracts from your subject.
Focus while you can still see. Use live view if available. Zoom in digitally to nail the focus. Once it’s perfect, switch to manual focus mode. This locks it in place.
Capturing the Shot
Turn off all lights now. Let your eyes adjust. Look through your viewfinder. You should see nothing at all. Press your shutter button. The camera counts down from 2 seconds.
Wait about half a second after pressing shutter. Then trigger your action. Drop the water. Pop the balloon. The flash fires at that exact moment. It freezes everything perfectly.
You won’t see the action happen. The room is pitch black. Check your camera screen to see what you captured.
Fixing Common Problems
Exposure Issues
Images too dark? Bump your ISO to 200 or 400. Open your aperture slightly to f/8. Move your flash closer to the subject. These changes let more light in.
Images too bright? Close down to f/16 or f/18. Lower your ISO to 50 if possible. Move your flash further away. Remember you’re adjusting flash exposure, not shutter speed.
Motion Blur Problems
Blurry motion means your flash duration isn’t brief enough. Double check every flash is at minimum power. Some flashes won’t fire reliably at lowest settings. Test this thoroughly.
Focus and Triggering
Soft images mean focus problems. You probably moved the camera after focusing. Use a remote shutter release. Lock your tripod head tight. Mark your focus point with tape.
Flashes not firing? Optical slaves sometimes miss the master. Position them where they see the master directly. Check all batteries. Some slaves have sensitivity adjustments worth trying.
Advanced High Speed Photography Techniques Worth Trying
Multiple Flash Setups
Position one flash as your key light at 45 degrees. Add fill flash opposite at lower power. This softens harsh shadows. Put a third flash behind your subject aimed at the background. This separation looks incredible.
Each flash needs matching power for consistent duration. Keep them all at minimum power settings.
Using Colored Gels
Blue gels create cool, icy looks for water. Red or orange gels add warmth and drama. You can gel different flashes with different colors. Wild effects become possible. Just know gels reduce light output. Compensate with wider apertures if needed.
Different Subjects to Try
Here are subjects that create stunning results:
- Eggs cracking on surfaces
- Paint balloons bursting open
- Ice cubes dropping into glasses
- Powders exploding in air
- Playing cards being torn
Each subject behaves differently. Water moves differently than powder. Glass reflects light differently than fabric. Learning these characteristics improves your work.
Building Your High Speed Photography Skills
Start Simple
Begin with subjects that don’t need perfect timing. Try a dropped ball bouncing. Or a playing card falling. These slower actions let you master lighting first. Water drops are great intermediate subjects. They’re repeatable and predictable.
Practice Your Timing
Drop objects without the camera first. Count the seconds until impact. This trains your brain for anticipation. Different objects fall at different speeds. Heavy items drop faster than light ones. Your timing gets better quickly.
Review and Learn
Check every shot at 100% zoom on your computer. Look at sharpness carefully. Examine backgrounds for distractions. Study your lighting angles. Think about how different positions might improve things.
According to the Professional Photographers of America, systematic review accelerates learning in any photography discipline. High speed work improves fast when you analyze results carefully.
Equipment Worth Upgrading
Specialized Triggers
Dedicated triggers like MIOPS offer precise timing control. They detect sound, light, or laser beam breaks. Then they fire your flash after a set delay. This eliminates timing guesswork completely.
Additional Speedlights
Three or four small flashes give creative control over lighting. They maintain fast flash durations at low power. This beats using one powerful studio strobe. Studio strobes often have slower durations even at low power.
Small speedlights designed for off-camera flash work perfectly here.
Light Modifiers
Small softboxes soften harsh shadows beautifully. Shoot-through umbrellas work great too. Snoots concentrate light into tight beams. Grid spots create circular pools of light. These accessories cost little but expand your options significantly.
Photographing Specific Subjects
Water Drop Technique
Set up a drip system using a plastic bag with tiny hole. Or buy a purpose-built valve. Position a shallow dish of water below. Light the droplet from the side or slightly behind.
Colored water or milk creates more visible forms. The timing window is narrow but predictable. Once you establish consistent drips, you’ll nail the timing.
Bursting Balloons
Inflate balloons normally and position at your focus point. Use a long needle to pop them remotely. Different inflation levels create different patterns. Overinflated balloons shatter into many pieces. Slightly underinflated ones tear more gracefully.
Add powder or confetti inside before inflation. This creates dramatic explosive effects.
Liquid Splashes
Drop objects into shallow dishes of colored liquids. Milk creates wonderful crown formations. Food coloring mixed with water produces vibrant colors. Glycerin mixed into water increases thickness. This creates different splash shapes.
Each liquid behaves uniquely. Different drop heights reveal fascinating patterns. The B&H Photo Video Learning Center offers detailed tutorials on liquid photography techniques.
Mistakes You Must Avoid in High Speed Photography
Light Leaks Ruin Everything
Even tiny LED lights on power strips register during long exposures. Cover every light source completely. Your room needs darker than you think. If you see your hand after eyes adjust, it’s still too bright.
Wrong Flash Power
Many photographers set flashes to 1/4 or 1/8 power. They think more light equals better photos. Higher power actually creates longer flash duration. This blurs motion. Always start at minimum power.
Focus Problems
Autofocus doesn’t work in darkness. Manual focus challenges you without light. The solution is simple. Focus methodically with lights on first. Then switch to manual focus mode. Never touch that focus ring after setting it.
Impatience Kills Results
High speed photography needs dozens or hundreds of attempts. Pros sometimes take 200 shots for one keeper. Accept this as normal. Each failed attempt teaches you about timing. Your success rate improves rapidly with practice.
Explore the World of High Speed Photography
High speed photography allows you to capture moments that the human eye can’t perceive, turning them into works of art. By understanding the crucial role of flash duration and using the right setup, you can freeze motion in its purest form, whether it’s a water droplet, a bursting balloon, or any other fast-moving subject.
Patience and practice are essential, as each shot teaches you more about timing, lighting, and technique. With the right gear and a willingness to experiment, you’ll unlock endless creative possibilities. Keep refining your skills, and soon you’ll be capturing motion like never before!

Darlene Lleno
Darlene Lleno brings a unique perspective to DIY Photography as someone who grew up surrounded by camera gear but chose words over lenses. With five years of writing experience, she specializes in photography content that’s both technically informed and genuinely passionate. Growing up with a photographer twin brother meant camera talk was everyday conversation in her household. While he mastered capturing moments, Darlene discovered she preferred being the subject and the storyteller behind the scenes. As a travel enthusiast and mother of two, she understands the importance of preserving life’s precious moments. When not exploring new destinations or writing for DIY Photography, you’ll find her reading or tending to her garden. Her approach to photography writing is refreshingly authentic, she may not be behind the camera, but she knows exactly what it takes to help others capture the shots that matter most.


Join the Discussion
DIYP Comment Policy
Be nice, be on-topic, no personal information or flames.