


Build Your Own Macro Lens for Stunning Close-Up Photography
Oct 14, 2025
Darlene Lleno
Darlene Lleno brings a unique perspective to DIY Photography as someone who grew up surrounded by camera gear but chose words over lenses. With five years of writing experience, she specializes in photography content that’s both technically informed and genuinely passionate. Growing up with a photographer twin brother meant camera talk was everyday conversation in her household. While he mastered capturing moments, Darlene discovered she preferred being the subject and the storyteller behind the scenes. As a travel enthusiast and mother of two, she understands the importance of preserving life’s precious moments. When not exploring new destinations or writing for DIY Photography, you’ll find her reading or tending to her garden. Her approach to photography writing is refreshingly authentic, she may not be behind the camera, but she knows exactly what it takes to help others capture the shots that matter most.
Share:
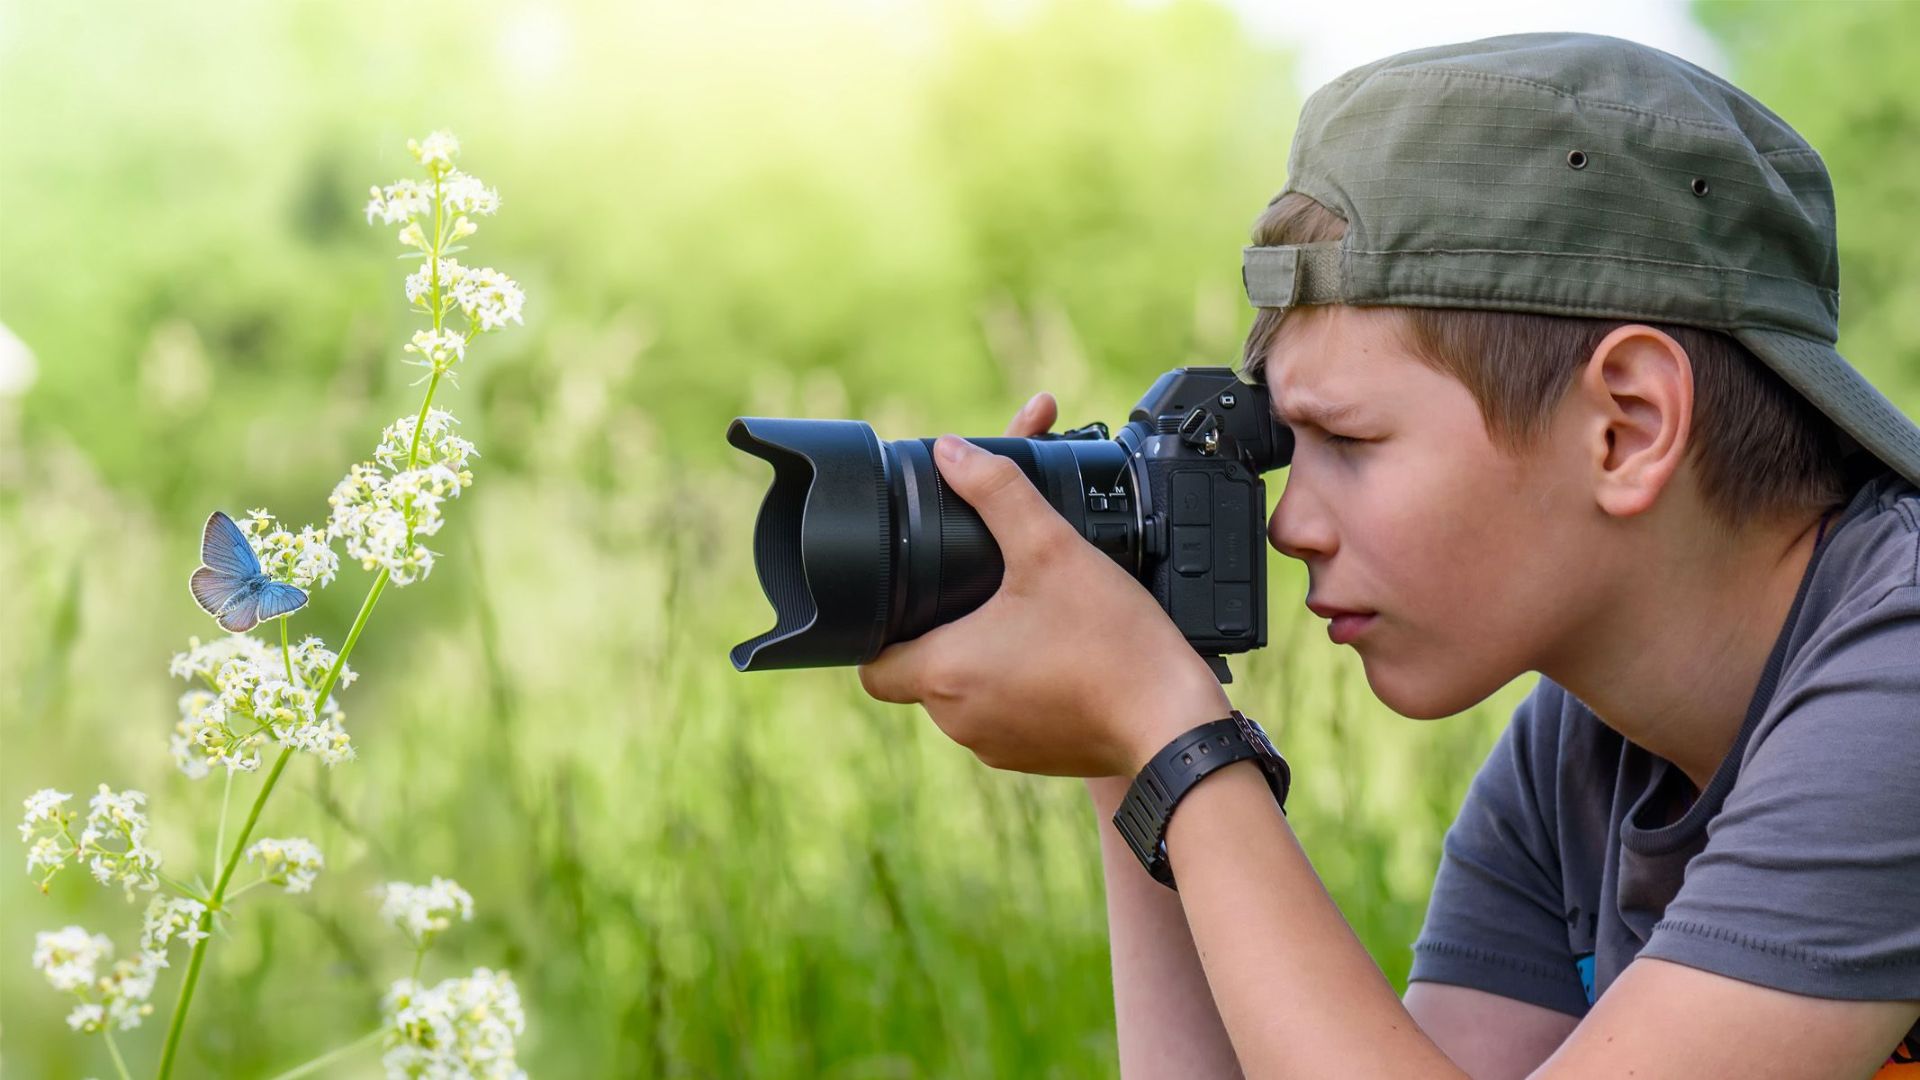
Building a macro lens at home saves you tons of money on close-up photography. Professional macro lenses cost $300 to over $2,000 in 2025. You can make your own for under $50. This DIY approach lets photographers try extreme close-up shots without breaking the bank. You’ll learn important lessons about optics and camera basics too.
Read more: Build Your Own Macro Lens for Stunning Close-Up PhotographyWhy Build Your Own Macro Lens
Store-bought macro lenses work great but cost way too much. Making your own teaches you photography basics while saving cash. You learn about focal lengths, magnification, and how light works. Books can’t teach you these things like hands-on building can.
Building your own gear makes you more creative. You’re not stuck with expensive equipment limits. Many photographers find new shooting styles while working with homemade setups. Taking a perfect macro photography shot with gear you built yourself feels amazing.
Cost-Effective Solutions for Every Budget
A DIY macro lens costs $5 to $50 depending on what you use. Compare this to store options that start at $300. Professional models can cost over $2,000. The money you save can go toward other photography gear.
Budget limits often push photographers toward better solutions. Limited cash makes you think outside the box. This creativity often gives you more interesting results than buying expensive stuff.
Learning Photography Fundamentals
Homemade macro lenses force you to understand exposure settings better. You learn depth of field and focus stacking faster. You can’t rely on auto features with DIY gear. This builds stronger manual photography skills.
Building and testing different setups teaches you about optics. You learn how lens parts work together. Small changes can completely change your image quality. This knowledge helps with all types of photography.
Simple Methods to Create a DIY Macro Lens
Several proven methods can turn regular lenses into macro tools. Each method has different benefits and fits different skill levels. Pick the one that matches your materials and quality goals.
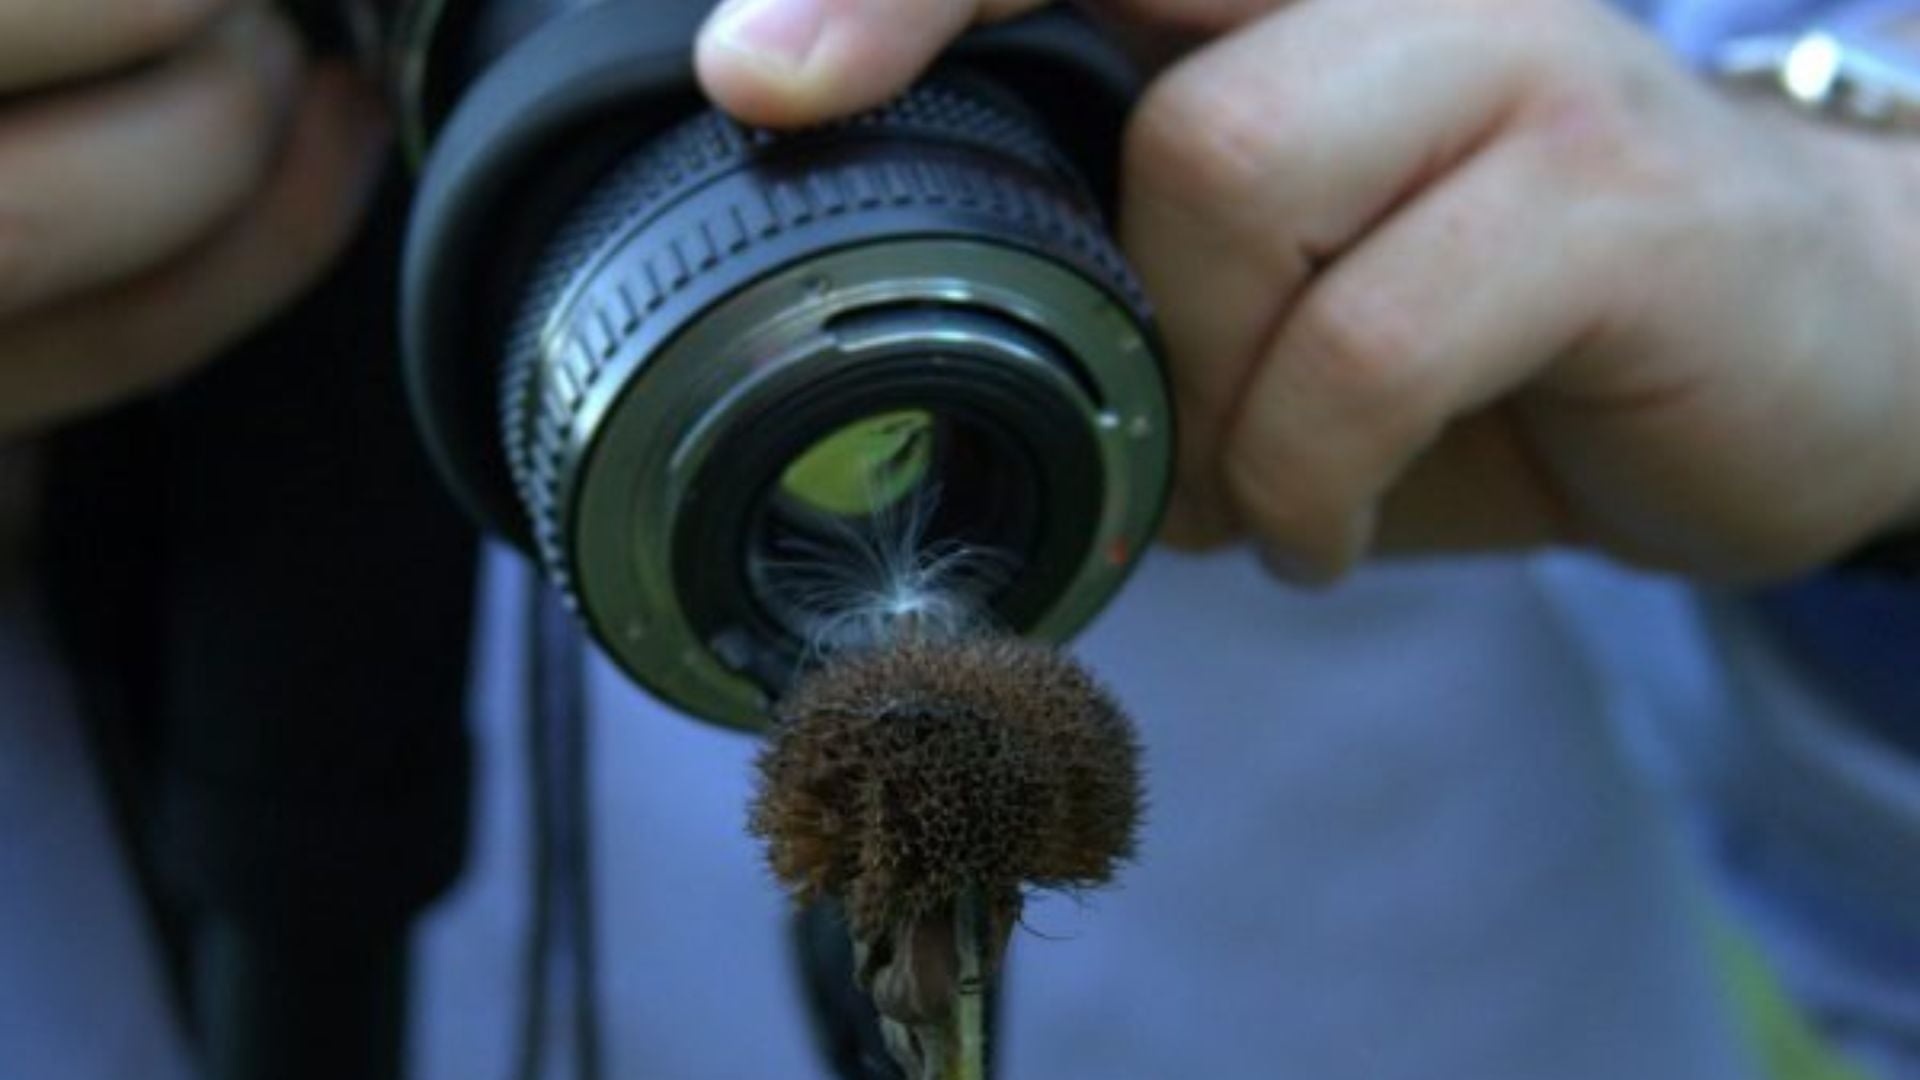
The Reverse Lens Technique
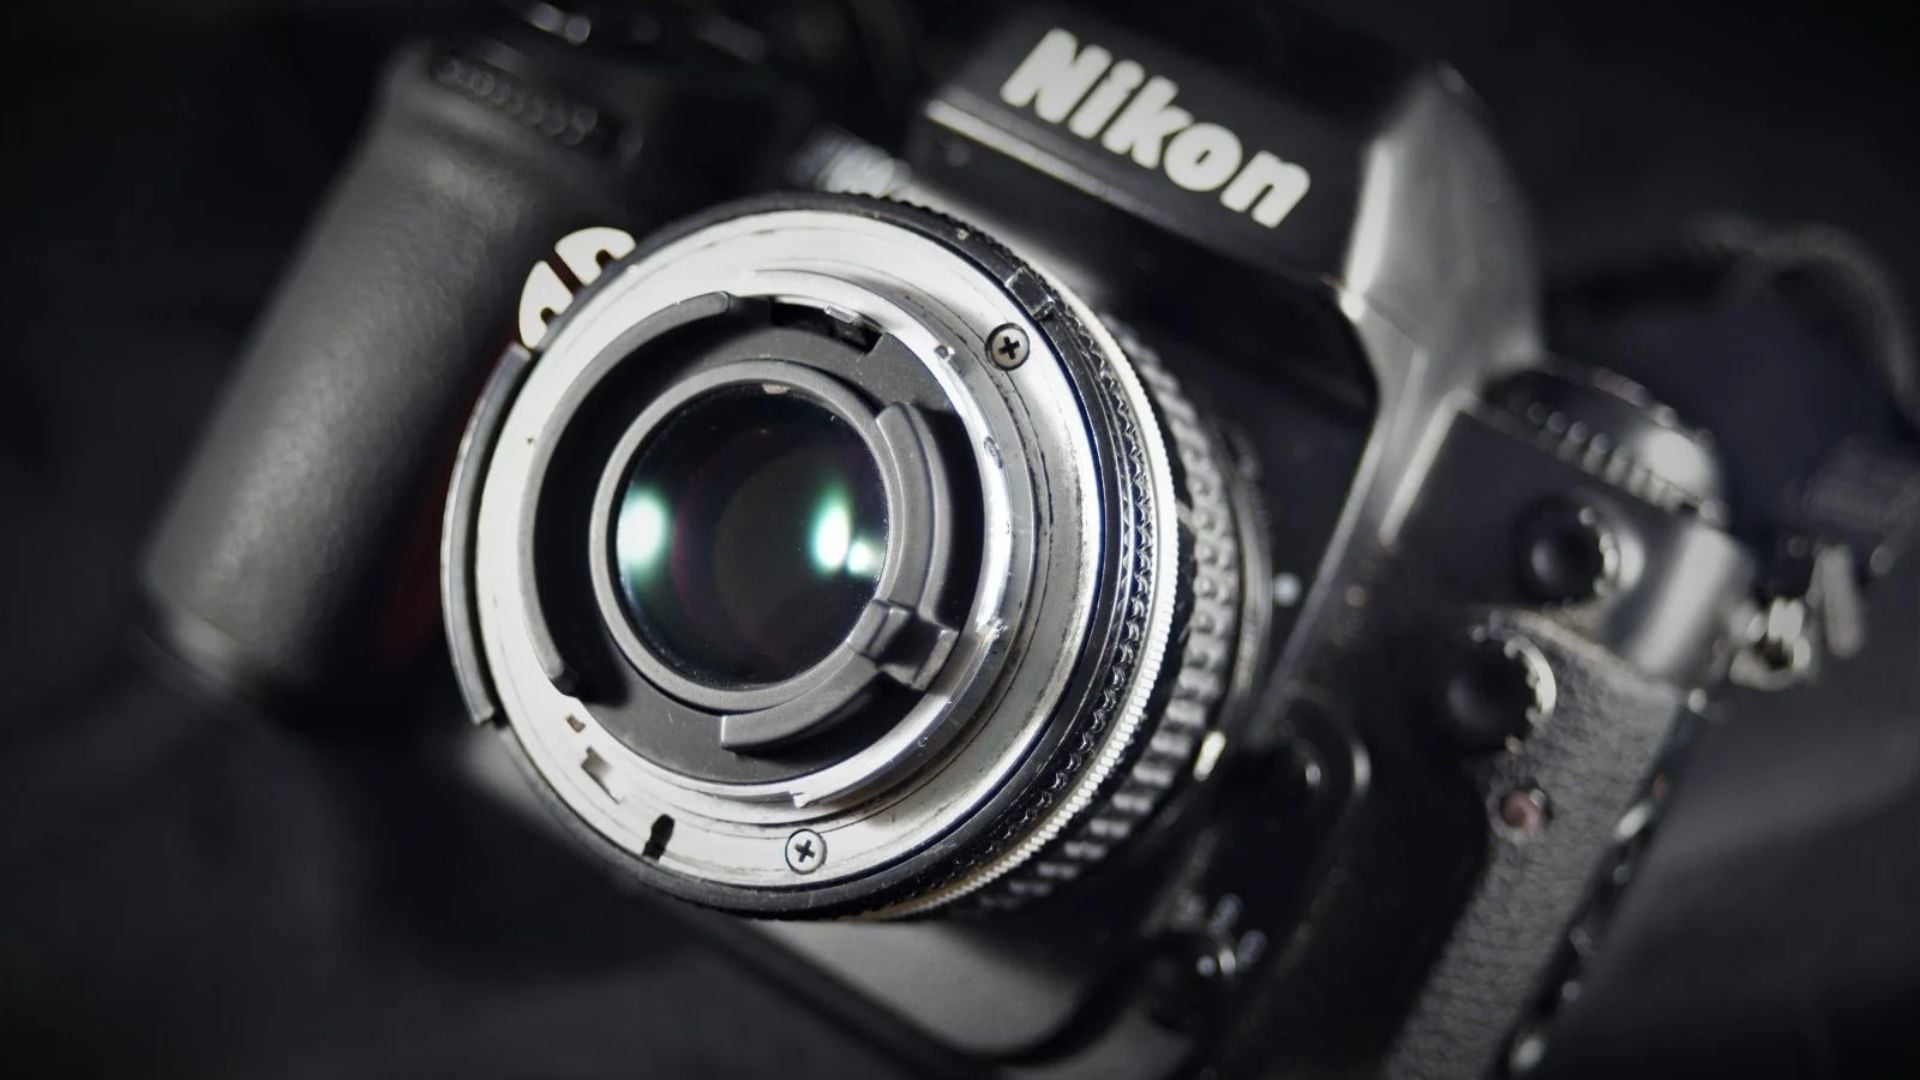
Mount any standard lens backward on your camera for instant macro power. Flipping the lens changes how it bends light. This lets you focus much closer and get higher magnification.
A 50mm lens works best for this trick. When reversed, it can reach 1:1 magnification or higher. You need a reverse adapter ring that costs about $15-25 online in 2025. These rings screw into your lens filter threads and mount to your camera.
The backward lens method gives surprisingly sharp results. Pro photographers sometimes use this for paid work. The image quality can match expensive macro lenses. You lose auto features though. No autofocus or automatic aperture control.
Lens Stacking Method
Put two lenses together for powerful magnification effects. Mount your main lens normally on the camera. Then attach a second lens backward to the front using a coupling ring. The focal lengths you combine determine your final magnification.
A wide-angle lens attached backward to a telephoto creates extreme magnification. Pair a 28mm lens (reversed) with a 70-200mm telephoto. This can reach 3:1 magnification or higher. The longer lens acts as your base. The reversed wide-angle provides the magnification boost.
Stacking requires careful handling since the setup gets front-heavy. A sturdy tripod becomes necessary for sharp images. Both lens qualities matter for your final results. Better glass gives better images.
Close-Up Filter Approach
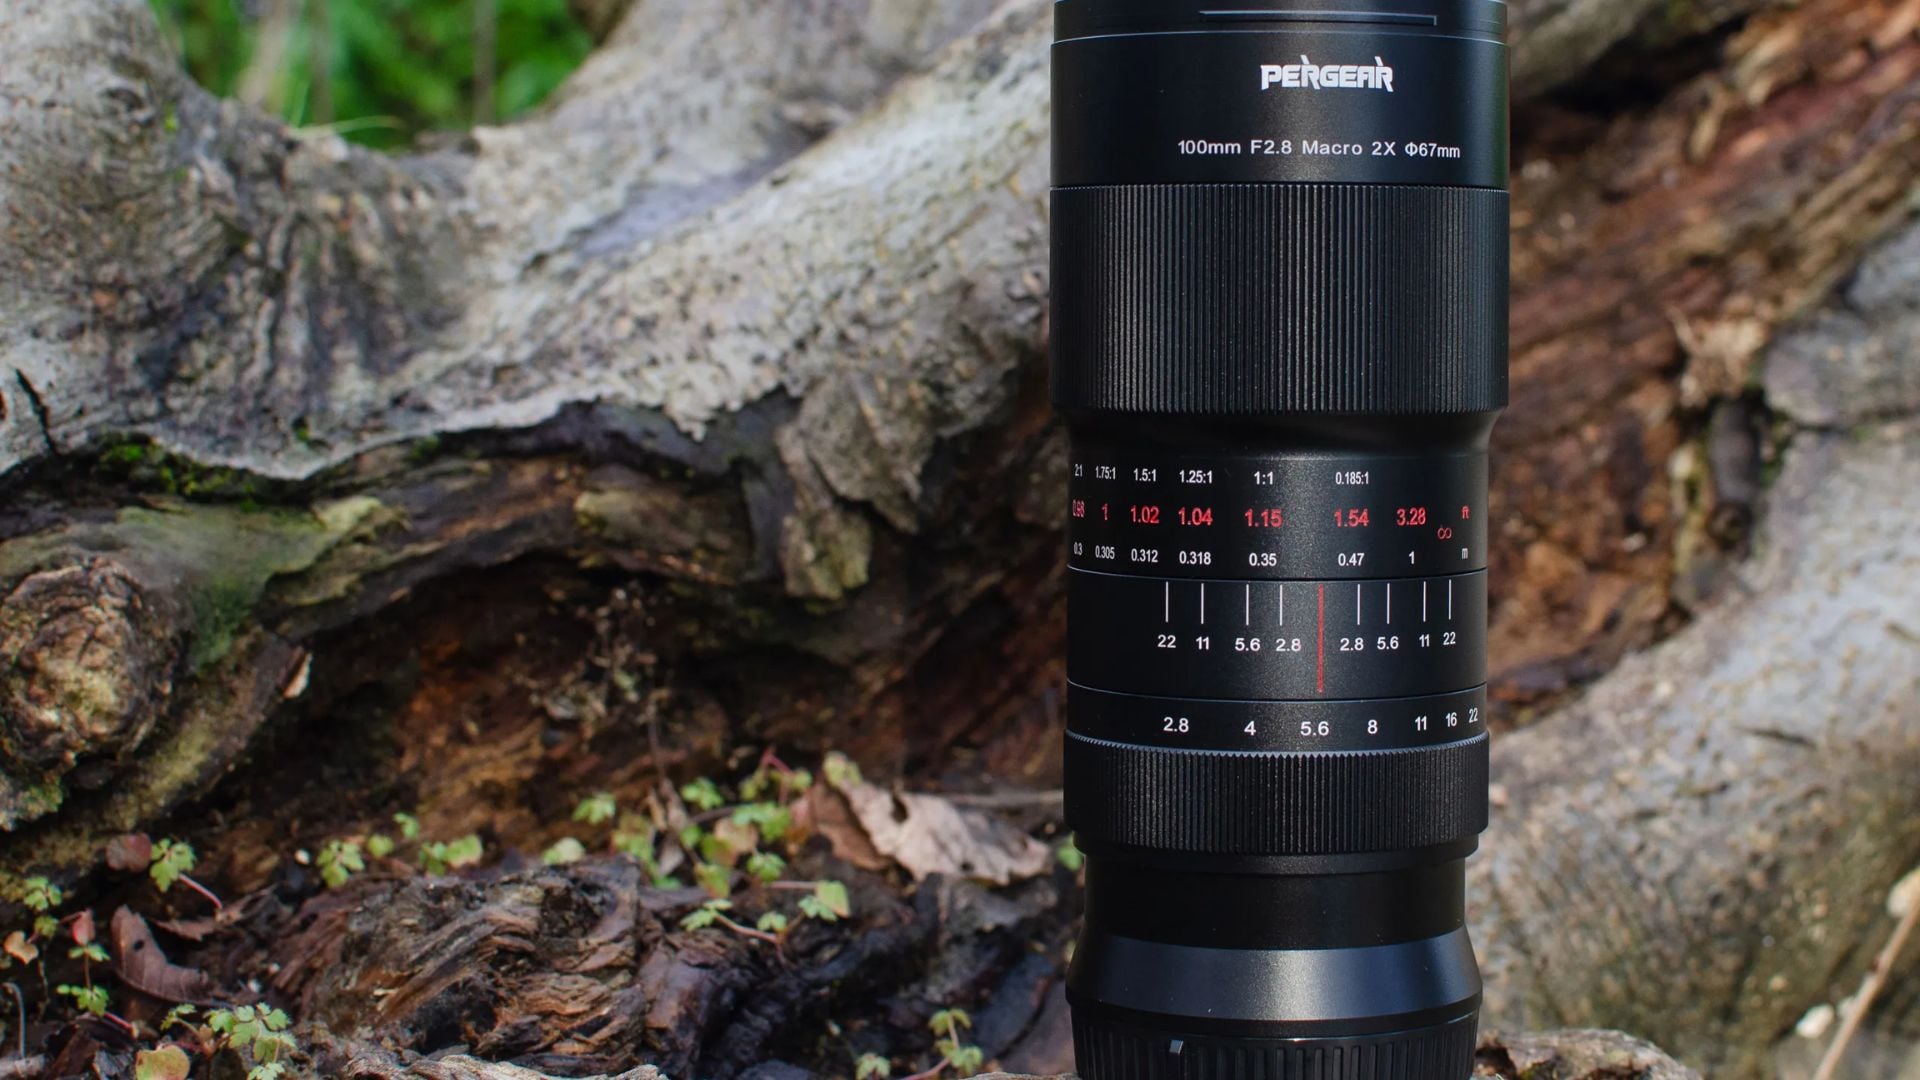
Screw-on close-up filters offer the easiest macro entry. These work like magnifying glasses on your existing lenses. They reduce your minimum focusing distance. Filters come in different strengths measured in diopters.
A +10 diopter filter gives significant magnification while keeping decent quality. Stack multiple filters for stronger effects. Image quality drops with each extra filter though. Single high-quality filters often beat multiple cheap ones.
This method keeps all your camera’s auto functions. Autofocus and aperture control still work. This makes it beginner-friendly. The optical quality never quite matches dedicated macro lenses though.
Advanced DIY Macro Lens Construction
Serious builders can create complex macro systems using old camera parts. This needs more skill and patience but can give professional results.
Using Old Camera Parts
Old film cameras and enlarger lenses make great macro lens donors. Many film-era lenses had better glass and stronger build quality. Enlarger lenses were built for close-up projection work. They adapt well to macro photography.
Enlarger lenses offer excellent sharpness and contrast for macro work. These were designed to project fine details. This makes them perfect for capturing tiny subjects. Most enlarger lenses cover 35mm format well. Some might show dark corners on full-frame sensors.
3D printing has revolutionized custom adapter creation in 2025. Online communities actively share adapter designs for common lens and camera combinations. This technology reduces technical barriers significantly. Many photographers now design and print their own custom mounts.
Creating Custom Lens Tubes
Extension tubes increase distance between your lens and camera sensor. This enables closer focusing. Store-bought tubes exist but building custom tubes allows precise magnification control. You can fit unusual lens combinations too.
PVC pipe works well for making extension tubes. Perfect alignment between lens mount and camera mount prevents distortions. Paint internal surfaces matte black to stop reflections that hurt image contrast.
Custom tubes allow variable length adjustment. Most store tubes don’t offer this. A sliding tube system lets you fine-tune magnification for specific subjects. This flexibility beats fixed-length store alternatives.
Optimizing Your Homemade Macro Lens Performance
Getting the best results from DIY macro gear needs different techniques than store lenses. Small changes in how you shoot can dramatically improve image quality.
Lighting Considerations
DIY macro lenses often have smaller working apertures than store alternatives. This means you need more light for proper exposure. Ring lights or LED panels become essential tools instead of optional extras.
Natural light can work beautifully with homemade macro lenses. Window light gives soft, even illumination that complements DIY optics. Reflectors help fill shadows and create balanced lighting across your subjects.
Flash photography with DIY macro systems needs careful diffusion. Close working distances make flash control challenging. Bounce cards and diffusion screens become critical for professional-looking results.
Stability and Support Systems
Homemade macro lenses often lack image stabilization found in store alternatives. Rock-solid camera support becomes even more important with DIY systems. A sturdy tripod forms the foundation of successful DIY macro photography.
Focus rails allow precise positioning without moving the whole camera setup. High magnification means tiny movements throw subjects completely out of frame. Manual focus rails provide the fine control needed for critical macro work.
Wind and vibration easily mess up macro photography with lightweight DIY systems. Weighted tripod bases and vibration dampening help maintain sharp focus during longer exposures. Even your breathing can cause camera shake at extreme magnifications.
Creative Applications and Techniques
DIY macro lenses excel in specific situations where their unique traits become advantages. Understanding these strengths helps you pick subjects and situations where homemade equipment shines.
Texture and Detail Photography
The slightly softer look of many DIY macro systems works great for texture studies. Instead of clinical sharpness, you get more organic, film-like qualities. This suits certain subjects perfectly.
Fabric textures, weathered surfaces, and natural patterns benefit from gentler rendering. Slight optical imperfections add character rather than hurting image quality. Store macro lenses sometimes show too much detail. This creates harsh or clinical-looking results.
Experimental Photography Projects
DIY macro equipment encourages experimentation since you’re not worried about damaging expensive store lenses. You can try weird subjects, challenging conditions, and creative techniques without money stress.
Multiple exposure techniques work well with DIY macro setups. Manual controls force you to think more carefully about each exposure. This often leads to more thoughtful compositions. The learning process becomes part of the creative journey.
Abstract macro photography benefits from unique optical traits of homemade lenses. Intentional optical problems and unusual bokeh patterns can improve abstract compositions. Store lenses try to eliminate these “flaws.” They can become creative assets in the right context.
Scientific and Educational Use
DIY macro lenses serve educational purposes exceptionally well. Students learn more about optics and photography when building their own equipment. Hands-on experience provides deeper understanding than theory alone.
Research applications benefit from the low cost of DIY systems. Multiple camera setups become affordable when using homemade macro lenses. Time-lapse projects and specimen documentation can use several DIY macro systems at once.
The simplicity of DIY macro systems makes them reliable for extended field use. Fewer electronic parts mean fewer potential failure points. Manual controls keep working even when camera batteries die.
Troubleshooting Common Issues
Every DIY macro lens builder faces similar challenges. Understanding these common problems and their fixes saves time during building and testing.
Optical Alignment Problems
Misaligned lens parts create soft images, distortions, or dark corners. Perfect alignment needs patience and careful measurement during assembly. Even small deviations from perfect perpendicular mounting can significantly hurt image quality.
Test alignment by photographing grid patterns at various distances and magnifications. Systematic testing reveals alignment issues that might not show during casual use. Correction usually means adjusting mounting hardware or rebuilding lens assembly sections.
Focus Range Limitations
Many DIY macro lens setups have extremely limited focus ranges. The sweet spot for sharp focus might span only a few millimeters. Understanding and working within these limits prevents frustration and improves shooting success.
Focus stacking becomes essential rather than optional with limited focus ranges. Multiple images captured at different focus points can combine in post-processing. This creates extensive depth of field impossible with single exposures.
Mechanical Stability Issues
Homemade lens assemblies sometimes suffer from mechanical looseness or instability. Proper thread engagement, secure mounting, and adequate support prevent these problems. Quality materials and careful assembly pay off in long-term reliability.
Regular maintenance checks catch developing problems before they affect image quality. Check screw tightness, alignment, and mechanical wear regularly. Simple preventive maintenance extends the useful life of DIY macro equipment significantly.
Your Next Steps in Macro Lens Building
Building a homemade macro lens rewards photographers with financial savings and valuable learning experiences. The process teaches fundamental concepts while enabling creative exploration.
Simple methods like reverse mounting or more complex custom construction both open new creative possibilities. They build practical skills that benefit all areas of photography. Start with simple techniques, learn from each attempt, and gradually advance to more sophisticated approaches as your skills and confidence grow.Through building DIY macro equipment, you learn how focal length affects magnification and how different lens combinations create unique optical effects. This knowledge transfers directly to better understanding of commercial photography equipment and improved shooting techniques across all photography genres.

Darlene Lleno
Darlene Lleno brings a unique perspective to DIY Photography as someone who grew up surrounded by camera gear but chose words over lenses. With five years of writing experience, she specializes in photography content that’s both technically informed and genuinely passionate. Growing up with a photographer twin brother meant camera talk was everyday conversation in her household. While he mastered capturing moments, Darlene discovered she preferred being the subject and the storyteller behind the scenes. As a travel enthusiast and mother of two, she understands the importance of preserving life’s precious moments. When not exploring new destinations or writing for DIY Photography, you’ll find her reading or tending to her garden. Her approach to photography writing is refreshingly authentic, she may not be behind the camera, but she knows exactly what it takes to help others capture the shots that matter most.


Join the Discussion
DIYP Comment Policy
Be nice, be on-topic, no personal information or flames.
One response to “Build Your Own Macro Lens for Stunning Close-Up Photography”
Very interesting article, I’ve made fabulous macro images using a reversed 17-40 lens in front of a 35-350 mm zoom and the rings (adapters) to make this work couldn’t be cheaper!