


The Saramonic TC-NEO takes all the hassle out of timecode
Sep 29, 2025
John Aldred
John Aldred is a photographer with over 25 years of experience in the portrait and commercial worlds. He is based in Scotland and has been an early adopter – and occasional beta tester – of almost every digital imaging technology in that time. As well as his creative visual work, John uses 3D printing, electronics and programming to create his own photography and filmmaking tools and consults for a number of brands across the industry.
Share:

The Saramonic TC-NEO is designed to take the hassle out of multi-camera sync, combining a compact wireless timecode generator with flexible connectivity and long battery life. Available as a single unit or in a triple-kit with its own charging case, it promises frame-accurate reliability for everything from solo documentary shoots to full multi-cam productions.
On paper, the TC-NEO looks like a versatile solution — precise timing accuracy, Bluetooth app control, and seamless integration with the Saramonic K9 wireless microphone system. But how does it hold up in real-world use? I spent time with some TC-NEO units to see if they’re truly ready for the pressures of real-world shooting.
What is timecode?
Before we get too deep into the TC-NEO, let’s take a look at timecode, what it is and why you might need it. In simple terms, timecode is a continuous clock signal recorded alongside video and audio, giving every frame a unique timestamp.
It allows multiple cameras and audio recorders to stay perfectly in sync, even over long shoots. Instead of relying on claps, slates, or guesswork in post, timecode provides a precise reference that saves time and avoids errors – especially in multi-camera or dual-system sound workflows.
That’s where the TC-NEO comes in. It’s a compact generator designed to make timecode syncing faster, easier, and more reliable on set. Now, on with the show…
What’s in the Box
As mentioned, the Saramonic TC-NEO comes in two options. There’s either the single-unit kit, and the triple pack. If you’re just starting off in your timecode adventure, I’d suggest going with the triple pack. This lets you get up and running the easiest.
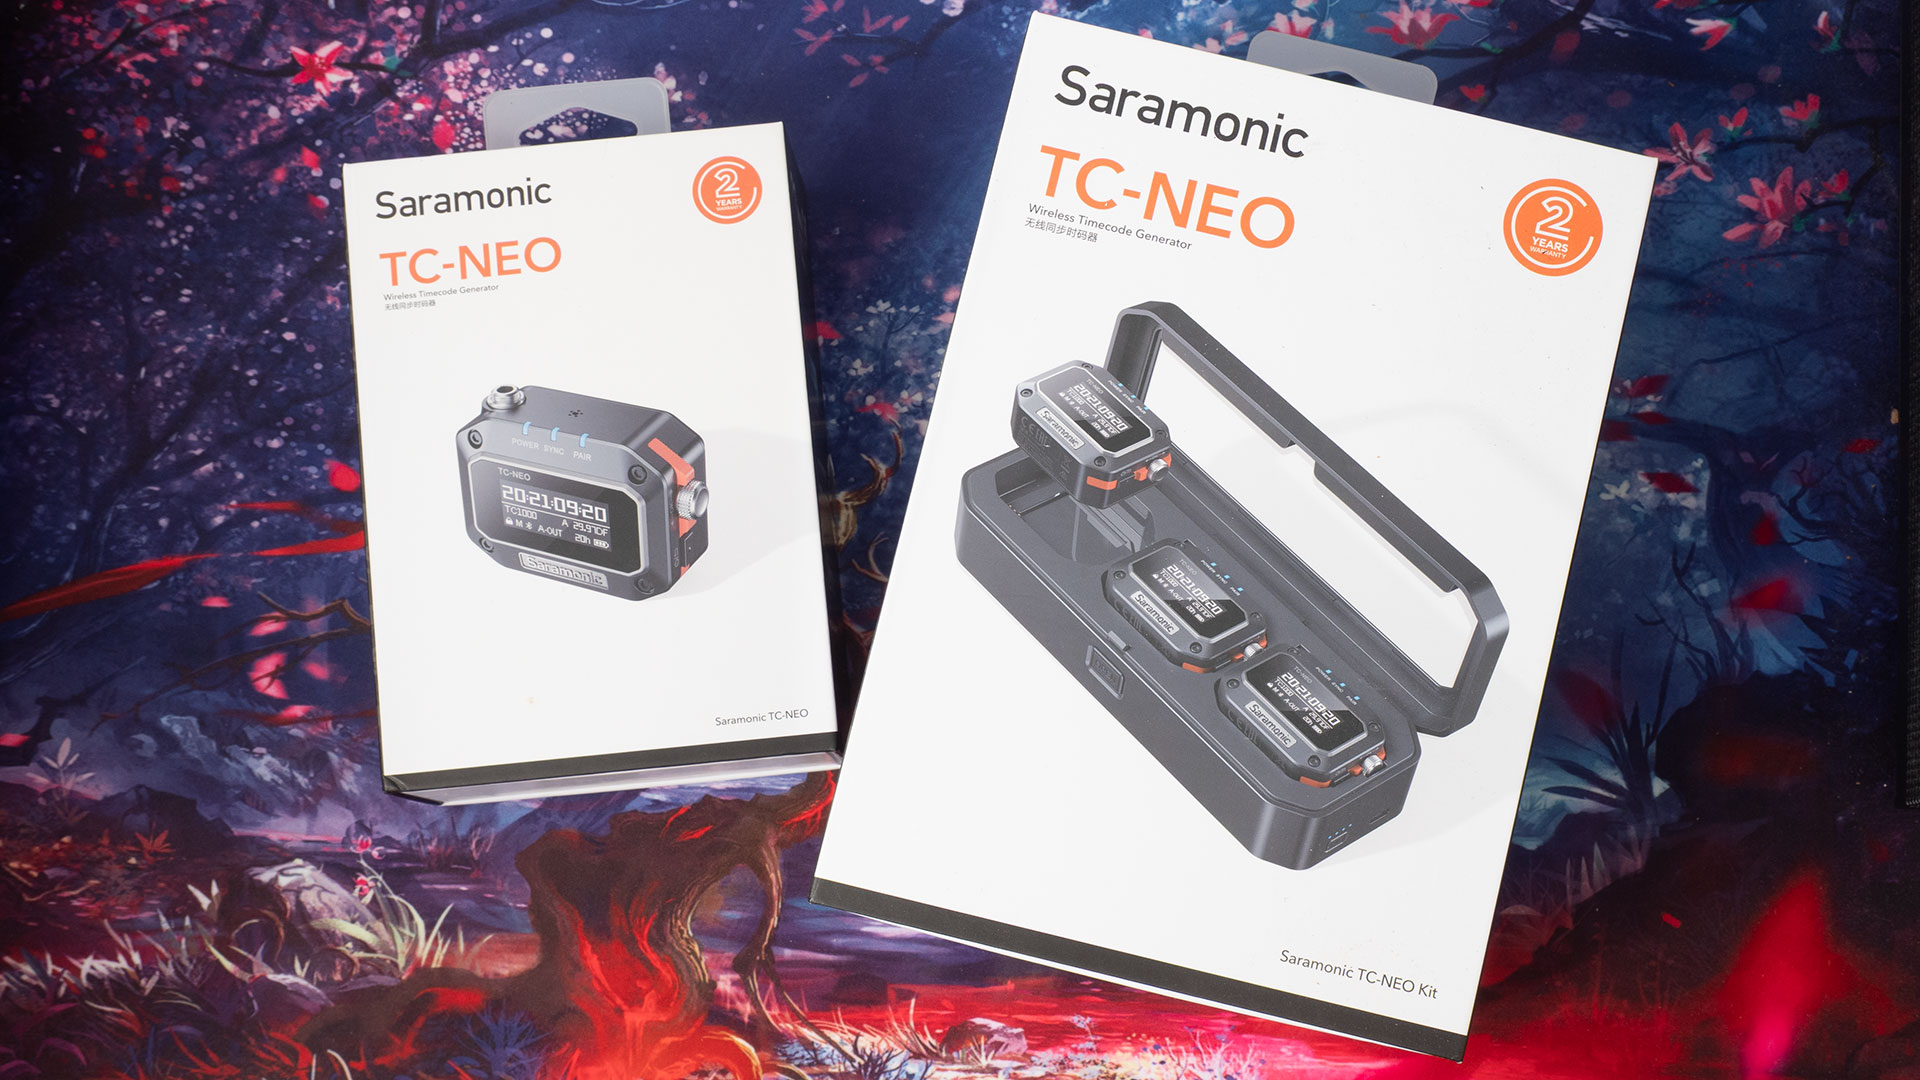
The single pack is great for those who may already have some gear that supports timecode, and you just want to see how the Saramonic TC-NEO fits into your current workflow. Or, if you’ve already bought the triple pack and maybe you want to get an extra one because you’ve added another camera to your kit.
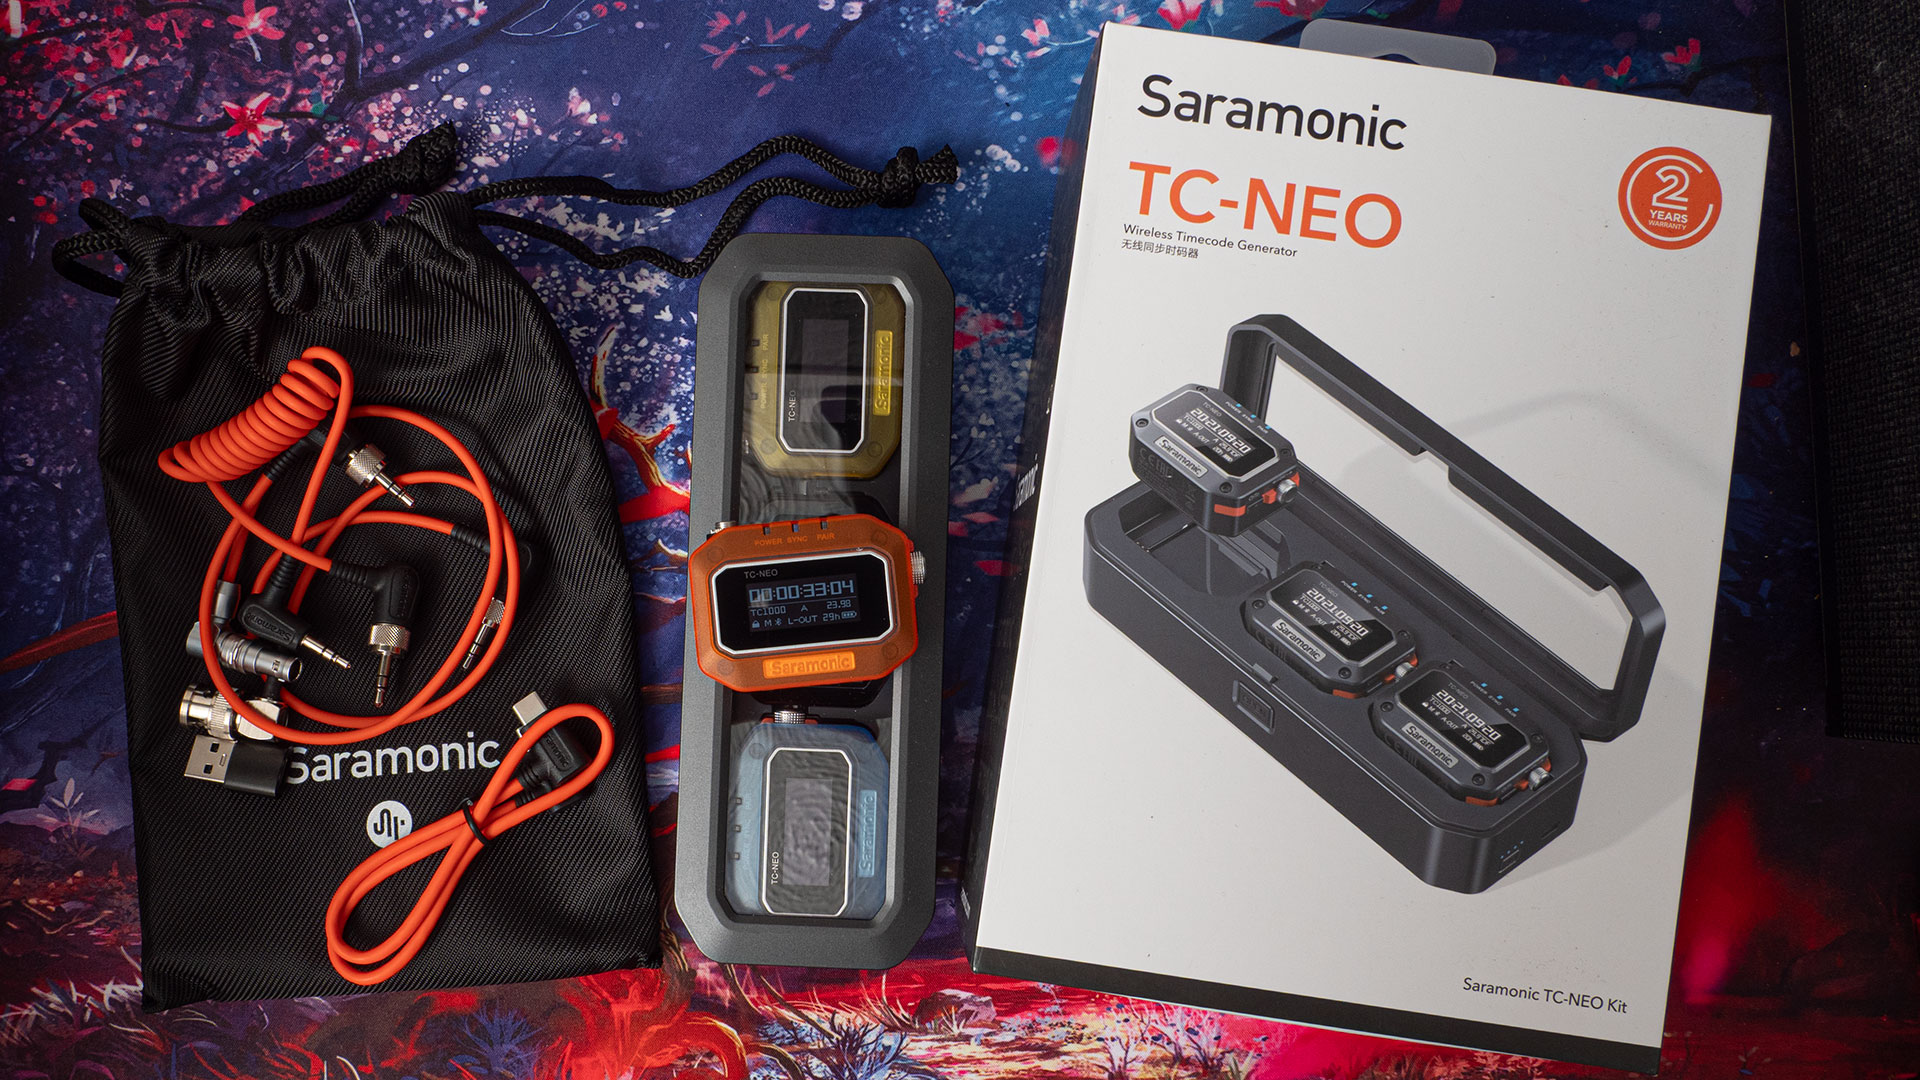
In the single unit pack, we get the Saramonic TC-NEO itself, along with some cables. There’s a 3.5mm to 3.5mm TRS cable. One end of this has a screw-lock mount for attaching to the TC-NEO, while the other is just a regular push-in plug.
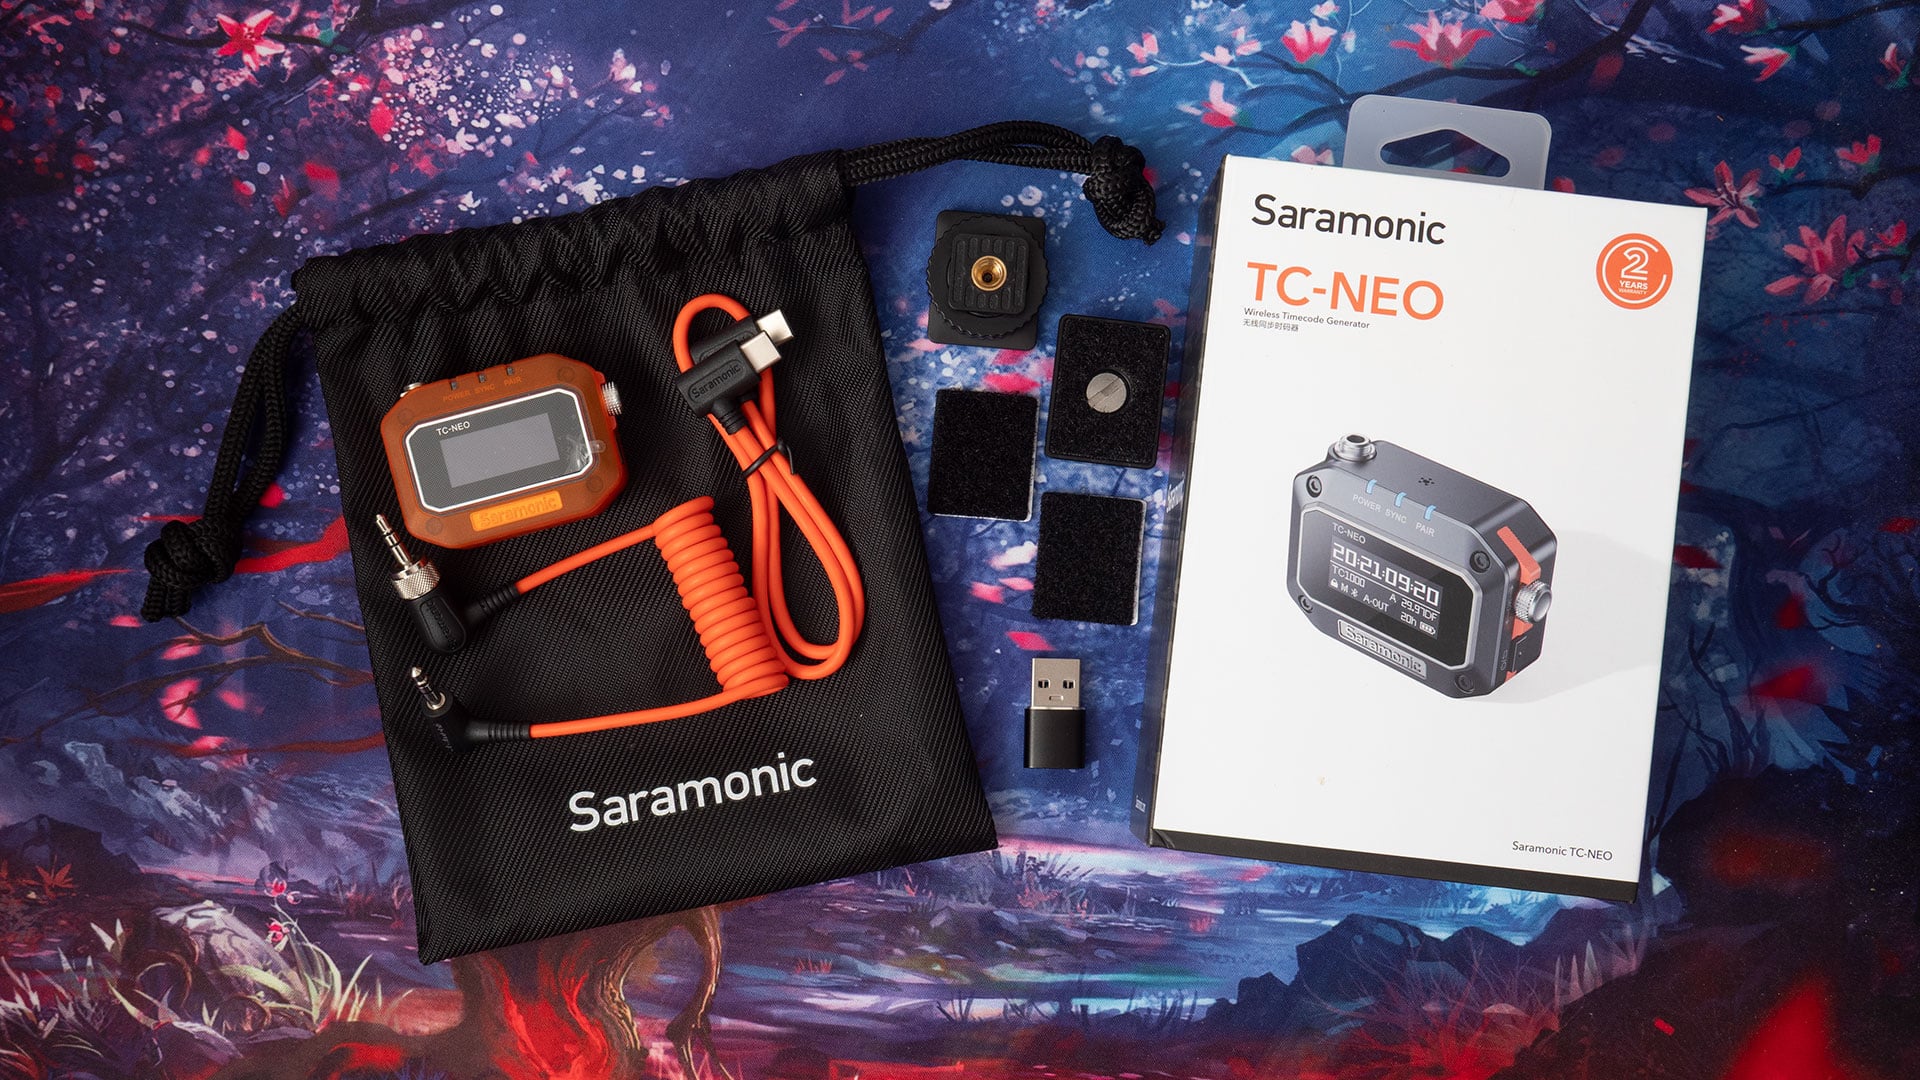
The other cable is a USB-C to USB-C for charging – but there’s also a USB-A adapter if you need it. There are also two different types of cold shoe mounts. One locks down with a plastic dial and stays fixed, while the other has a screw clamp that holds it tight while allowing you to rotate the unit.
These attach to the back of the TC-NEO using hook & loop tape. There are also a couple of extra pieces of hook and loop tape if you want to mount it to other surfaces or mounts, too.
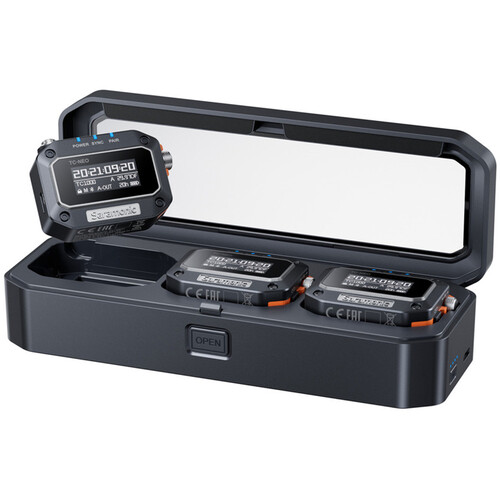
In the triple kit, we essentially get three of almost everything that’s included in the single kit but with a slightly different set of cables, and the addition of a triple-charging dock. You get three of each of the two different types of mount, along with a bag to keep it all in.
We still get one lone SR-TRS-C01 3.5mm TRS locking cable, as we do with the single pack. But along with those, we get the SRS-TRS-C06 right-angle BNC and SRS-TRX-C03 right-angle LEMO cables. So, plan on buying more cables.
The single unit costs around $149, and the triple pack costs around $499. So, you might feel like you just want to start with one or two units and then expand as you go, if you’re not sure about laying out for the triple-unit kit – especially when it’s $50 more than just buying three individual units.
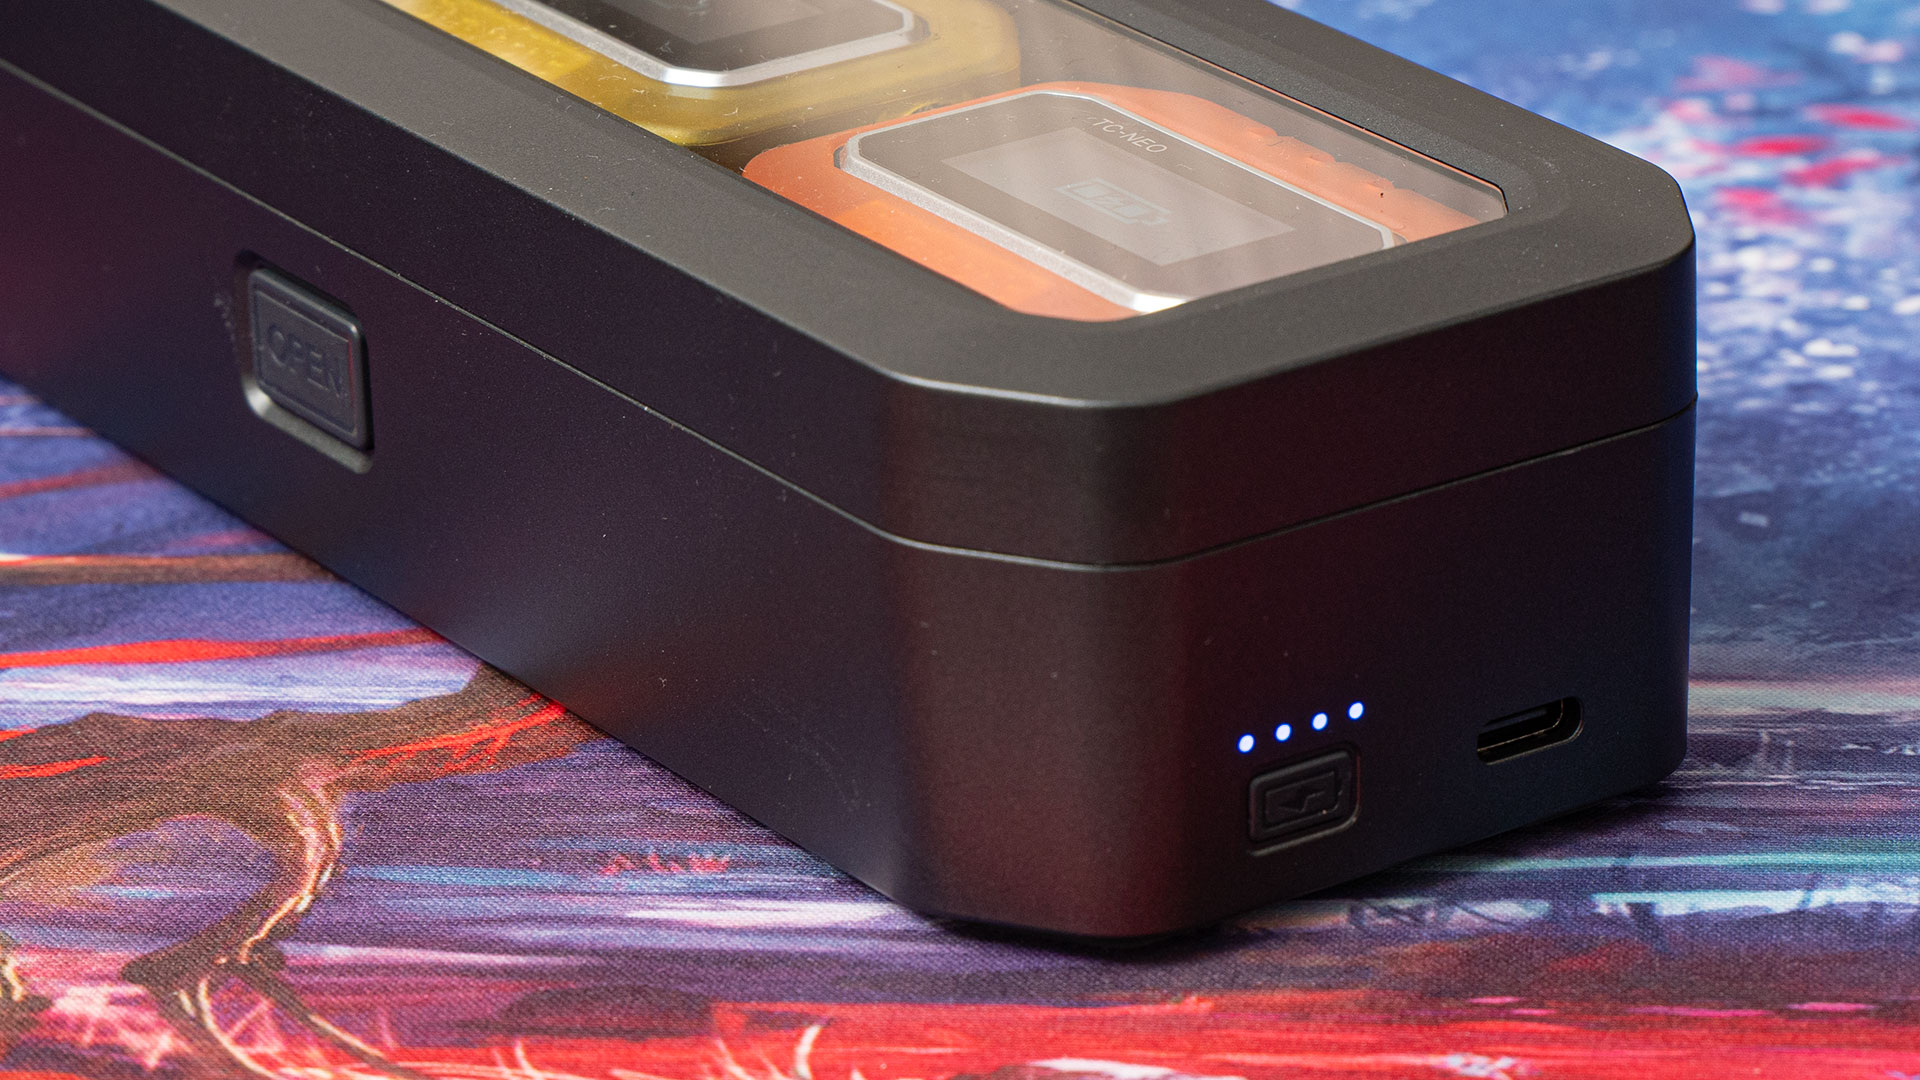
Side note: This doesn’t affect the operation or usefulness of the TC-NEO devices, but the triple-charging dock can also act as a clock when there are three units inside it – just long press the button on the side.
That’s a perfectly valid way to go. However, each individual unit will require its own USB cable for charging, which can be a bit of a pain. Ok, so, you’ll just buy charging cases for them as you need them, right? Well, no. The charging case doesn’t appear to be available to purchase separately.
This is why the triple pack costs a little more than just buying three individual units. You’re essentially paying an extra $50 for that charging case – that you can’t get on its own. Hopefully, this will be something Saramonic chooses to sell as a standalone unit at some point
But if you’re short on USB sockets for charging and want that charging case, buying triple packs is currently the only way to go.
Build Quality and Design
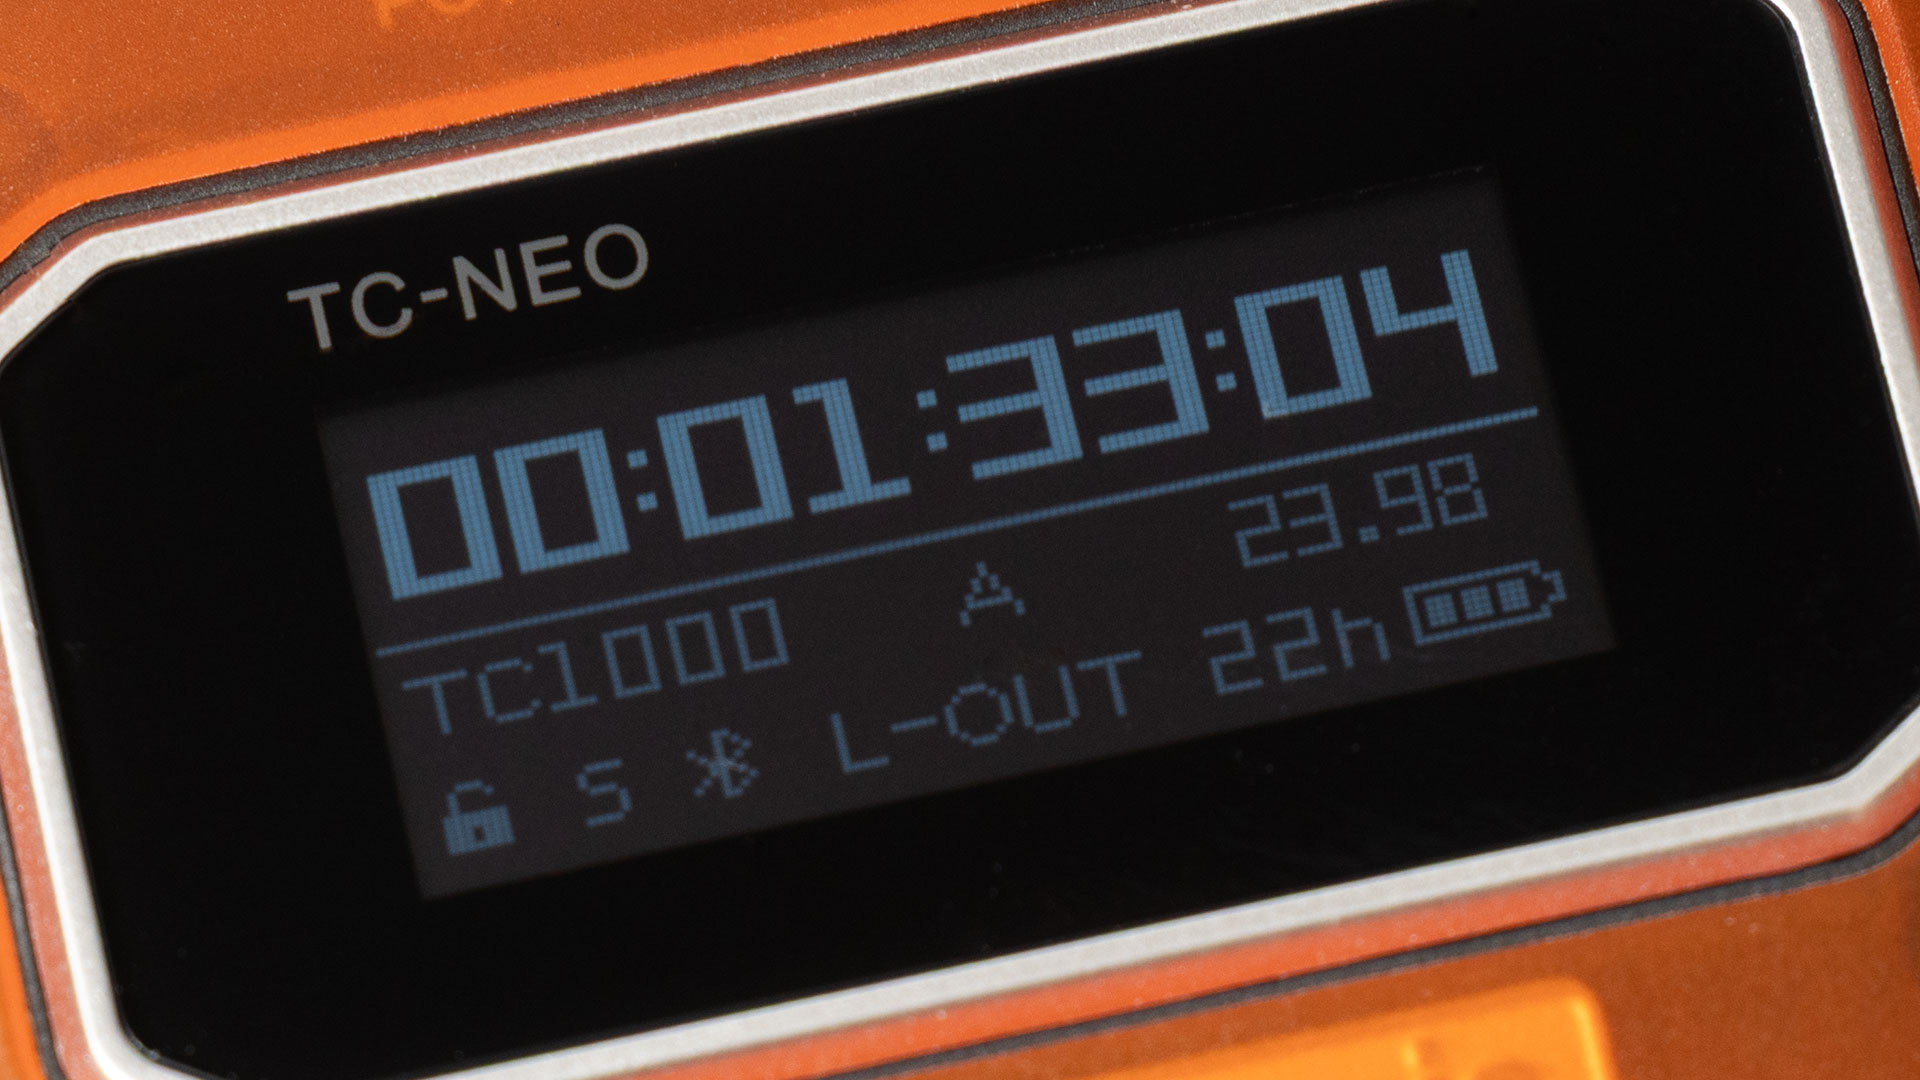
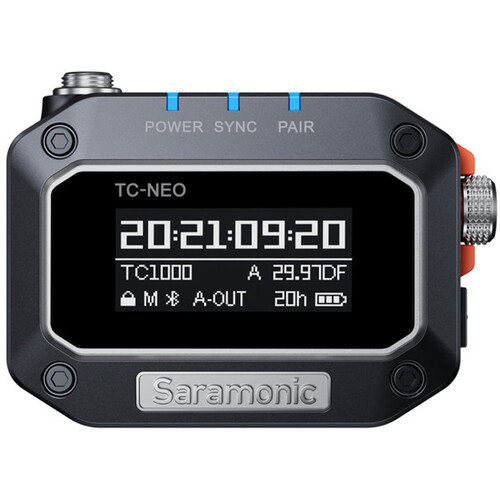
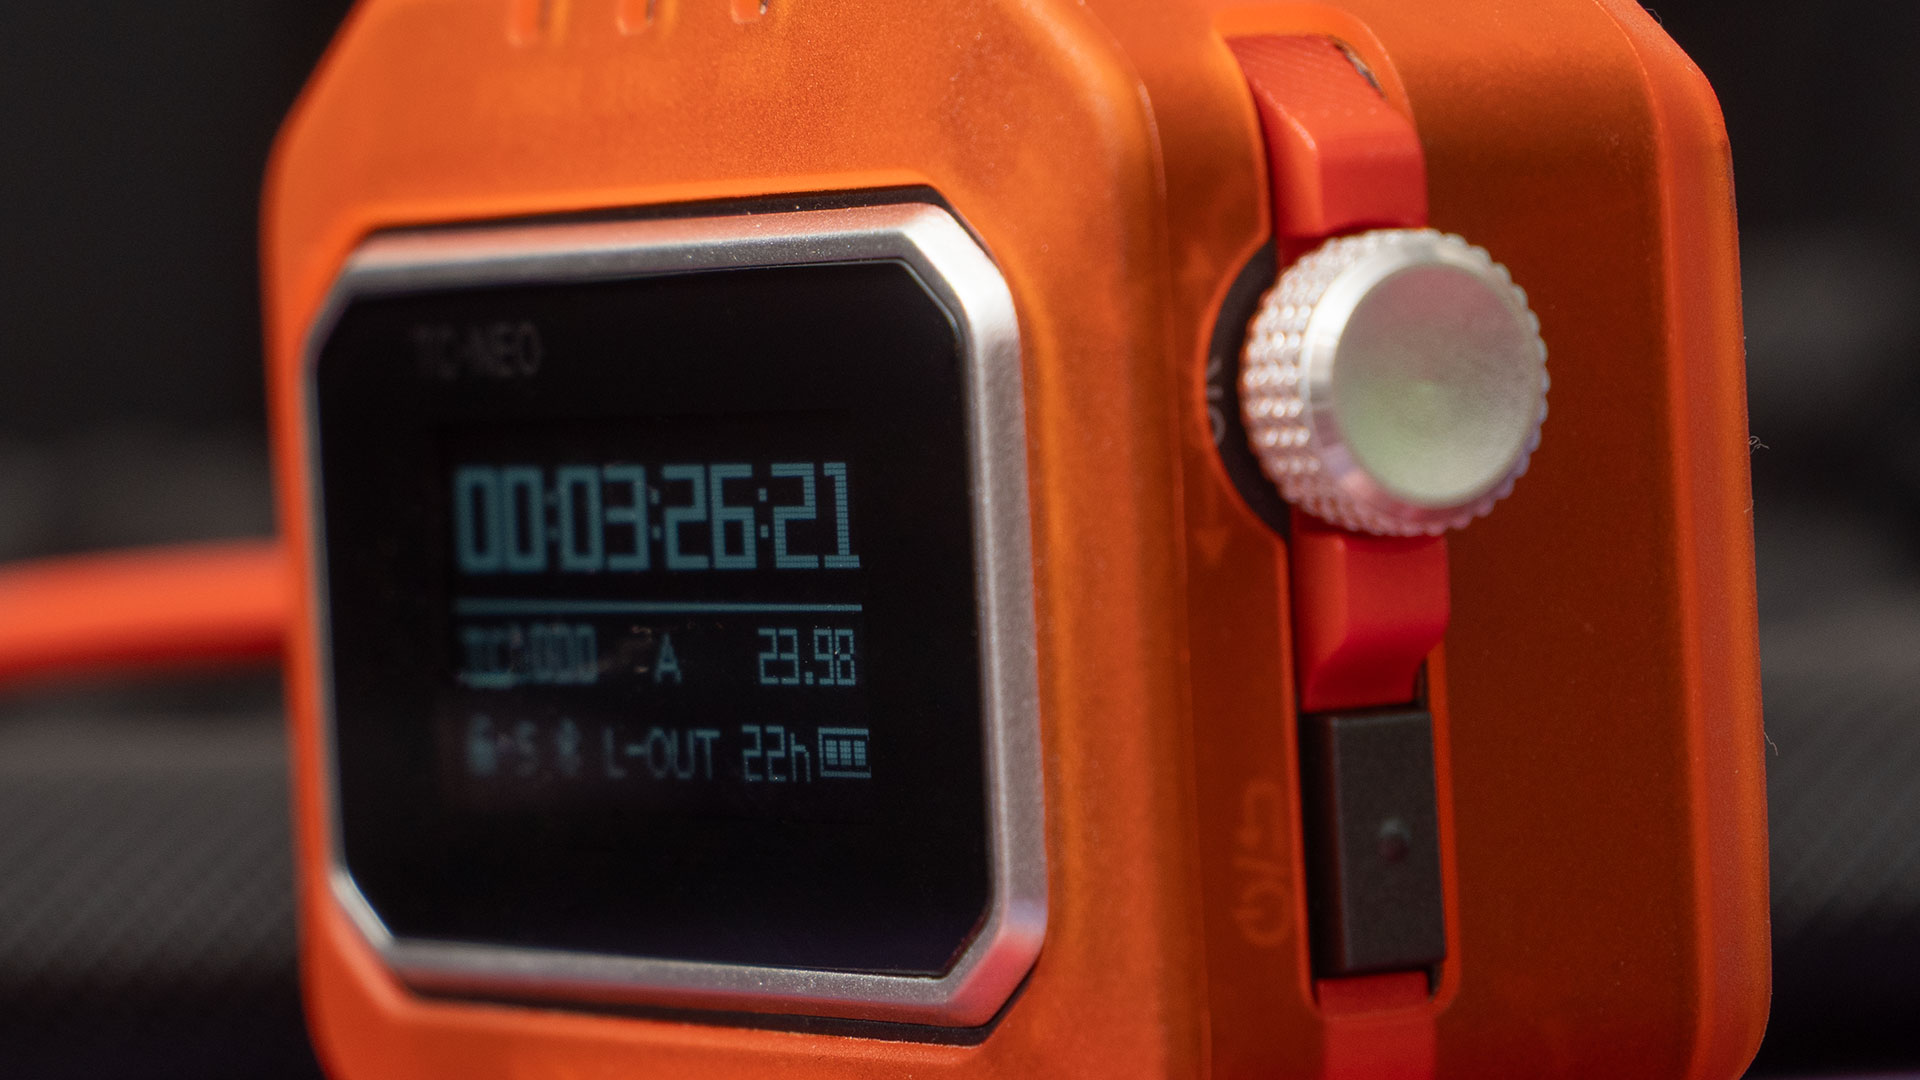
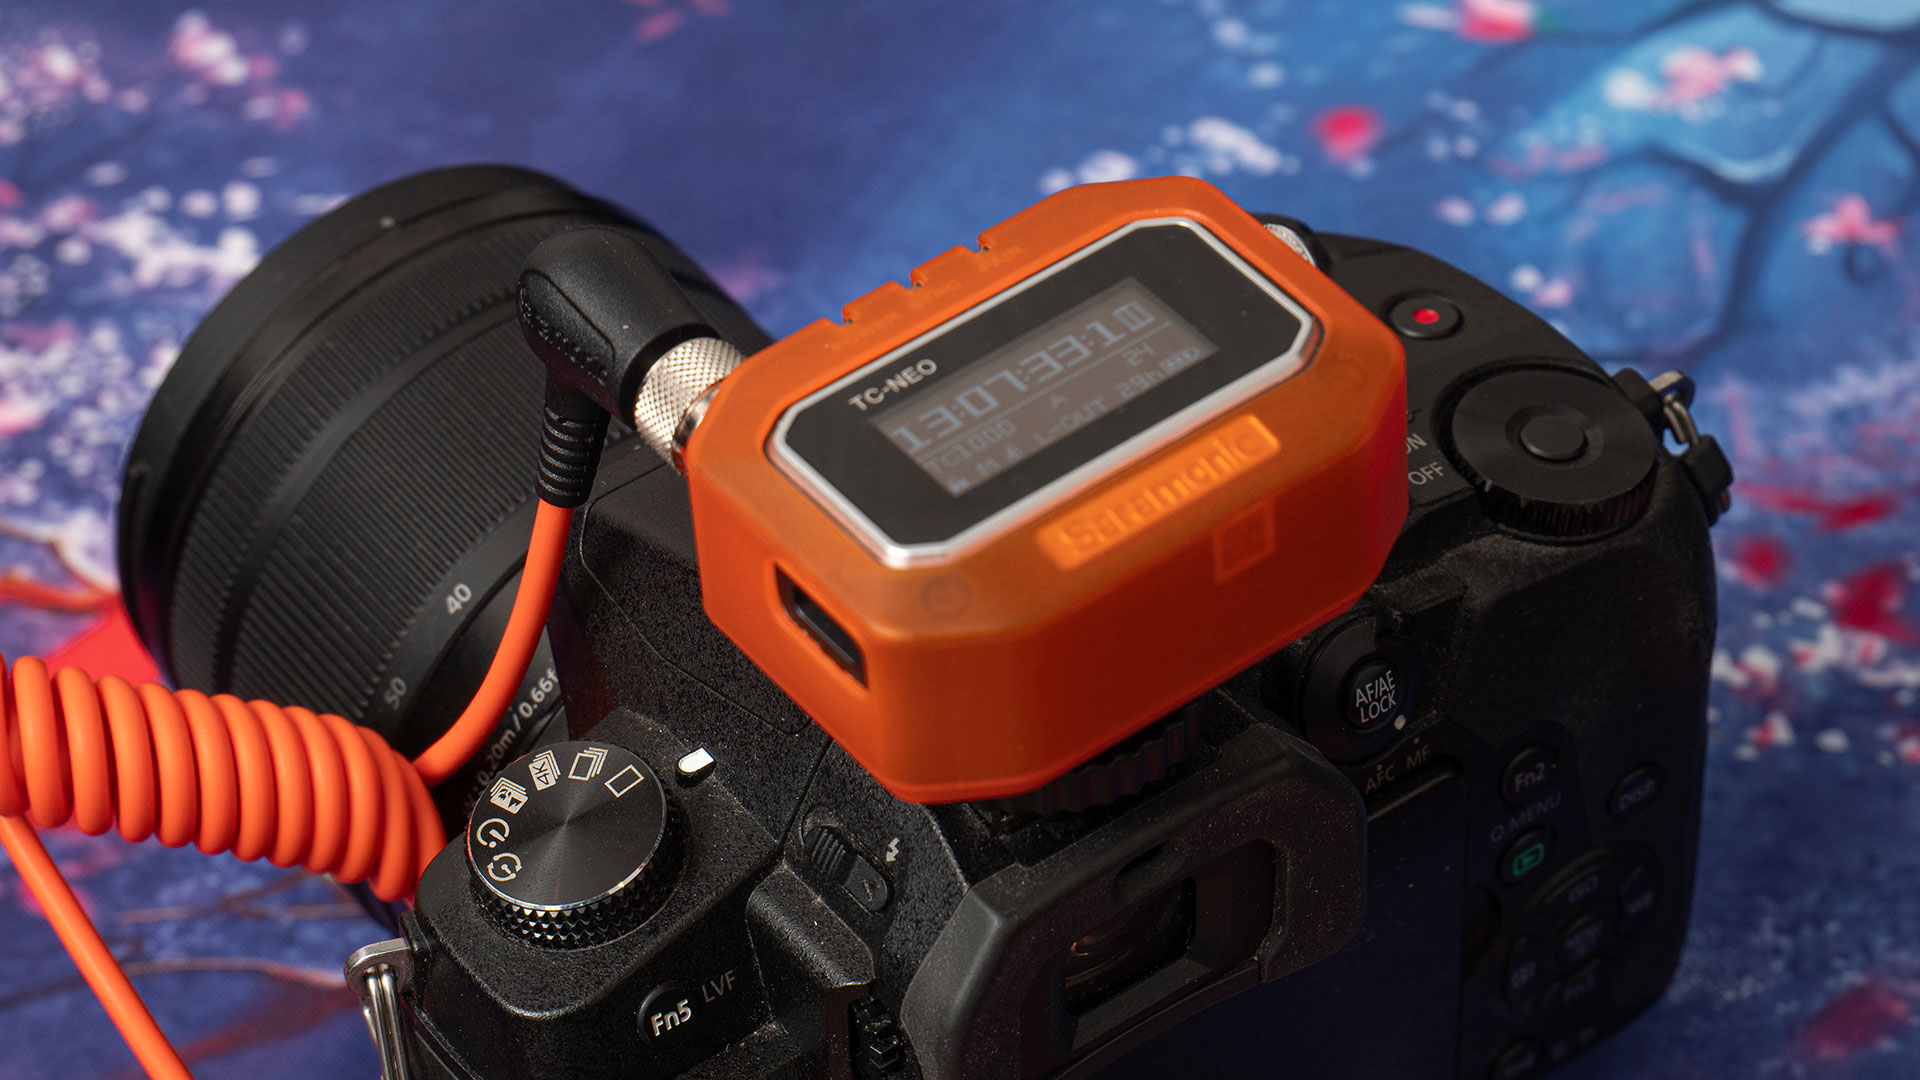
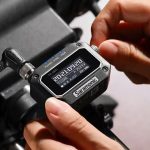
The TC-NEO unit feels pretty solid in the hands. It’s feels quite weighty for its size, but I wouldn’t describe it as heavy. The way is likely due to the battery, which provides up to 22 hours of use on a full charge. On the front, you’ll see we have a bright, clear 1.1″ OLED display.
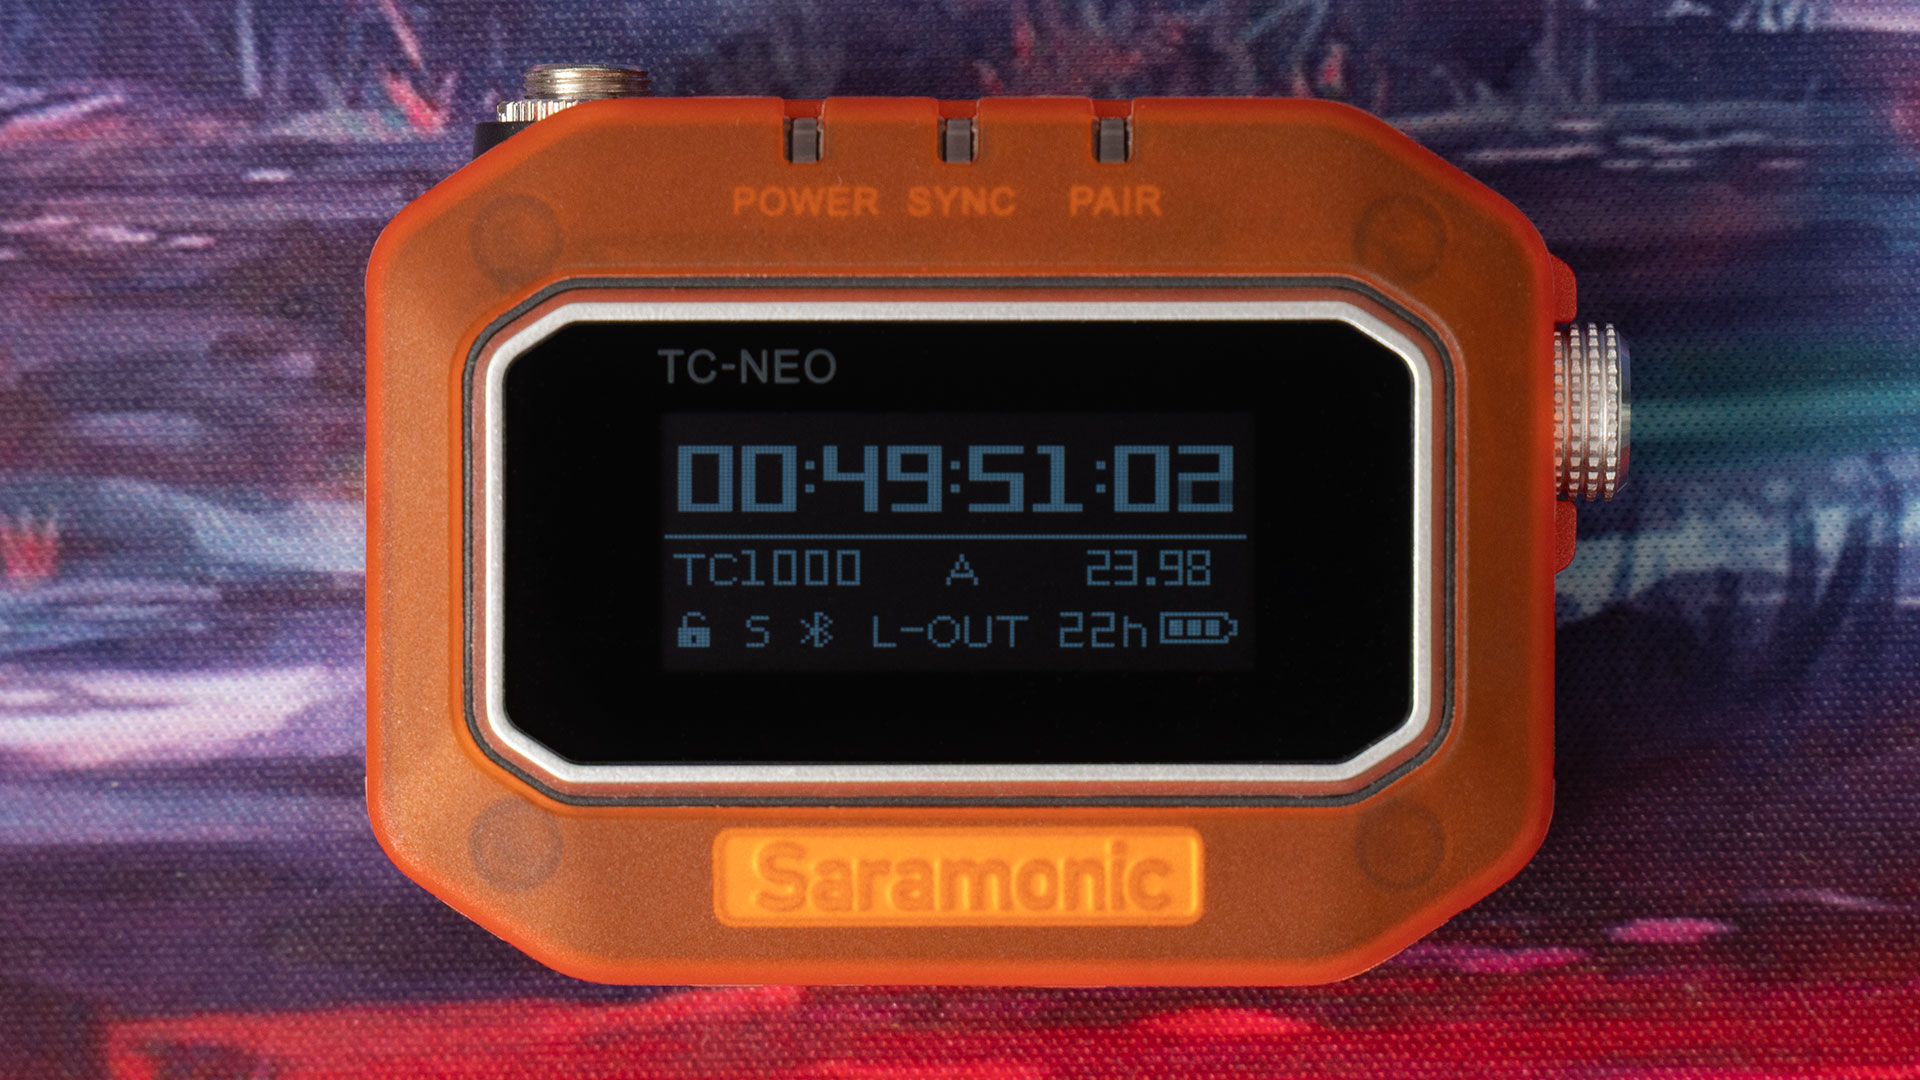
This lets you easily see timecode on the device and check that it’s in sync with everything else. It’s also where you’ll go through the settings, if you’re not using the smartphone app. You don’t have to use the app, but it can make life much easier. We’ll get to that later, though.
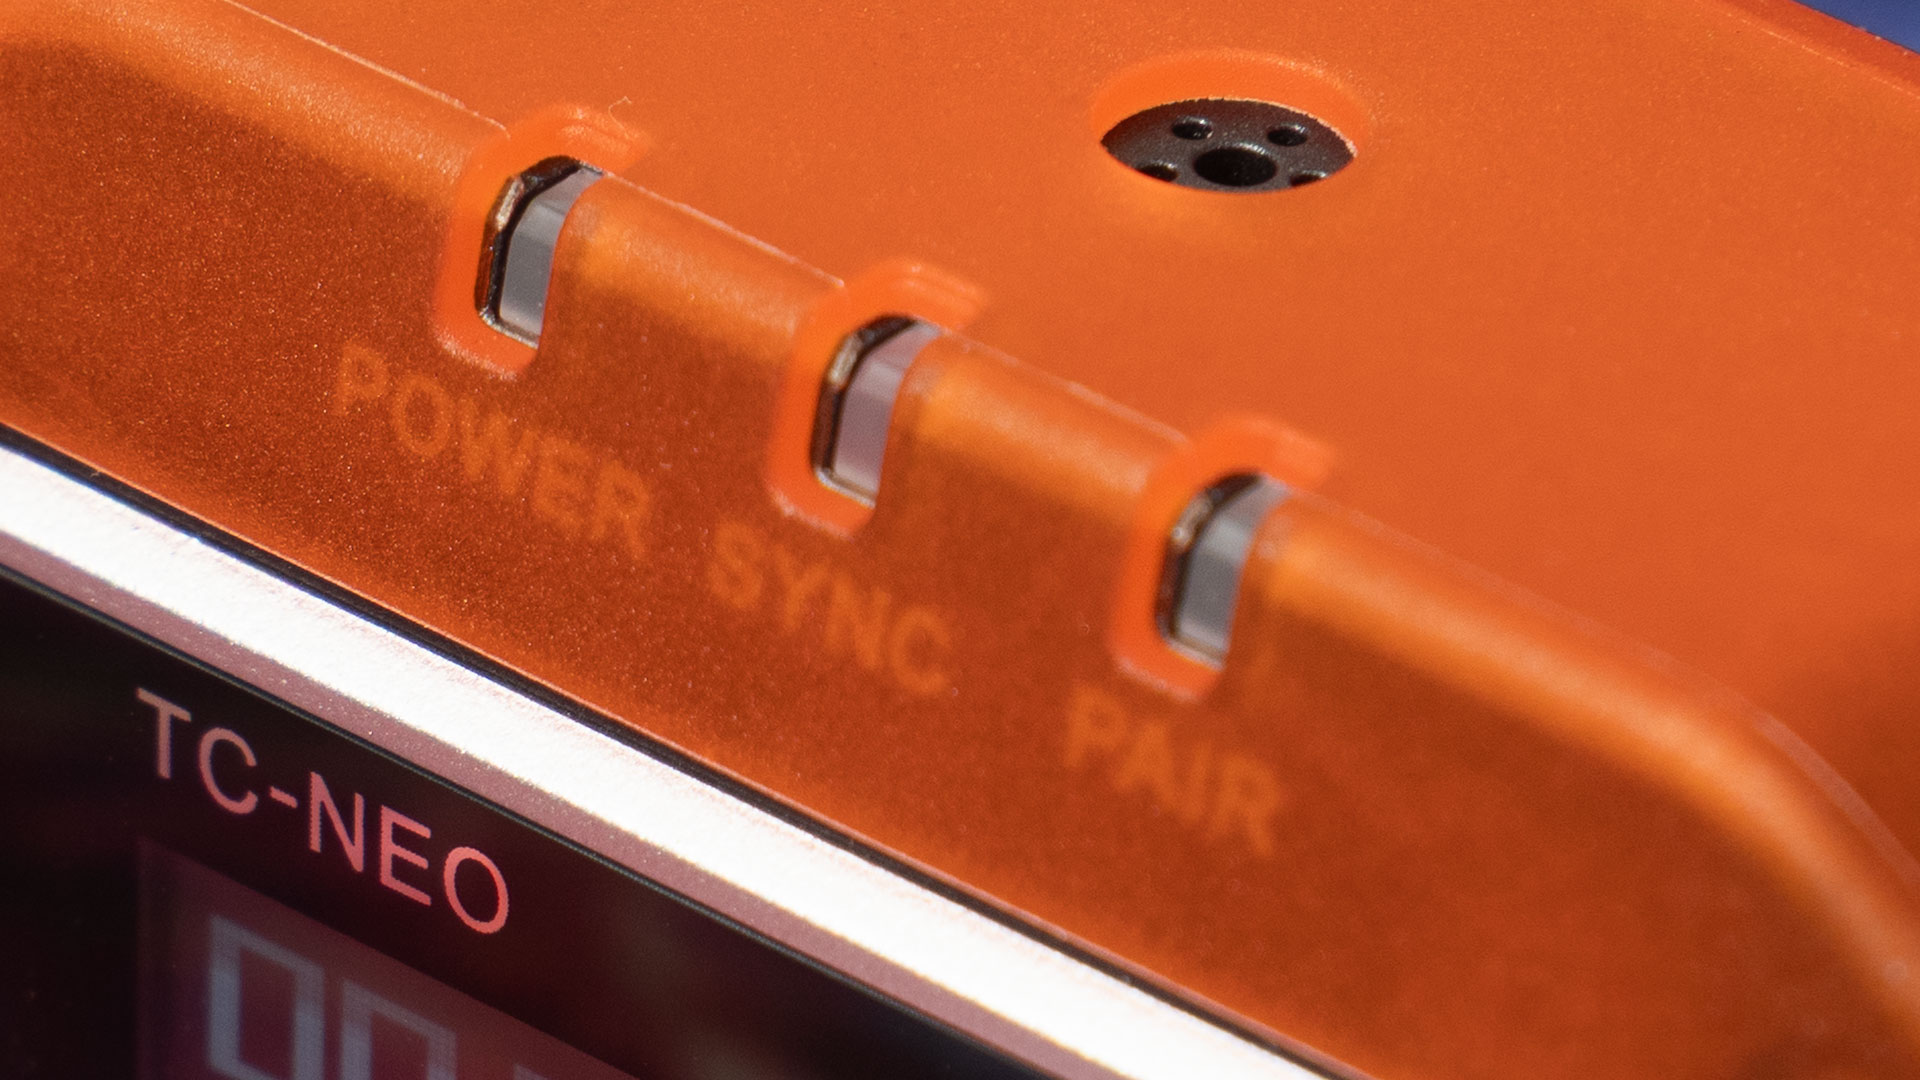
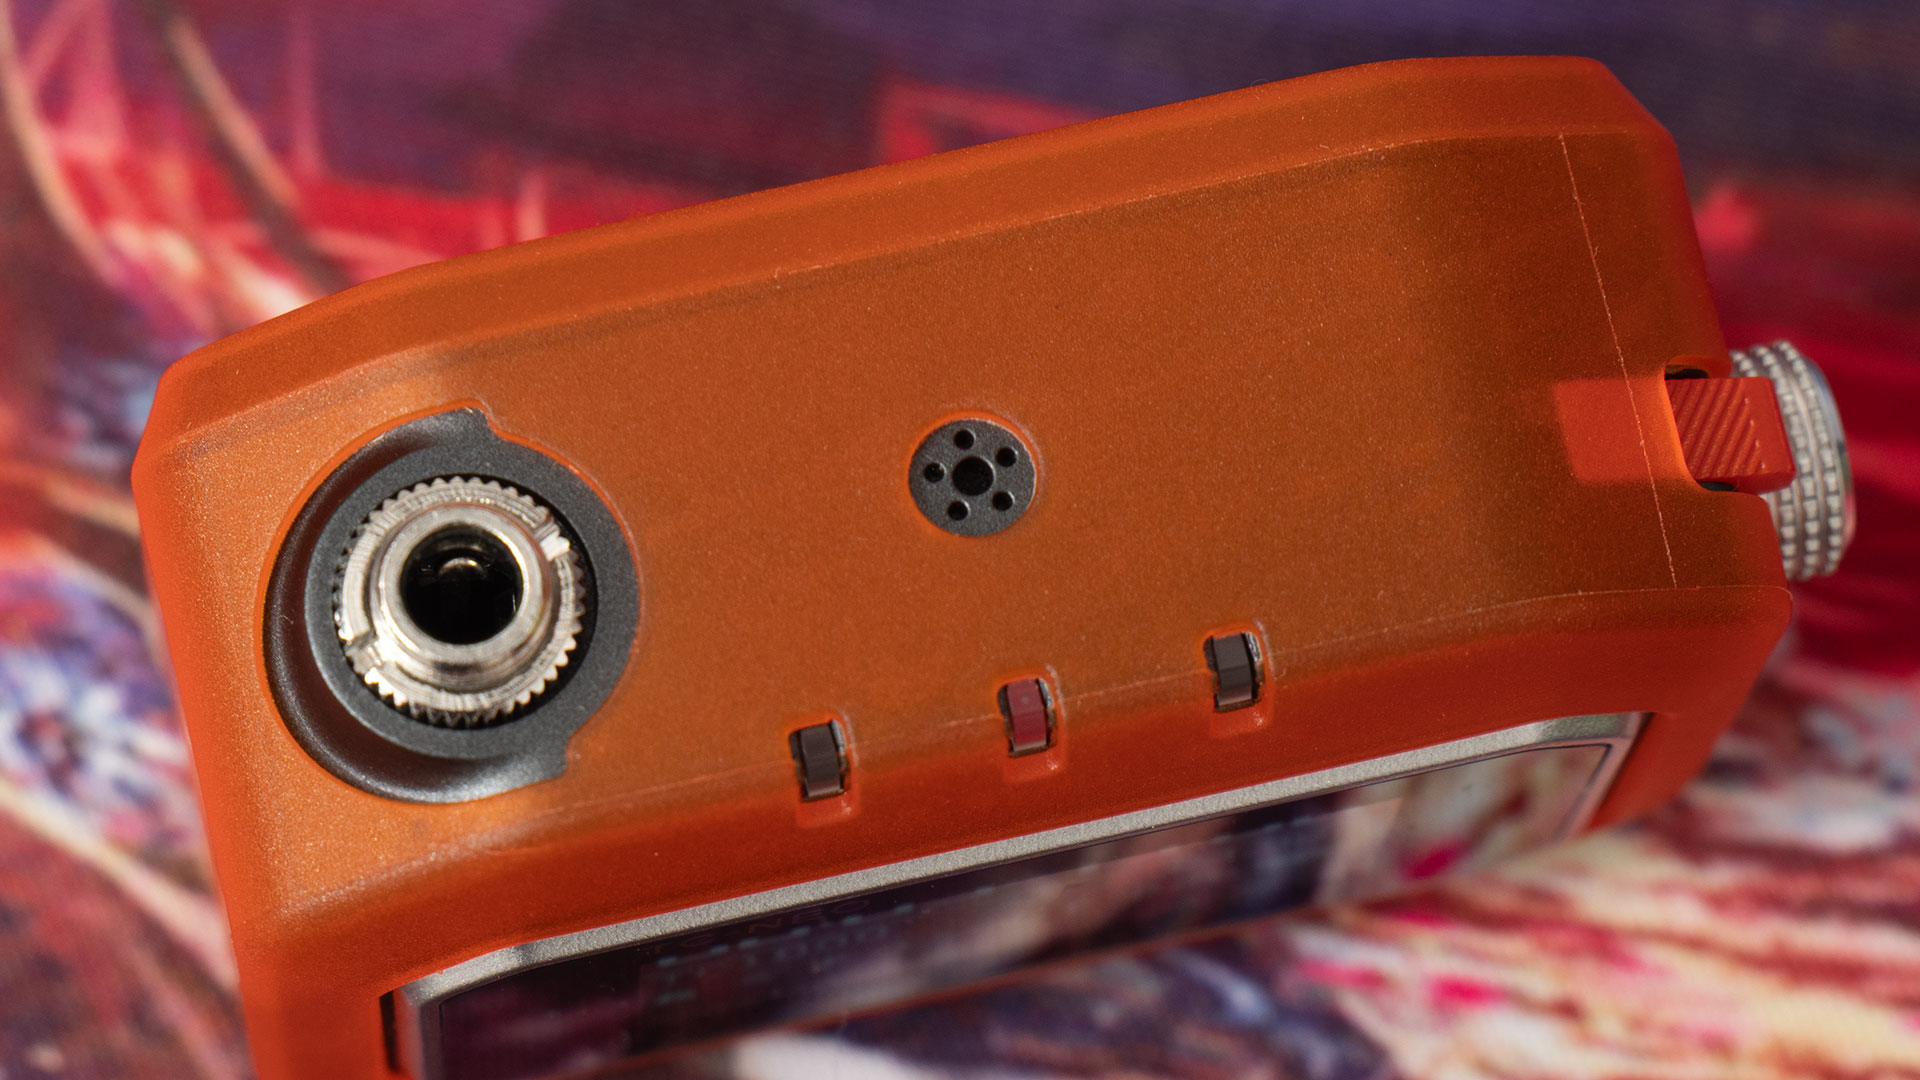
It has several LEDs on top for power, sync and pairing, so you can quickly and easily see the status of the unit. There is a button and a dial (which is also a button) on the right hand side, with a USB-C socket for charging on the left.
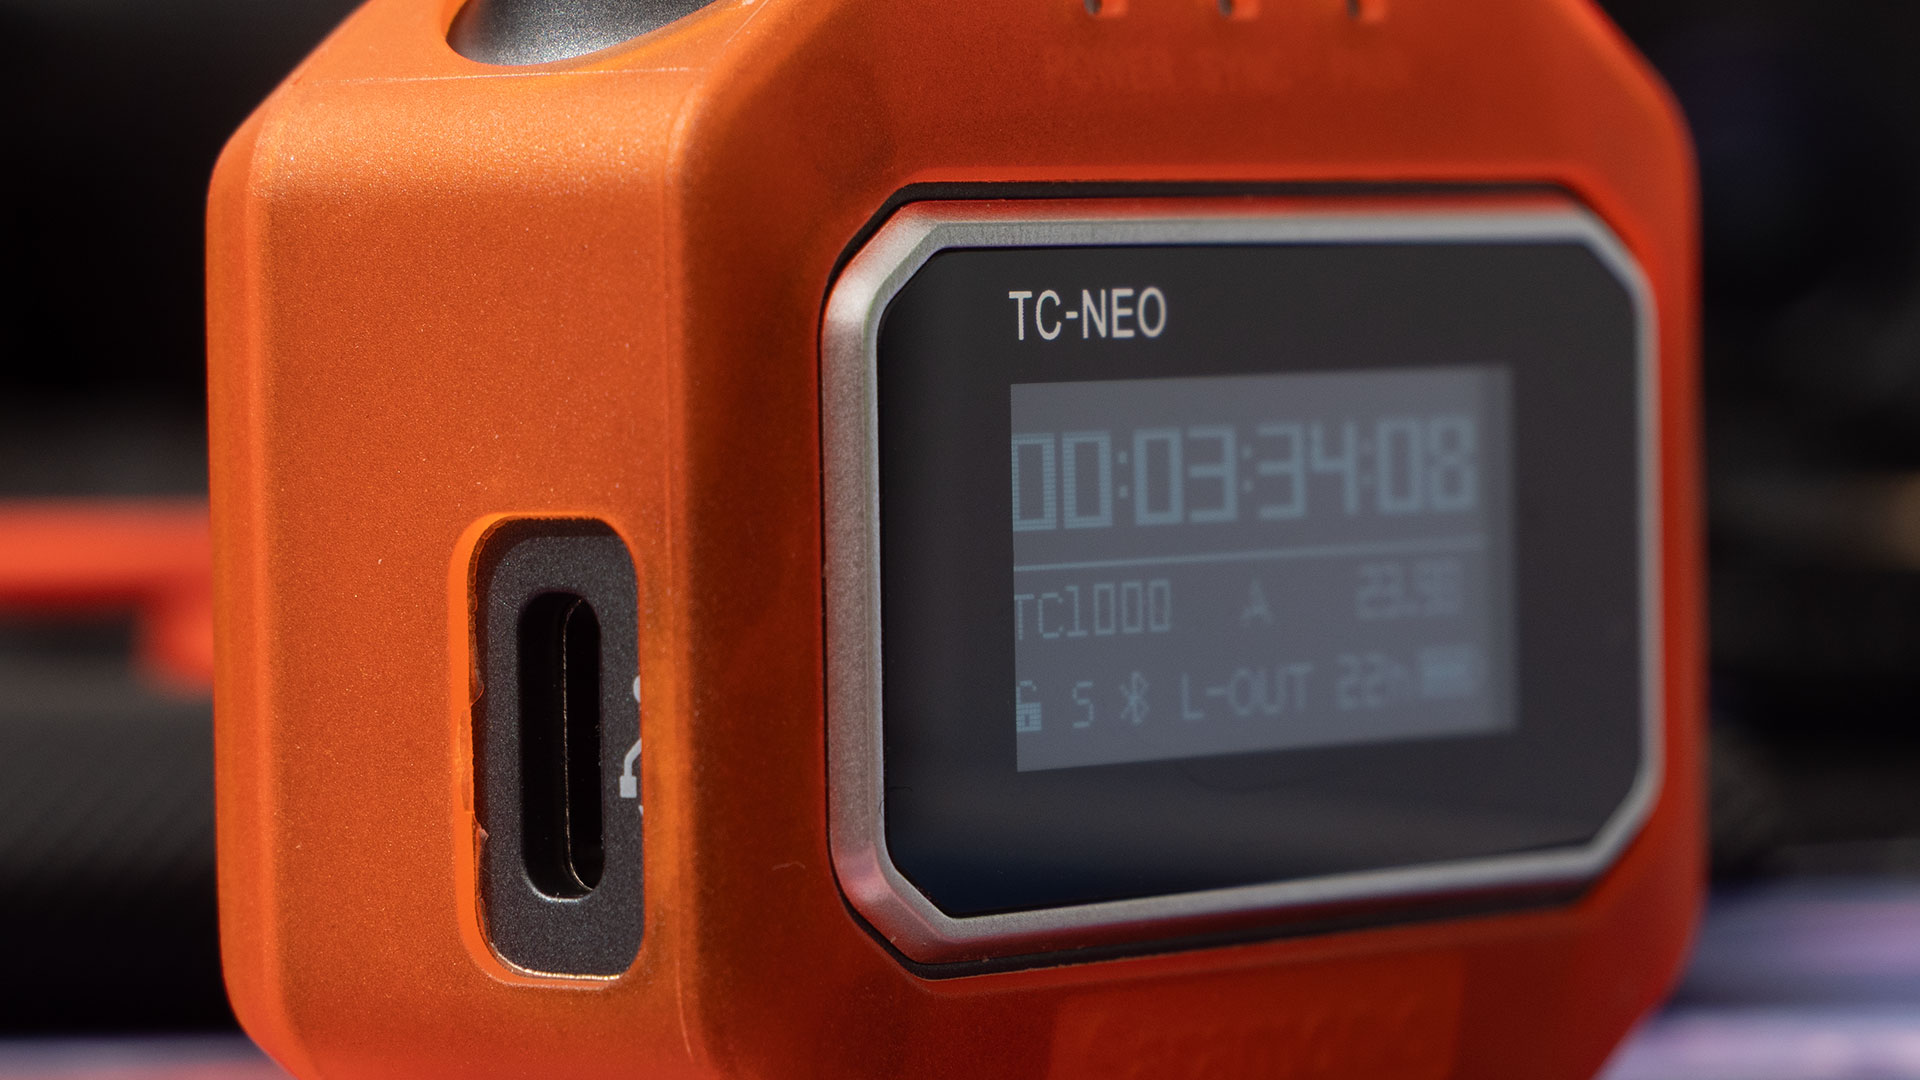
Also on the top, we have a screw-lock 3.5mm TRS socket for outputting LTC timecode audio out to your camera or other device, as well as an array of holes covering a microphone. Yes, that’s right, this thing picks up sound, too.
Around back, we see three metal pads which connect to pins in the charging case so it can top them up while bypassing the USB-C socket. You’ll also notice it’s mostly covered in the hook side of a piece of hook & loop tape.
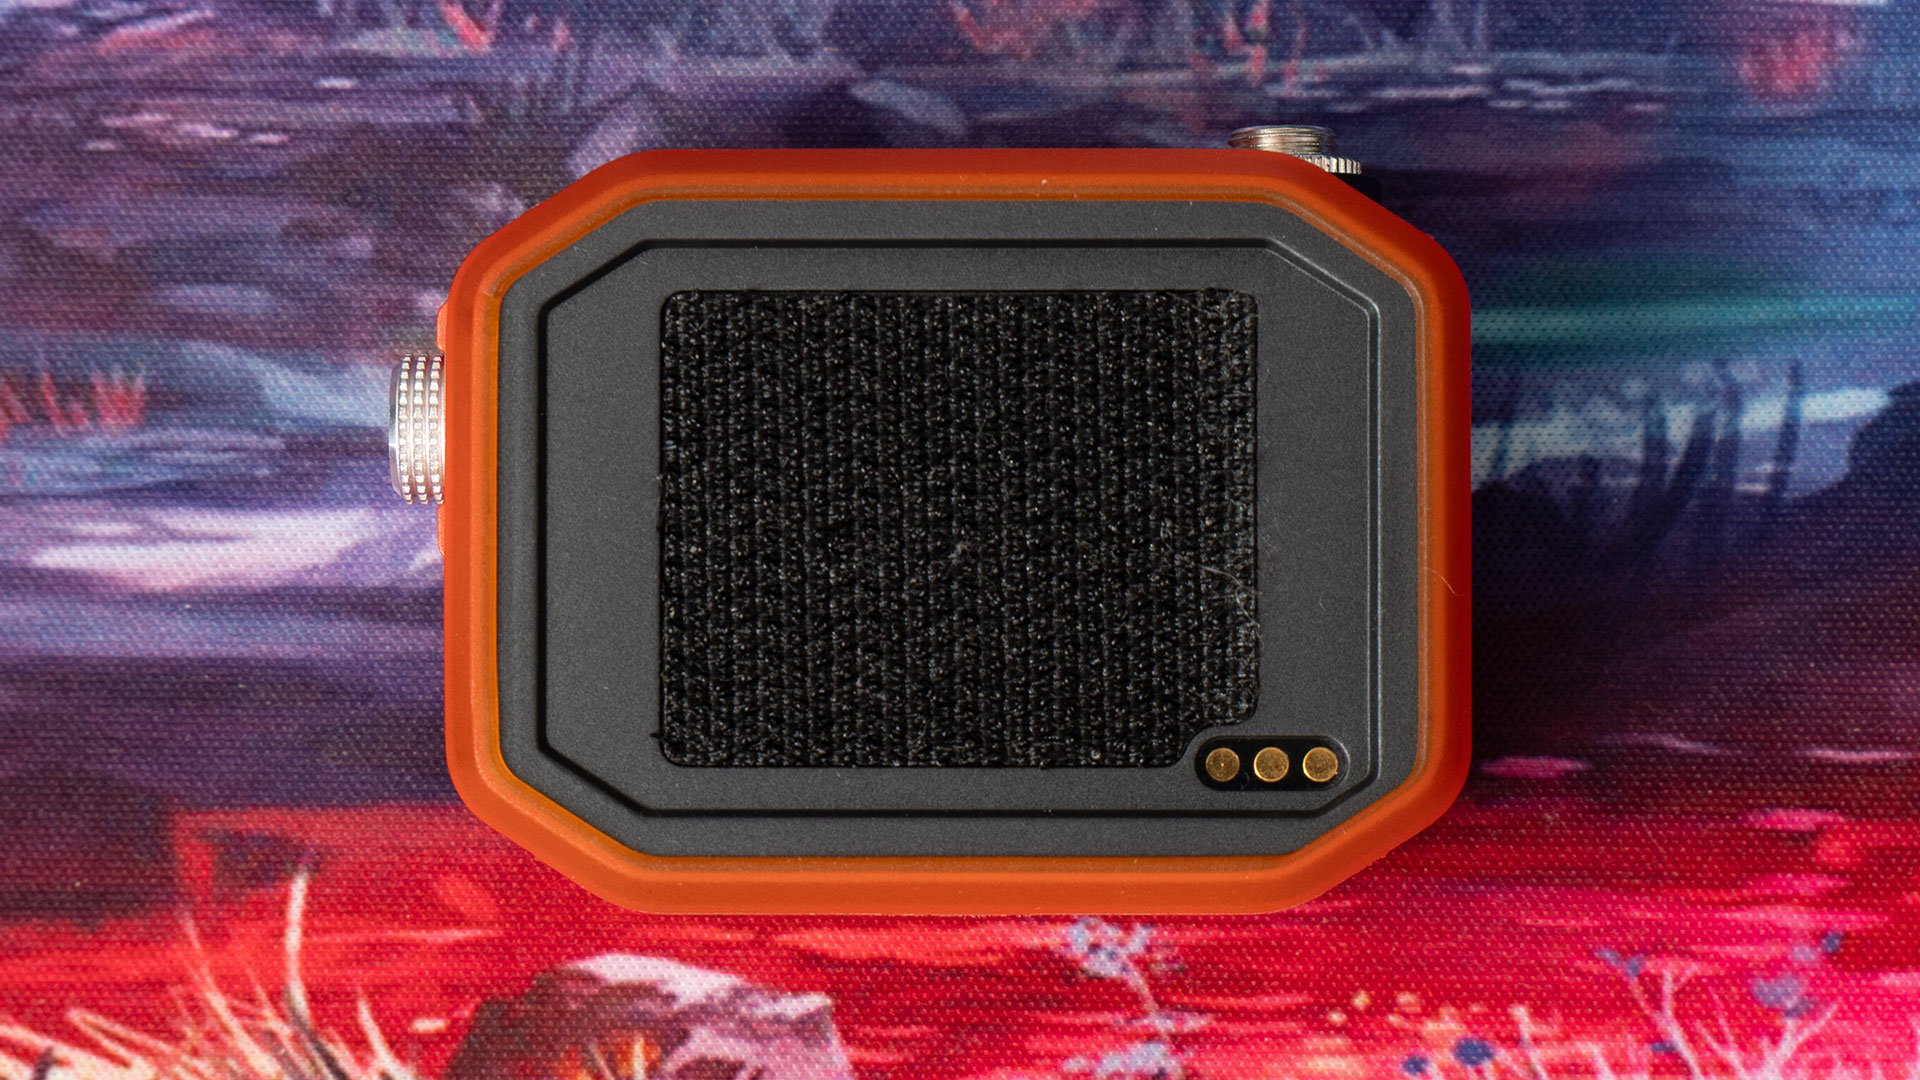
This is for your mounting options. As noted above, two different cold shoe mounts are included in the kit. One is a standard, basic cold shoe mount. The TC-NEO attaches to the top of it with hook & loop, and a large plastic nut screws down to clamp it fixed to your camera.
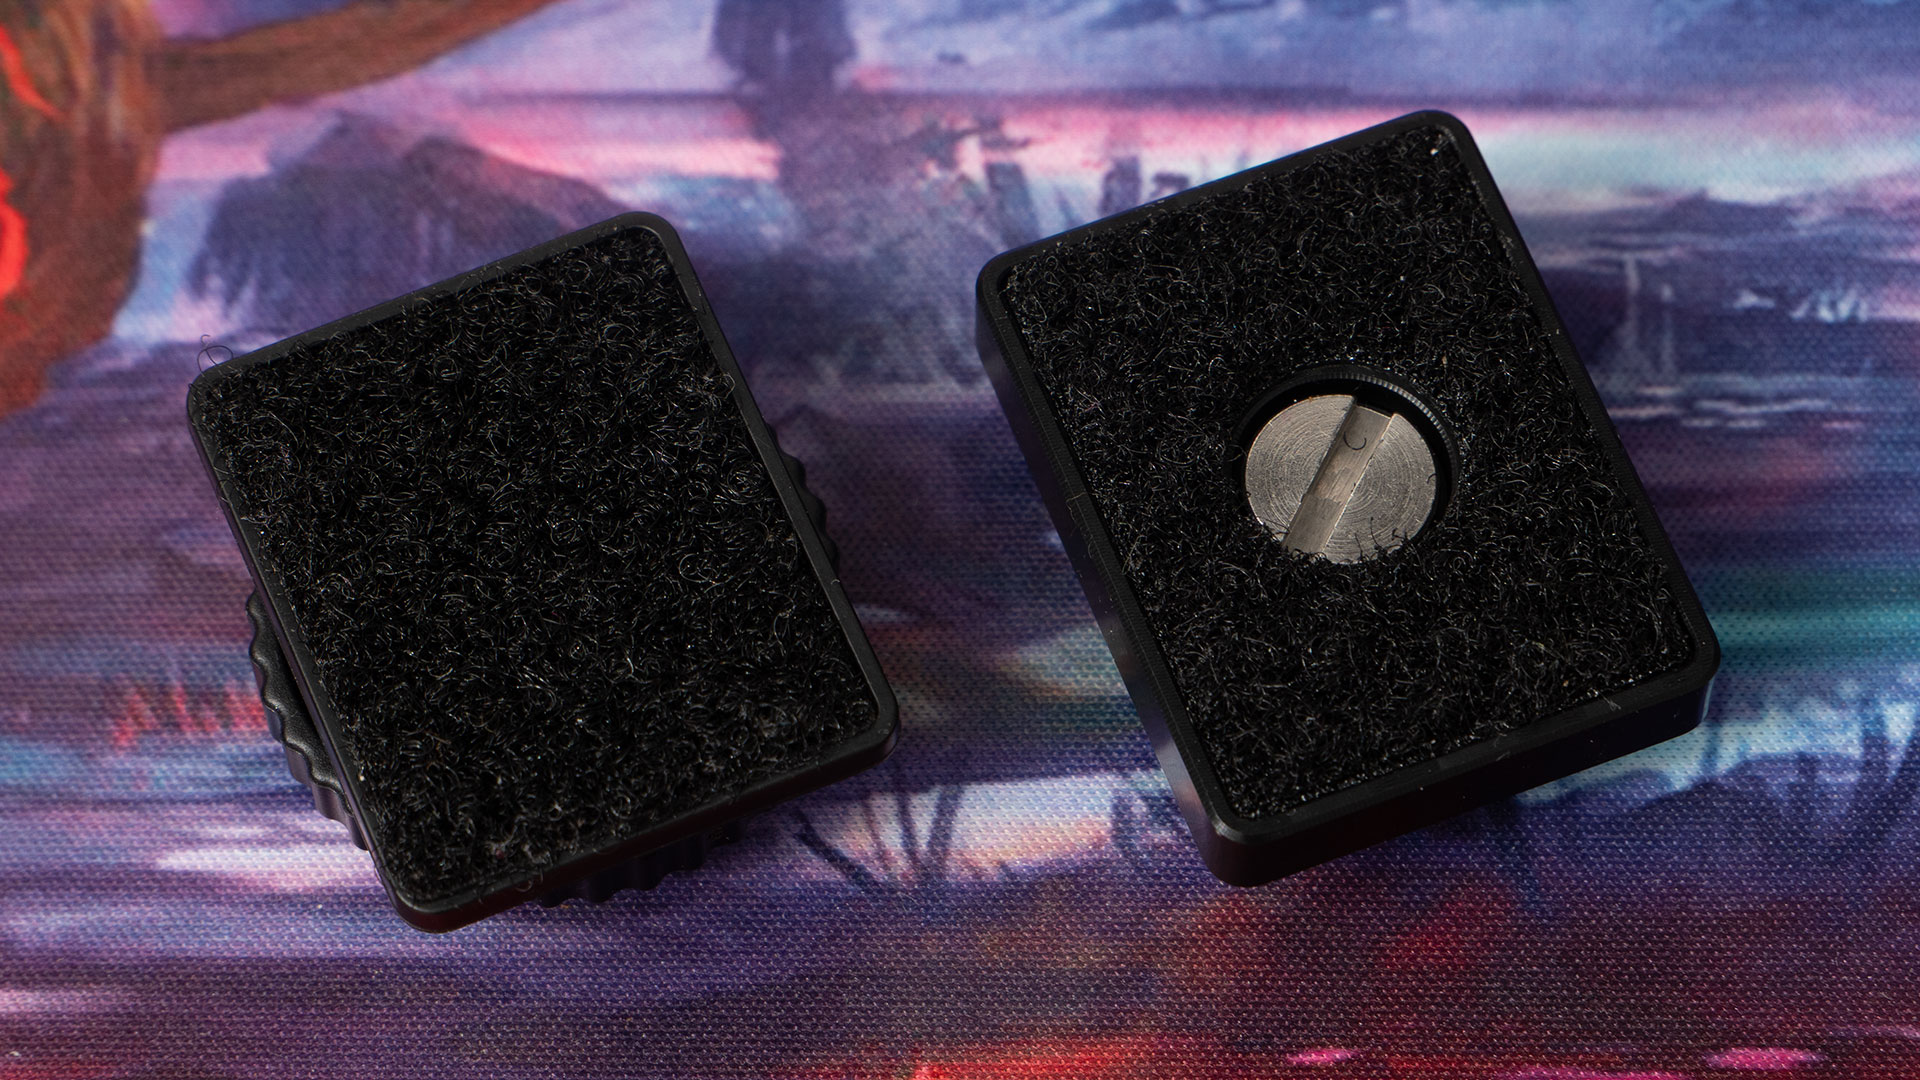
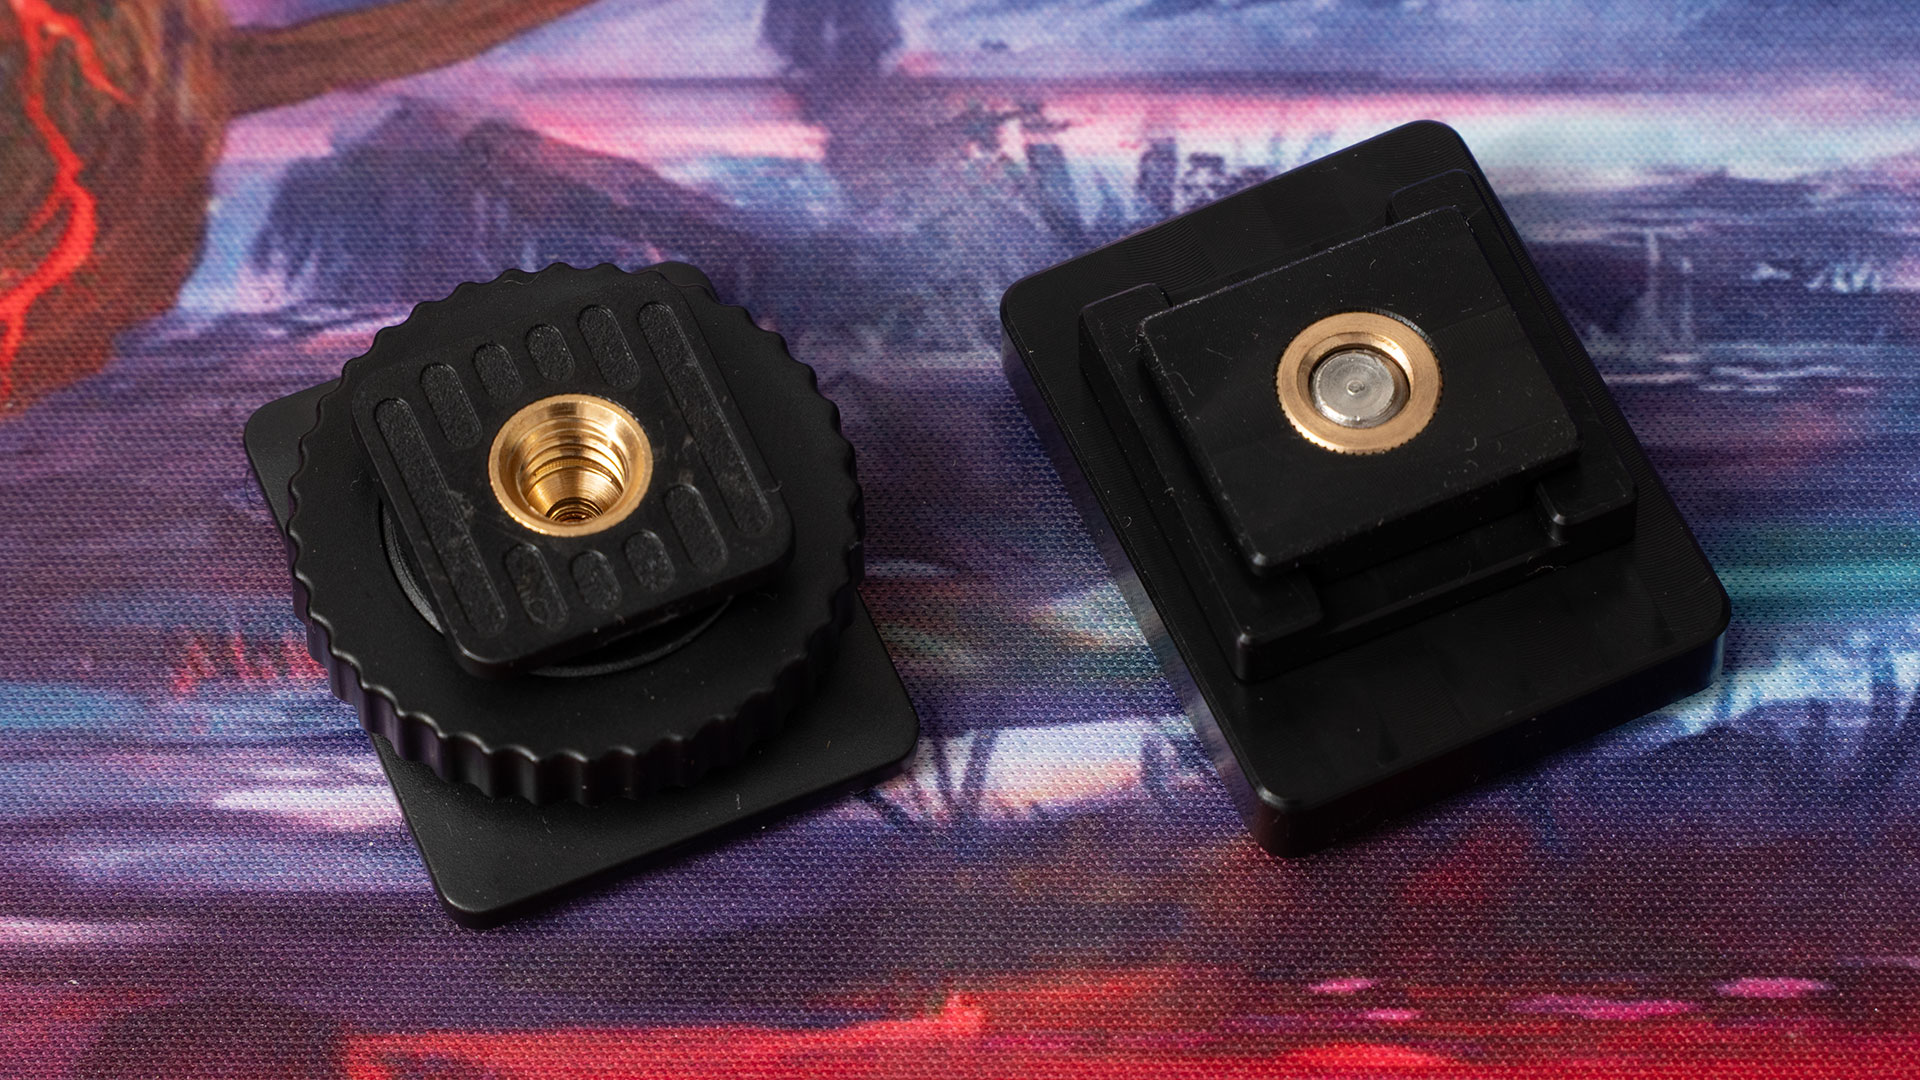
The other mount sports a screw-thread, allowing you to clamp it to other cold shoe mounts, perhaps on a cage or other rig. While you can use the other mount for this, too, this one has the advantage of letting you rotate the TC-NEO for easier viewing of its 1.1″ OLED display – which is readable even in bright outdoor conditions.
So, if you need to switch between one orientation and another – maybe switching from horizontal to vertical, or even having a camera upside down – you can easily rotate the TC-NEO depending on your needs at the time.
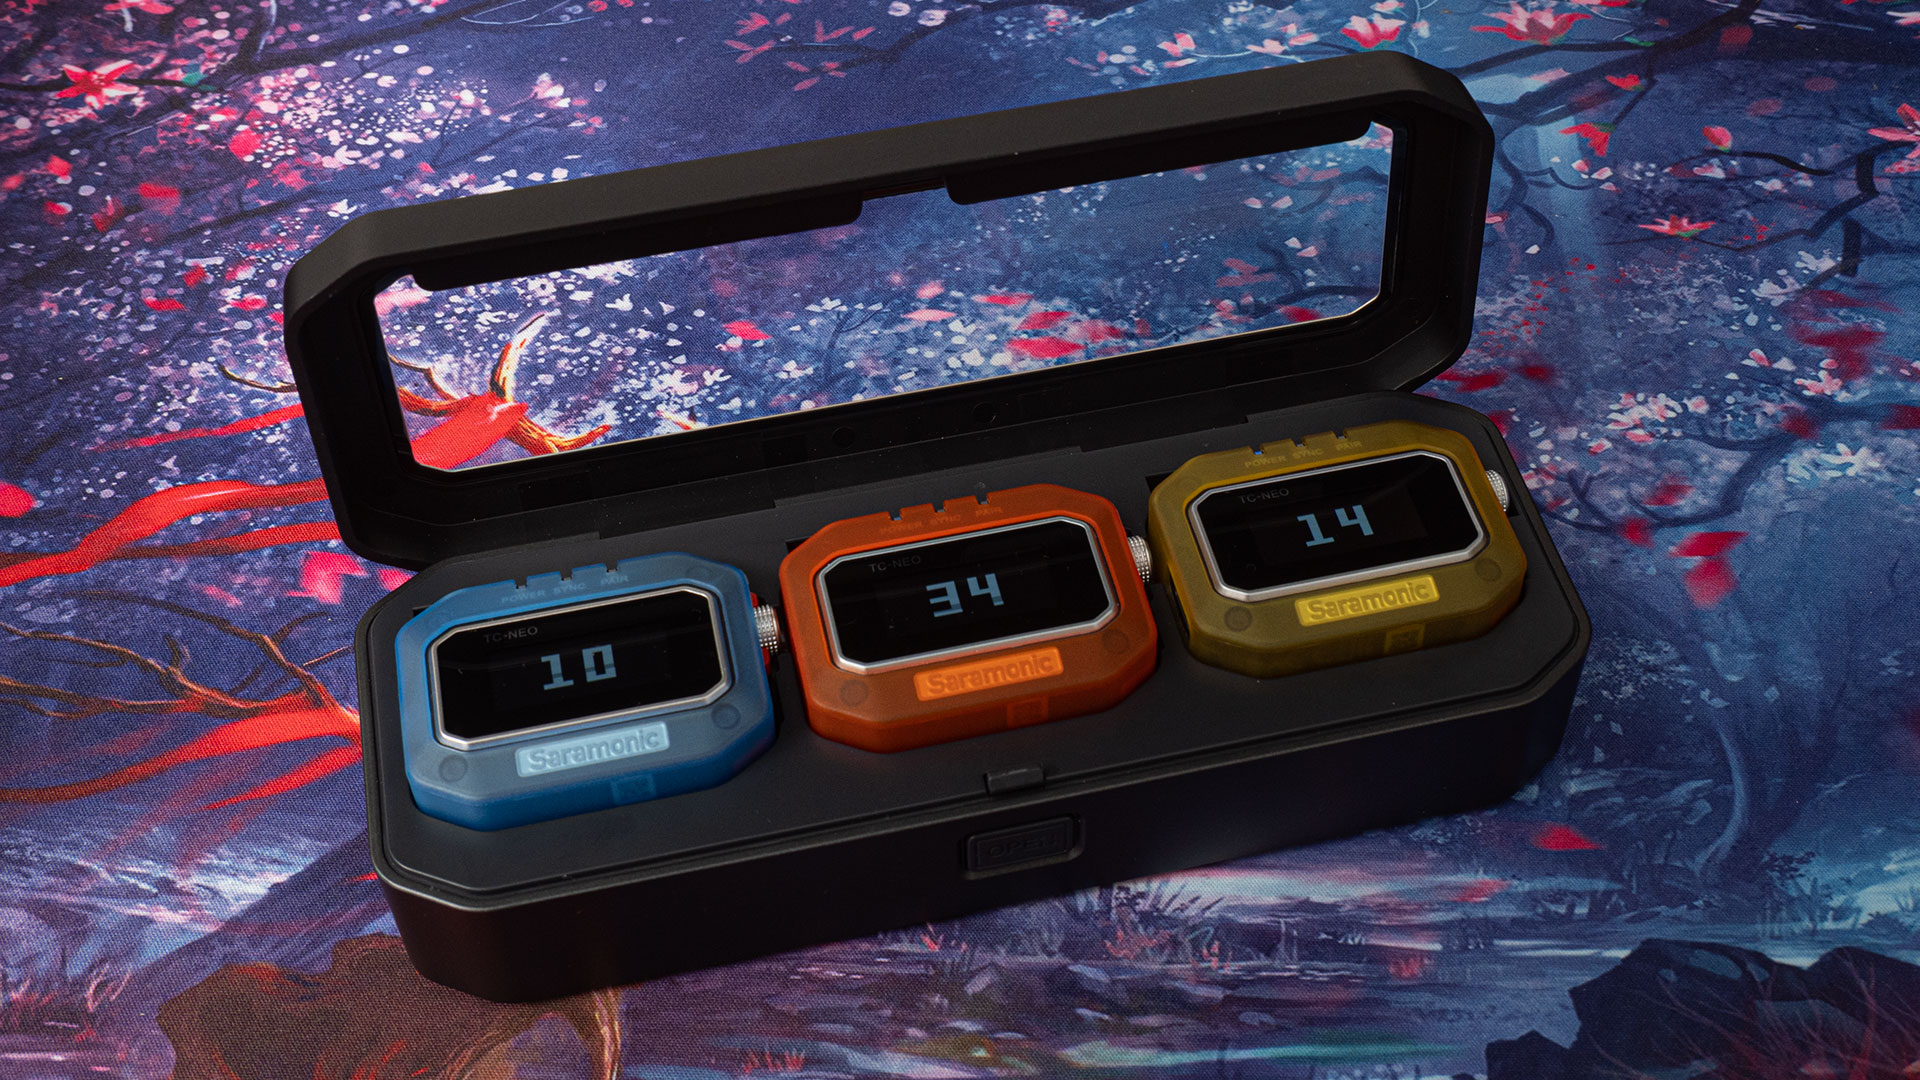
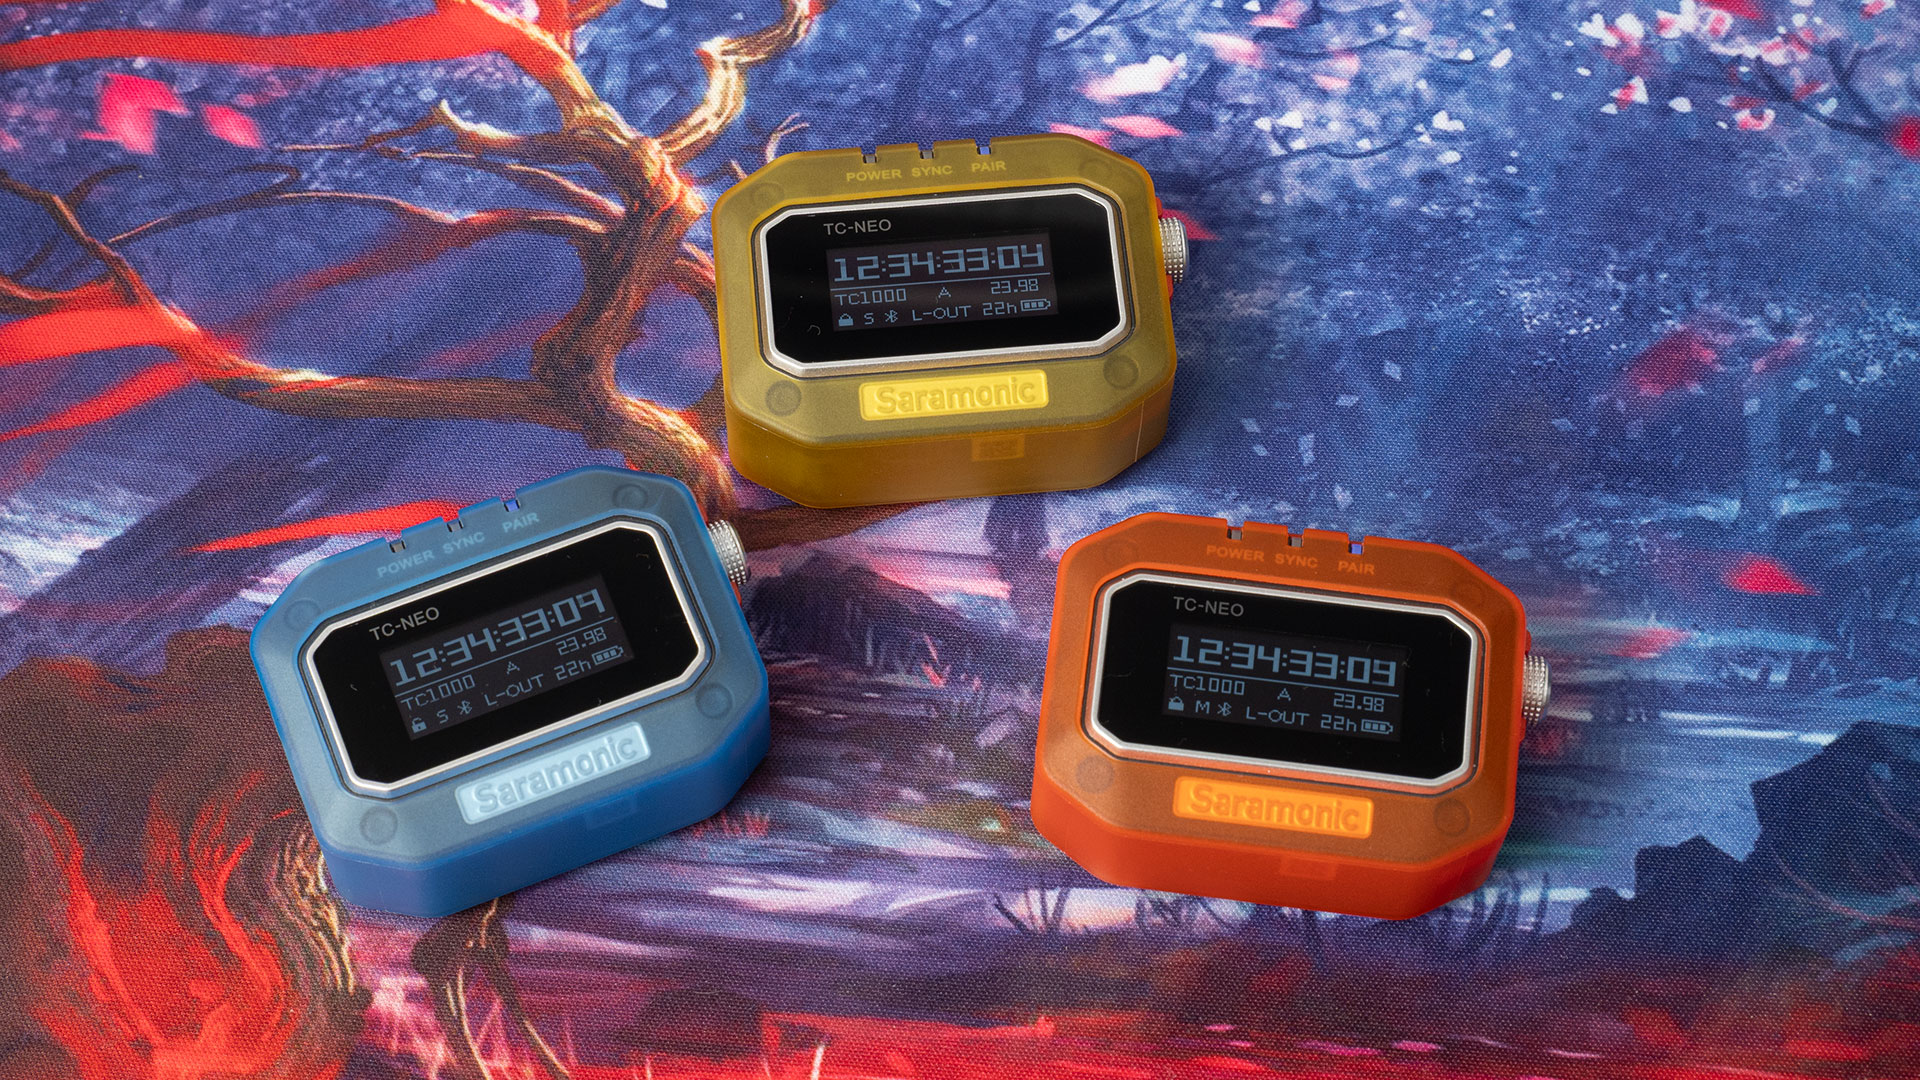
Each TC-NEO unit comes with a protective cover that surrounds much of the unit, with cutouts for the LEDs, buttons, USB socket and rear of the device. These do great for protecting the TC-NEO, but they’re also available in different colours, allowing you to easily assign them to different cameras without getting them mixed up.
Setup and Connectivity
Getting up and running with this is fairly straightforward, although it is going to depend on what other gear you already own and whether or not it has native timecode support.
For example, I have the Saramonic K9 wireless microphone kit. Not surprisingly, it is fully compatible with the TC-NEO timecode generator, and both the TC-NEO and K9 use the same app to sync everything up. In this configuration, setting up is a breeze.

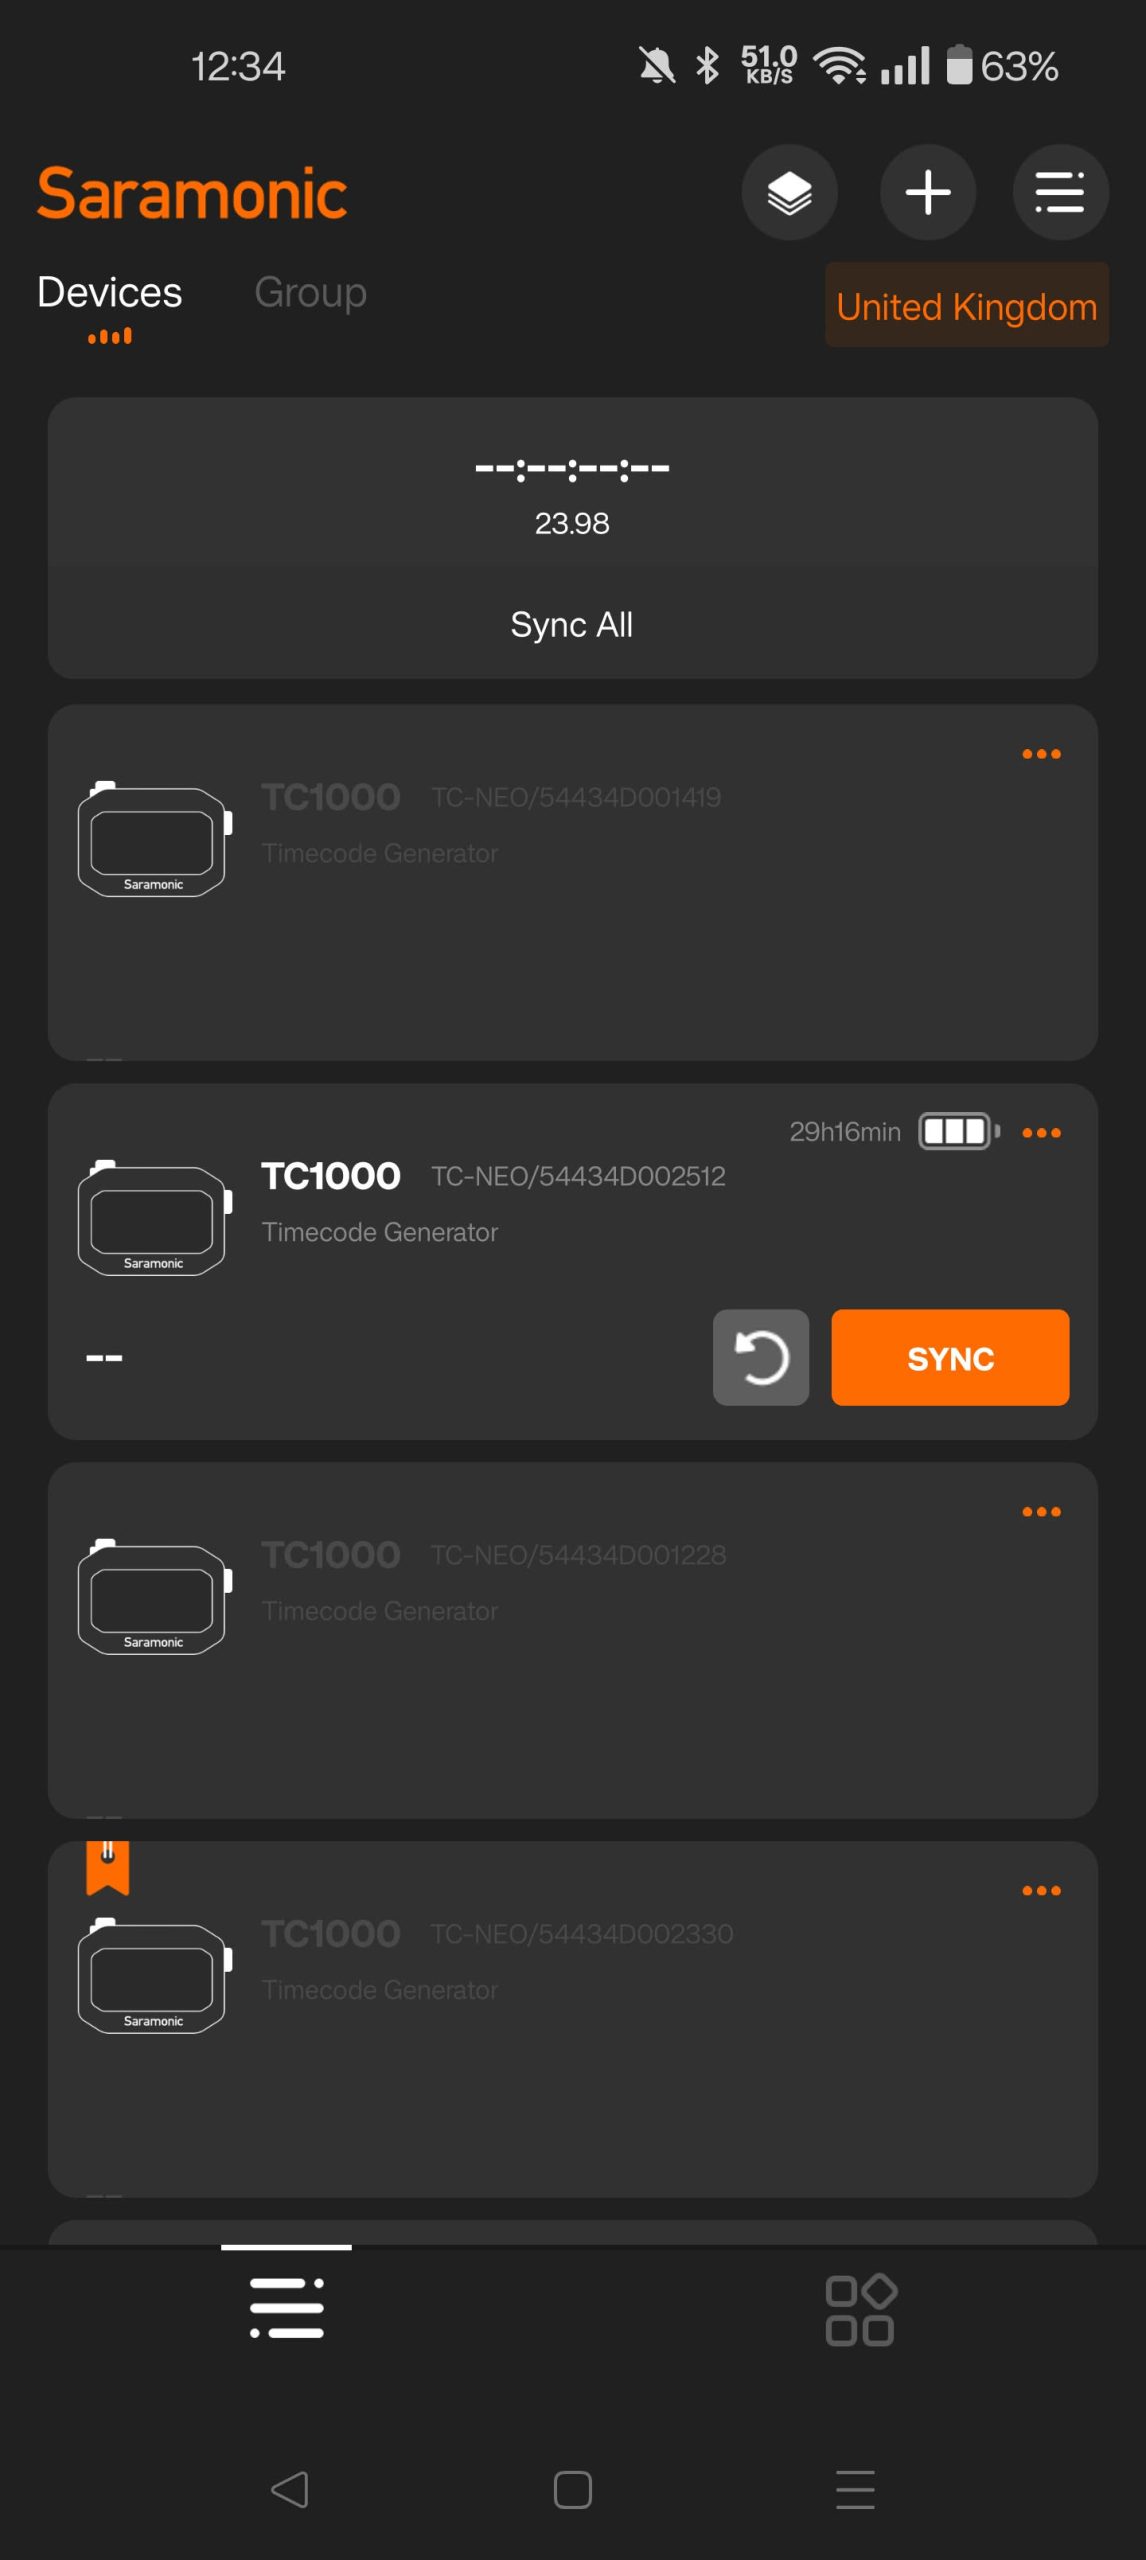
The first time you fire up the app, you’ll need to make sure Bluetooth is enabled and pair your TC-NEO units. From here on, all you need to do is turn them on, and as each comes online, they’ll be detected by the app.
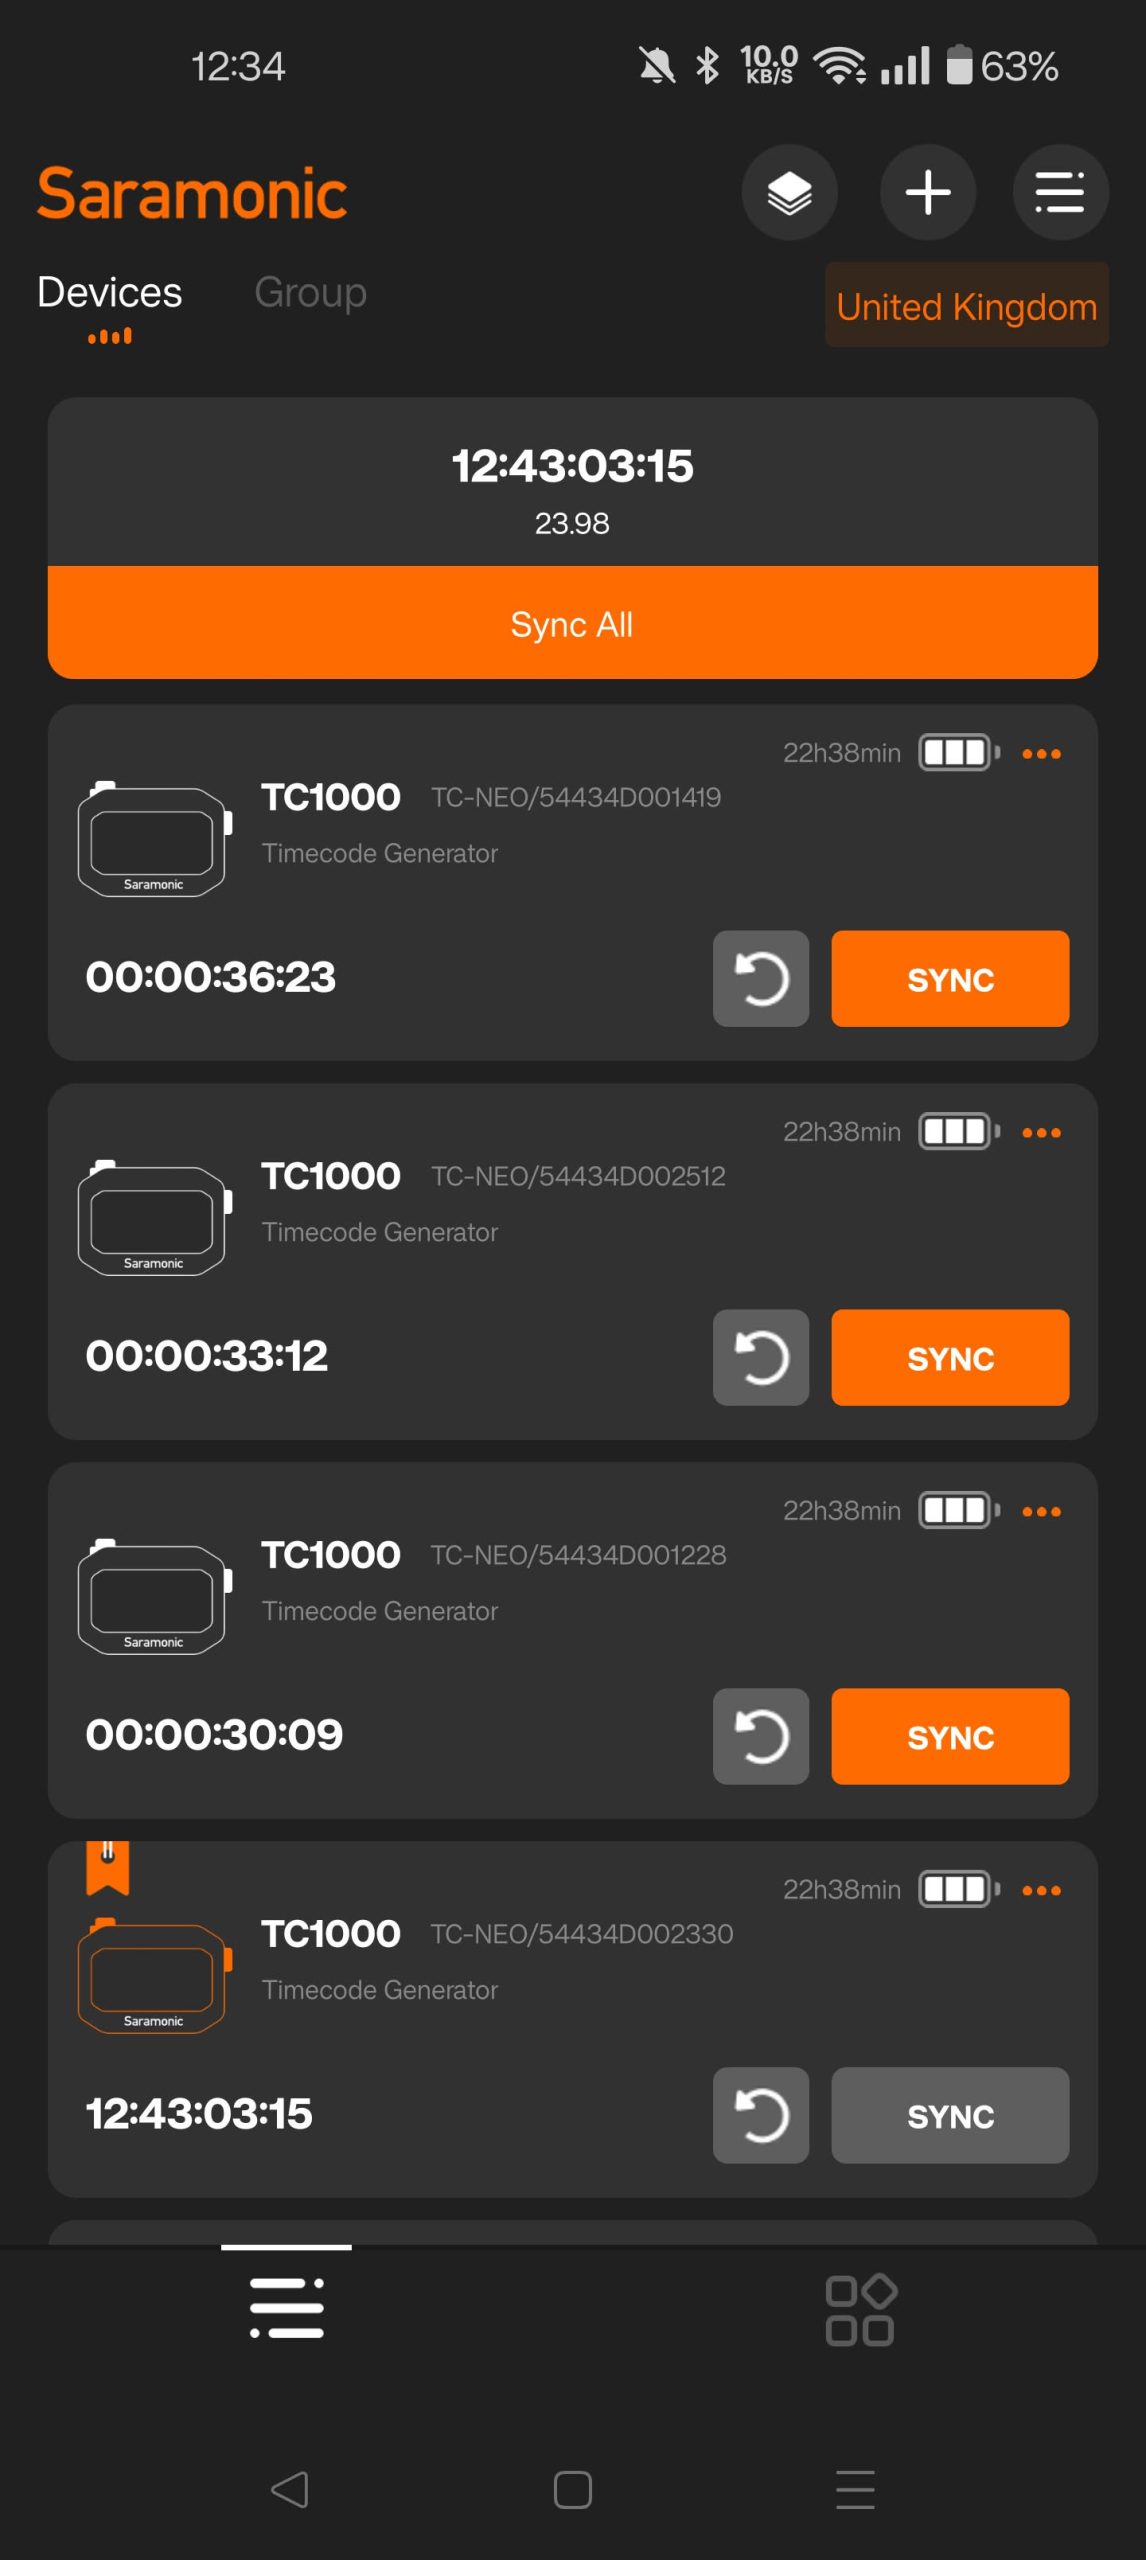
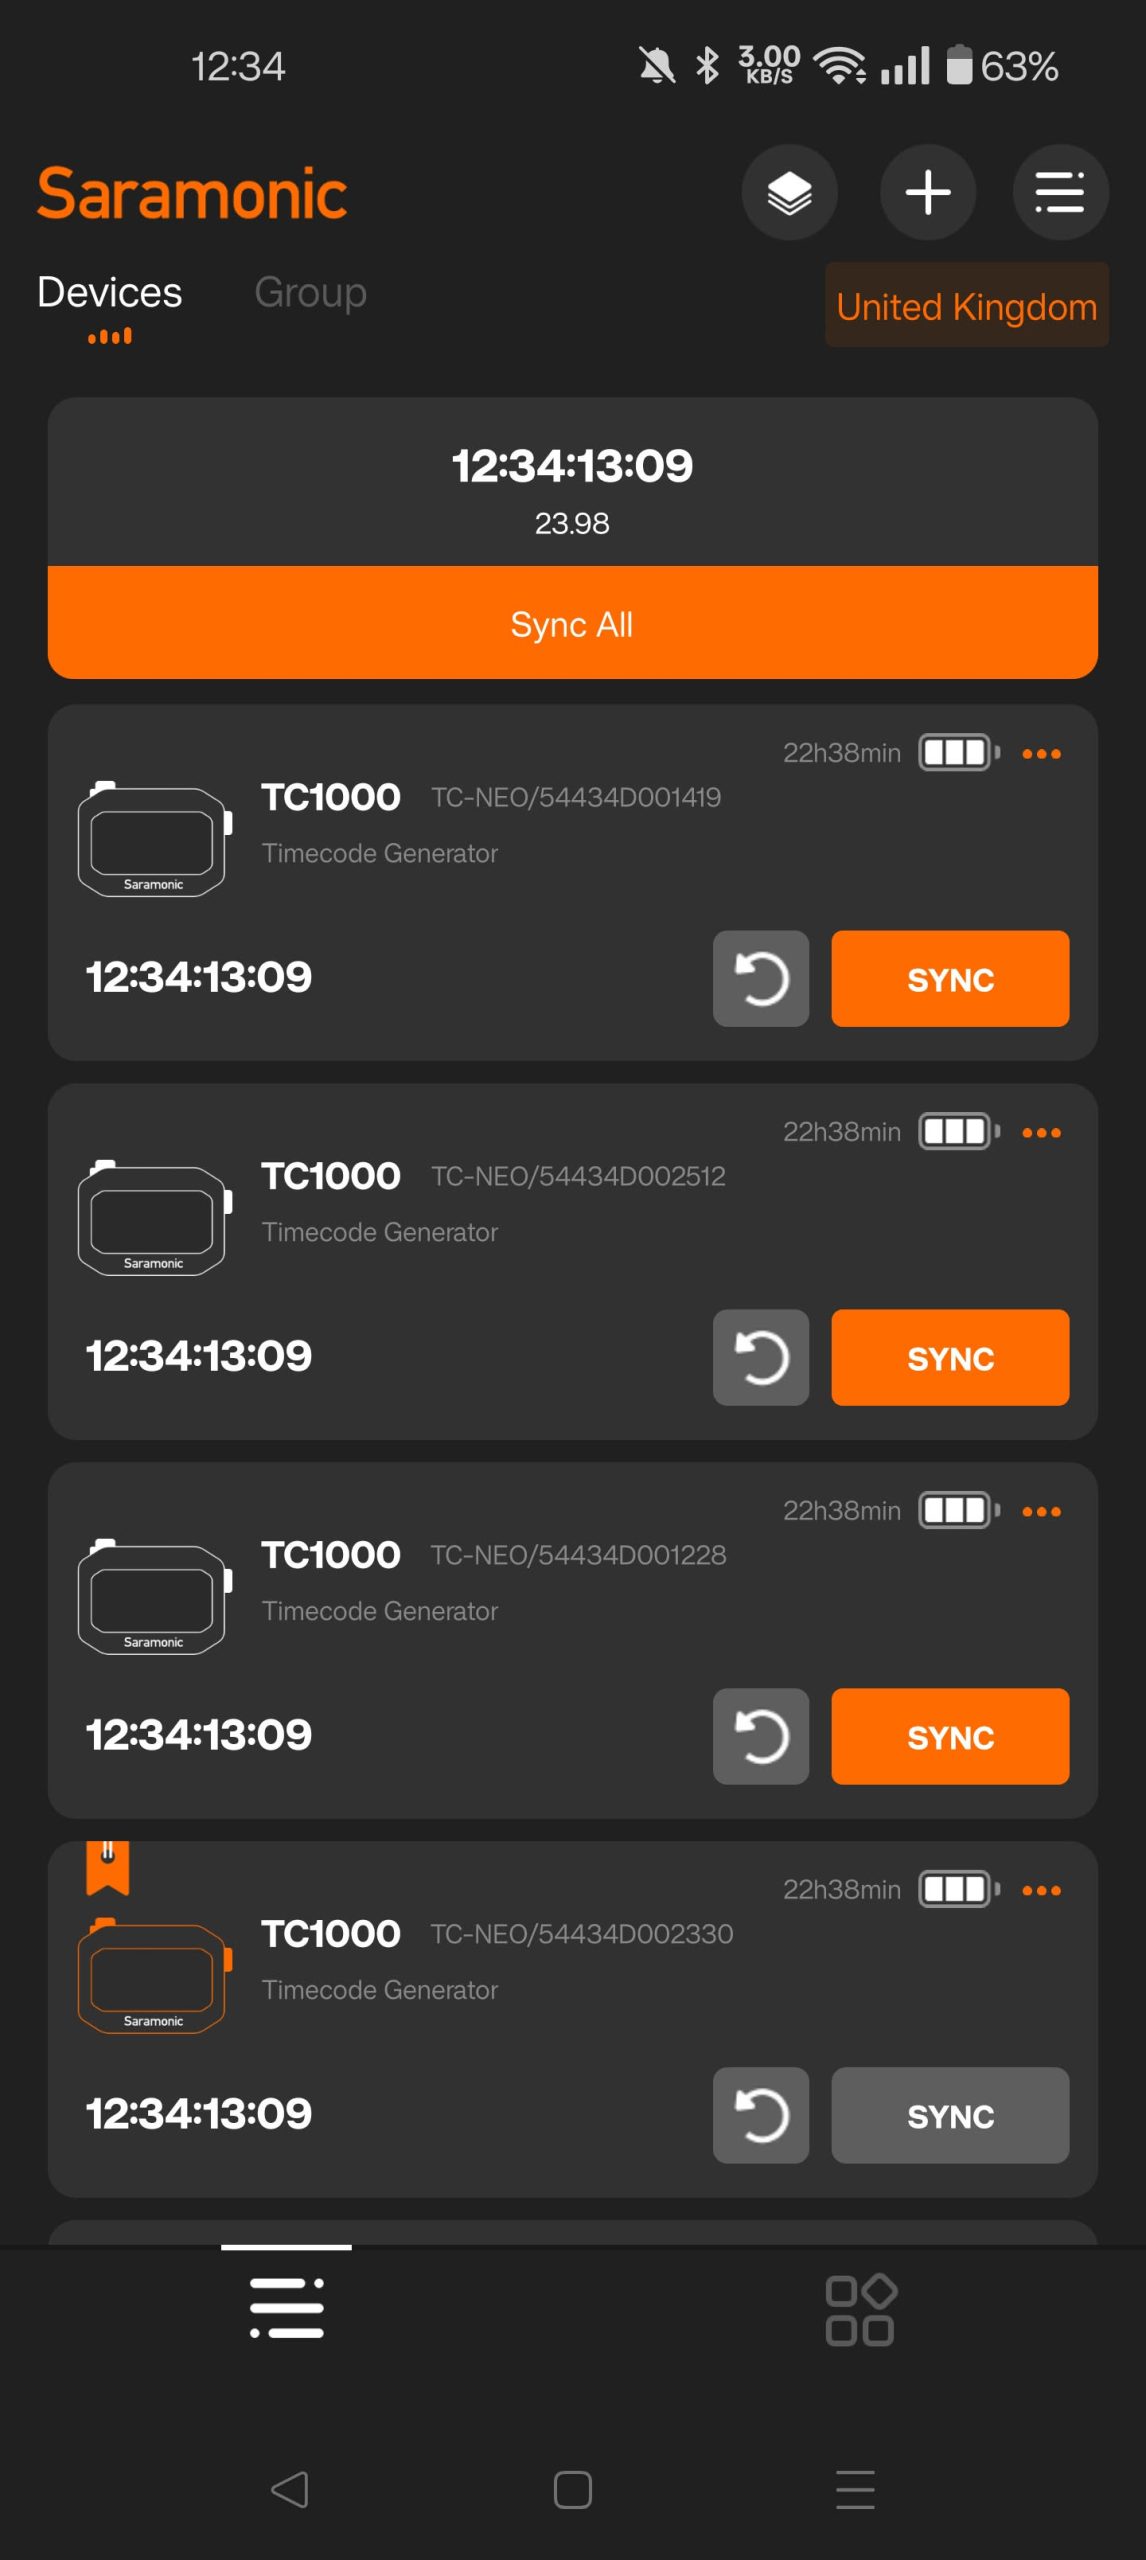
To sync them up in the app, we only need to hit “Sync All” and when the box comes up, we enter our settings for frame rate and our starting timecode. I tap the button to get the time from my phone and then hit Sync All.
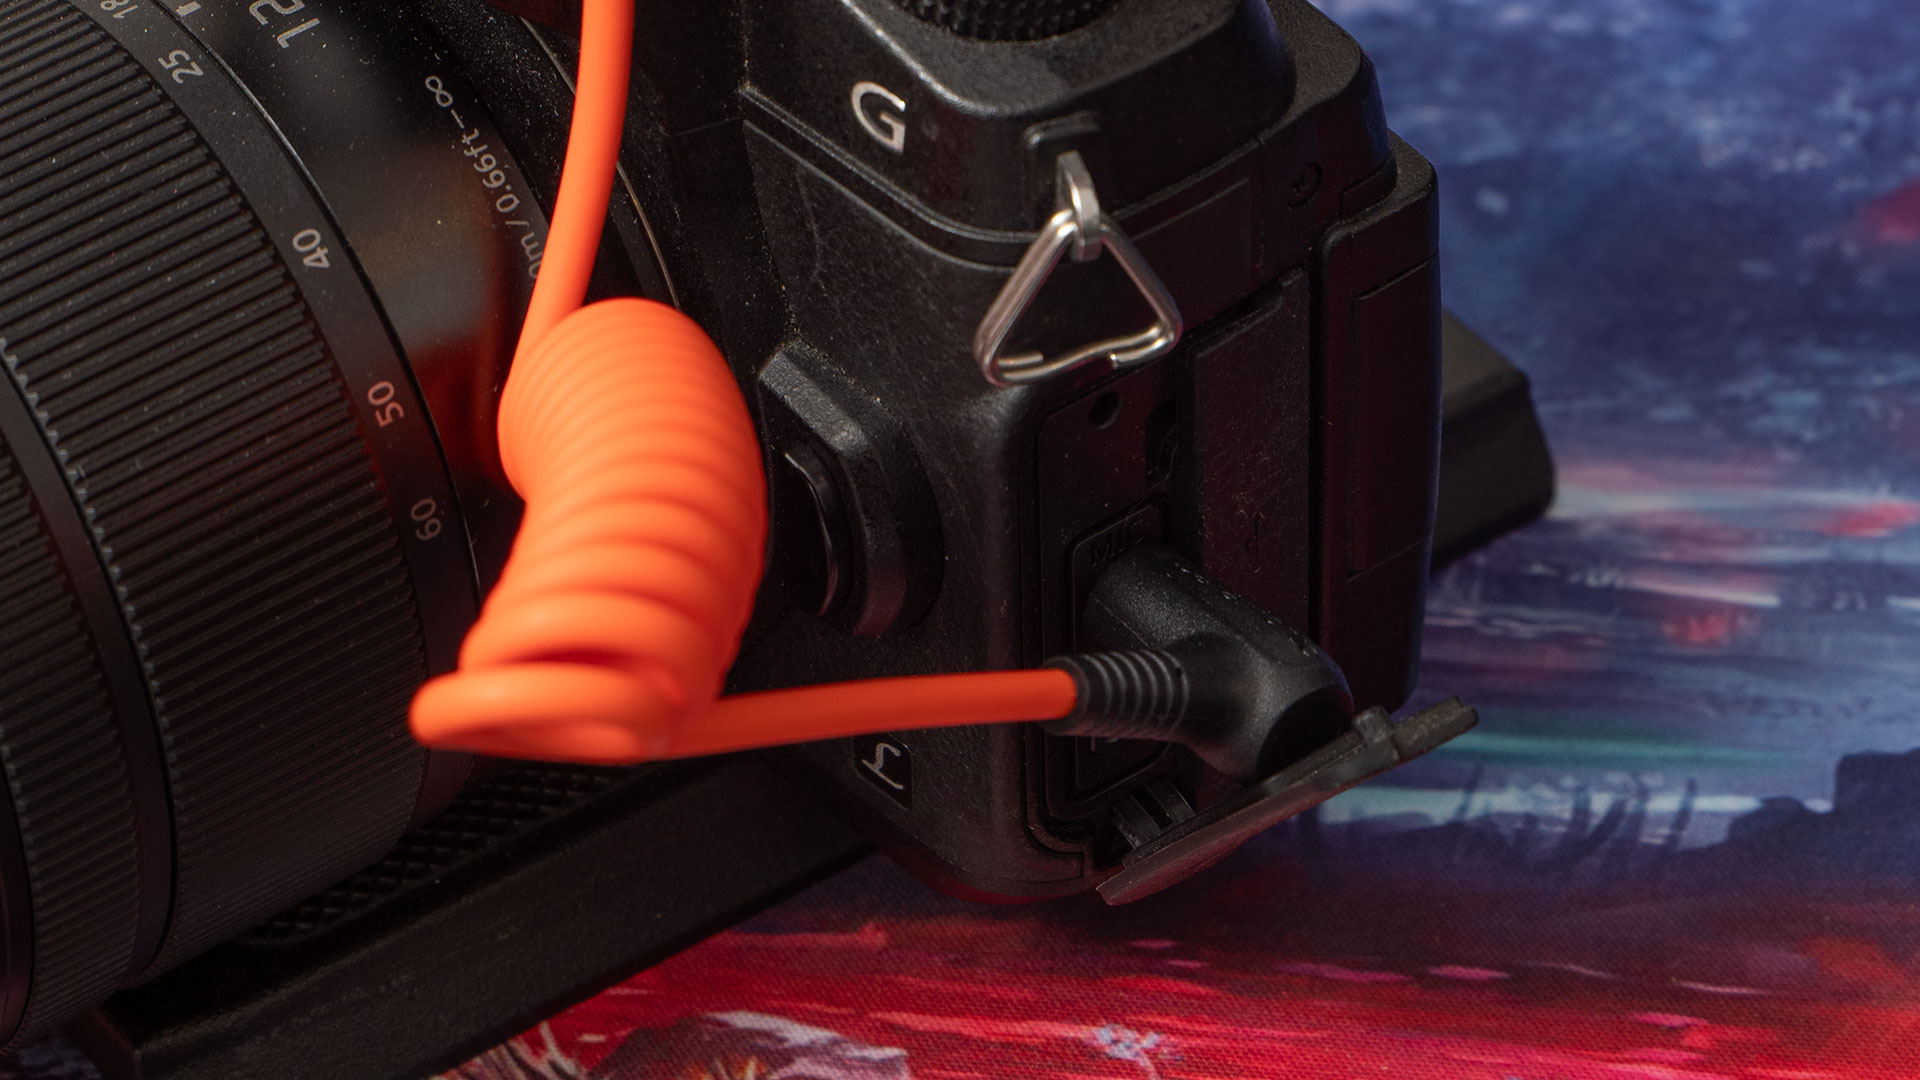
Once synced, all of your TC-NEO units and the Saramonic K9 transmitters (if you have them) use the same timecode. Now, all you need to do is connect one of the TC-NEO devices to the microphone input of your camera and you’re pretty much set to go.
Now, some cameras, such as cinema cameras, some mirrorless cameras and even the Insta360 Ace Pro 2, support timecode natively. These allow you to just plug in a timecode generator, hit a button and then the camera tracks the clock internally.
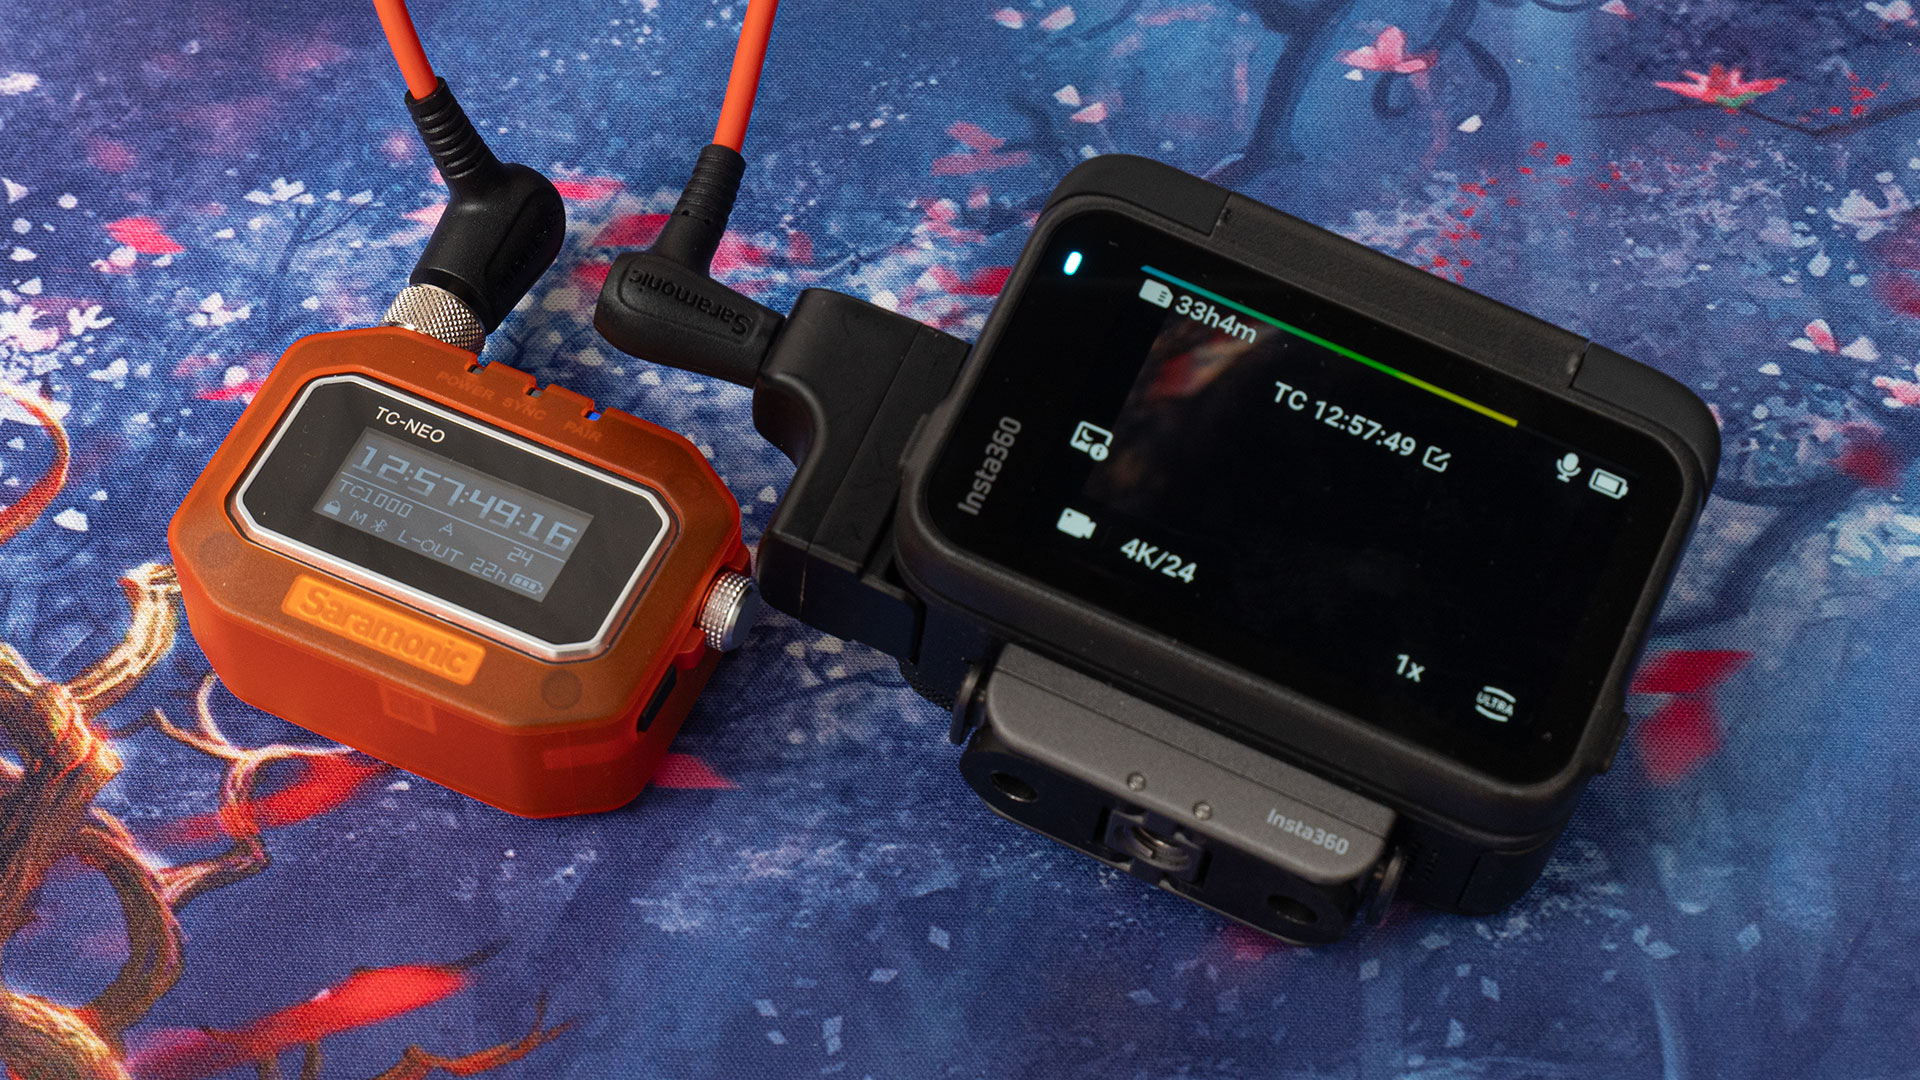
This is great, but I’d still advise keeping it connected all the time, if you can, just to be able to keep an eye out for drift. Not all cameras are created equally when it comes to keeping time. For those that don’t natively support timecode, you can just feed the timecode signal into the camera and your camera records it as an audio track in the video files it captures.
Syncing the TC-NEO to other devices can get very complex when you’re mixing different camera and audio systems. That’s beyond the scope of this review, but go ahead and Google to see how others use it with that gear before you buy.
User Interface and Controls
The controls on the TC-NEO device itself are pretty simple. You’ve got a power button that also acts as a lock button and a back button when you’re navigating through menus, and you’ve got a dial (that’s also a button) to actually do the navigating through menus and changing your settings.
Long pressing the power button turns it on and off. Tapping the power button three times when it’s on enables or disables lock mode. I’m mentioning this early, because it took me ages to figure out how to disable lock mode, as it auto-engages after inactivity by default.
The lock mode is great to ensure nothing gets accidentally pressed or knocked during use, but for my uses, I find it easier to disable the auto-lock and just do it manually when needed.
Now, with that out of the way, let’s turn our attention to the dial. Pushing it as a button once does nothing. Push it twice, though, and that’s when the menu pops up. Spinning the dial cycles us through the menu options, and pushing it lets us go into that option.
We can now use the dial to change that setting, and pressing it again locks the setting in. To get back to the menu, simply hit the power button. Then we can scroll through the rest of the settings. Tapping it a second time brings us back to the main screen.
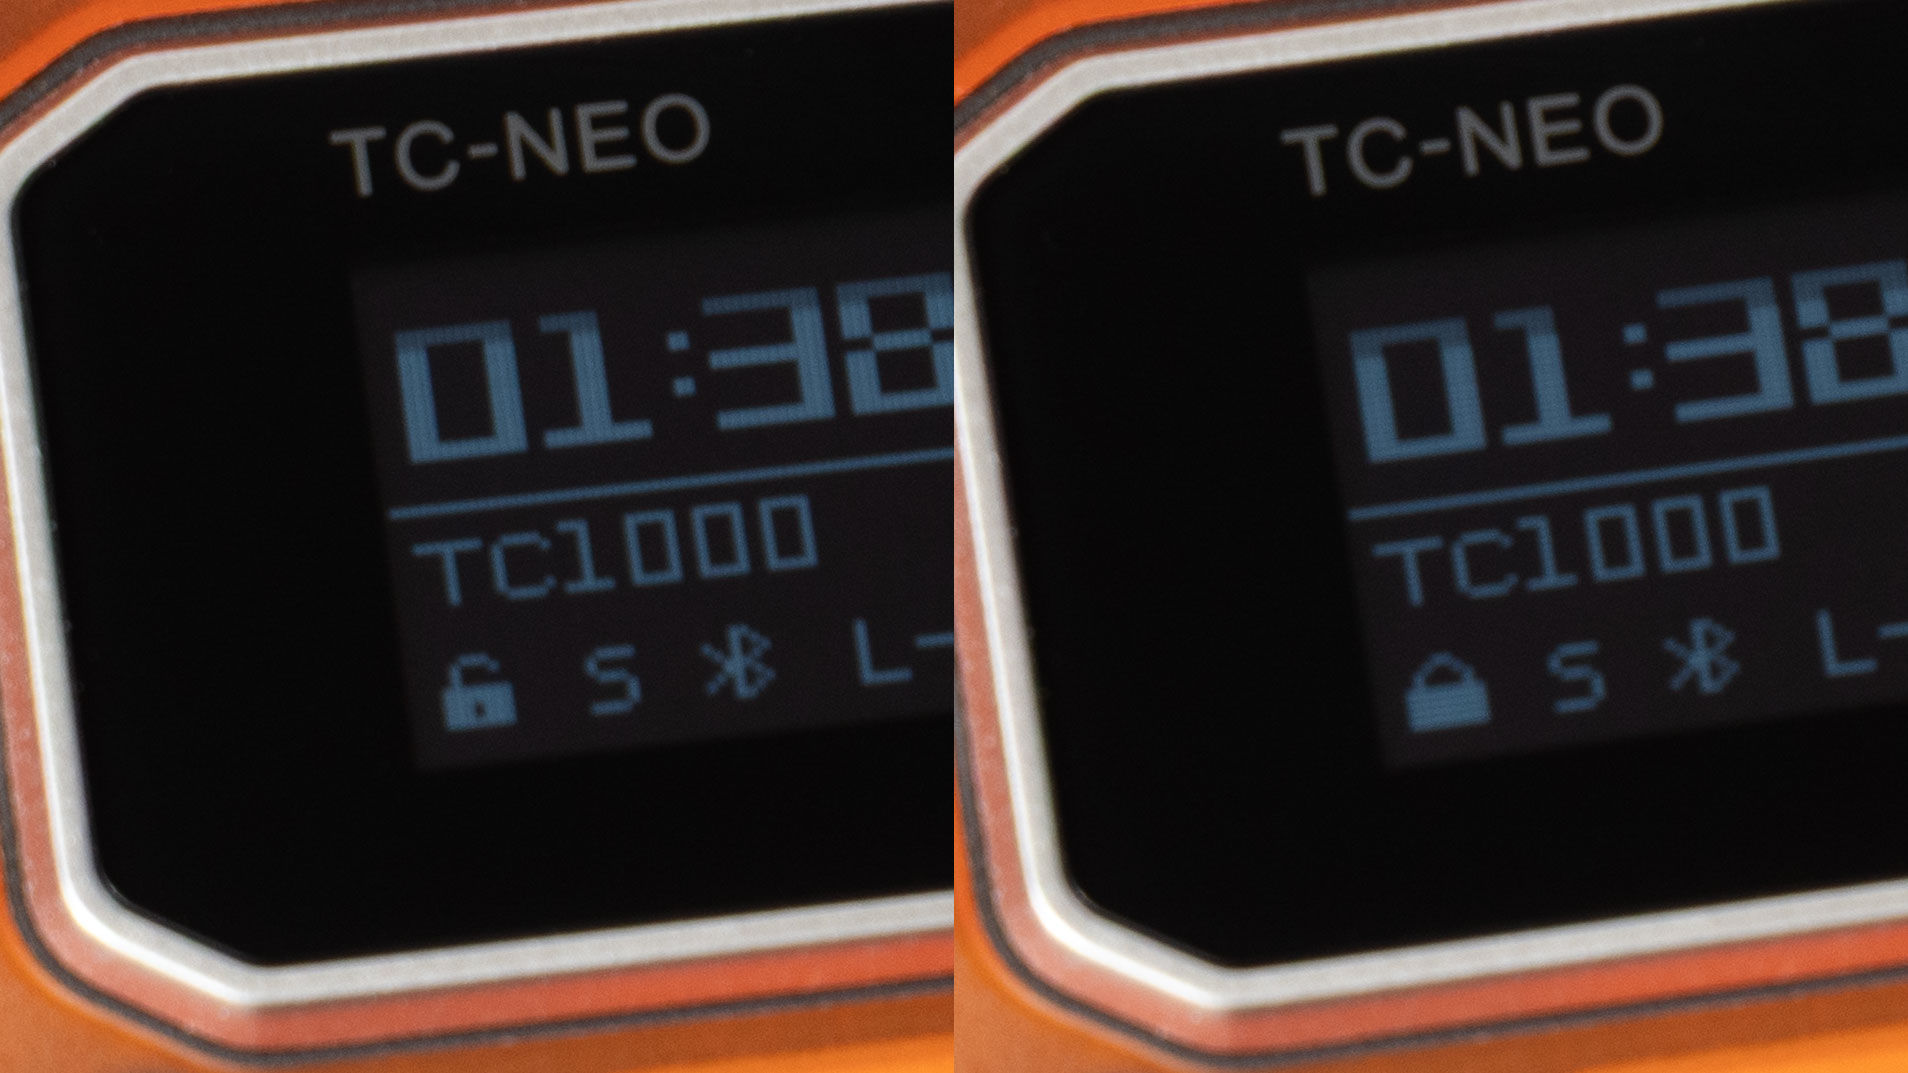
All of the settings and information are shown on a bright 1.1″ OLED display. It’s very easy to read, and you can even read it in bright daylight. Of course, the bright light doesn’t make it as easy to read in indoor or studio conditions, but it’s still very readable to the human eye.
The Smartphone App
In addition to the on-device controls, you’ve also got the smartphone app. This allows you to quickly and easily see and set all of your TC-NEO timecode generators and K9 microphones in a single place. Pairing is quick and easy, once they’re in there, they just work.
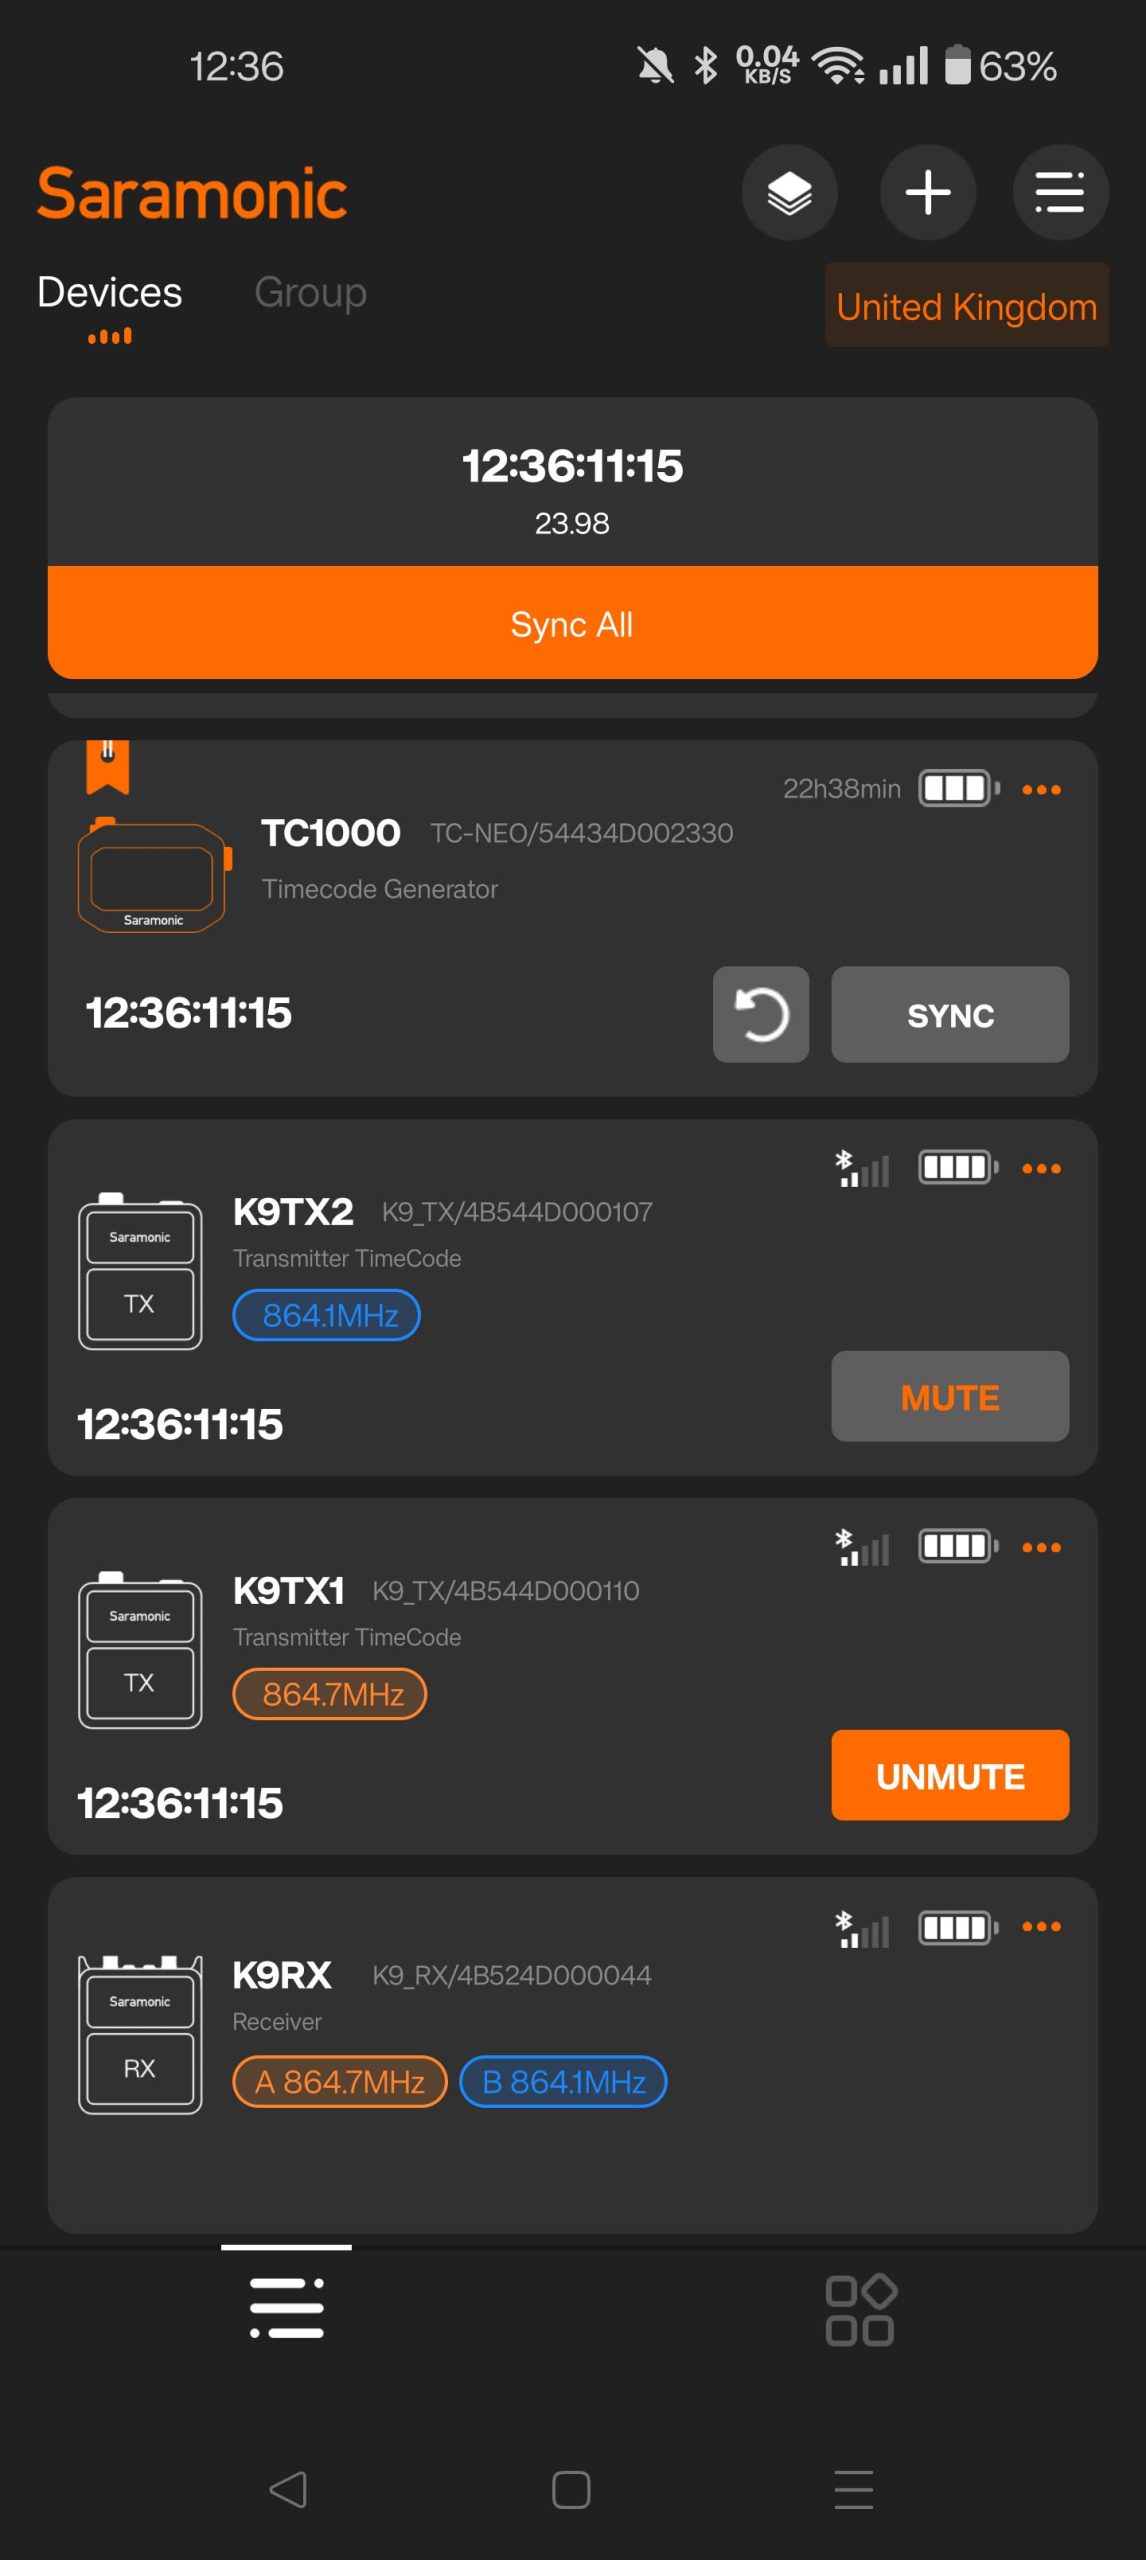
From here, you can configure all of your devices in a single location, send out a new master timecode signal to all your devices or sync one device to another, when you’ve got one of your TC-NEO units set to master mode.
There’s a lot of different options within the app for configuring different setups, as well as some specific functionality for the Saramonic K9 units so you don’t run afoul of frequency laws where you’re shooting. But once it’s set up, it’s fairly simple.
After all, you’re usually not going to change a whole bunch of things once you start your shoot. You set your settings and you keep going until the day’s done. Maybe you’ll add another timecode generator to the arrangement if you bring in another camera, but doing that is a doddle.
Using the Saramonic TC-NEO
I’m testing the TC-NEO units here with the Saramonic K9 wireless microphone kit. Now, this kit was built specifically to work with these TC-NEO units and the Saramonic app, so these are kind of ideal conditions. But what better conditions under which to test this out?
Side note: There is a way to sync these to other wireless microphones that support timecode, like the Rode Wireless Pro, but that’s beyond the scope of this review. I may cover it in a separate article if enough people are interested – let me know in the comments.
I’m not going to go into a full review of the Saramonic K9 here, I’ve already done that once. But I’m using it to record my audio while sending timecode from the TC-NEO units into my cameras. This way, the K9 transmitters embed timecode into the files they create, and audio timecode is sent into my cameras through the microphone input.
Alongside the timecode audio track, which is saved to the left channel of your audio recordings, is the recording from that built-in mic on the top of the TC-NEO. This means each camera also gets a scratch track on the right channel. If your timecode is ever slightly off, for whatever reason, you’re able to easily match up in your editor via the waveform.
Saramonic boasts a time accuracy drift of only ±0.05 parts per million. That’s less than a single frame of video in a 48-hour period. I wasn’t able to test for this long a duration, but over the course of a day’s shooting from early morning until late evening, everything stayed in sync with each other throughout.
Basically, they had no problem keeping time throughout the day, and while it’s generally good practice to resync your devices every couple of hours, I didn’t really feel like I needed to the entire day. So, I didn’t. Going forward, I’ll still resync everything every couple of hours, but if you forget, it’s not really a big deal with the TC-NEO.
Even though I didn’t test the claimed 48-hour drift period, I did test the battery life. This was mostly because I forgot to turn one of the units off, and I noticed it the next day. It was right around 22 hours later and it was still running just fine, although the battery indicator did show that it was pretty much empty.
A note on editing
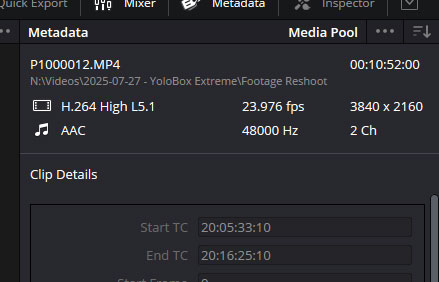
I edit using DaVinci Resolve, which makes timecode a breeze. If you’re using a camera that doesn’t natively support timecode and you have to record it onto an audio track, just bring your clips into a bin in the editor, select them all, right click and choose Audio Sync > Update Timecode from Audio Track from the menu.
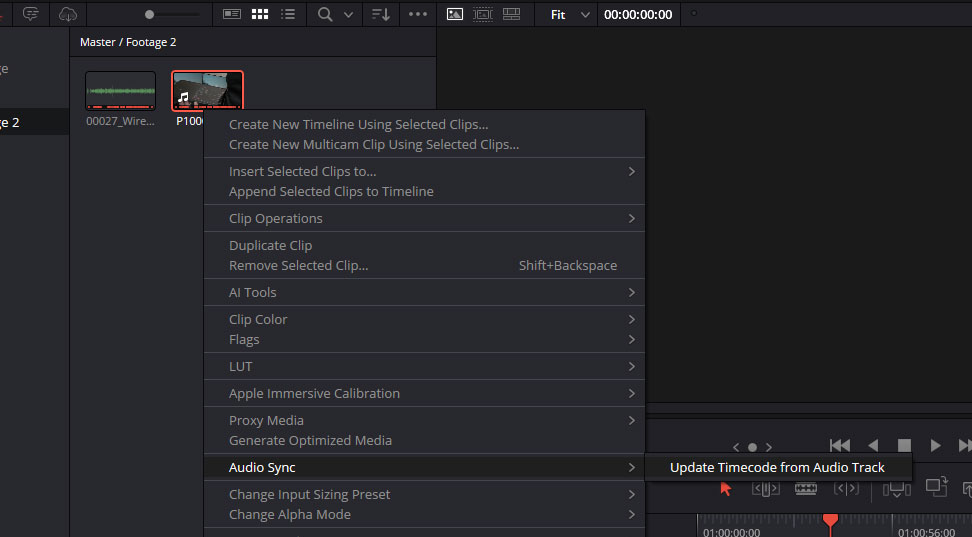
This will process the audio in each of the selected clips and convert it into a actual timecode data that it associates with the files while editing. From here, you can just create a multicam clip as normal, or select clips on an existing timeline and have them sync up to each other.
But whether your camera supports timecode or not, it’s an invaluable time-saving tool when it comes to editing. Even if it’s just a single mic and camera, it’s going to benefit you, but if you’re working with multicam, it can shave hours off your editing time on large projects.
Accessories and Expandability
A number of accessories come with the Saramoinc TC-NEO single and triple pack kits. I’ve already mentioned the charging case up above, which is only currently available as part of the triple-pack kit, but there are some other cables and sleeves you can get.
The Cables
Some of the cables listed below are included in the single and triple TC-NEO packs. Those are generally the most useful cables people will require, but spares are available if you lose or break them and there are others available for users with specific systems and needs.
- Saramonic SR-TRS-C01 Locking 3.5mm TRS to TRS Audio and Timecode Cable
- Saramonic SR-TRS-C02 Locking 3.5mm TRS to XLR Male Cable
- Saramonic SR-TRS-C03 Right-Angle Locking 3.5mm TRS to Right-Angle 5-Pin LEMO Male Timecode Cable
- Saramonic SR-TRS-C04 Right-Angle Locking 3.5mm TRS to 5-Pin LEMO Male Timecode Cable
- Saramonic SR-TRS-C05 Right-Angle Locking 3.5mm TRS to Right-Angle Reverse 5-Pin LEMO Male Timecode Cable
- Saramonic SR-TRS-C06 Right-Angle Locking 3.5mm TRS to Right-Angle BNC Timecode Cable
- Saramonic SR-TRS-C07 Right-Angle Locking 3.5mm TRS to 4-Pin LEMO Male Timecode Cable
- Saramonic SR-TRS-C08 Right-Angle Locking 3.5mm TRS to Right-Angle 9-Pin LEMO Male Timecode Cable
- Saramonic SR-TRS-C09 Right-Angle Locking 3.5mm TRS to Extra-Long DIN 1.0/2.3 Timecode Cable
- Saramonic SR-TRS-C10 Right-Angle Locking 3.5mm TRS to Sony Multi-Port Timecode Cable
- Saramonic SR-USB-C01 Right-Angled USB-C to USB-C Data and Charging Cable
- Saramonic SR-USB-C02 Right-Angle Locking 3.5mm TRS to Right-Angle USB-C Timecode Cable
So, you’ve got a wide range there to cover a whole buch of different systems and configurations.
The Sleeves
There are eight colours of sleeves available for the TC-NEO, in total. Given that you can have up to 48 of these running concurrently through the Saramonic app, it’s going to be easy to get them mixed up if you’re not careful.
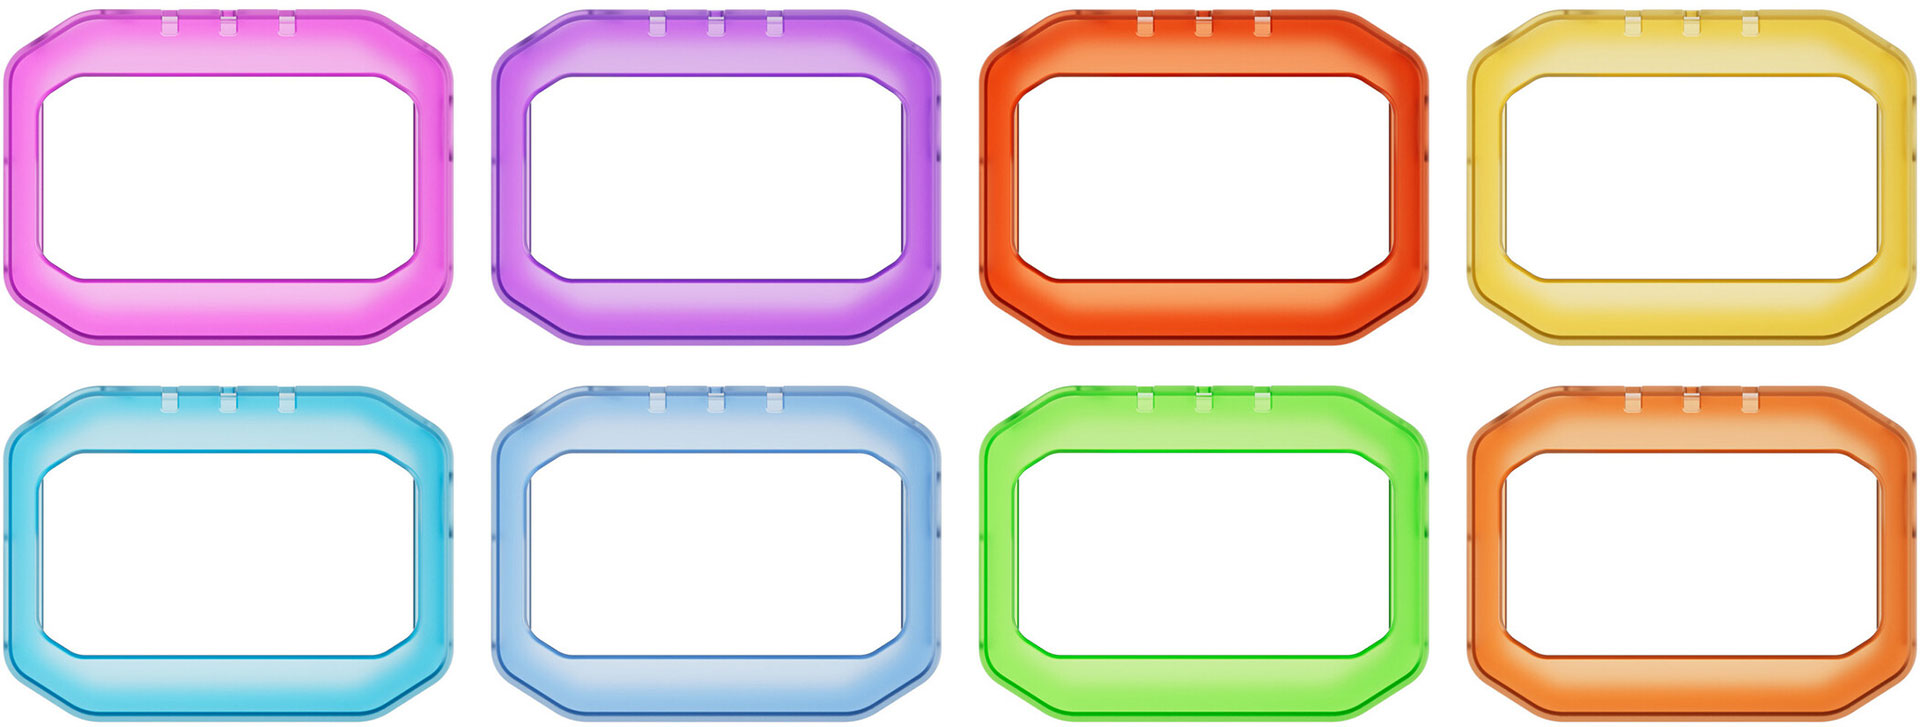
I’m not normally a colour-coding kind of guy when it comes to gear. But for certain things, like microphones, headphones, and timecode devices, it makes things very handy. It’s a quick way to distinguish TC-NEO devices on set, and immediately know if you’ve picked up the right one, whether it’s going on a charger or a camera.
Pros and Cons
There’s a lot to like about the TC-NEO. It’s small, easy to use, easy to see, hooks up to a bunch of different gear options, and it keeps great time. And as a Saramonic K9 user, it’s great to have a timecode system that talks to it natively.
The most difficult bit about getting used to the TC-NEO is figuring out how to unlock it. But once you’ve got that figured out, the rest is a doddle. The smartphone app makes it easy to sync up multiple devices, and you can jam sync into or out of the TC-NEO units to use it with other timecode gear.
It would be nice if there were a one-touch sync in the app, where you press it and it just grabs your system time and sends it. Right now, it’s a two-step operation that lets you edit the time and then you have to click sync a second time for it to actually do it – so you’re never actually synced to your phone’s clock.
It’s somewhat annoying having to go out and buy extra cables for a couple of these, as it wasn’t three 3.5mm locking TRS to TRS cables included in the triple pack, but the other included cables are understandable. They’re also handy as backups for use with other gear you might rent or otherwise be using temporarily.
It’d be nice to see the charging dock sold as a separate unit at some point, for those who are building up their kits one unit at a time.
Final Thoughts
The TC-NEO gets a lot right: it’s compact, accurate, and thoughtfully designed to slot into different workflows. The triple charging kit is genuinely useful for multi-camera setups, and the integration with the K9 wireless system adds another layer of convenience. Setup is straightforward, and once running, the units stay locked in without fuss.
That said, no piece of gear is perfect. The app control and cable ecosystem might feel like overkill for simpler shoots, and the built-in mic is more of a safety net than a serious audio tool. However, taken as a whole, the TC-NEO balances reliability with usability in a way that makes it easy to recommend for filmmakers who want dependable timecode without adding complexity to their workflow.
Price and Availability
The Saramonic TC-NEO is available as an individual unit for $149 or as a triple-pack with charging case for $499. The triple-pack contains three TC-NEO units, three of each of the accessories, and a charging case that holds all three units.

John Aldred
John Aldred is a photographer with over 25 years of experience in the portrait and commercial worlds. He is based in Scotland and has been an early adopter – and occasional beta tester – of almost every digital imaging technology in that time. As well as his creative visual work, John uses 3D printing, electronics and programming to create his own photography and filmmaking tools and consults for a number of brands across the industry.


Join the Discussion
DIYP Comment Policy
Be nice, be on-topic, no personal information or flames.