


post processing
To edit or not? How far should you take your post processing?
Nov 25, 2019
John Aldred
How much we edit our photos, or whether we should even do it at all, is a conversation that I see some up almost daily…

Triple processing of a single RAW file
Jan 31, 2019
Ole Henrik Skjelstad
Please note that this tutorial is meant for advanced users of Photoshop who are well familiar with layers, masks and luminosity masks. Occasionally when examining…
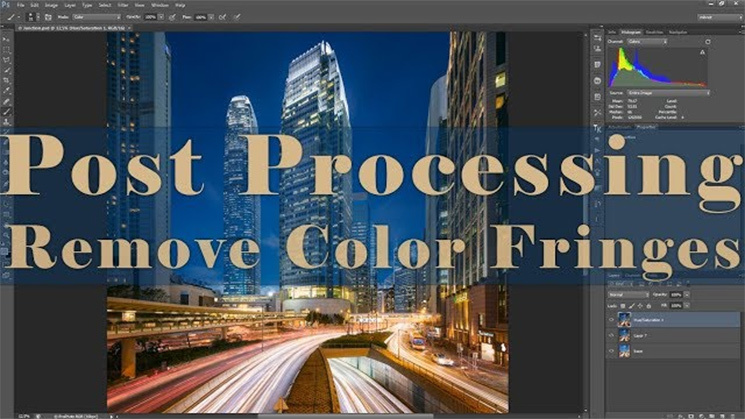
How to use frequency separation to remove chromatic aberration and colour fringing
Dec 21, 2018
John Aldred
Frequency separation is typically seen as a technique for retouching skin – albeit often quite badly these days. But that’s not its only use. Separating…

VSCO Film Presets for Desktop are being discontinued in March 2019
Dec 12, 2018
John Aldred
VSCO has announced that the much loved VSCO Film Presets for Desktop are coming to an end. The company says they’re moving completely away from…

Skylum’s Aurora HDR 2018 now comes with Loupedeck support
Jun 20, 2018
John Aldred
Skylum has today announced a major performance update to its Aurora HDR 2018 software. As well as adding in some new tools and improving performance…

Wacom’s entry-level Intuos tablets just got a huge new upgrade
Mar 8, 2018
John Aldred
A graphics tablet is one of the most essential pieces of kit one can own as a photographer or retoucher. Sure, you can edit with…

A fast way to dodge & burn in Photoshop
Dec 5, 2017
John Aldred
Dodging and burning has become as commonplace to Photoshop as it was in the darkroom with film. But in Photoshop it can be a tedious…

How to process and grade drone photos in Lightroom
Dec 4, 2017
John Aldred
With drone cameras improving on an almost weekly basis, shooting photos with drones has become very popular. Possibly even more so than shooting video with drones….

Learn the difference between saturation and vibrance to create better photographs
Nov 23, 2017
John Aldred
We’ve spoken about saturation vs vibrance before, but I think it’s a topic that still confuses a lot of people. While that post looked more…

Affinity Photo for iPad updated to iOS11 for speedy drag & drop workflow
Sep 22, 2017
John Aldred
Affinity Photo for iPad has rapidly become the hot favourite for editing images on the go. It’s a fantastic piece of software that’s extremely powerful….