


ND Filter Guide for Photography and Video: Which Strength for Every Situation
Oct 23, 2025
Darlene Lleno
Darlene Lleno brings a unique perspective to DIY Photography as someone who grew up surrounded by camera gear but chose words over lenses. With five years of writing experience, she specializes in photography content that’s both technically informed and genuinely passionate. Growing up with a photographer twin brother meant camera talk was everyday conversation in her household. While he mastered capturing moments, Darlene discovered she preferred being the subject and the storyteller behind the scenes. As a travel enthusiast and mother of two, she understands the importance of preserving life’s precious moments. When not exploring new destinations or writing for DIY Photography, you’ll find her reading or tending to her garden. Her approach to photography writing is refreshingly authentic, she may not be behind the camera, but she knows exactly what it takes to help others capture the shots that matter most.
Share:

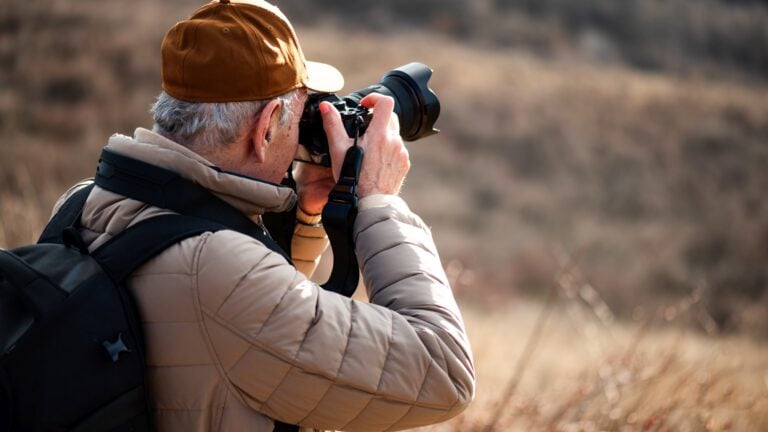
An ND filter guide shows you how to control light and unlock creative shots you can’t get otherwise. These filters work like sunglasses for your camera lens. They cut down the light coming in without messing with your colors. You need them for smooth waterfall shots in bright sun or keeping your aperture wide open on sunny days.
Sometimes you just have too much light. You want to shoot at f/1.4 for that blurry background. But your camera tops out at 1/8000th of a second. Or maybe you’re trying to blur moving water at noon. Your camera settings alone can’t fix these problems. That’s when ND filters stop being nice to have and become must-haves.
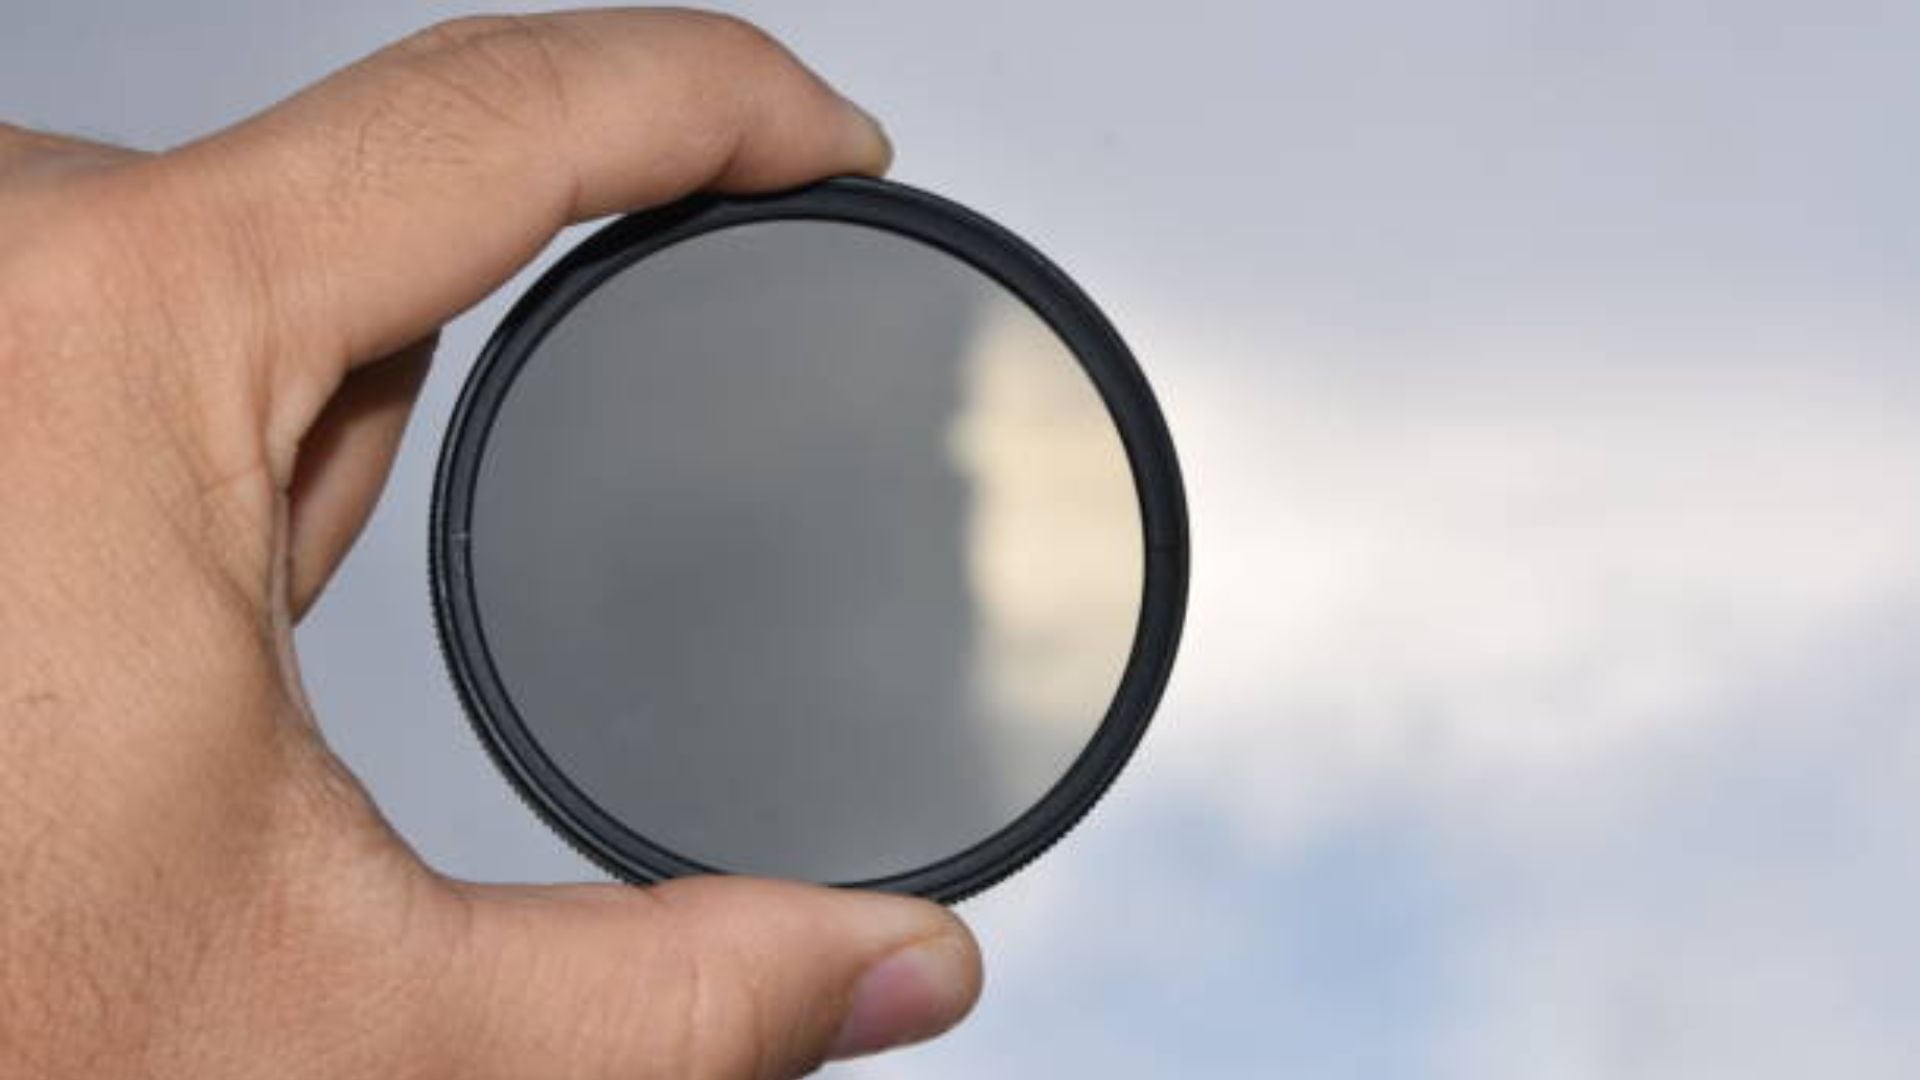
Understanding ND Filter Strength and Stops
Filter strength gets measured in stops of light reduction. Each stop cuts your light in half. A 3-stop ND filter blocks three increments of light. You’ll need to adjust your exposure to match.
Different brands label their filters in confusing ways. Some use ND numbers like ND2 or ND4. Others show optical density as 0.3 or 0.6. Then you’ve got filter factors like 2x or 4x. They all mean the same thing but look different on the package.
Here’s what these numbers actually mean:
- ND2 equals 1 stop of light reduction
- ND4 equals 2 stops
- ND8 equals 3 stops
- ND64 equals 6 stops
- ND1000 equals 10 stops
You don’t need to memorize math formulas. Most filters tell you the stop reduction right on them. Just understand what those stops do to your camera settings. A 3-stop filter lets you slow down three shutter speeds. Or you can open up three aperture clicks while keeping exposure correct.
Variable ND filters give you more flexibility. You twist them to change strength from about 2 to 8 stops. They’re super convenient but have some drawbacks we’ll cover later.
Light ND Filters: 1-3 Stops for Subtle Control
Light ND filters give you gentle control when you need small tweaks. These work great on cloudy days or during golden hour. You want to shoot wide open but still have a bit too much light. A 1-stop or 2-stop filter gives you just enough adjustment room.
Portrait photographers use these filters all the time. Shooting at f/1.4 creates beautiful background blur. But bright daylight pushes your shutter speed beyond what your camera can handle. A 2-stop or 3-stop filter brings things back under control. You keep that creamy bokeh while exposing your subject correctly.
Video shooters need light ND filters even more. The 180-degree shutter rule requires specific speeds based on your frame rate. Shooting 24fps means you need 1/50th second. Outdoor scenes become impossible to expose right without an ND filter. A 3-stop filter usually handles bright cloudy days perfectly.
Weather makes a huge difference in filter choice. Cloudy days might only need 1 or 2 stops. Partial sun calls for 2 or 3 stops. These small changes keep your creative vision working without overdoing it.
Medium Strength Filters: 4-6 Stops for Versatile Shooting
Medium strength ND filters work for most shooting situations. You’ll get the most use out of filters in this range. A 6-stop filter handles bright daylight while staying easy to calculate. These filters excel at daytime long exposures and keeping proper video shutter speeds in full sun.
The 6-stop ND (ND64) has become the favorite for many pros. It cuts enough light for creative effects without being too dark. You can still see through your viewfinder clearly. Focus stays accurate and you can judge your scene. Stronger filters make everything harder to see and slow you down.
Long exposure photography totally changes with medium strength filters. Moving water turns smooth and silky. Crowds vanish from busy streets. Clouds streak across the sky in long trails. A 6-stop filter in bright daylight gives you exposures between 1 and 4 seconds usually. That’s enough time to blur motion nicely without dealing with changing light.
Landscape photographers love the 4 to 6 stop range. These filters let you use smaller apertures like f/11 or f/16 for deep focus. Your shutter speeds stay slow enough to smooth out water movement. Rivers, waterfalls, and ocean scenes look amazing with this technique.
Video production in bright sun absolutely needs filters here. Full sun might require a 5-stop or 6-stop filter for proper shutter speed. You can’t adjust quickly enough without the right filter. Many videographers keep a 6-stop filter on their lens as default. They only remove it for indoor or dark situations.

Heavy ND Filters: 10+ Stops for Extreme Long Exposures
Heavy ND filters open up specialized creative options. A 10-stop filter (ND1000) blocks so much light that noon looks like dusk. These extreme filters let you do long exposure photography in the middle of the day. The effects look surreal and impossible to get with lighter filters.
Ten-stop filters excel at removing people from crowded spots. Tourist attractions and busy streets become empty in your photos. A 30-second or 1-minute exposure in bright sun makes moving people disappear. Only still subjects stay sharp. This works wonderfully for shooting architecture when crowds won’t leave.
Water takes on a dreamy quality with extreme ND filters. Ocean waves become misty fog. Rivers turn into smooth glass. Waterfalls transform into soft sheets of white. Longer exposures make these effects stronger. Some photographers go for several minutes of exposure time for maximum smoothness.
Cloud movement becomes visible and dramatic. A 2-minute exposure shows clouds streaking across the sky. This adds a serious mood and atmosphere to landscape images. You need interesting clouds though. Empty blue skies don’t benefit from this at all.
Using filters this dark creates real challenges. You can’t see through your viewfinder at all. Composition and focus must happen before you attach the filter. Most photographers work like this: compose your shot first, focus carefully, switch to manual focus, then add the heavy ND filter. Some cameras struggle with autofocus even before adding the filter in dark conditions.
Calculating exposure with 10-stop filters needs careful attention. Most cameras can’t meter through such dark glass. You need to meter without the filter first. Then add 10 stops to your exposure time. Phone apps and exposure calculators make this way easier. A 1/250th second exposure becomes 4 seconds with a 10-stop filter. A 1/30th second exposure stretches to 30 seconds.
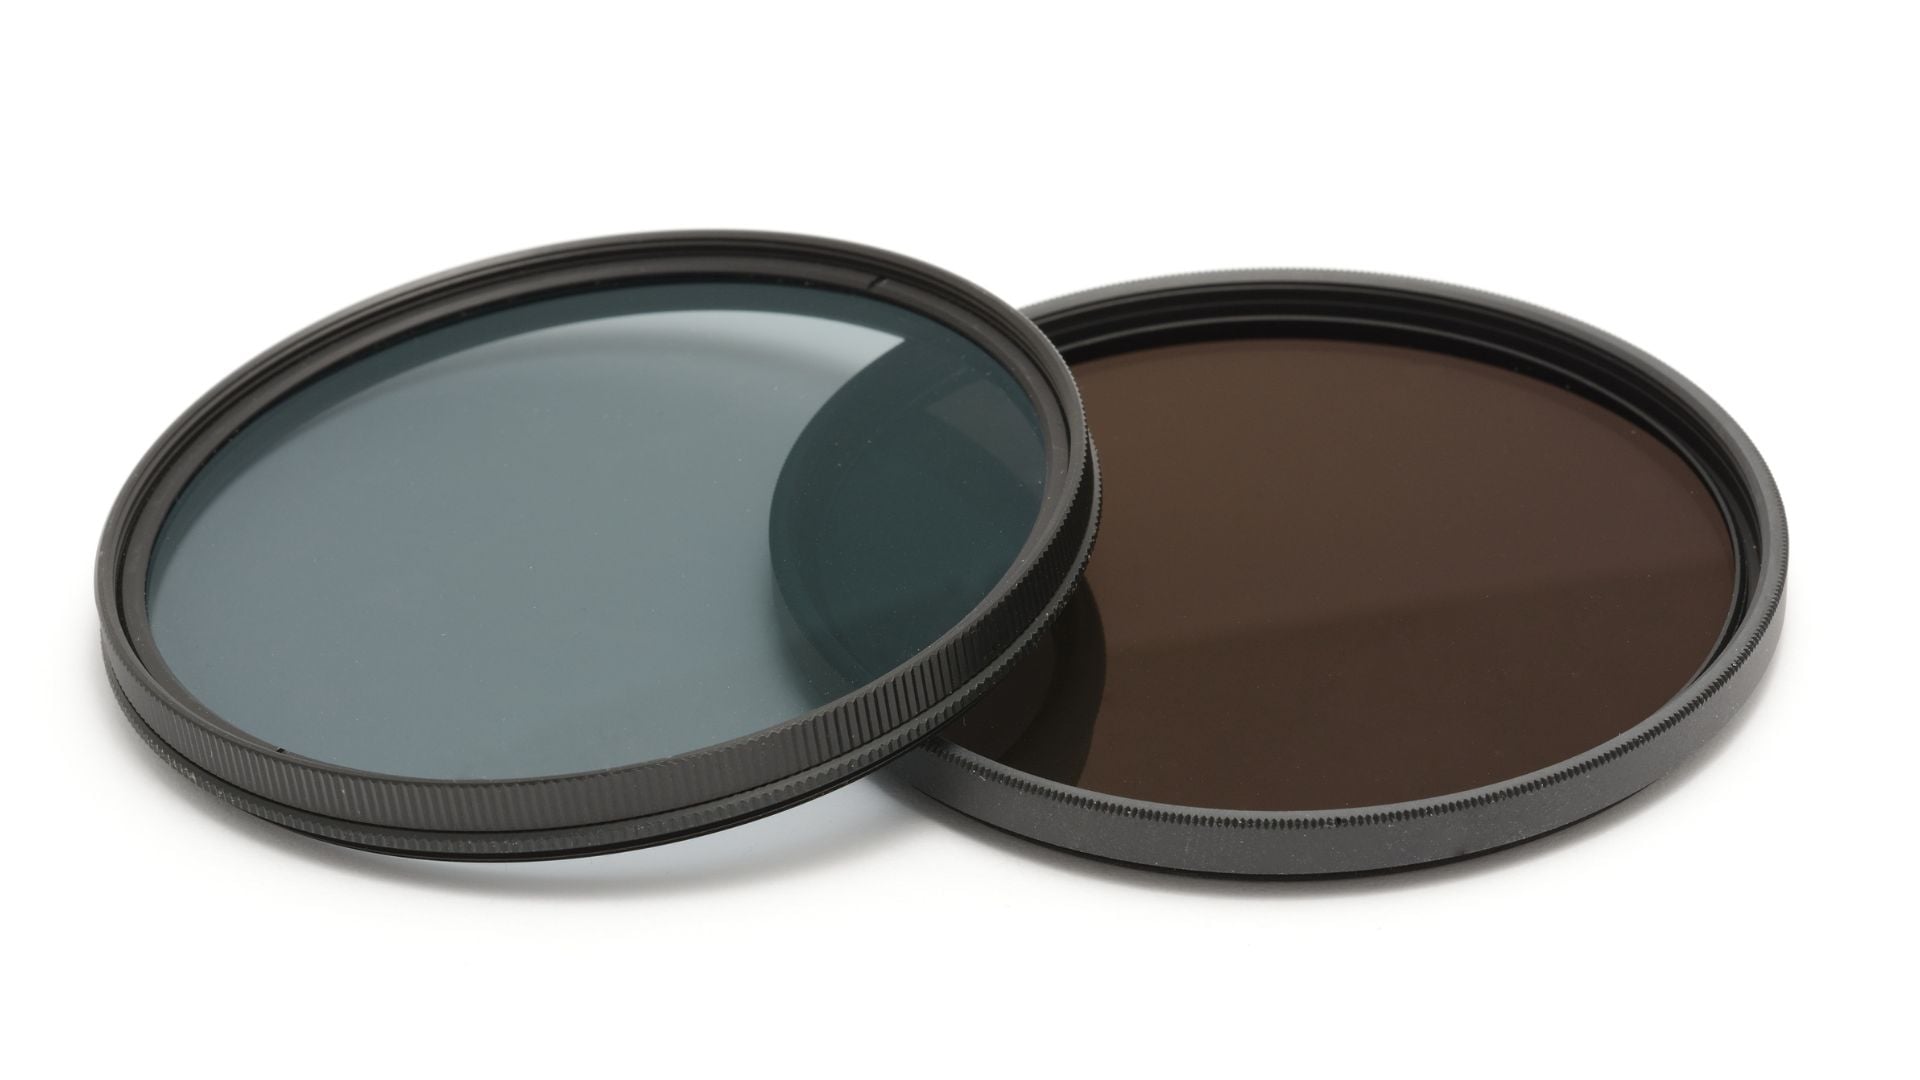
Variable ND Filters: Flexibility with Considerations
Variable ND filters combine multiple densities in one rotating filter. You twist the ring and smoothly adjust from 2 to 8 or even 10 stops. This flexibility makes them super popular for video work. Lighting conditions change constantly and you need to adapt fast.
The convenience factor is huge. Instead of carrying multiple filters and swapping them constantly, one variable ND handles most situations. Run and gun shooters love this. Documentary filmmakers and wedding videographers rely on this adaptability. Lighting changes happen fast at events. Adjusting your ND strength in seconds keeps you shooting instead of fumbling with gear.
Variable ND filters have real optical compromises though. The design uses two polarizing filters rotating against each other. This creates several potential problems. Cross-polarization at higher strengths produces an X-pattern of darkness across your image. This vignetting effect gets worse with wider lenses. Certain densities become unusable.
Color shifts present another issue. Lower quality variable NDs add color casts that change with rotation position. This makes color grading in post-production harder. High-quality variable filters from good manufacturers reduce these problems. But they cost a lot more.
Sharpness can suffer compared to fixed ND filters. You’re putting two pieces of glass in front of your lens instead of one. This matters more for still photography where you examine every detail. Video rarely shows these differences at normal viewing sizes.
Professional cinematographers often pick fixed ND filters for important work. They save variable NDs for behind-the-scenes or less demanding shots. Still photographers shooting landscapes usually prefer fixed filters for best image quality. But for wedding photography, events, or documentary work, versatility often beats the optical compromises.

Choosing the Right ND Filter for Different Scenarios
Different shooting situations need different filter strengths. Let me break down what works best for common scenarios you’ll face.
Bright sunny days require strong filtration. Start with a 6-stop filter as your baseline for midday sun. This handles most situations while staying practical to use. Add a 10-stop filter to your kit if you’re serious about daytime long exposures.
Overcast conditions need lighter filtering. A 3-stop filter often gives enough reduction while keeping your viewfinder bright. You might not need any ND filter at all if you’re shooting at smaller apertures.
Golden hour and blue hour rarely need heavy filtration. The 1 to 3 stop range handles these softer light conditions perfectly. Some photographers skip ND filters entirely during these times. They only use them when slower shutter speeds become necessary.
Portrait work in bright sun usually needs 2 to 4 stops of reduction. This lets you keep wide apertures like f/1.4 or f/2.8 for beautiful background blur. Your shutter speeds stay within your camera’s range. A 3-stop filter proves most useful for this purpose.
Video production demands consistency. Pick your filter strength based on keeping your desired shutter speed throughout the shoot. A 6-stop filter handles bright outdoor conditions well. Indoor to outdoor transitions might need multiple filters. Or grab a variable ND for quick adjustments.
Waterfall and seascape photography benefits from 6 to 10 stop filters. Your specific choice depends on how much motion blur you want. Subtle smoothing needs less filtration. Complete fog-like effects require 10 stops or more. Test different strengths to find what you like best.
Practical Tips for Using ND Filters Effectively
Getting the most out of your ND filters requires some practical knowledge. These tips will save you time and improve your results.
Investing in quality filters pays off in better images. Cheap ND filters add color casts and reduce sharpness. They create uneven density across the frame. Reputable brands like B+W, Hoya, and Lee maintain excellent optical quality. Your expensive lens deserves equally good glass in front of it.
Filter size matters for your workflow and budget. Buy filters for your largest lens diameter. Then use step-down rings for smaller lenses. A 77mm filter works on 77mm, 72mm, 67mm, and 62mm lenses with proper adapters. This approach builds a more affordable filter collection.
Square filter systems offer advantages for serious landscape photographers. Companies like Lee and Cokin make holders accepting multiple square filters at once. Stack a polarizer with an ND filter and a graduated ND. You get complete exposure control. These systems cost more upfront but provide maximum flexibility.
Exposure calculation becomes second nature with practice. Remember that each stop doubles your exposure time. A 6-stop filter turns 1/60th second into 1 second. A 10-stop filter extends 1/60th second to 15 seconds. Free smartphone apps calculate these conversions instantly. No mental math required.
Focus before adding dark ND filters. Cameras struggle to autofocus through 6-stop or darker filters. Compose your shot and nail your focus first. Switch to manual focus mode. Then attach the filter. This prevents frustration and missed shots.
Watch for vignetting with wide-angle lenses. Thick filter rings sometimes appear in frame corners. Slim or thin profile filters solve this problem. They cost slightly more but disappear from the image completely.
Clean your filters regularly. Dust, fingerprints, and smudges hurt image quality noticeably. Microfiber cloths and lens cleaning solutions keep your filters pristine. Store them properly in cases or pouches to prevent scratches.
Stacking Filters and Advanced Techniques
Combining multiple ND filters creates custom strengths for specific needs. You can fine-tune your light reduction precisely this way. But stacking filters increases potential problems you need to watch for.
A 3-stop plus a 6-stop equals 9 stops of reduction. This flexibility lets you match any lighting situation exactly. However, each additional filter layer affects image quality slightly.
Image quality drops with multiple filter layers. Each extra piece of glass reduces sharpness a bit. It also increases flare potential from light bouncing between surfaces. Stick to stacking two filters maximum for best results. Beyond that, image quality suffers noticeably.
Vignetting becomes more pronounced when stacking filters. Wide-angle lenses show darkened corners even with slim filters. This might work as a creative effect sometimes. Usually though, you want to avoid it. Using a filter holder system with thin square filters helps minimize this problem.
Adding a polarizer to your ND filter provides ultimate control. You can manage reflections and light at the same time. This combination works beautifully for water scenes and landscape photography. Put the polarizer closest to your lens. Then add the ND filter in front. This order makes rotating the polarizer way easier.
Some scenarios benefit from graduated ND filters instead of solid ones. These filters are dark at the top and clear at the bottom. They balance bright skies with darker foregrounds naturally. Combining a graduated ND with a solid ND gives you complete exposure control.
Bracketing exposures provides safety when using heavy ND filters. Calculating 10-stop conversions leaves room for error. Shoot your calculated exposure first. Then bracket one stop over and under. This ensures you capture a properly exposed image even if your math was slightly off.

Your Next Steps with ND Filters
Choosing the right ND filter guide strength transforms your photography and video work. You now understand how different densities affect your creative options. Light filters between 1 and 3 stops handle portrait work and subtle adjustments. Medium strength filters from 4 to 6 stops cover most daytime shooting scenarios. Heavy 10-stop filters unlock extreme long exposure effects in bright sunlight.
Start building your collection with a 6-stop ND filter. This single filter handles the majority of situations you’ll face. It works for both photography and video production. You can see through it easily and calculate exposures quickly. Add lighter or heavier filters as your needs grow and your style develops.
Quality matters more than quantity when buying filters. One excellent 6-stop filter serves you better than three cheap ones. Invest in reputable brands that won’t degrade your image quality. Your lenses cost hundreds or thousands of dollars. The glass in front of them deserves the same attention.
Practice makes perfect with ND filters. Get comfortable with exposure calculations and focus techniques. Try different strengths in various lighting conditions. Experiment with long exposures and motion blur effects. You’ll quickly develop an intuition for which filter works best.
Remember that ND filters solve specific problems. They’re not needed for every shot. Use them when you have creative goals that normal camera settings can’t achieve. Wide apertures in bright sun, smooth water effects, and proper video shutter speeds all become possible. Your ND filter guide now gives you the knowledge to capture these shots confidently.

Darlene Lleno
Darlene Lleno brings a unique perspective to DIY Photography as someone who grew up surrounded by camera gear but chose words over lenses. With five years of writing experience, she specializes in photography content that’s both technically informed and genuinely passionate. Growing up with a photographer twin brother meant camera talk was everyday conversation in her household. While he mastered capturing moments, Darlene discovered she preferred being the subject and the storyteller behind the scenes. As a travel enthusiast and mother of two, she understands the importance of preserving life’s precious moments. When not exploring new destinations or writing for DIY Photography, you’ll find her reading or tending to her garden. Her approach to photography writing is refreshingly authentic, she may not be behind the camera, but she knows exactly what it takes to help others capture the shots that matter most.
Related Posts
 Overcoming shyness: Turn your weakness into your biggest portrait photography strength
 Enrapturing Portraits Explore The Athelticism, Strength, And Form Of Dancers
 Photographer Captures Strength of Wounded Veterans in Powerful and Erotic Series [NSFW]
 Olympus Releases Two New Cameras: One With Aesthetic Appeal, the Other with Strength
Join the Discussion
DIYP Comment Policy
Be nice, be on-topic, no personal information or flames.