


ISO Invariance Explained: When Underexposing Works Just As Well
Oct 22, 2025
Darlene Lleno
Darlene Lleno brings a unique perspective to DIY Photography as someone who grew up surrounded by camera gear but chose words over lenses. With five years of writing experience, she specializes in photography content that’s both technically informed and genuinely passionate. Growing up with a photographer twin brother meant camera talk was everyday conversation in her household. While he mastered capturing moments, Darlene discovered she preferred being the subject and the storyteller behind the scenes. As a travel enthusiast and mother of two, she understands the importance of preserving life’s precious moments. When not exploring new destinations or writing for DIY Photography, you’ll find her reading or tending to her garden. Her approach to photography writing is refreshingly authentic, she may not be behind the camera, but she knows exactly what it takes to help others capture the shots that matter most.
Share:
ISO invariance means your camera produces similar noise levels whether you expose properly at high ISO or underexpose at low ISO and brighten the image later in post-processing.
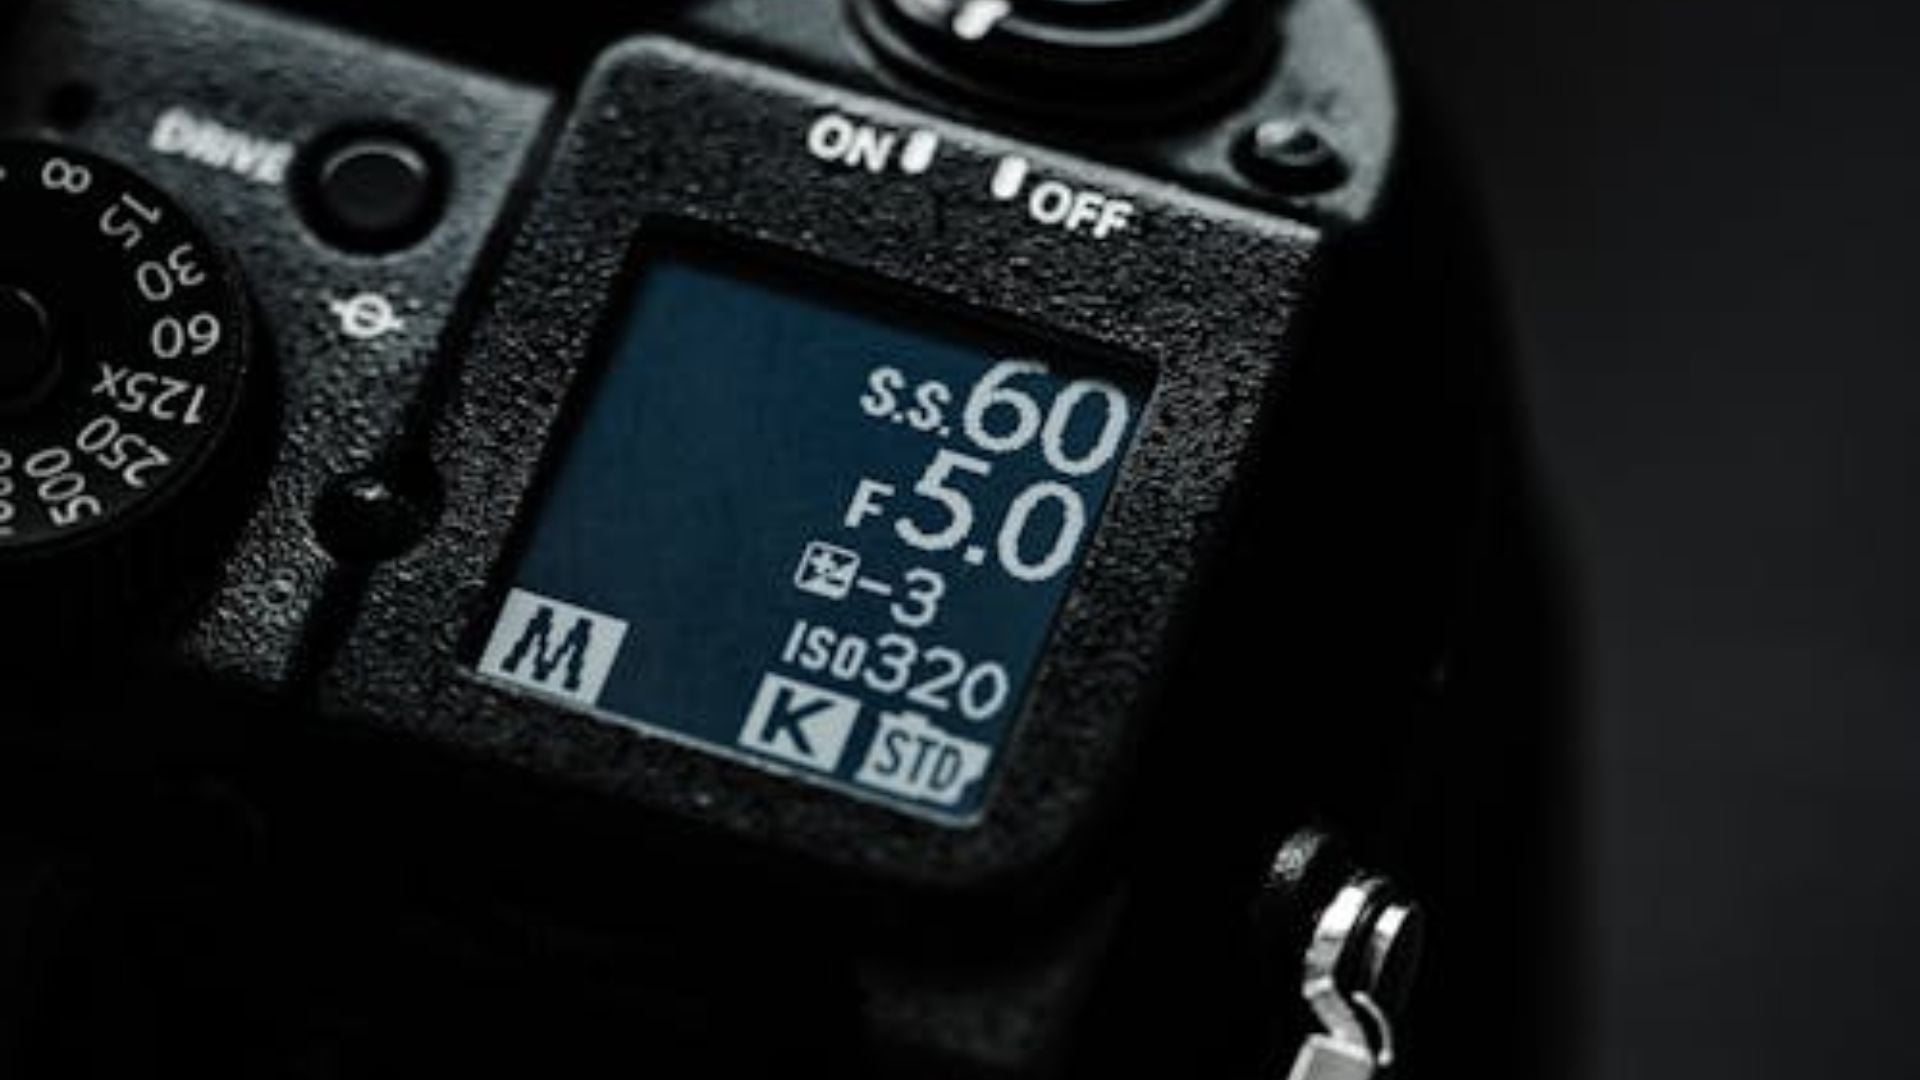
Think of it like this. Shoot at ISO 100, underexpose by five stops, then add +5 stops of exposure in Lightroom. Compare that to shooting at ISO 3200 with proper exposure. An ISO invariant camera makes both look nearly identical.
This happens because of how sensors handle electronic noise. Some noise appears before your camera amplifies the signal. Other noise shows up after amplification. Cameras with extremely low “read noise” after the analog-to-digital conversion show this characteristic.
Your Sony, Fujifilm, or newer Nikon probably does this well. Older cameras and many current models still perform better when you nail exposure in camera. Test yours to know for sure.
How Your Sensor Processes Light Into Photos
Your camera sensor works in stages. Light hits the photodiodes and creates electrons. These electrons convert to voltage, get amplified, then convert to digital numbers.
ISO determines how much amplification happens to the analog signal before it’s digitized. Higher ISO means more amplification at this stage.
Here’s where it matters. Noise that appears before amplification gets magnified along with the signal when you raise ISO. Noise that comes after the analog-to-digital conversion stays at a constant level relative to the signal.
Modern sensors have incredibly low noise after the analog signal is converted to digital data. This gives you flexibility. Brightening an underexposed RAW file works just as well as using higher ISO before you shoot, because you’re essentially doing the same amplification, just at different stages.
How Your Sensor Processes Light Into Photos
Your camera sensor works in stages. Light hits the photodiodes and creates electrons. These electrons convert to voltage, get amplified, then convert to digital numbers.
ISO determines how much amplification happens to the analog signal before it’s digitized. Higher ISO means more amplification at this stage.
Here’s where it matters. Noise that appears before amplification gets magnified along with the signal when you raise ISO. Noise that comes after the analog-to-digital conversion stays at a constant level relative to the signal.
Modern sensors have incredibly low noise after the analog signal is converted to digital data. This gives you flexibility. Brightening an underexposed RAW file works just as well as using higher ISO before you shoot—because you’re essentially doing the same amplification, just at different stages.
Read Noise and How to Use It to Your Advantage
Every sensor has electronic imperfections that create noise. This “read noise” shows up most in your shadows and dark areas.
The key is understanding when this noise enters the signal chain. Some read noise gets amplified along with your image when you raise ISO in-camera. But the noise that occurs after digitization doesn’t get that in-camera amplification, it stays constant.
Cameras with ISO invariance have extremely low read noise after the analog-to-digital conversion. When you brighten an underexposed image in post, you’re amplifying the digital signal, and since there’s minimal additional noise at that stage, the result looks nearly identical to raising ISO in-camera.
You can test this yourself. Shoot the same scene twice. Use base ISO and underexpose by three stops, then shoot again properly exposed at ISO 800. Brighten the underexposed image by +3 stops in post and compare. Similar noise levels mean you have an ISO invariant sensor.

Dual Native ISO Makes It Even Better
Many newer cameras use dual native ISO technology. These sensors have two separate analog gain circuits optimized for different light levels.
The first circuit works best in bright light. You get maximum dynamic range and cleanest files. The second circuit kicks in for low light with significantly less read noise than if the camera just continued amplifying the first circuit.
The switch usually happens between ISO 400 and ISO 800. Check your camera’s specs to find out where. The Nikon Z9 switches at ISO 500. Some Panasonic cameras have clearly defined base ISOs at 800 and 5000.
This works differently than standard ISO invariance. Each native ISO uses different circuitry in the sensor. Shooting just below the switch point might give worse results than bumping up slightly past it.
Know your camera’s sweet spots. It makes a real difference in image quality.
Testing Your Camera Takes Five Minutes
You can check if your camera is ISO invariant tonight. Grab your tripod and find a dimly lit room or go outside after dark.
Take a series of RAW photos at different ISOs. Start at base ISO and work up in full stops to ISO 6400. Keep aperture and shutter speed locked the same for every shot, so higher ISO shots become progressively brighter.
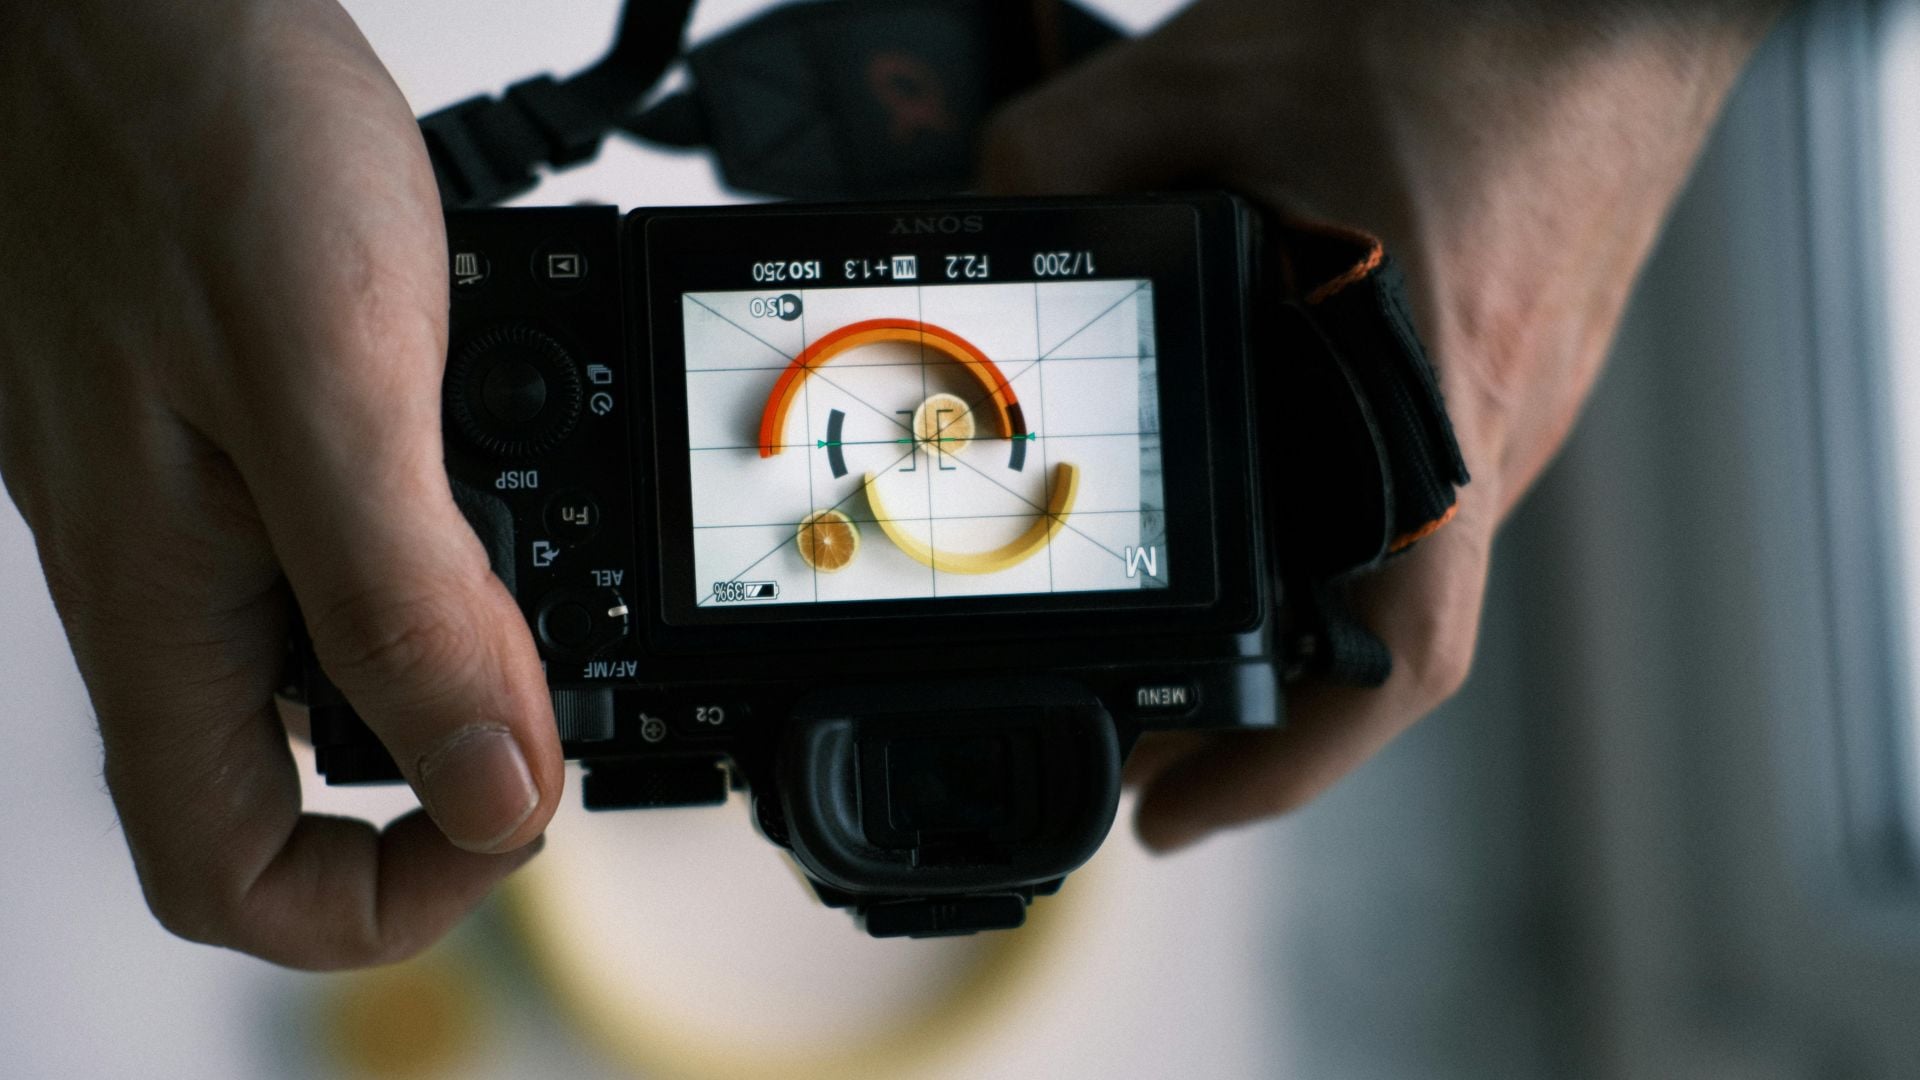
Load these files into Lightroom or your editing software. The base ISO shot looks very dark. Use the exposure slider to brighten it until it matches the brightness of your higher ISO shots. Zoom to 100% and compare the noise.
ISO invariant cameras show similar noise whether you brightened in post or shot at higher ISO. Non-invariant cameras show significantly more noise in the brightened base ISO file. This test tells you exactly how your sensor performs.
How ISO Invariance Improves Your Photos
ISO invariance becomes genuinely useful in specific situations. Let’s look at when it really matters.
Astrophotography benefits hugely from this. Shoot at lower ISO to protect bright stars from clipping. The dark sky can be lifted cleanly in post without excessive noise.
Wedding photographers love this for churches. Those bright windows blow out easily. Underexpose to preserve window detail, then recover the darker areas later. Your ISO invariant sensor handles it without penalty.
Wildlife photographers use this for white birds against dark backgrounds. Expose for the bright bird so it doesn’t clip, and the background stays clean when lifted in post. No blown feathers, no excessively noisy shadows.
Concert photography has the same challenges. Stage lights create extreme contrast. Lower ISO with underexposure protects those hot spots while shadows recover beautifully.
The big win is highlight protection. You can’t fix blown highlights. But you can always brighten underexposed areas if your camera’s read noise is low enough.
How to Shoot with ISO Invariance
Working with an ISO invariant camera changes your shooting approach. You get more freedom to protect highlights instead of chasing middle-gray exposure.
Here’s what actually works in the field:
First, learn your camera’s native ISO range. Stay within these values for best quality. Extended ISO settings often hurt dynamic range without any benefit.
Watch your histogram like a hawk. You can push it left to save highlights. Just make sure you capture enough shadow information above the noise floor for clean recovery.
Shoot RAW always. JPEG processing bakes in noise reduction and tone curves that limit flexibility. RAW gives you the full sensor data to work with.
Go easy in post-processing. Extreme brightness adjustments can reveal color shifts or banding. Test your limits during practice before important shoots.
Try Auto ISO with negative exposure compensation. This keeps shutter speeds fast while biasing exposure darker for highlight protection. Let the camera choose the ISO while you control the overall brightness bias.
Understanding What ISO Invariance Doesn’t Do
Many photographers misunderstand what ISO invariance actually means. Your camera isn’t necessarily better just because it’s ISO invariant. It just works differently.
This doesn’t eliminate noise. It means noise levels stay similar whether you amplify the signal in-camera (higher ISO) or digitally (brightening in post). You still need to capture enough light for clean shots.
It’s not a replacement for good exposure technique. Getting it right in camera saves time and often looks better. Understanding exposure fundamentals still matters most.
Not all ISO invariant cameras perform the same. Some only show ISO invariance above certain ISOs (often above the first native ISO). Others handle the full range beautifully. Your specific model makes a difference.
Base ISO still gives maximum dynamic range on every camera. Higher ISO reduces the gap between the brightest and darkest tones you can capture. This tradeoff exists no matter what sensor you have.
The technique works best with RAW files. In-camera JPEG processing handles highlights and shadows differently than your editing software does. You need the unprocessed sensor data for this to work properly.
Best Cameras for ISO Invariance
Several brands consistently make ISO invariant sensors. Sony leads the pack with most recent full-frame and crop sensor models.
Sony A7 series shows excellent ISO invariance from the A7R II forward. These cameras handle pushed exposure remarkably well. The A7S line takes it even further with exceptional low-light performance.
Fujifilm X-Trans sensors work great above ISO 640. The X-T3, X-T4, and X-H2 all use dual conversion gain. Photographers successfully rely on this in their work.
Nikon Z cameras impress here, especially the Z6, Z7, and Z9. They use Sony-manufactured sensors and gained these characteristics. Dual gain starts around ISO 400 to 500.
Pentax K-1 surprises people for its age. This full-frame camera recovers underexposed files better than many competitors from that era.
Canon traditionally showed more read noise variance. Recent RF bodies have improved though. The EOS R5 and R6 perform better than older Canon models but still trail Sony in this regard.

The Limits of ISO Invariance
ISO invariance has real limits you need to know. Extreme underexposure still hurts quality regardless of sensor type. Two or three stops of recovery work fine. Five or six stops show serious problems.
Color accuracy suffers with heavy adjustments. You might see shifts in hue or saturation when pushing shadows hard. White balance becomes trickier in heavily adjusted files.
Some cameras show banding when lifting shadows dramatically. This appears as horizontal or vertical lines in smooth areas like skies. Test your camera to find its breaking point.
Fast-moving subjects in changing light don’t work well with intentional underexposure. You need consistent conditions to safely underexpose. Action photography usually requires nailing exposure in camera.
Battery and computer resources take a hit. Processing underexposed RAW files needs more computational power. Large batches require more time and processing muscle.
Client work needs careful consideration. You can’t always guarantee perfect results with extreme exposure recovery. Build safety margin into your exposure.
What’s Next for Camera Sensors
Sensor makers keep improving read noise performance. Each generation brings cleaner shadows and better ISO invariance across more models.
Sony’s stacked sensor technology cuts noise further. It separates processing circuits from the light-gathering layer. This appears in flagship cameras and will spread to more models soon.
Computational photography works alongside ISO invariance now. Modern cameras use AI-powered noise reduction combined with inherent sensor capabilities. This combo produces cleaner images at higher ISOs than ever.
Dual gain sensors might become standard everywhere. What exists mainly in pro cameras could show up in entry-level models within a few years.
The gap between shooting and editing keeps shrinking. Cameras increasingly optimize images automatically. But understanding ISO invariance gives you more creative control over the process.
Future cameras might adjust gain per pixel. Each part of the frame gets optimized independently. This represents the next step beyond current dual gain systems.
Your Next Steps With ISO Invariance
Understanding ISO invariance helps you make smarter exposure choices. This knowledge is a tool, not a rule you always follow.
Test your specific camera first. Every model behaves differently. Know your gear before relying on this in critical situations.
Use ISO invariance strategically for tough contrast situations. Don’t underexpose every shot by default. Proper in-camera exposure still produces the best results most of the time.
Think about your final output when planning. Social media images tolerate more aggressive processing than large prints. Match your technique to your actual needs.
Remember that modern cameras keep getting better. Even older models often surprise you with their capability when used right. Understanding dynamic range alongside ISO invariance gives you a complete picture of your sensor’s capabilities.
The best photographers know their tools inside out. ISO invariance is one characteristic among many affecting your images. Master it alongside other fundamentals for consistently better photos.

Darlene Lleno
Darlene Lleno brings a unique perspective to DIY Photography as someone who grew up surrounded by camera gear but chose words over lenses. With five years of writing experience, she specializes in photography content that’s both technically informed and genuinely passionate. Growing up with a photographer twin brother meant camera talk was everyday conversation in her household. While he mastered capturing moments, Darlene discovered she preferred being the subject and the storyteller behind the scenes. As a travel enthusiast and mother of two, she understands the importance of preserving life’s precious moments. When not exploring new destinations or writing for DIY Photography, you’ll find her reading or tending to her garden. Her approach to photography writing is refreshingly authentic, she may not be behind the camera, but she knows exactly what it takes to help others capture the shots that matter most.


Join the Discussion
DIYP Comment Policy
Be nice, be on-topic, no personal information or flames.