


How to shoot incredible night-scape photos with basic gear
Nov 16, 2021
Alex Baker
Alex Baker is a portrait and lifestyle driven photographer based in Valencia, Spain. She works on a range of projects from commercial to fine art and has had work featured in publications such as The Daily Mail, Conde Nast Traveller and El Mundo, and has exhibited work across Europe
Share:
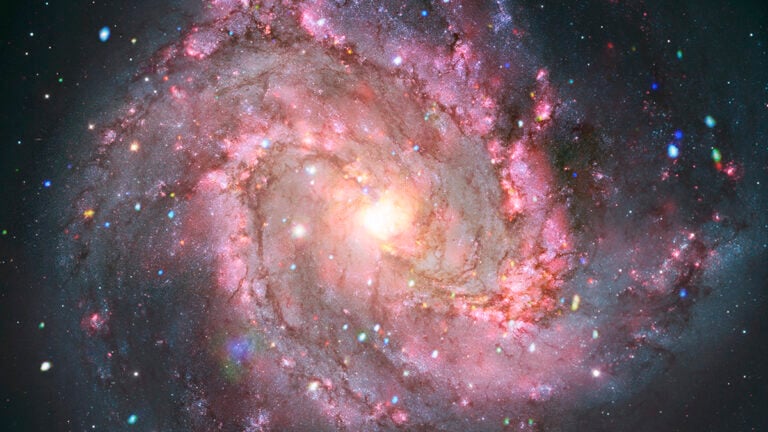
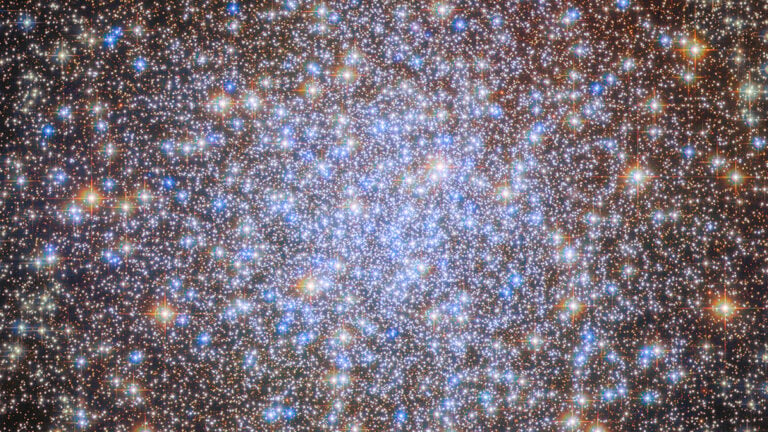
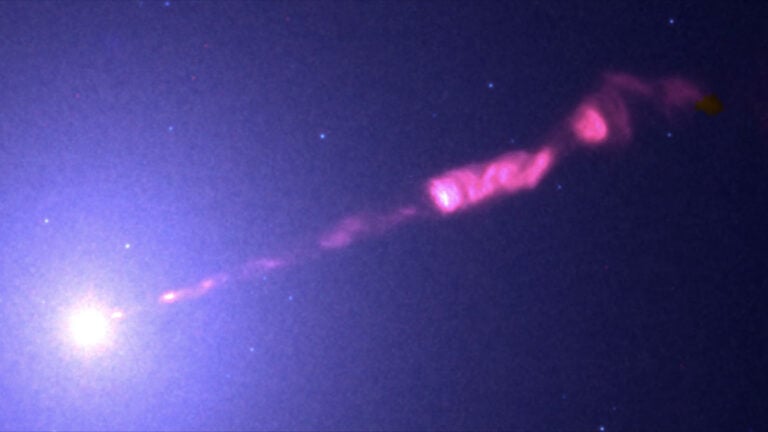
To take amazing photographs of the night sky you need massively expensive specialist equipment that costs thousands of dollars, am I right? No, I am totally wrong, and this video from Trevor Jones at AstroBackyard shows you exactly what gear you need to get started taking spectacular night sky images.
Gear:
Trevor says that he can take these images using a basic entry-level DSLR like a Canon Rebel T7, plus an 18-55 mm kit lens. He doesn’t use any special filters, and he doesn’t use a star tracker. Great news for those of us new to astrophotography. The only thing you need is a decent tripod.
Location:
The most important part of any kind of night sky photography is to find a dark sky. It’s not always easy to escape light pollution, and even when things look very dark to the naked eye, a camera sensor will still pick up lots of ambient light. There are various apps and websites that will tell you where light pollution is at its worst. If you live in a city then you’ll have to travel a little or get creative and find a campsite or rent a cottage.
In terms of location even though the image is dark, you still need points of interest in the landscape. These could be a ruined castle, a tree, a lake or a winding river.
Time of the Month:
The other thing to remember is to check the phase of the moon. You want to aim for the new moon phase so that the light of the moon isn’t going to interfere too much and light up the sky. Saying this though, I have taken some lovely images with a full moon that lit up the foreground beautifully.
Settings:
It’s all about maximising the amount of light that enters the camera and there are a few ways to do this. Firstly, increasing ISO to around 3200. Secondly opening up the aperture as wide as you can. On this lens, it’s f/3.5. And finally a long exposure of between 20 seconds. You want to use the widest focal length of the lens (18mm in this case) because the longer the focal length you use, the more you’re going to see star trails due to the rotation of the earth.
To calculate which length exposure you need at a particular focal length to avoid star trails you can use the 500 Rule.
Focus:
Focussing a lens in the dark is not at all easy. Trevor recommends focussing on the brightest star in the sky, then switching the autofocus to manual. You can use the live view at 10 times magnification to fine-tune it. The foreground will be captured separately from the sky (ideally taken at dusk) and the two will be blended together in post. Trevor takes between 8 and 10 images so that you have plenty of options for stacking later on in post-processing.

Processing:
Trevor opens up the images he wants to stack for the sky in Photoshop. He manually aligns the images by reducing the opacity of each layer and lining the stars up. I would presume that Photoshop’s auto-align would also work well for this. He then opens up the image for the foreground, selects and masks the sky and then blends the foreground layer with the stacked sky layers. Stacking more than one image reduces noise and brings out the details more than a single exposure could.
So if you’d like to try astrophotography but were put off by thinking that you needed fancy gear, don’t be deterred! You can start right now with the gear you already have. You just need to find a dark patch of sky with no clouds. One word of warning though, it can be addictive!

Alex Baker
Alex Baker is a portrait and lifestyle driven photographer based in Valencia, Spain. She works on a range of projects from commercial to fine art and has had work featured in publications such as The Daily Mail, Conde Nast Traveller and El Mundo, and has exhibited work across Europe


Join the Discussion
DIYP Comment Policy
Be nice, be on-topic, no personal information or flames.