


How to Clean Your Camera Sensor Safely
Oct 22, 2025
Darlene Lleno
Darlene Lleno brings a unique perspective to DIY Photography as someone who grew up surrounded by camera gear but chose words over lenses. With five years of writing experience, she specializes in photography content that’s both technically informed and genuinely passionate. Growing up with a photographer twin brother meant camera talk was everyday conversation in her household. While he mastered capturing moments, Darlene discovered she preferred being the subject and the storyteller behind the scenes. As a travel enthusiast and mother of two, she understands the importance of preserving life’s precious moments. When not exploring new destinations or writing for DIY Photography, you’ll find her reading or tending to her garden. Her approach to photography writing is refreshingly authentic, she may not be behind the camera, but she knows exactly what it takes to help others capture the shots that matter most.
Share:

Learning how to clean your camera sensor safely keeps your images spotless. Dust spots ruin otherwise perfect shots. The good news? Cleaning doesn’t have to feel scary.
Many photographers skip sensor cleaning because they fear damaging their gear. But with proper tools and careful technique, you can do this yourself. It’s honestly not as intimidating as it sounds.
Sensor dust happens to everyone who shoots with interchangeable lens cameras. Tiny particles sneak inside your camera body each time you swap lenses. These specks show up as dark spots in your photos. They’re especially visible when shooting at smaller apertures.
You can remove dust spots in post-processing. But spending hours cloning them out gets old fast. A clean sensor saves editing time. Your images look their best straight from the camera.
What You Need to Know Before Starting
Here’s something that might surprise you. You’re not actually cleaning the sensor itself. Your camera has protective filters sitting in front of the imaging sensor. This matters because replacing these filters costs way less than a damaged sensor.
Different cameras need different approaches. DSLR users must flip up the mirror before accessing the sensor. Mirrorless shooters get direct access but need to enable cleaning mode. Some newer mirrorless cameras have protective curtains. You’ll open these through the menu system.
Battery life is more important than you’d think. Your camera needs serious power to hold the mirror up. A dead battery mid-clean could drop the mirror onto your tools. That causes real damage. Always work with a fully charged battery.
Checking for Sensor Dust
You need to confirm your sensor actually has dust before cleaning it. Sometimes spots come from dirt on your lens or viewfinder. Testing takes one minute and prevents unnecessary work.
Set your camera to aperture priority mode. Choose f/16 or f/22. Smaller apertures make dust shadows pop. Point your camera at something uniformly bright. A white wall works great. So does blank paper or cloudy sky.
Take a test shot while gently moving the camera. This blurs any texture. Check your image at 100% on your computer screen. Dark spots in the same location across shots mean sensor dust.
Lightroom users have a handy trick. Press Q in the Develop module for Visualize Spots. This tool inverts your image and boosts contrast. Even tiny dust specks stand out clearly.
Your shooting style affects how often you notice dust. Landscape photographers using f/11 or f/16 spot it quickly. Portrait shooters at f/1.4 might never see it.

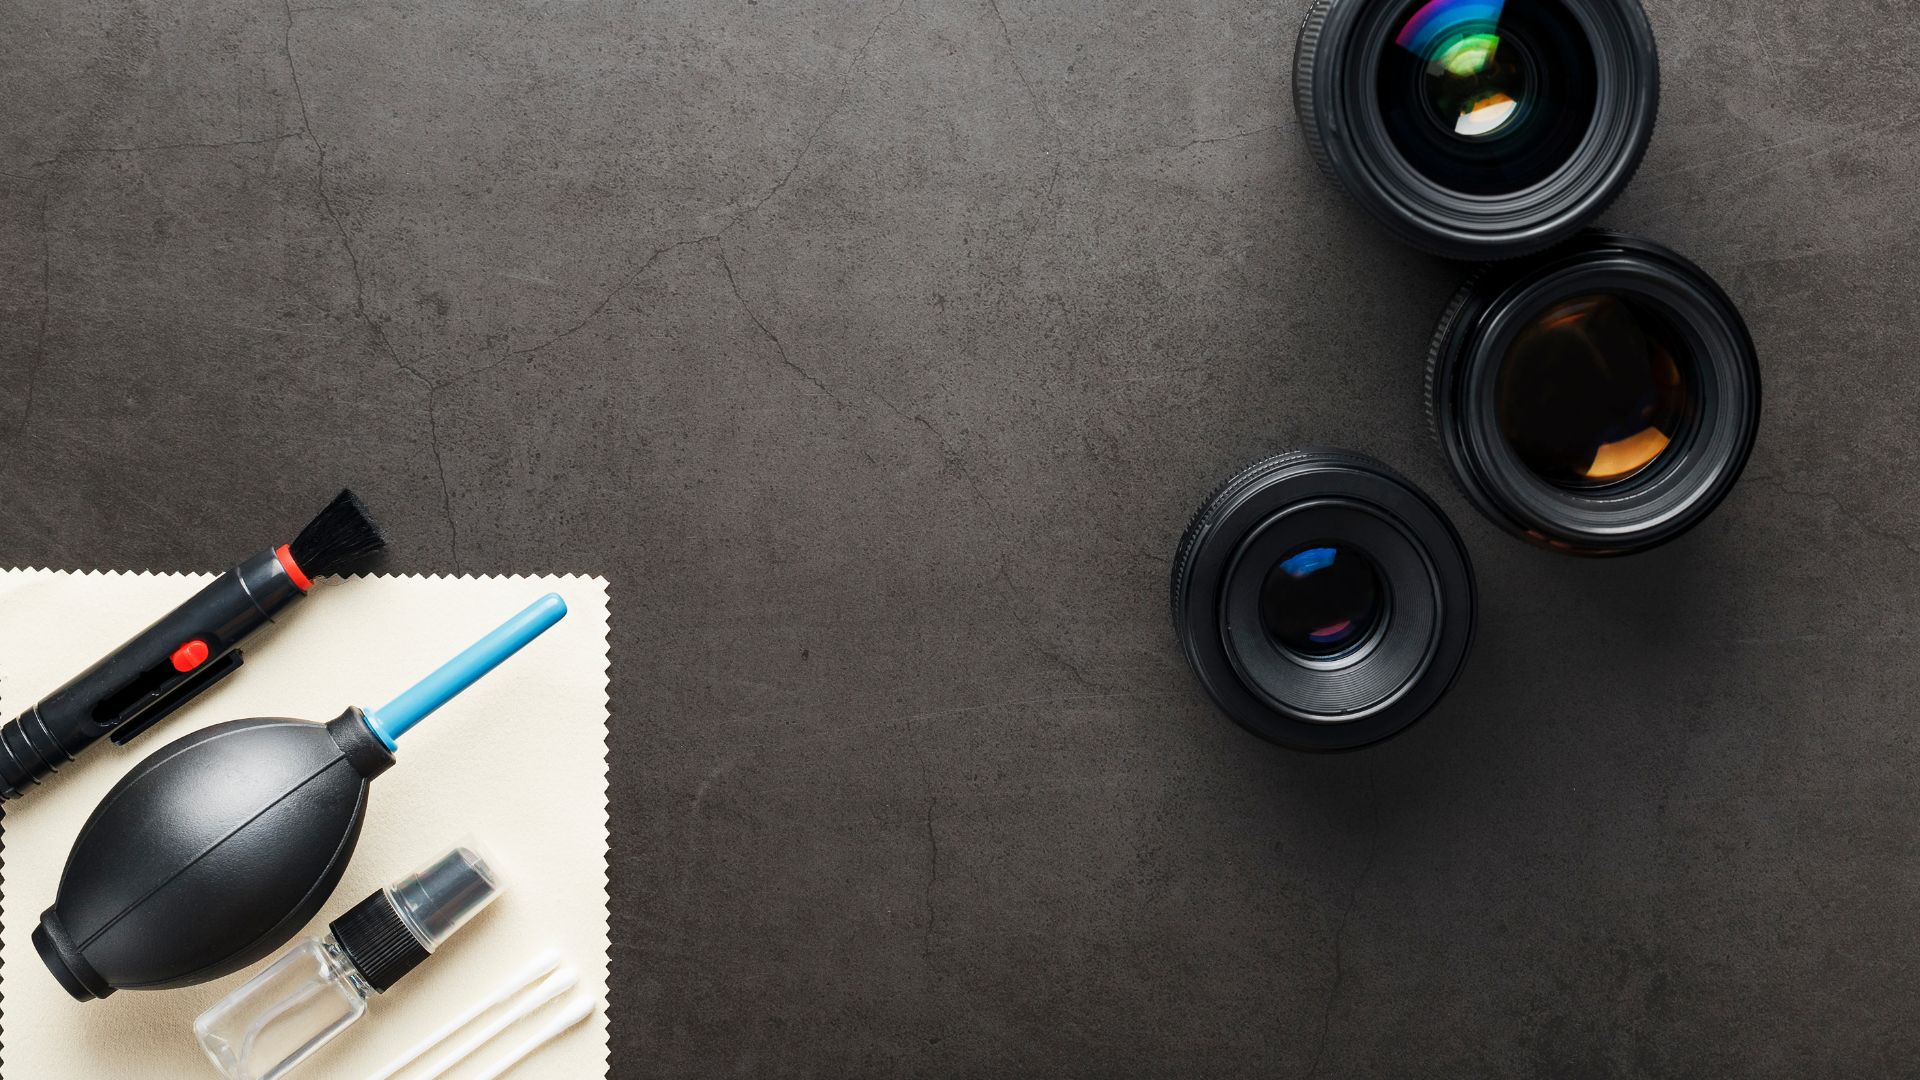
Getting the Right Cleaning Tools
Proper equipment makes the difference between safe cleaning and disaster. Never improvise with household items.
Air Blowers
A quality bulb blower should be your first tool. The Giottos Rocket Blower is the industry standard. These manual blowers use filtered air with no chemicals.
Never use compressed air cans for camera sensor cleaning. They spray freezing liquid propellants. This can wreck your sensor completely.
Sensor Brushes
Specialized sensor brushes use static charge to grab dust particles. The Arctic Butterfly is popular among pros. Quality alternatives exist at lower prices.
Regular paintbrushes are off-limits. They shed fibers everywhere. You’ll create more problems than you solve.
Wet Cleaning Supplies
Stubborn spots need sensor swabs and cleaning solution. Choose swabs sized for your sensor format. Full-frame sensors need different swabs than APS-C.
Popular cleaning solutions include Eclipse fluid and Sensor Clean. These evaporate quickly without leaving gunk behind. VisibleDust MXD-100 Green Vswabs work well with matching solution.
K&F Concept makes double-ended swabs now. You get two cleaning surfaces per swab. Better value for your money.

How to Clean Your Camera Sensor Safely
Always start with the gentlest method first. Work your way up only if needed. Most dust comes off with simple air.
Method 1: Built-In Sensor Cleaning
Modern cameras include automatic sensor cleaning. The sensor vibrates to shake loose dust. Find this in your camera’s menu under Setup or Maintenance.
Run the cycle a few times. Check your sensor again with a test shot. If dust remains, move to manual cleaning.
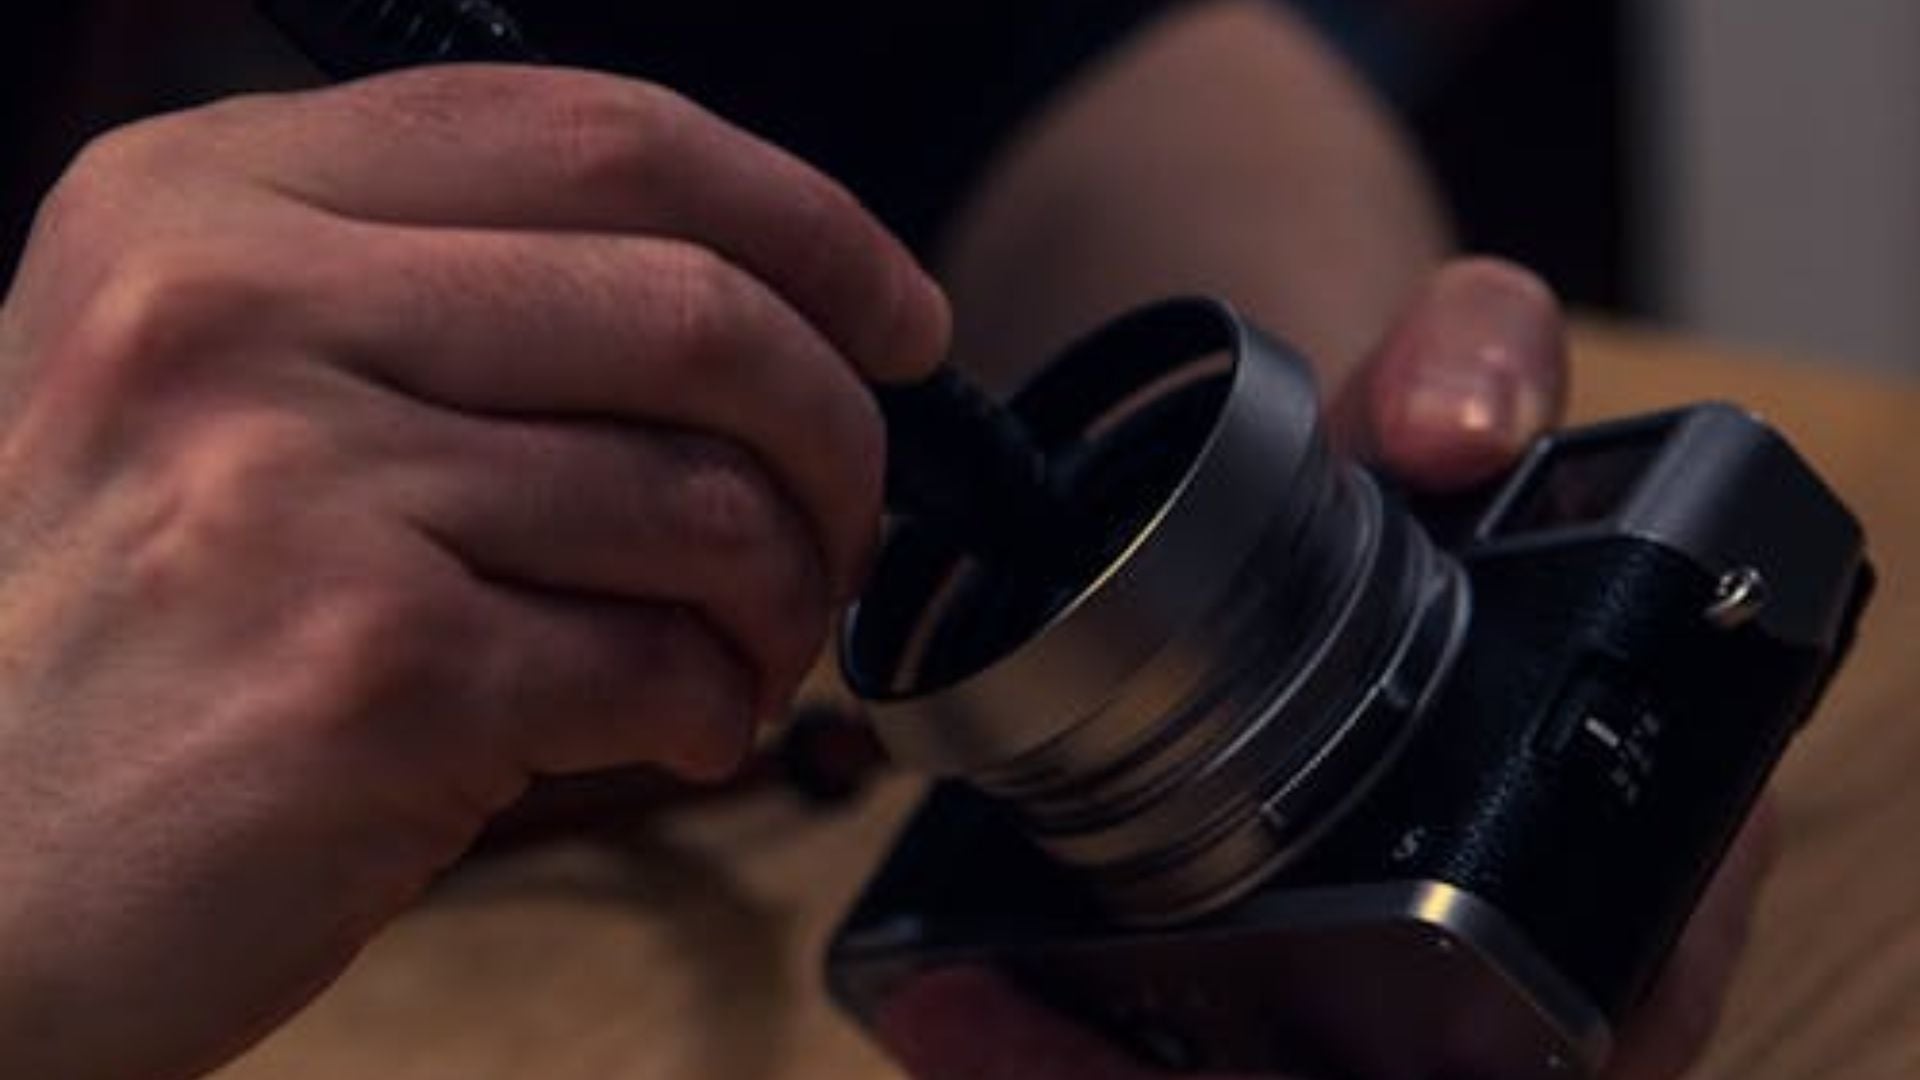
Method 2: Manual Air Blowing
Find a clean environment away from wind. Remove your lens and enable sensor cleaning mode. The mirror flips up on DSLRs.
Hold your camera with the sensor facing down. This step is critical. Gravity pulls dislodged dust away from the sensor. Keep the blower tip several inches from the surface.
Never let the blower touch the sensor. Don’t insert it too deep either. Give several strong puffs across the sensor. Turn off cleaning mode and test again.
Many dust problems disappear at this stage. You might be done already.
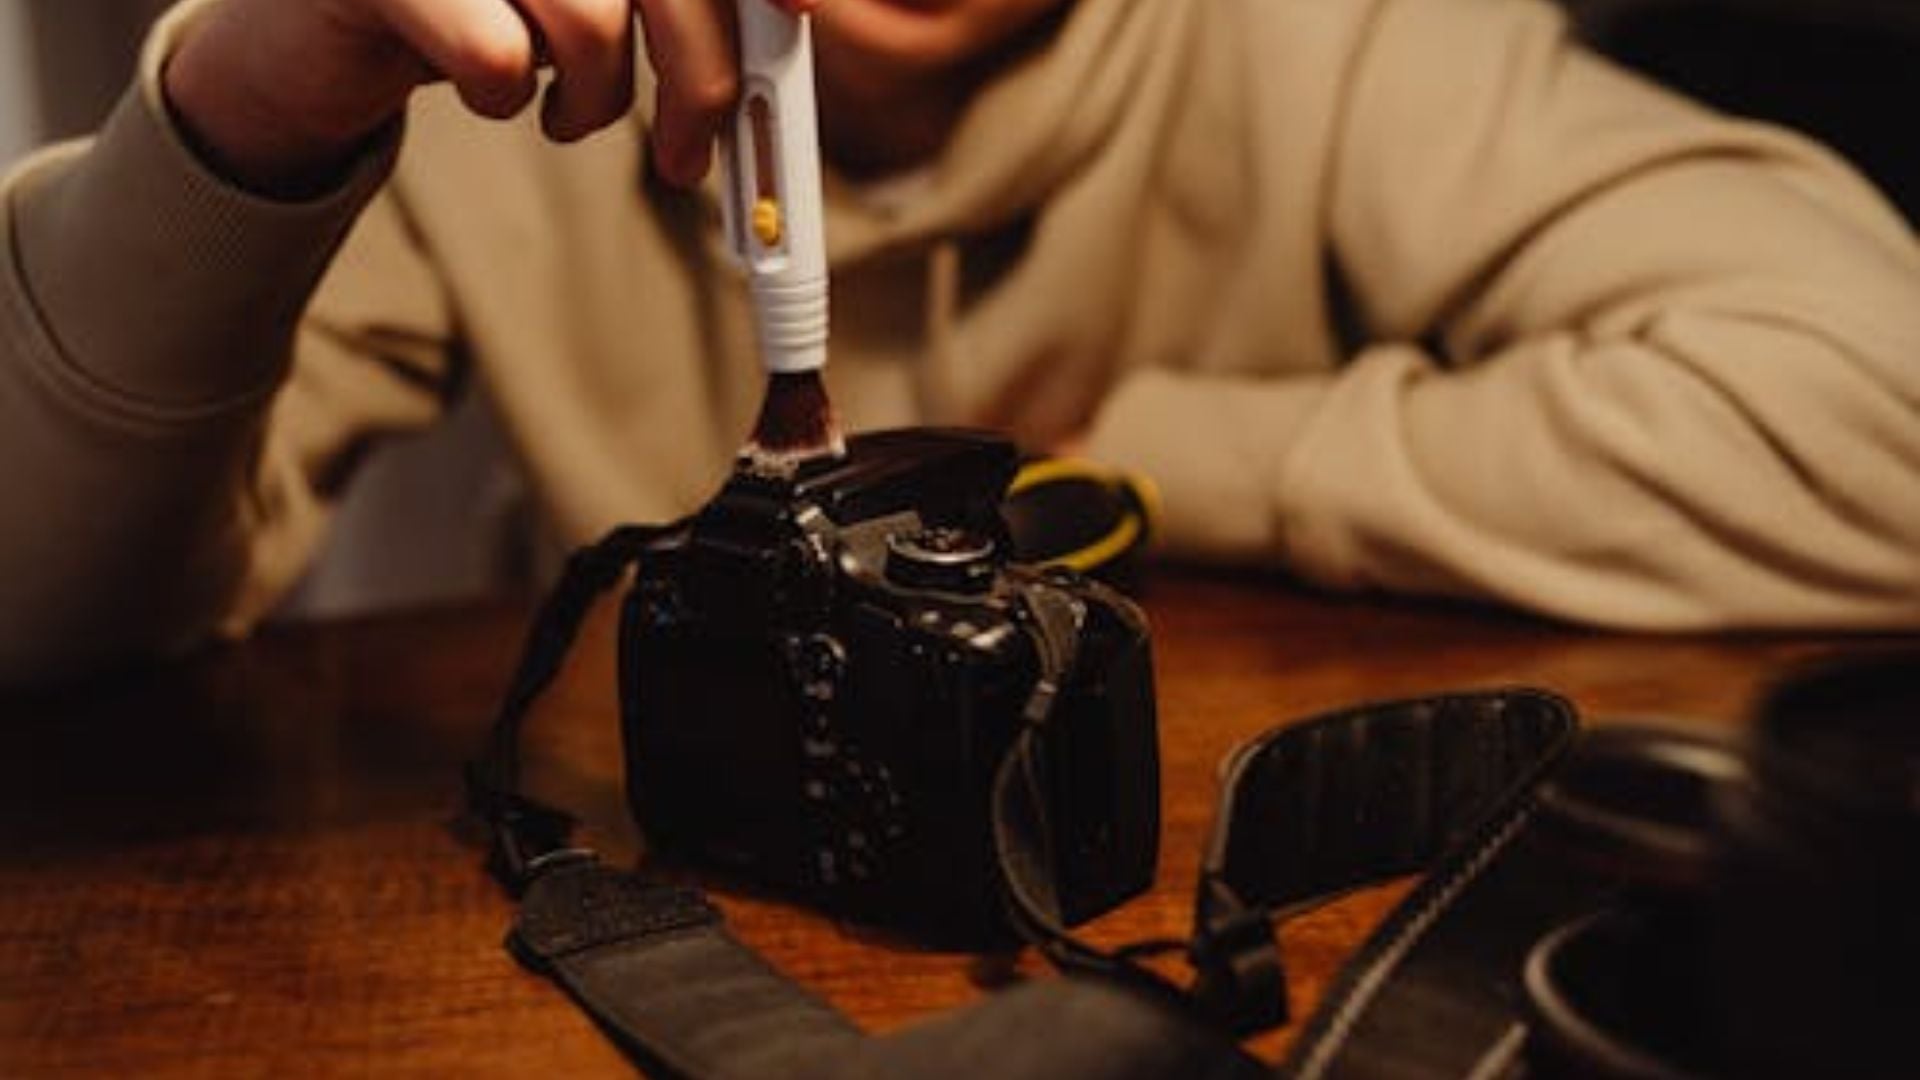
Method 3: Dry Brushing
Air blowing didn’t work? Try a sensor brush next. These tools need prep before each use. Follow the instructions for charging the brush.
Gently sweep across the sensor in one smooth motion. Lift away and recharge before another pass. Never scrub or apply pressure. The static charge does the work.
Method 4: Wet Cleaning
Wet cleaning is your last resort for stubborn spots. This method needs the most care. But it delivers the best results when done right.
Remove a fresh swab from its package. Add 2-4 drops of cleaning solution to the fabric. The swab should be damp, not dripping. Too much liquid creates streaks.
Place the swab at one sensor edge. Draw it smoothly across in one motion. Flip to the clean side and swipe back. Toss the swab immediately. Never reuse swabs.
Wait 30 seconds for the sensor to dry. Take another test shot to check. Streaks mean you need another pass with a dry swab.
Mistakes That Damage Sensors
Knowing what to avoid matters just as much as proper technique. These mistakes turn simple cleaning into expensive repairs.
Never blow on your sensor with your mouth. Your breath has moisture and spit particles. Don’t use cotton swabs or tissues either. These shed lint and scratch filters.
Touching the sensor transfers finger oils. Keep your hands away completely. Sharp objects like toothpicks have no place here.
Changing lenses carelessly invites dust. Always face the camera body downward when swapping. Have your next lens ready before removing the current one.
Cleaning in dusty or windy spots defeats the purpose. Find a clean indoor space. Some photographers run a hot shower first. This settles airborne dust. Just turn it off before opening your camera.
Preventing Sensor Dust
Prevention beats cleaning every time. Smart habits keep your sensor cleaner longer.
Point your camera down when changing lenses. Gravity stops dust from floating inside. Work quickly but carefully during swaps. Have both lens caps ready to seal everything fast.
Store your camera with a body cap or lens attached. Never leave the mount open. Keep your camera bag clean by emptying it regularly. Dust piles up in corners and transfers to gear.
Check your sensor before big shoots. Finding dust during a wedding creates stress. A quick test shot at home takes 30 seconds. It could save hours of editing later.
Some photographers clean weekly if they swap lenses often. Others go months between cleanings. Your conditions and habits determine the right schedule.
When You Need Professional Help
Professional cleaning exists for good reasons. Some situations need expert assistance.
All cleaning methods failed and spots remain? Professional equipment might be needed. Oil spots from camera parts need stronger solutions. Pros have industrial cleaners you can’t buy.
Visible scratches or filter damage need assessment. Don’t attempt repairs yourself. Camera manufacturers can replace damaged filters reasonably. Authorized service centers handle this too.
First-timers feeling uncomfortable should try professional service first. Many camera shops clean sensors while you wait. Watch the technician if possible. This builds confidence for DIY attempts.
How Often Should You Clean
Cleaning frequency depends on several factors. Photographers who rarely change lenses only need to clean their cameras once or twice a year. In contrast, those who frequently swap lenses, especially in dusty environments, should perform maintenance weekly.
Mirrorless cameras collect dust faster than DSLRs. No mirror means every lens change exposes the sensor. Some newer bodies include protective curtains. These reduce dust significantly.
Zoom lenses can introduce more dust than primes. Internal zoom movement creates airflow. This draws particles into the camera body. Weather-sealed lenses help but don’t eliminate problems.
Your environment plays a huge role, too. Desert and beach photographers battle constant fine dust. Studio shooters see far less contamination. Adjust your schedule based on conditions.
Mastering Sensor Maintenance
Sensor cleaning belongs in every photographer’s skillset. The process becomes routine after a few tries. Most cleanings take under five minutes total.
Start with air blowing before touching the sensor. You’ll be able to remove most of the dust without aggressive methods. Keep quality supplies in your camera bag. Quick maintenance between shoots prevents bigger problems.
Clean sensors produce better images and speed workflow. Hours removing dust spots in Lightroom add up quickly. A few minutes of maintenance saves significant editing time.
Your camera is a tool meant for use. Dust happens to every photographer. Learning to clean your camera sensor safely builds confidence. You can shoot anywhere without worry.
The skills you develop through regular maintenance matter. They make you more capable and independent. You’ll stop stressing about dust and start focusing on photography.

Darlene Lleno
Darlene Lleno brings a unique perspective to DIY Photography as someone who grew up surrounded by camera gear but chose words over lenses. With five years of writing experience, she specializes in photography content that’s both technically informed and genuinely passionate. Growing up with a photographer twin brother meant camera talk was everyday conversation in her household. While he mastered capturing moments, Darlene discovered she preferred being the subject and the storyteller behind the scenes. As a travel enthusiast and mother of two, she understands the importance of preserving life’s precious moments. When not exploring new destinations or writing for DIY Photography, you’ll find her reading or tending to her garden. Her approach to photography writing is refreshingly authentic, she may not be behind the camera, but she knows exactly what it takes to help others capture the shots that matter most.


Join the Discussion
DIYP Comment Policy
Be nice, be on-topic, no personal information or flames.