


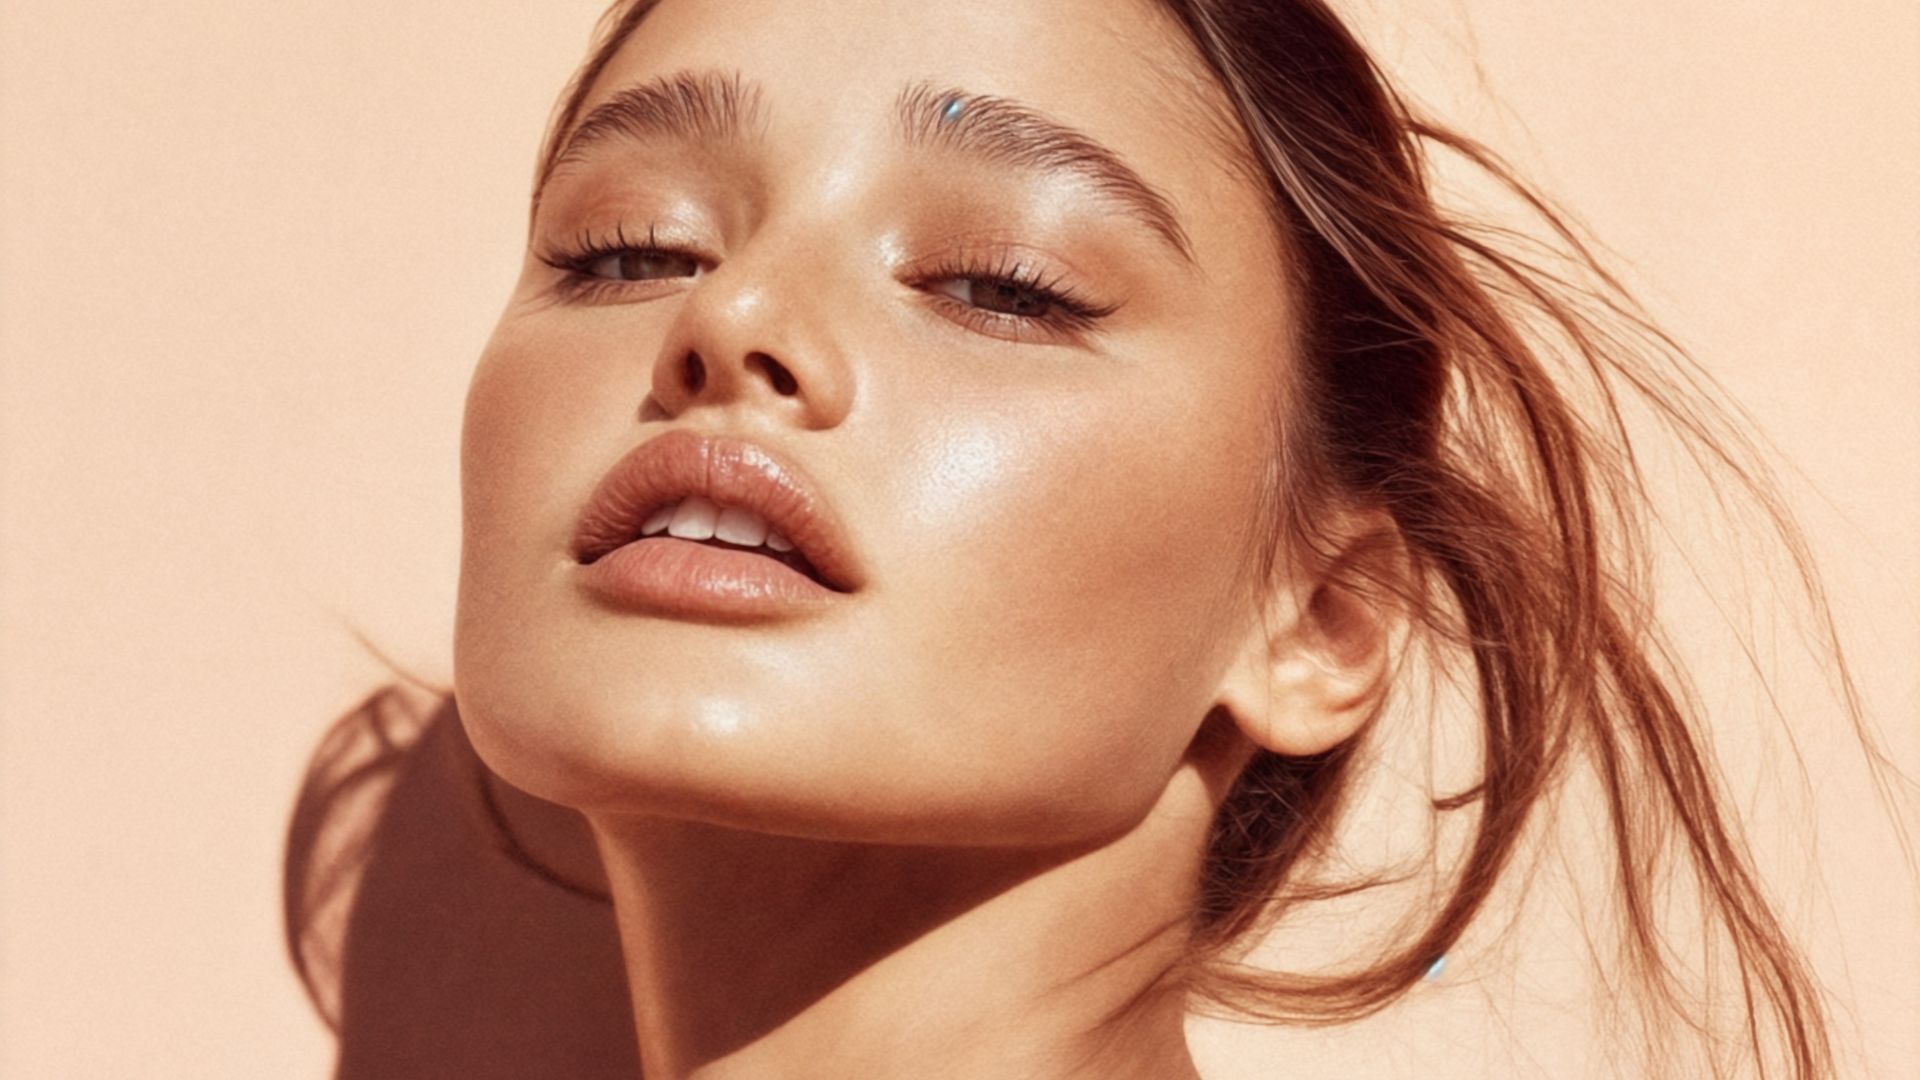
Create Your Dream Home Studio for Portraits on Any Budget
Oct 10, 2025
Darlene Lleno
Darlene Lleno brings a unique perspective to DIY Photography as someone who grew up surrounded by camera gear but chose words over lenses. With five years of writing experience, she specializes in photography content that’s both technically informed and genuinely passionate. Growing up with a photographer twin brother meant camera talk was everyday conversation in her household. While he mastered capturing moments, Darlene discovered she preferred being the subject and the storyteller behind the scenes. As a travel enthusiast and mother of two, she understands the importance of preserving life’s precious moments. When not exploring new destinations or writing for DIY Photography, you’ll find her reading or tending to her garden. Her approach to photography writing is refreshingly authentic, she may not be behind the camera, but she knows exactly what it takes to help others capture the shots that matter most.
Share:
Setting up a home studio doesn’t need to cost thousands of pesos. You can create amazing portrait setups with smart shopping and creative solutions. This guide shows you exactly how to build a working mini studio using affordable materials and simple techniques that deliver professional results.
Read more: Create Your Dream Home Studio for Portraits on Any BudgetEssential Equipment for Your Budget Home Studio
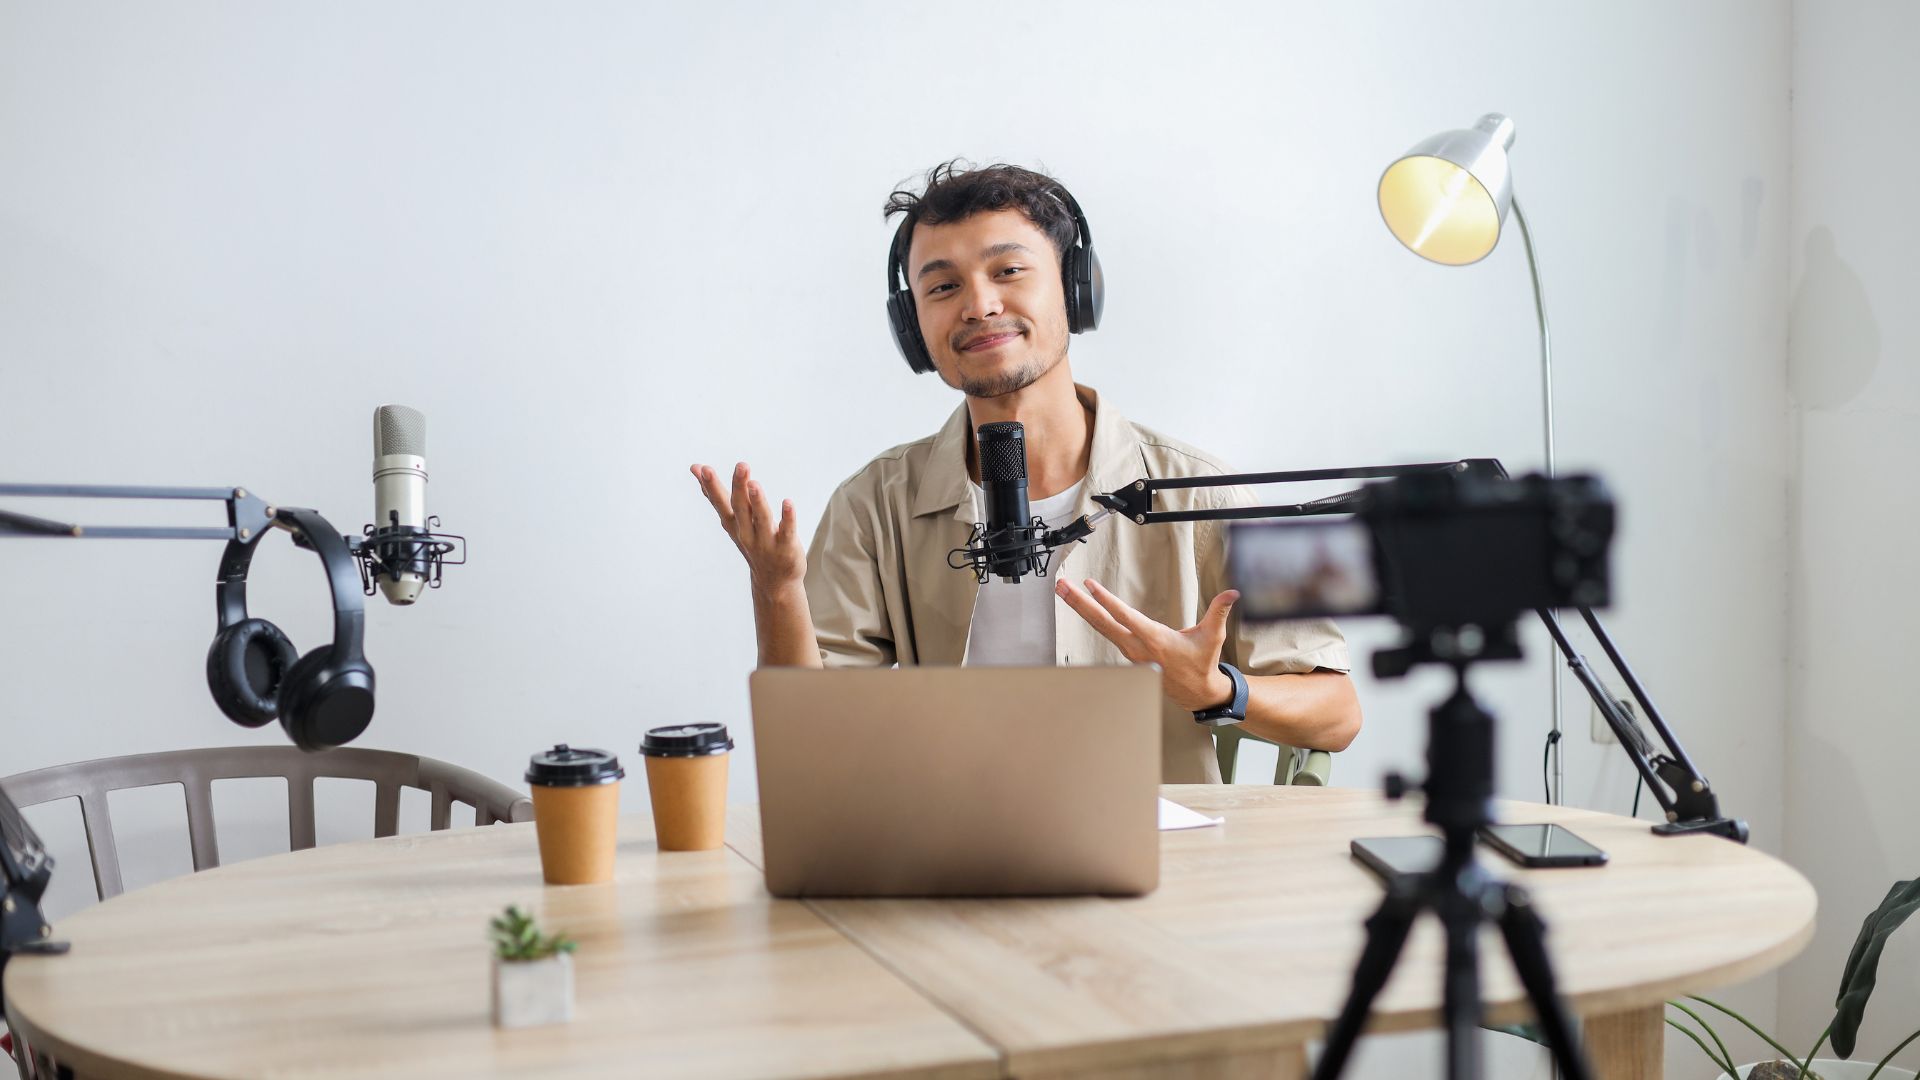
Most people think you need expensive gear to take good portraits. That’s not true. You need three basic things: light, backgrounds, and something to hold everything up. Everything else is just extra stuff that companies want you to buy.
Window light beats expensive studio lights most of the time. Put your subject near a big window when the sun isn’t too harsh. Cloudy days work great because the light stays soft and even. This costs you nothing and looks way better than cheap flash units.
You can buy LED bulbs and desk lamps at any hardware store. A basic LED bulb in a simple lamp gives you enough light for portraits. These setups cost a fraction of professional studio lights and work just as well for home use.
Must-Have Items for Your Home Studio Setup
Here’s what you actually need to get started with portrait photography at home:
Basic lighting gear:
- Adjustable desk lamp (budget-friendly option)
- Daylight LED bulbs (various wattages available)
- Warm LED bulbs for mood lighting
- White poster board for bouncing light
- Extension cords for flexible positioning
Background materials:
- Plain bed sheets in white and colors
- Large poster boards from office supply stores
- Tape and clips for mounting backgrounds
- Curtain rod or backdrop stand for hanging sheets
This complete setup stays well within a modest budget. You get everything needed for professional portrait photography at home without breaking the bank.
Budget Portrait Lighting Solutions
Good portrait lighting comes from knowing where to put your lights. One light in the right spot beats five lights placed randomly. Most people use way too many lights when they start out.
Side lighting makes faces look more interesting. Put your light about 45 degrees to one side of your subject. This creates shadows that show the shape of their face. Any light works for this, even your phone’s flashlight.
Back lighting puts a nice glow around your subject’s hair and shoulders. Place your light behind them and slightly off to one side. This separates them from the background and makes them pop out of the photo.
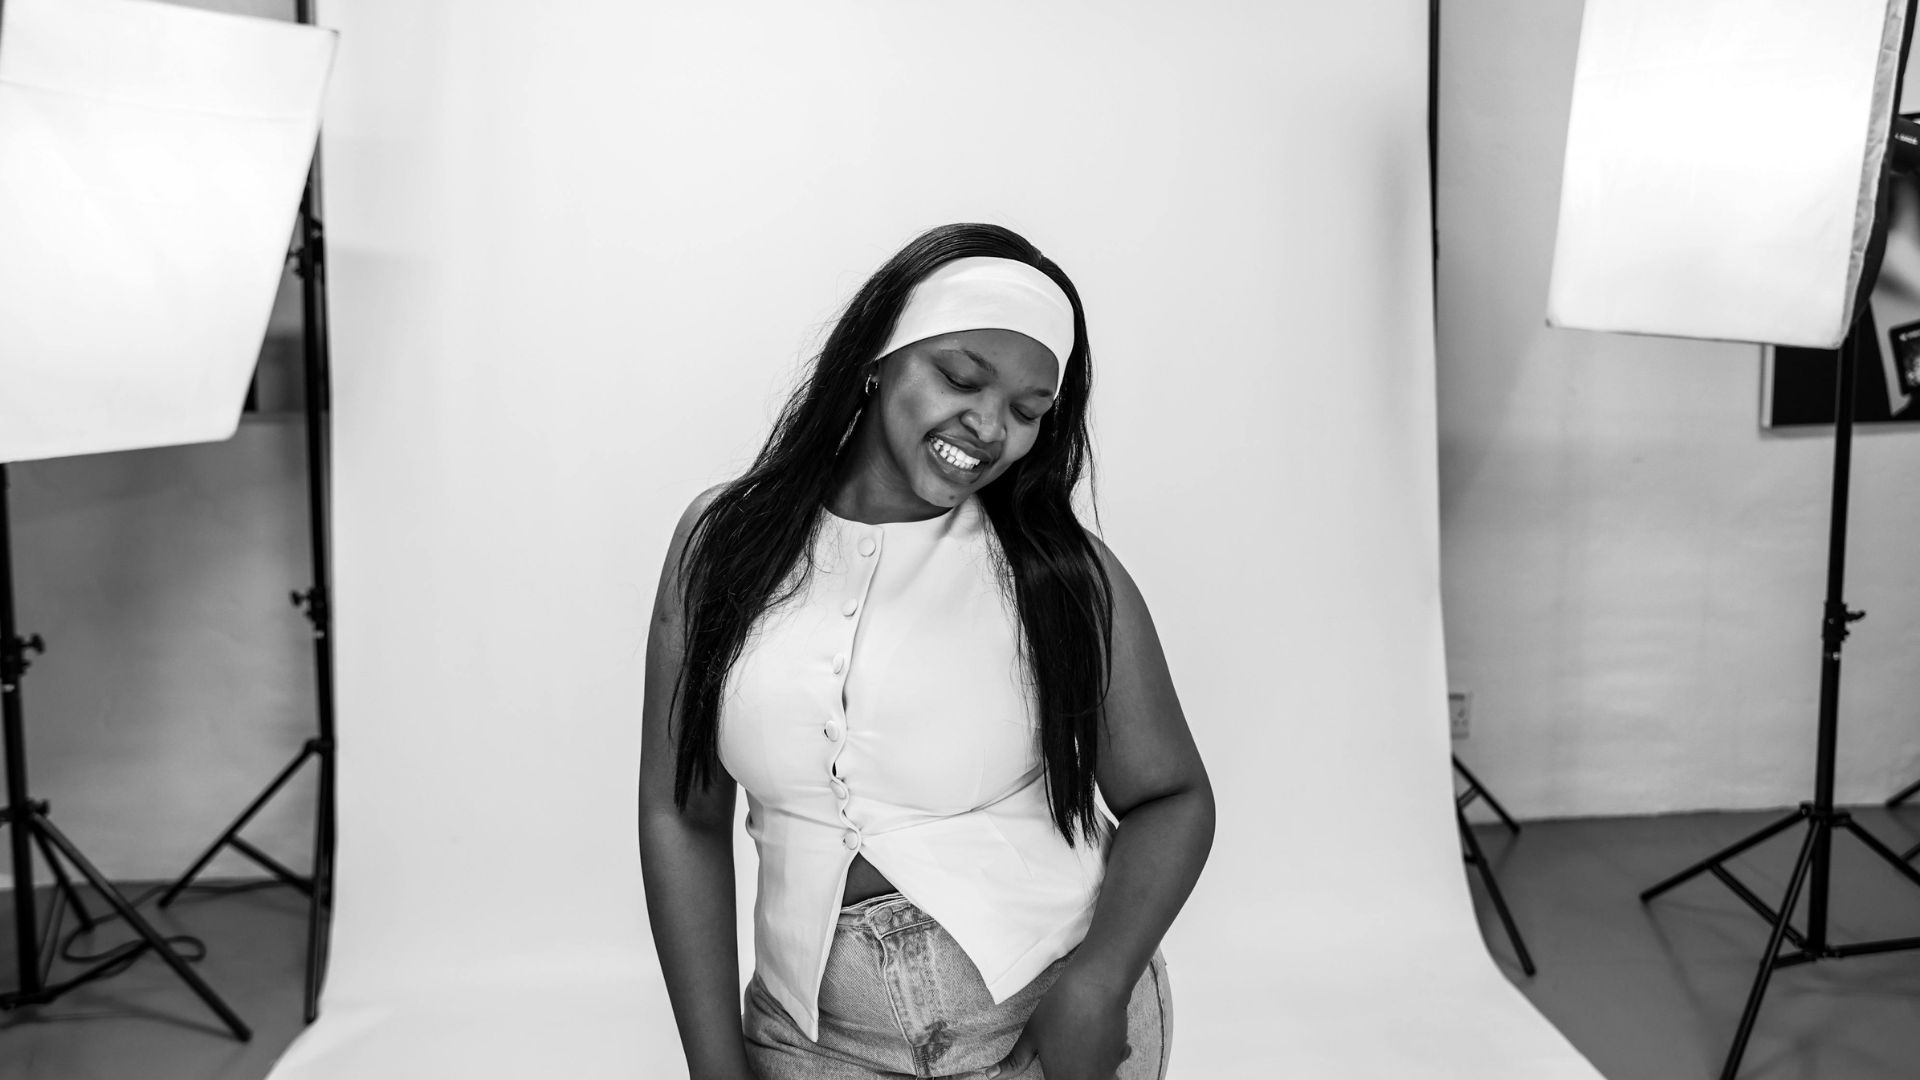
Bounced light creates the softest, most flattering results. Point your light at a white wall or ceiling instead of directly at your subject. The reflected light becomes much bigger and softer. This eliminates harsh shadows and makes skin look smooth.
DIY Background and Backdrop Ideas
Backgrounds don’t need to cost hundreds of pesos. Look around your house first. You probably already have everything you need for great portrait backgrounds.
Plain walls work perfectly for most portraits. White walls give you clean, simple backgrounds that don’t distract from your subject. Textured walls like brick or concrete add visual interest without taking over the photo.
Creative Background Solutions on a Budget
Turn everyday items into professional-looking backgrounds with these simple ideas:
Fabric options:
- Hang bed sheets from curtain rods for instant backdrops
- Use textured blankets for warmer, cozier looks
- Try sheer curtains with light behind them for dreamy effects
- Check craft stores for affordable fabric remnants in different colors
Household items:
- Doorways create natural frames for your subjects
- Bookshelves work great for intellectual or cozy themes
- Empty walls with interesting light patterns
- Windows with plants or cityscape views
Natural elements:
- Your garden or balcony for outdoor feel
- Indoor plants arranged as backdrop elements
- Staircases for dynamic, leading lines
- Architectural details like columns or arches

Creating Professional-Looking Portrait Setups
Professional portraits follow three basic rules. Get the subject position right, control your lighting direction, and pick backgrounds that support rather than fight with your subject.
Position your subject at a slight angle to the camera. Straight-on shots often look stiff and uncomfortable. A small turn creates better shadows and helps people relax naturally.
Camera height changes how powerful your subject looks. Shoot at their eye level for equal feeling. Shoot from below to make them look strong and confident. Shoot from above for softer, more vulnerable looks.
Keep your subject away from the background if you want it blurry. Move them closer if you want sharp background details. This simple distance trick controls how much background shows in your final photo.
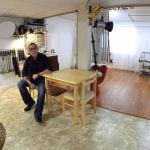
Home Studio Setup and Space Optimization
Small spaces actually work better for portraits than huge rooms. You get more intimate photos and better control over your lighting. Most good portrait setups fit in spaces just 6 by 8 feet.
Corner setups give you the most bang for your space. Position your subject in a corner near windows. This creates natural fill light from two sides and gives you ready-made background angles.
Maximizing Small Spaces for Portrait Work
Working in tight spaces forces you to be more creative. This often leads to better, more personal portraits:
Corner advantages:
- Natural light from two windows at once
- Built-in background angles and lines
- Less space for distracting elements
- Better light control in smaller areas
Portable solutions:
- Keep equipment in rolling bins for easy setup
- Use lightweight backgrounds that fold flat
- Choose battery lights that work anywhere
- Create setups that move between rooms quickly
Multi-room strategies:
- Use different rooms for different moods
- Take advantage of the best light at different times
- Transform spaces temporarily for photo sessions
- Work with existing furniture and decor

Room-by-Room Home Studio Options
Each room in your house offers different advantages for portrait lighting:
Living rooms work well because:
- Big windows provide excellent natural light
- Furniture creates comfortable posing spots
- Higher ceilings fit full-body portraits
- Neutral colors don’t clash with subjects
Bedrooms offer benefits like:
- Intimate atmosphere for personal photos
- Soft lighting from bedside lamps
- Private space for outfit changes
- Comfortable environment that relaxes subjects
Kitchens provide advantages such as:
- Bright, even lighting from multiple sources
- Clean, modern backgrounds with appliances
- Counter heights for natural arm rests
- Central location with easy access
Lighting Techniques for Home Studio Portraits
Learning basic lighting patterns helps you create professional results with affordable equipment. These patterns work with any light source, from desk lamps to phone flashlights.
Fundamental Portrait Lighting Patterns
Master these essential lighting techniques with your budget setup:
Loop lighting steps:
- Put your light slightly above your subject’s eye level
- Move it about 30 degrees to one side
- Look for a small shadow loop beside their nose
- Adjust distance to make shadows lighter or darker
Split lighting method:
- Move your light 90 degrees to your subject’s side
- Half their face should be lit, half in shadow
- Use this for dramatic, artistic portraits
- Works best with people who have strong features
Butterfly lighting technique:
- Position light directly in front and above your subject
- Look for a butterfly shadow under their nose
- Perfect for beauty and glamour shots
- Creates even, flattering light across the whole face
Advanced Home Studio Lighting
Once you master single-light setups, these tricks add more variety without increasing costs significantly:
Fill lighting methods:
- Bounce light back into shadows with white poster board
- Position fill light opposite your main light
- Use less power or move it further away
- This keeps shadow details while reducing harsh contrast
Hair lighting tricks:
- Put a small light behind and above your subject
- Point it down toward their hair and shoulders
- This separates them from the background
- Creates a nice glow that adds dimension
Background lighting ideas:
- Light your background separately from your subject
- Use colored lights or filters for mood
- Create patterns with cut-out templates
- Adds professional polish and depth
Post-Processing Tips for Home Studio Portraits
Good shooting technique reduces how much editing you need to do later. Focus on basic fixes rather than heavy manipulation. Natural-looking results always beat overdone effects.
Essential Editing Techniques for Budget Portraits
These basic post-processing steps improve your home studio portraits:
Color correction basics:
- Fix white balance for accurate skin tones
- Add slight warming for more flattering results
- Correct exposure problems from shooting
- Balance bright and dark areas evenly
Natural skin retouching:
- Remove only temporary blemishes like pimples
- Keep natural skin texture and pores
- Avoid smoothing that makes skin look plastic
- Maintain realistic, believable appearance
Background cleanup:
- Remove distracting elements like electrical outlets
- Clone out bright spots or messy areas
- Smooth wrinkled fabric backgrounds
- Keep all edits subtle and natural-looking
Safety and Practical Considerations
Working with lights and electrical equipment requires basic safety knowledge. This becomes extra important in home environments with water sources nearby.
Important Safety Guidelines
Follow these safety steps to protect your gear and keep everyone safe:
Electrical safety rules:
- Don’t plug too many high-wattage devices into one outlet
- Use LED lights to reduce power draw and heat generation
- Keep all electrical connections away from water sources
- Check cords and plugs before each shooting session
Heat management tips:
- Give equipment breaks during long sessions
- Provide good air circulation in shooting areas
- Keep subjects comfortable with proper ventilation
- Monitor equipment temperature regularly during use
Fire prevention steps:
- Keep fabric backgrounds away from hot lights
- Use proper mounting hardware rated for equipment weight
- Never leave powered lights unattended
- Ensure adequate ventilation in all shooting spaces
Building Your Skills with Limited Equipment
Getting good at portrait photography takes practice with whatever gear you have. Consistent work with simple setups often beats occasional use of expensive equipment.
Skill Development Strategies
Build expertise with your budget setup through deliberate practice:
Learning progression:
- Start with window light only
- Add one artificial light source
- Try simple light modifiers like white boards
- Experiment with background lighting
- Master each step before moving to the next
Practice session structure:
- Set regular practice times each week
- Work with the same subjects when possible
- Take reference photos of successful setups
- Write down lighting positions and camera settings
Avoid these beginner mistakes:
- Using too many lights at once
- Ignoring great natural light opportunities
- Over-editing photos until they look fake
- Buying gear instead of practicing technique
Learning Resources and Community
Connect with other budget photographers to share ideas and get feedback:
Online communities offer:
- Photography forums focused on budget techniques
- Feedback on your home studio setups
- Learning from others with similar equipment limits
- Portrait photography challenges to try new ideas
Educational content includes:
- Study work by professional photographers for inspiration
- Practice exposure triangle concepts for portraits
- Master composition rules for better framing
- Learn about metering modes for consistent exposure
Expanding Your Home Studio Over Time
Your initial modest investment creates a solid foundation. As your skills grow and you identify specific needs, smart equipment additions improve results without destroying your budget.
Smart Equipment Upgrades
Plan equipment expansion based on actual shooting needs rather than marketing hype. Check current prices and availability before making purchases:
Early additions:
- Second light for fill or hair lighting effects
- Light stands or adjustable mounting solutions
- More background materials in different colors
- Basic light modifiers like diffusion fabric
Mid-level improvements:
- More powerful LED panels for larger spaces
- Professional backdrop stands and systems
- Wireless triggers for self-portraits
- Reflector sets in silver, gold, and white
Advanced investments:
- Studio strobes with modeling lamps
- Professional seamless background paper
- Advanced softboxes and light modifiers
- Monitor calibration tools for accurate editing
Measuring Your Progress
Track improvement over time to stay motivated and identify growth areas:
Portfolio development:
- Create before and after shots using same subjects
- Save your best work from each practice session
- Note which techniques give you the best results
- Build a collection showing your range and growth
Technical skill markers:
- Consistent exposure across different conditions
- Natural skin tones in various light sources
- Sharp focus with appropriate depth of field
- Clean, professional backgrounds
Creative development signs:
- Personal style emerging in your work
- Comfort directing subjects for natural expressions
- Creative problem-solving with limited gear
- Confidence trying new techniques and setups
Setting Up Your Home Studio
Creating a working home studio on a tight budget proves that great portraits depend more on skill than expensive gear. Your affordable setup can produce professional results that compete with much more expensive studio work.
Start with simple experiments using window light and household items. Practice consistently with your basic setup before adding complexity. Focus on mastering fundamental techniques like lighting patterns and subject positioning rather than chasing the latest equipment.
Remember that limits often spark creativity. Working within budget constraints forces creative thinking about solutions. This often leads to unique, personal photographic styles that expensive gear can’t buy.
Your home studio will grow as your skills develop and needs become clearer. Start with basics, practice regularly, and add equipment strategically based on real shooting requirements. The most valuable investment is time spent learning how different lighting setups, backgrounds, and camera positions affect your results.
The portraits you create with your budget home studio can be just as compelling as those shot in expensive commercial studios. Focus on connecting with subjects, understanding your equipment completely, and developing your unique creative vision. With patience and practice, your budget home studio becomes a powerful tool for creating memorable portrait photography that truly stands out.

Darlene Lleno
Darlene Lleno brings a unique perspective to DIY Photography as someone who grew up surrounded by camera gear but chose words over lenses. With five years of writing experience, she specializes in photography content that’s both technically informed and genuinely passionate. Growing up with a photographer twin brother meant camera talk was everyday conversation in her household. While he mastered capturing moments, Darlene discovered she preferred being the subject and the storyteller behind the scenes. As a travel enthusiast and mother of two, she understands the importance of preserving life’s precious moments. When not exploring new destinations or writing for DIY Photography, you’ll find her reading or tending to her garden. Her approach to photography writing is refreshingly authentic, she may not be behind the camera, but she knows exactly what it takes to help others capture the shots that matter most.
Related Posts
 How to create winter self-portraits in the home studio using a can of fake spray snow
 Home Studio Photography: Your Complete Guide To Building A Photography Studio At Home
 [Strong Graphics] Big Ideas, Small Budget – How To Create Fun Conceptual Images On A Small Budget
 Tips and tricks for building a DIY home studio on a budget
Join the Discussion
DIYP Comment Policy
Be nice, be on-topic, no personal information or flames.