
















Capturing the Entire Messier Catalogue of 110 Deep Sky Objects: An Interview
Oct 1, 2026
Soumyadeep Mukherjee
Soumyadeep Mukherjee is an award-winning astrophotographer from India. He has a doctorate degree in Linguistics. His work extends to the sub-genres of nightscape, deep sky, solar, lunar and optical phenomenon photography. He is also a photography educator and has conducted numerous workshops. His works have appeared in over 40 books & magazines including Astronomy, BBC Sky at Night, Sky & Telescope among others, and in various websites including National Geographic, NASA, Forbes. He was the first Indian to win “Astronomy Photographer of the Year” award in a major category.
Share:
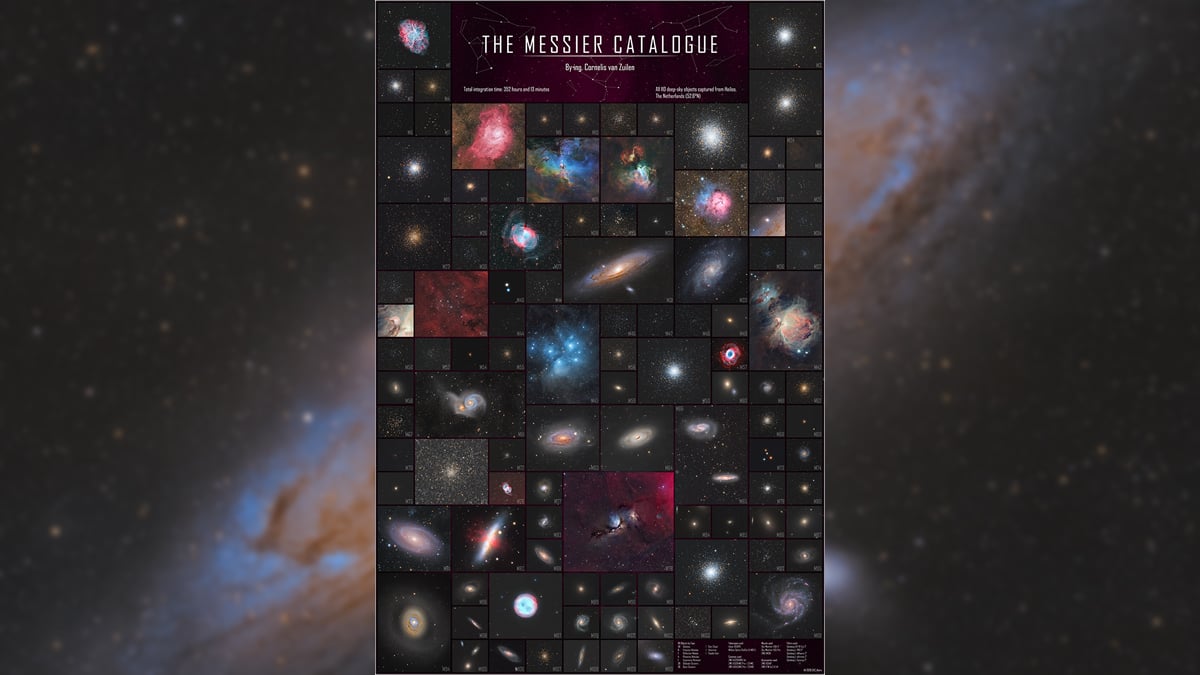
Capturing a deep-sky target takes a lot of effort. You plan for the image, wait for clear skies, set up your equipment, and capture many hours of data. And then you sit down to process the image; that could again take many hours. Now imagine repeating this process 110 times for a collage. Dutch astrophotographer Cornelis van Zuilen has done exactly that.
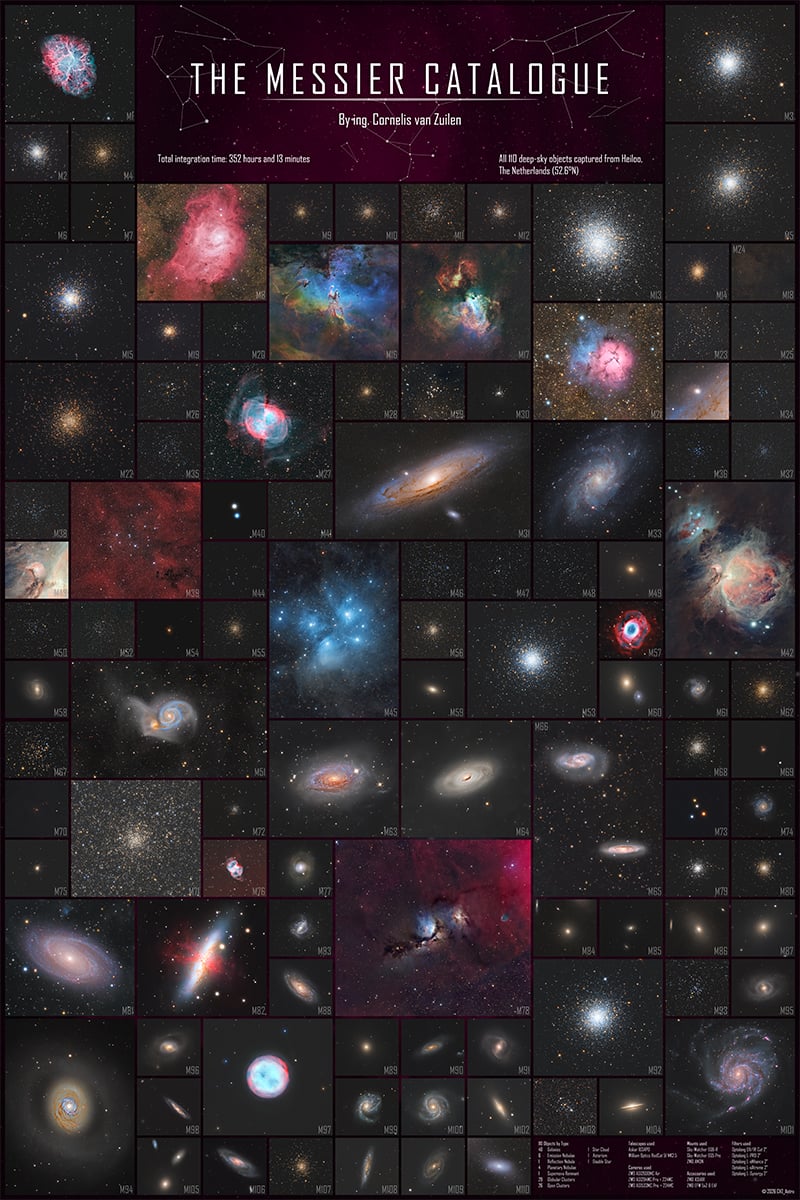
His image “The Entire Messier Catalogue” is a collage of all 110 deep-sky objects from the Messier catalogue. It took him more than a year and a half, some 352 hours of data collection, and endless hours of planning and processing to get the image he once thought could be possible. In this article, we talk to him about the image and the experience. If you want to start a project like this, he also has some very useful suggestions for you.
Table of contents
Planning and inspiration
DIY Photography: Why did you plan to create this image? What was your inspiration behind this project?
A little over a year and a half ago, I decided to seriously focus on photographing the entire Messier catalogue. A friend of mine was also working on the catalogue himself and showed me how far he had progressed. Around the same time, I came across the astrophotographer Gary Imm on AstroBin, who has already captured many catalogues with his telescope. I found the work of both so impressive that I decided to photograph the complete catalogue myself and turn it into a collage.
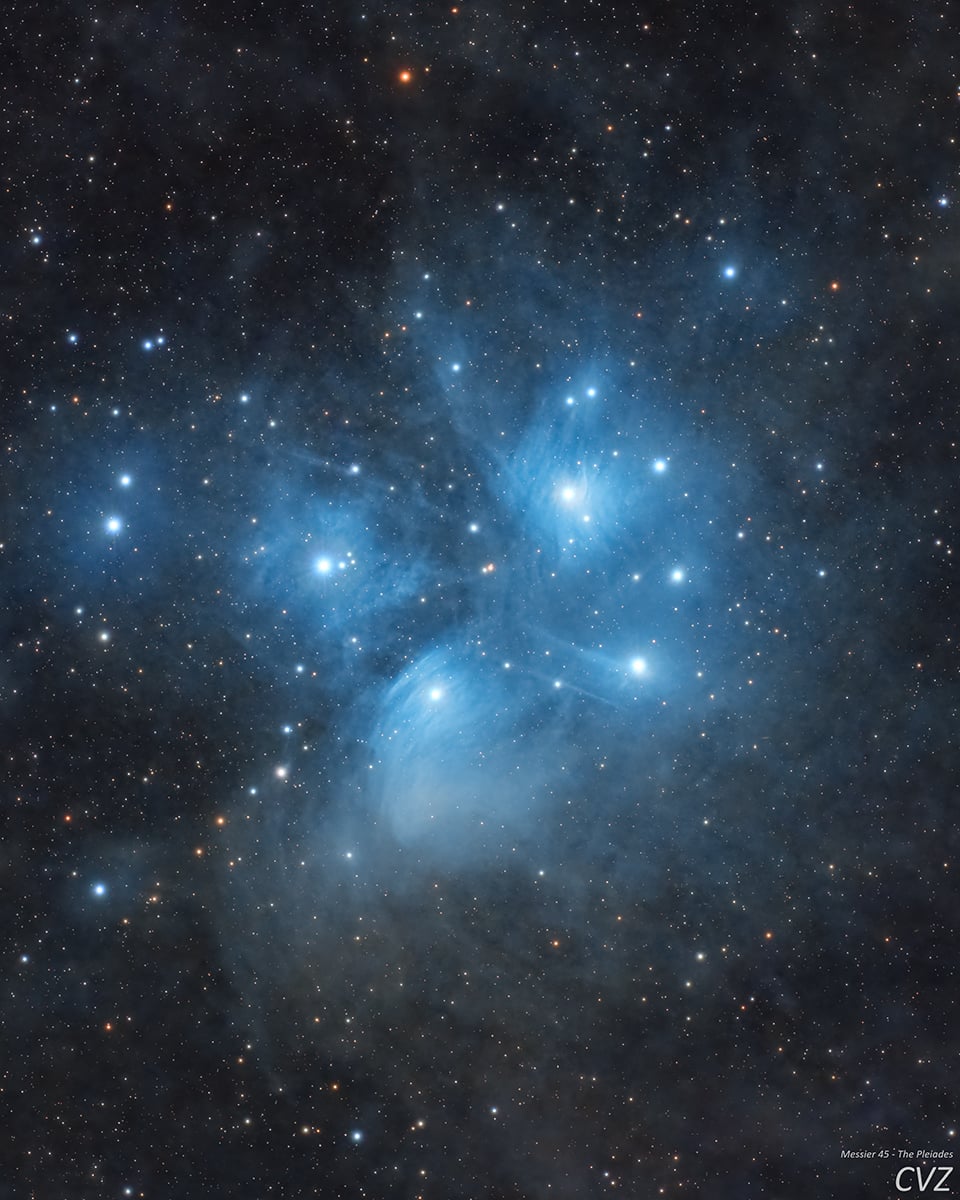
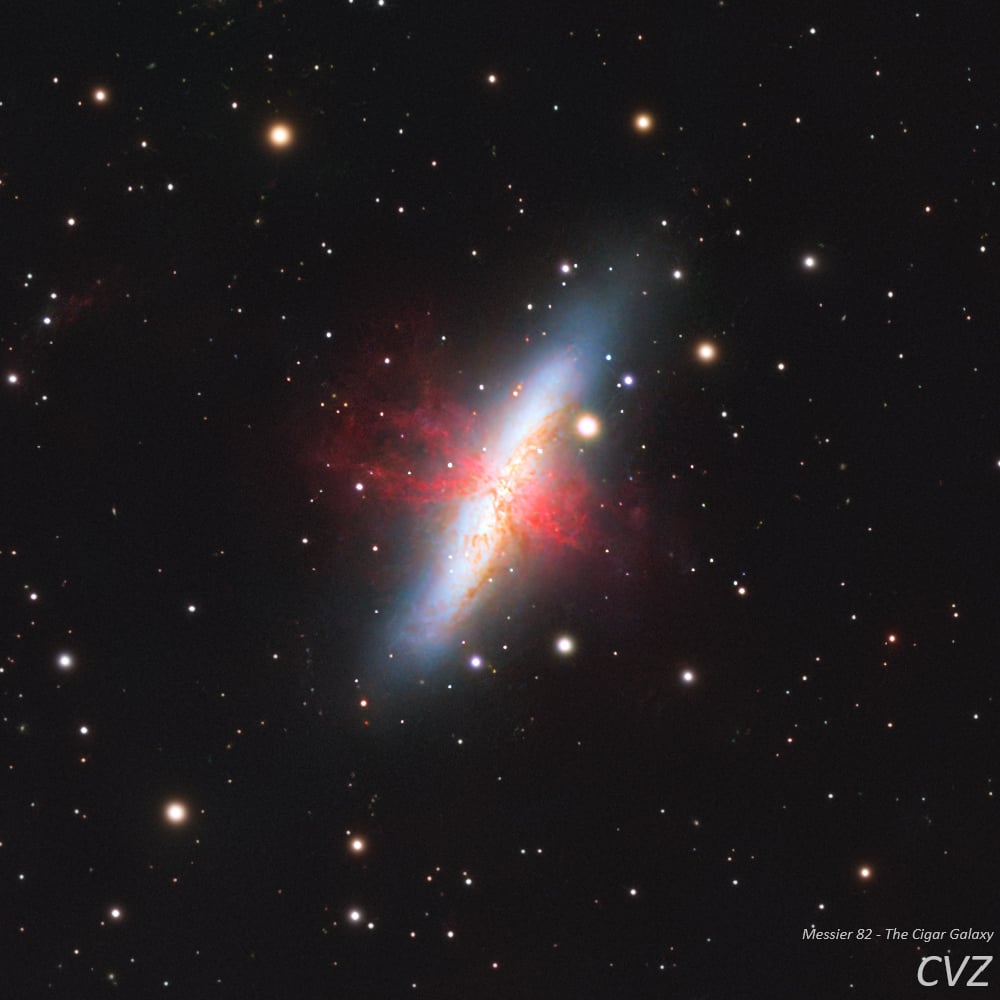
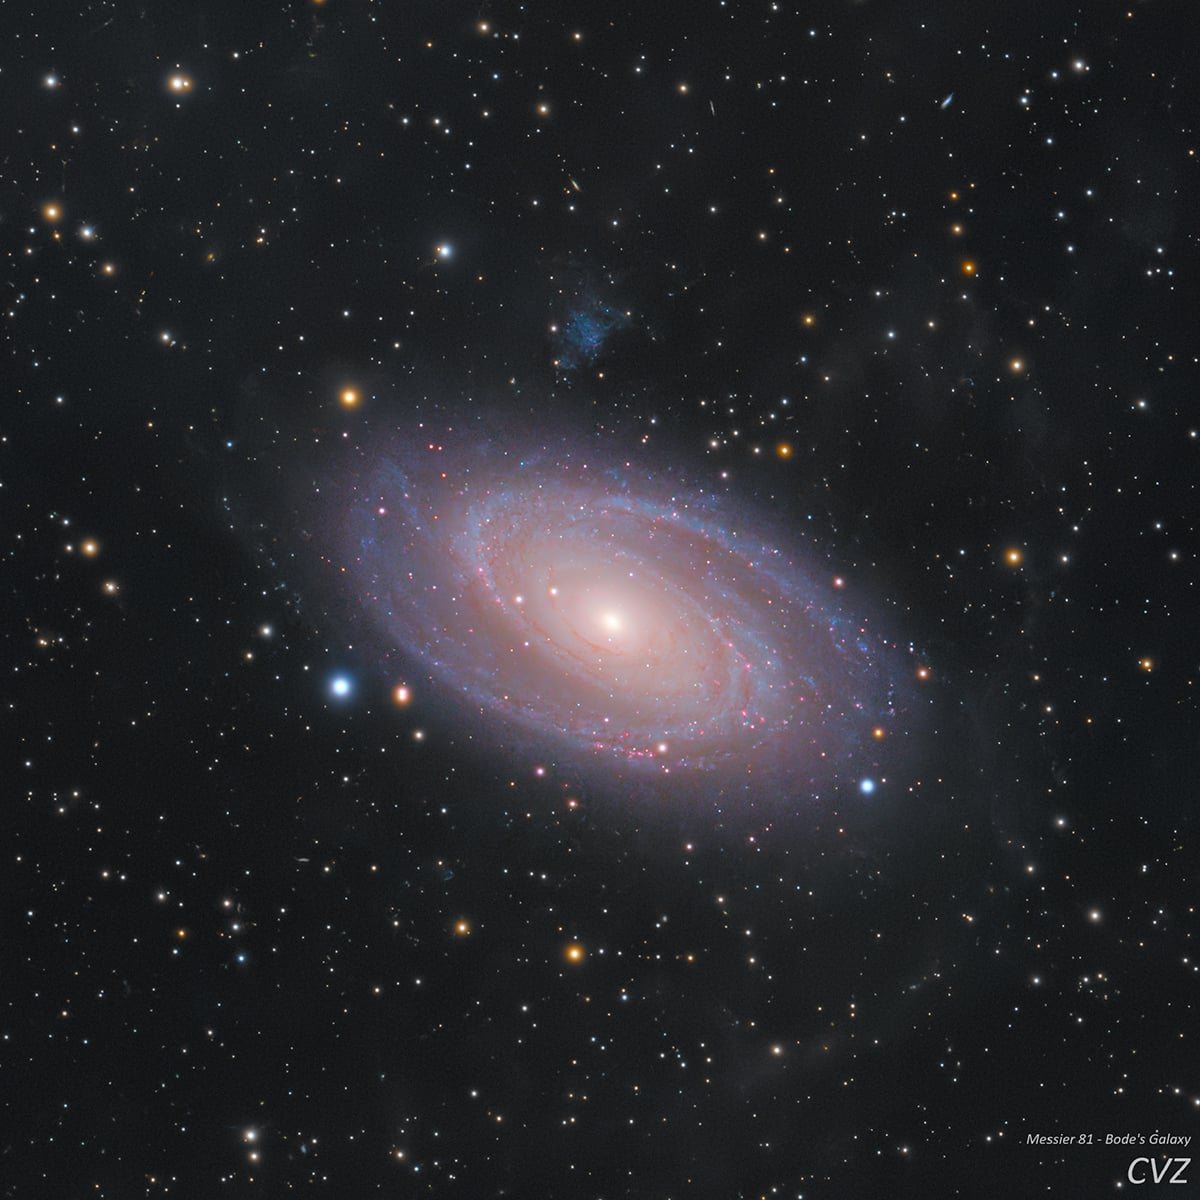
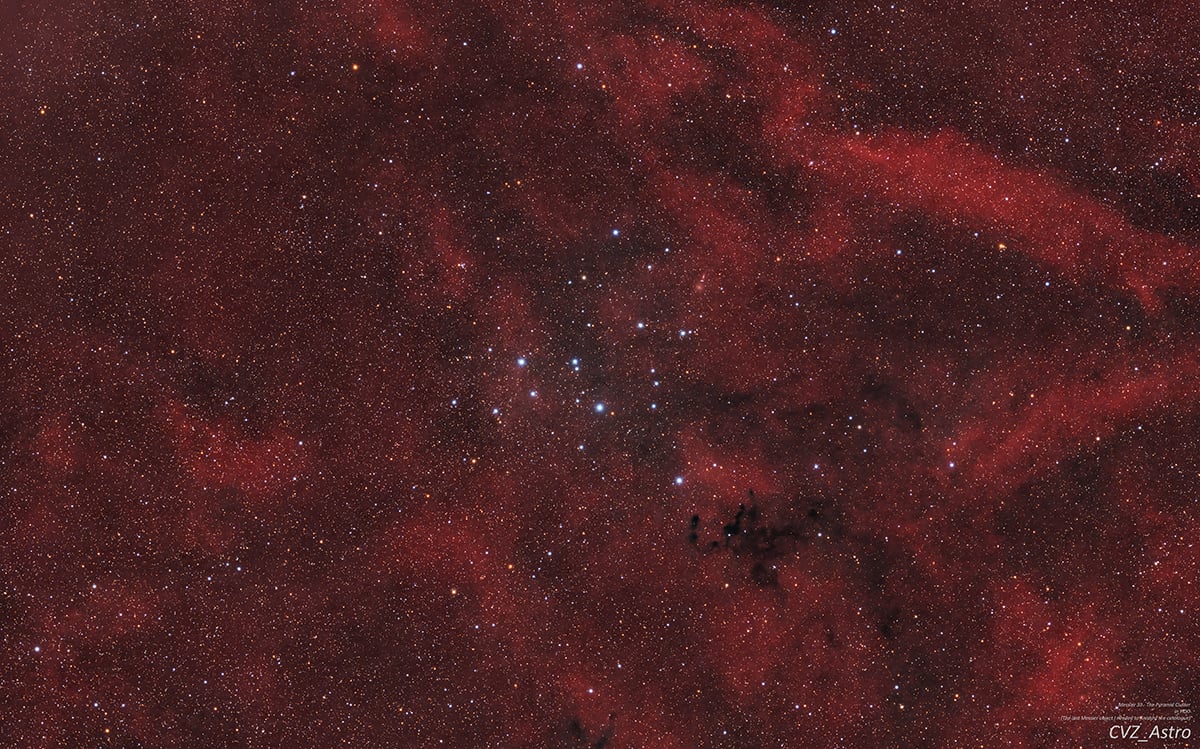
I had already photographed many Messier objects before starting this project, for example, the Pleiades (Messier 45), Bode’s Galaxy (Messier 81), and the Triangulum Galaxy (Messier 33), to name a few.
Behind the scenes and challenges
DIY Photography: I understand that the project took a long time to complete. What happened behind the scenes? And what were the major challenges?
One of the biggest obstacles appeared when I looked at where all the Messier objects are located in the night sky. A large number of them stand low in the south. A row of tall trees along my balcony mostly blocks my view in that direction, so to photograph these objects I had to travel to a location with a clear southern horizon. Fortunately, there is a field nearby where I have roughly 4 km of unobstructed view to the south! The only drawback is that I look towards a harbour, so some heavy light pollution is visible on the horizon. But luckily, the amount of light coming from there differed from night to night.
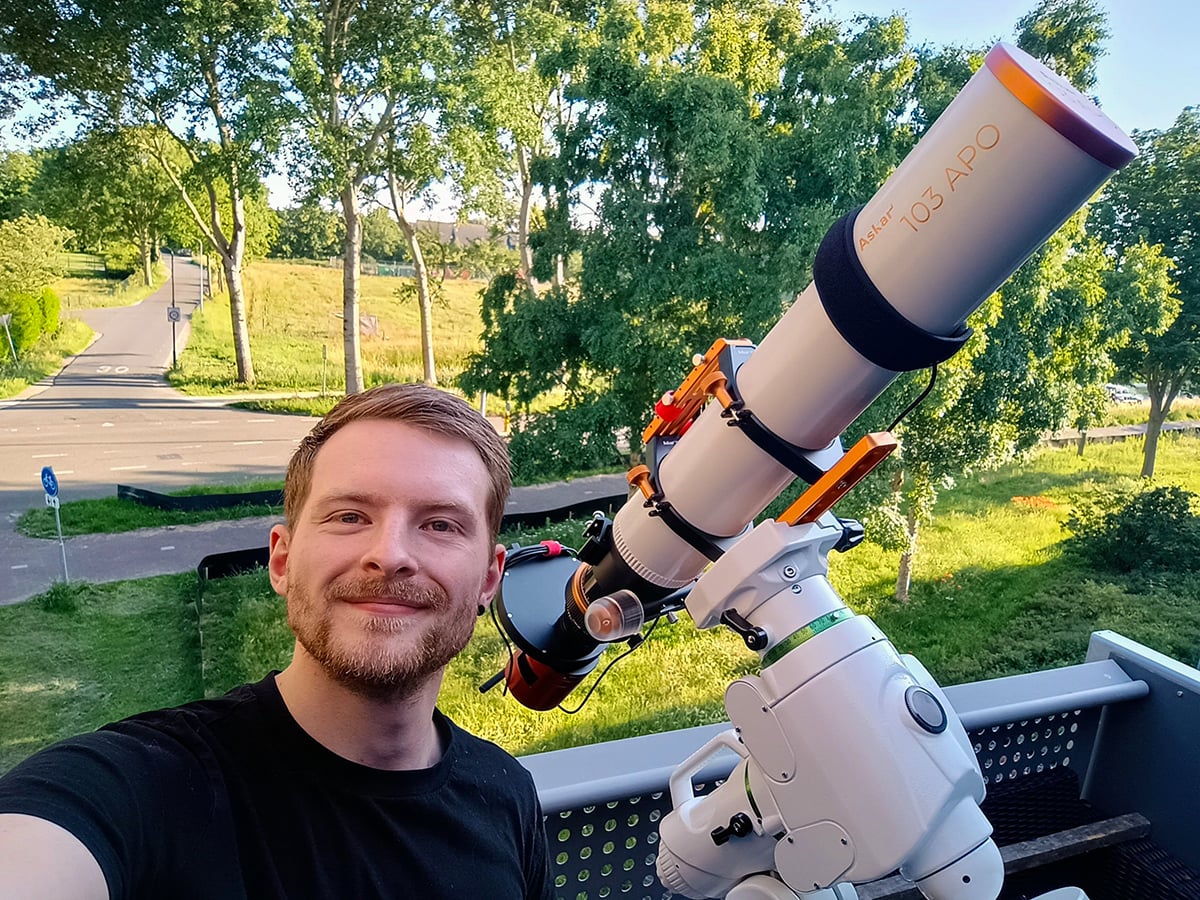
Another obstacle was that I live in an apartment. In general, this works well. My telescope suffers less from street lights because it is set up high above them, so I am not affected by direct light pollution from them. The downside is that I had to carry my EQ6-R Pro mount, which weighs around 30 kg, down two flights of stairs every time I went to the field. Towards the end of the project, I bought a ZWO AM3N, and at roughly 3.9 kg it was far more pleasant to carry downstairs.
Technical aspects
DIY Photography: Can you share the technical details of the final image?
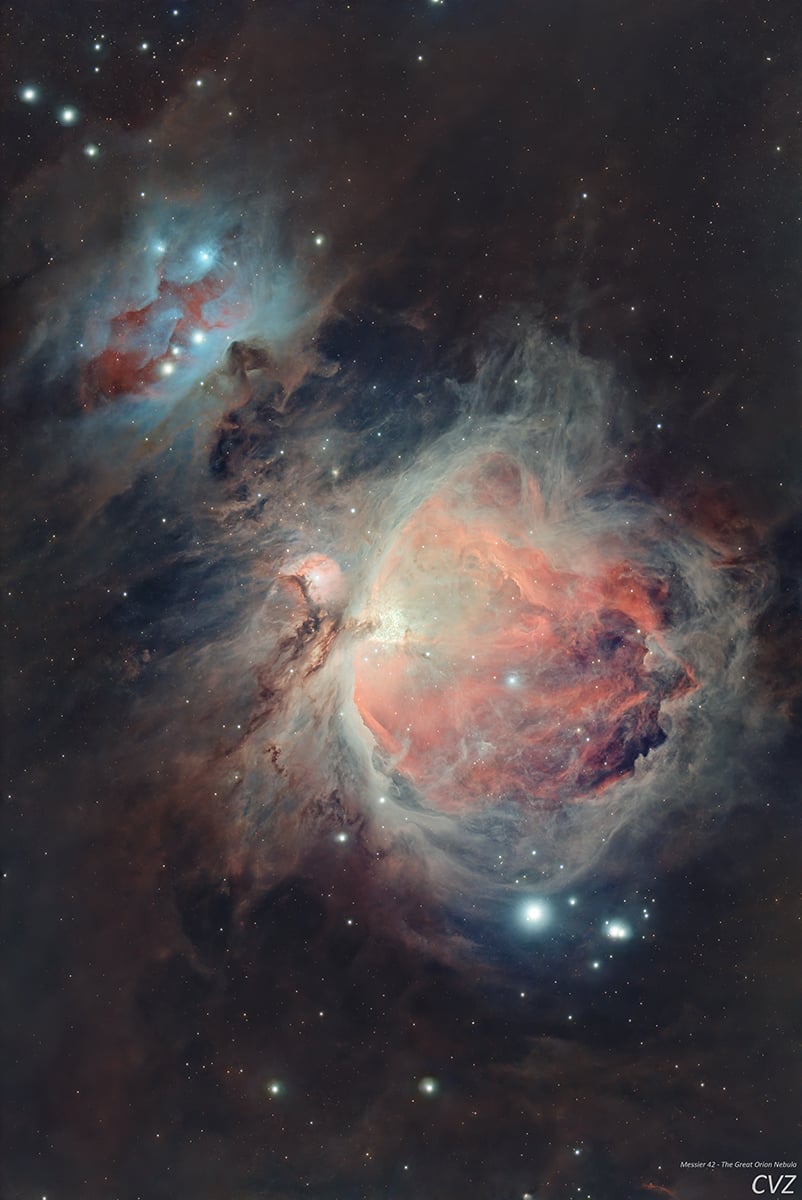
For the objects in the catalogue, I used a variety of exposure times. In general, I work with two. 300 seconds for narrowband and 180 seconds for broadband. With both, the amount of light pollution visible in the individual exposures remains manageable. But for this project I also used other exposure times, each for a specific reason. The Orion Nebula became a high dynamic range image, made by combining longer and shorter exposures. The core of Messier 42 is very bright and quickly turns completely white in longer exposures. To make sure the core and the Trapezium Cluster remained visible, I used exposures of 10 seconds for this part.
Objects such as Messier 6 and Messier 7 stand so low on the horizon that I was not certain I would be able to see them from the Netherlands at all. For these objects, guiding with the telescope no longer worked, as every exposure showed treetops and a farm in the distance. To keep the stars round, I also used an exposure time of 10 seconds here. Before stacking, I cropped the treetops and the farm out of the exposures.
Favourite targets
DIY Photography: In this collage, which two images or targets are your favorites? And why?
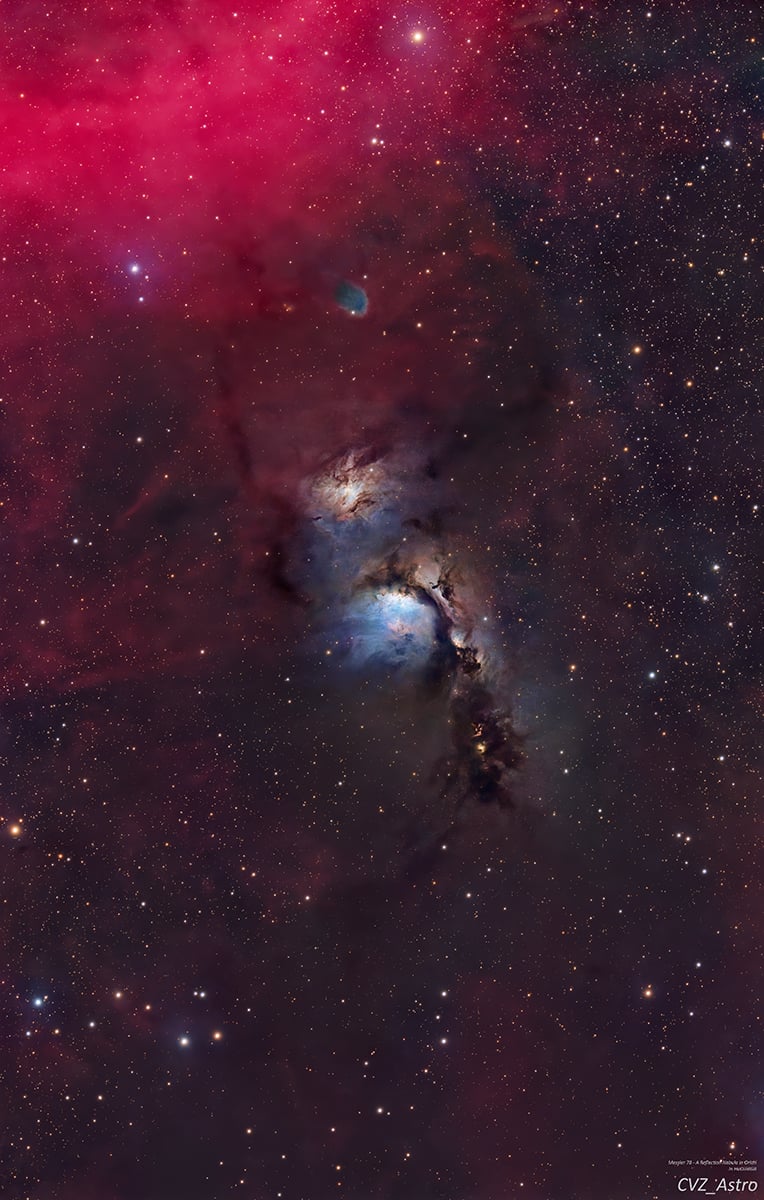
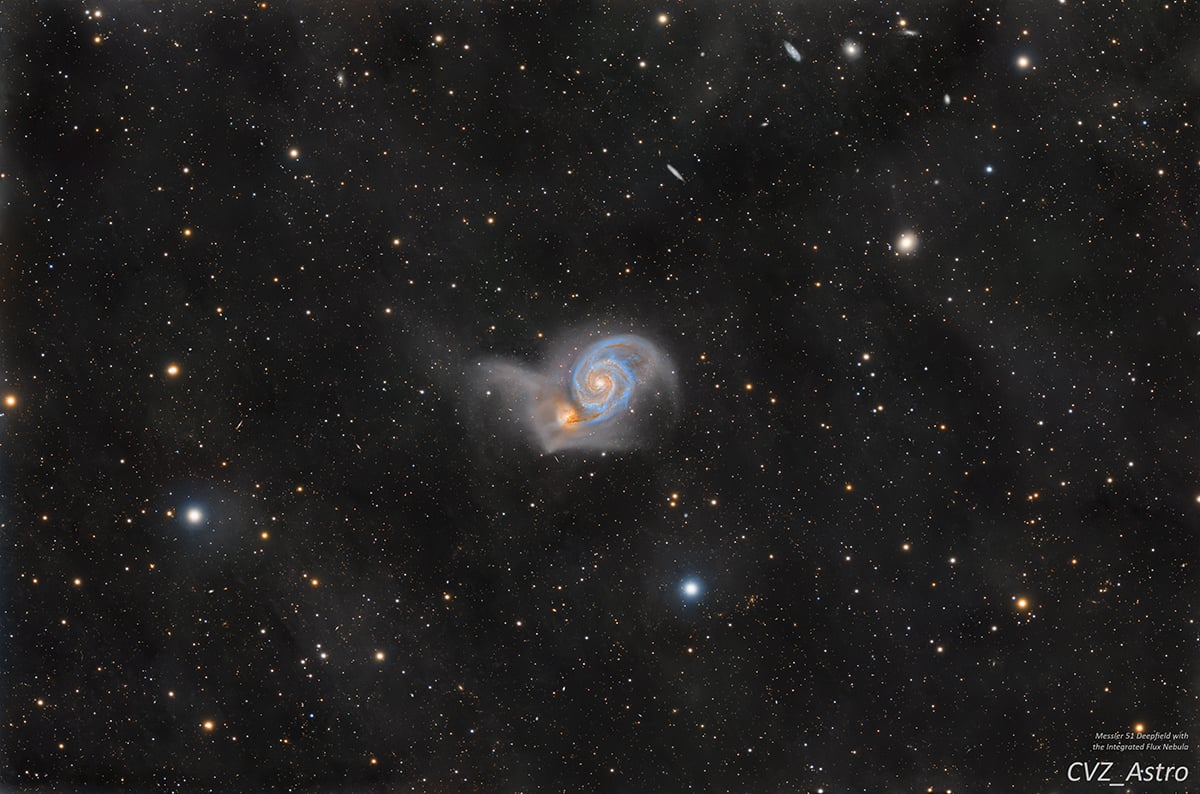
That is a difficult question! Every image has a personal story about how it came to be, but if I have to choose, I would go for Messier 51 and Messier 78. I can look at these two for hours and never get bored.
Planning is fun
DIY Photography: What aspects of executing the project did you enjoy the most?
I was not certain whether I would be able to see the lowest objects from my location at all, so working out in which periods I could photograph which objects was an enjoyable task. It was especially rewarding when the plan worked out. I would go out to the field, capture my data, sleep for a few hours in my car, wake up, drink a nice cup of tea while enjoying the sunrise, and go home with a great feeling.
Suggestions for astrophotographers
DIY Photography: If somebody wants to begin this project, what would be your top three suggestions for them?
- Buy a planisphere that also shows the Messier objects. I know there are a lot of star map apps like Stellarium, but a physical planisphere has helped me enormously, both in the field and at home while planning all the nights. It shows at a glance what the night sky looks like and at what time each object rises above the horizon.
- Bring binoculars when you go out. I was able to see many of the objects visually while I was photographing them with my telescope. Many objects received their names based on what can be seen visually, and what eventually appears in the stacked image can look somewhat different.
- Use a telescope with a focal length of 500 to 700 mm. For this project, that is ideal. My Askar 103APO had a focal length of 560 mm with the 0.8x reducer attached, which in my opinion is exactly right to keep the larger objects completely in frame while still having enough detail in the images of the smaller objects.
Time travelling?
DIY Photography: If you could go back in time and redo the project, what would you do differently?
Since I spent a lot of time in the field photographing the objects, this question immediately made me think of camping gear. The first few times I went out, I brought only myself and my car. On later trips, I had a kind of standard camping bag with all sorts of things in it. For example, an extra pair of socks, power banks, red camping lights, an inflatable pillow, and that kind of stuff.
About Cornelis van Zuilen
In daily life, Cornelis is a design lead and project engineer at a civil engineering firm. There, he designs everything you see in a typical Dutch neighbourhood, up to the property boundary.
Cornelis is 29 years old and bought his first telescope in 2021. He has always been interested in astronomy, but did not know that amateur astrophotography was a thing until he came across Astrobiscuit on YouTube. This was also around the time when Jupiter and Saturn stood very close together in the night sky, and Cornelis was truly surprised that he could see them with the naked eye.
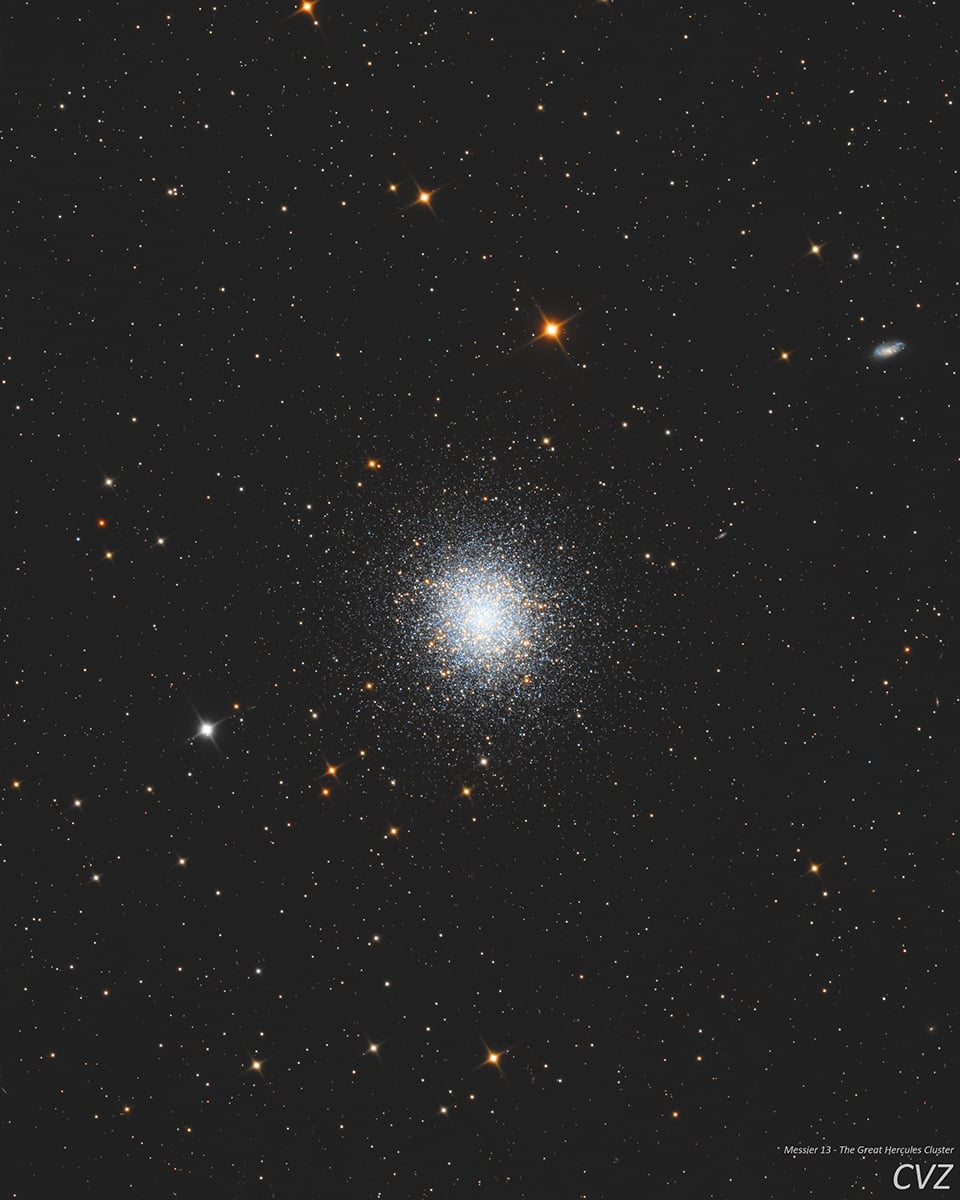
His image of Messier 13, the Hercules Cluster, was selected as AAPOD2. Two of his images also made it to the shortlist of the Optolong Deep-Sky Competition and on Astroimg. One of his images was featured in a calendar of Sterrenstof, the Dutch astronomy and space travel podcast. His images have also been published in Zenit, the Dutch magazine for astronomy and meteorology.
My biggest dream, of course, is a NASA APOD! In my cabinet stands a bottle of Hertog Jan Grand Prestige beer from 2022 with the letters APOD written on it. I have told myself that it may only be opened once one of my images is chosen for a NASA APOD. My images have already been shared three times by NASA on their social media pages, which was already an enormous honour. The APOD itself has not happened yet, but fortunately the bottle of beer only gets better with each year.
We are sure that the beer bottle will be opened soon.
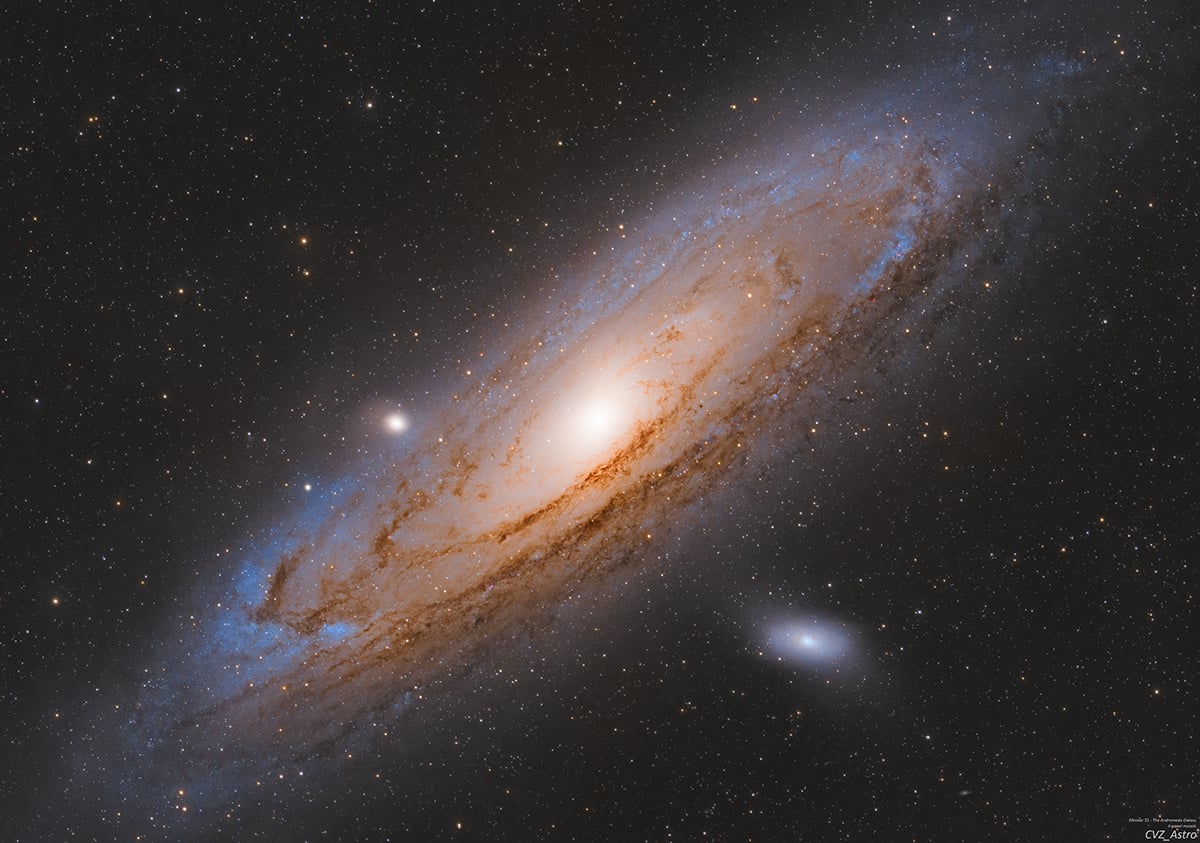
You can find out more of Cornelis’ images on his website and Instagram.
[All images used in this article are by Cornelis van Zuilen, used with permission.]
Clear skies!
See more from DIYPhotography.net on Google
Add DIYPhotography.net as a trusted source. This makes
our stories more likely to appear in your Google Search results.
 Add as a preferred source on Google

Soumyadeep Mukherjee
Soumyadeep Mukherjee is an award-winning astrophotographer from India. He has a doctorate degree in Linguistics. His work extends to the sub-genres of nightscape, deep sky, solar, lunar and optical phenomenon photography. He is also a photography educator and has conducted numerous workshops. His works have appeared in over 40 books & magazines including Astronomy, BBC Sky at Night, Sky & Telescope among others, and in various websites including National Geographic, NASA, Forbes. He was the first Indian to win “Astronomy Photographer of the Year” award in a major category.




Join the Discussion
DIYP Comment Policy
Be nice, be on-topic, no personal information or flames.