


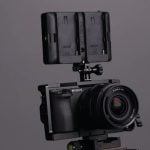
Build a portable, touchscreen camera with just three parts
Nov 26, 2024
David Prochnow
Our resident “how-to” project editor, David Prochnow, lives on the Gulf Coast of the United States in Ocean Springs, Mississippi. He brings his expertise at making our photography projects accessible to everyone, from a lengthy stint acting as the Contributing How-To Editor with Popular Science magazine. While you don’t have to actually build each of his projects, reading about these adventures will contribute to your continued overall appreciation of do-it-yourself photography. A collection of David’s best Popular Science projects can be found in the book, “The Big Book of Hacks,” Edited by Doug Cantor.
Share:

Let’s set the scene: you’re sitting in a shack on a frozen lake in northern Wisconsin when, suddenly, in the distant ice fog, you see a tall hairy figure trudging towards you. You blink your listless eyes into focus and it appears that the “figure” is a bipedal Cryptid that bears a strong resemblance to an abominable snowman, a Yeti!
[Please note: not to be confused with the Beast of Bray Road from Wisconsin.]
OMG; you’ve got to get this on your TikTok feed, but you left the smartphone in your Fiat 500e. How are you going to get photographic proof of a Yeti in Wisconsin?
Thank goodness, you have some Raspberry Pi parts in your shack. AND, you possess just a smidgen of MacGyver-esque talent. Let’s get to work…
Along with these Pi pieces, you’ve also got your “signature” wad of gaffer tape in your back pocket, a charged USB power bank, a slightly used microSD card loaded with the latest Raspberry Pi Operating System (OS), and a partially chewed piece of bubble gum. In less than a minute, you’ve built a fully-functional digital camera and you’re now ready to capture that Yeti–photographically, of course.
Here’s how you did it.
Powerful Pi parts
- Raspberry Pi LCD – 7″ Touchscreen – $60
- Raspberry Pi 3 A+ – $25
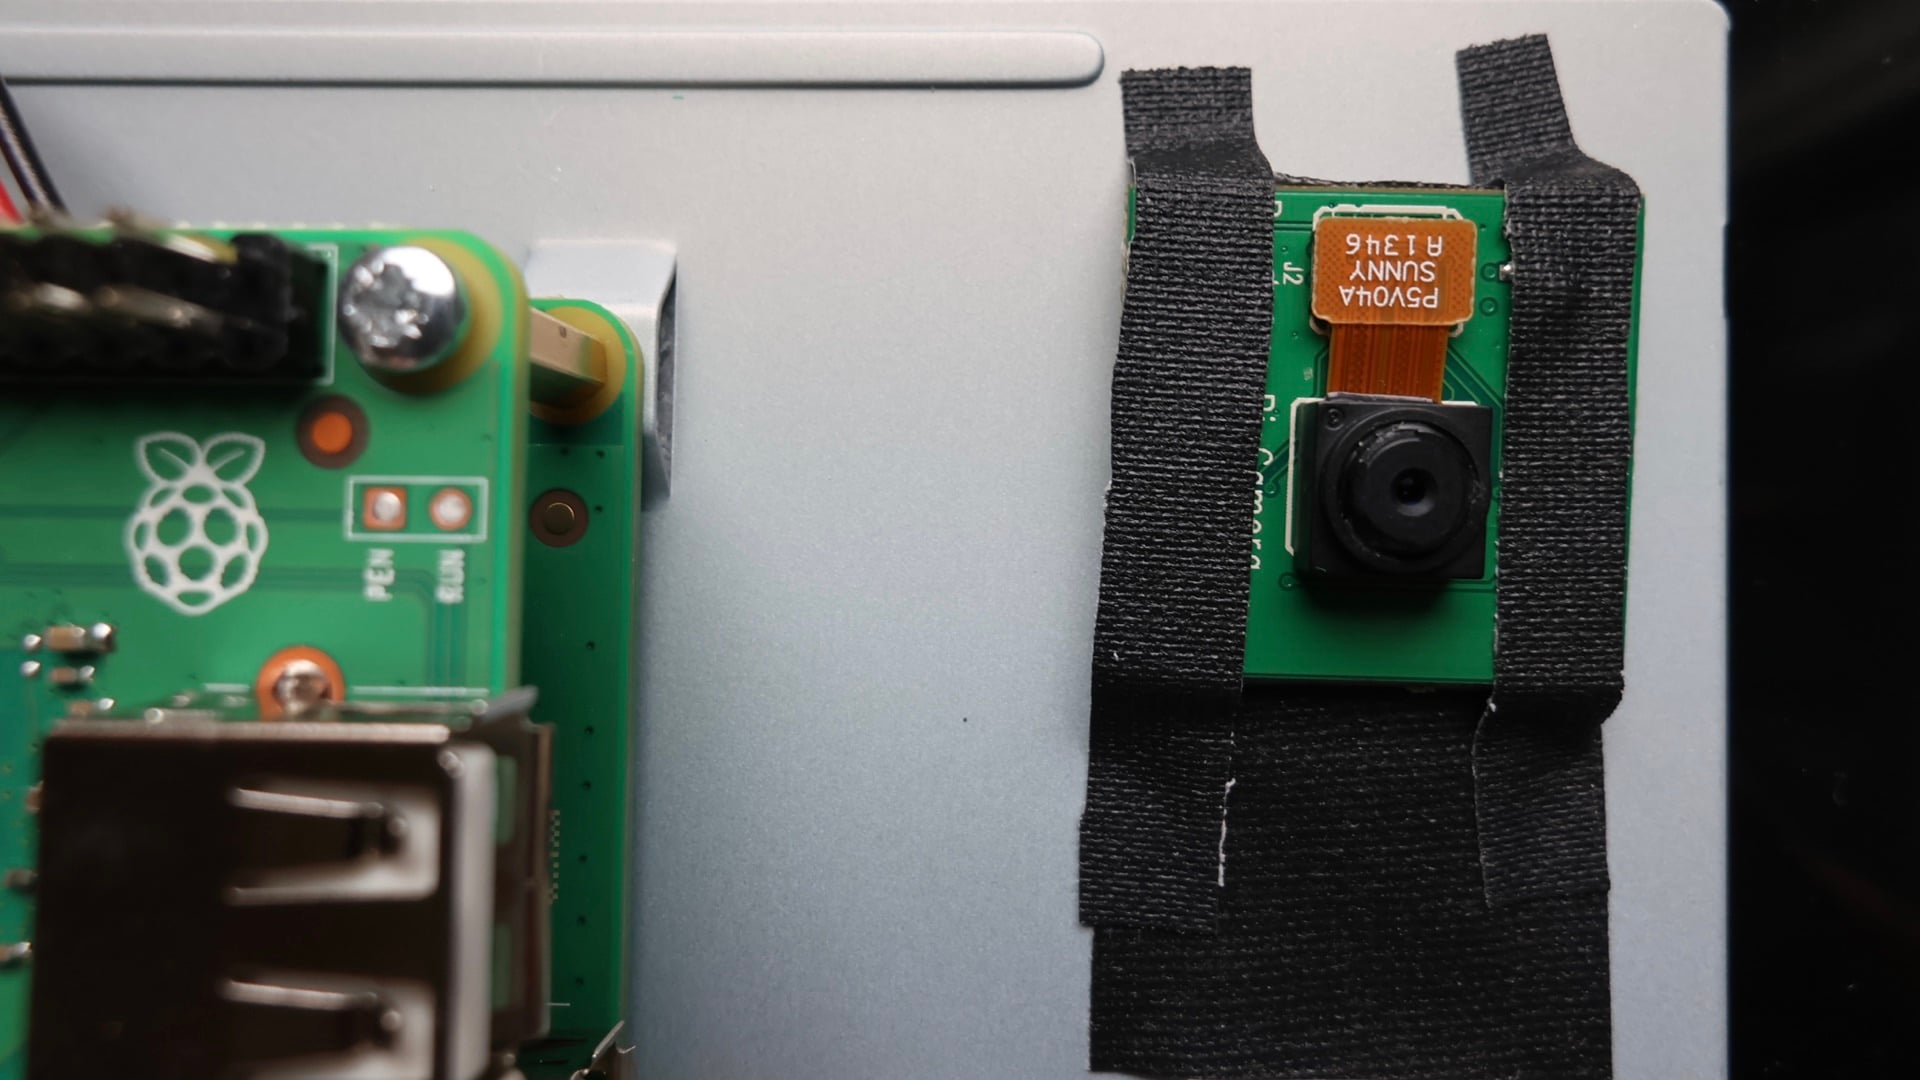
- Raspberry Pi Camera Module V2 – $16
- Or, Raspberry Pi Camera Module 3 $46.99
- Or, Raspberry Pi Camera Module 3 – Wide Angle $35
[Please note: Remember, you’ll also need some, previously mentioned, gaffer tape ($19.95), a USB power bank and a microSD card loaded with the latest RPI OS. Oh, and the chewing gum is optional.]
Step-by-Step
- Use this Raspberry Pi documentation for setting up your 7″ LCD touchscreen: Raspberry Pi Touch Display.
- Follow these Raspberry Pi instructions for connecting your chosen camera module to the Raspberry Pi 3 A+ computer: Install a Raspberry Pi camera.
- Insert the microSD card with the RPI OS into the Raspberry Pi 3 A+.
- Connect your USB power bank to the Raspberry Pi 3 A+ power input.
- Follow the computer’s OS installation, setup, and configuration steps. You are now ready to test your camera.
[Please note: Photographs were used for Raspberry Pi screen representations instead of screen captures.]
- Touch the Terminal button at the top of the screen and type this command and press Enter to test the camera/LCD Touchscreen setup: rpicam-hello
A successfully completed project will display an image from the camera on your LCD for a couple of seconds. Fantastic! This test does NOT save an image to your computer, however.
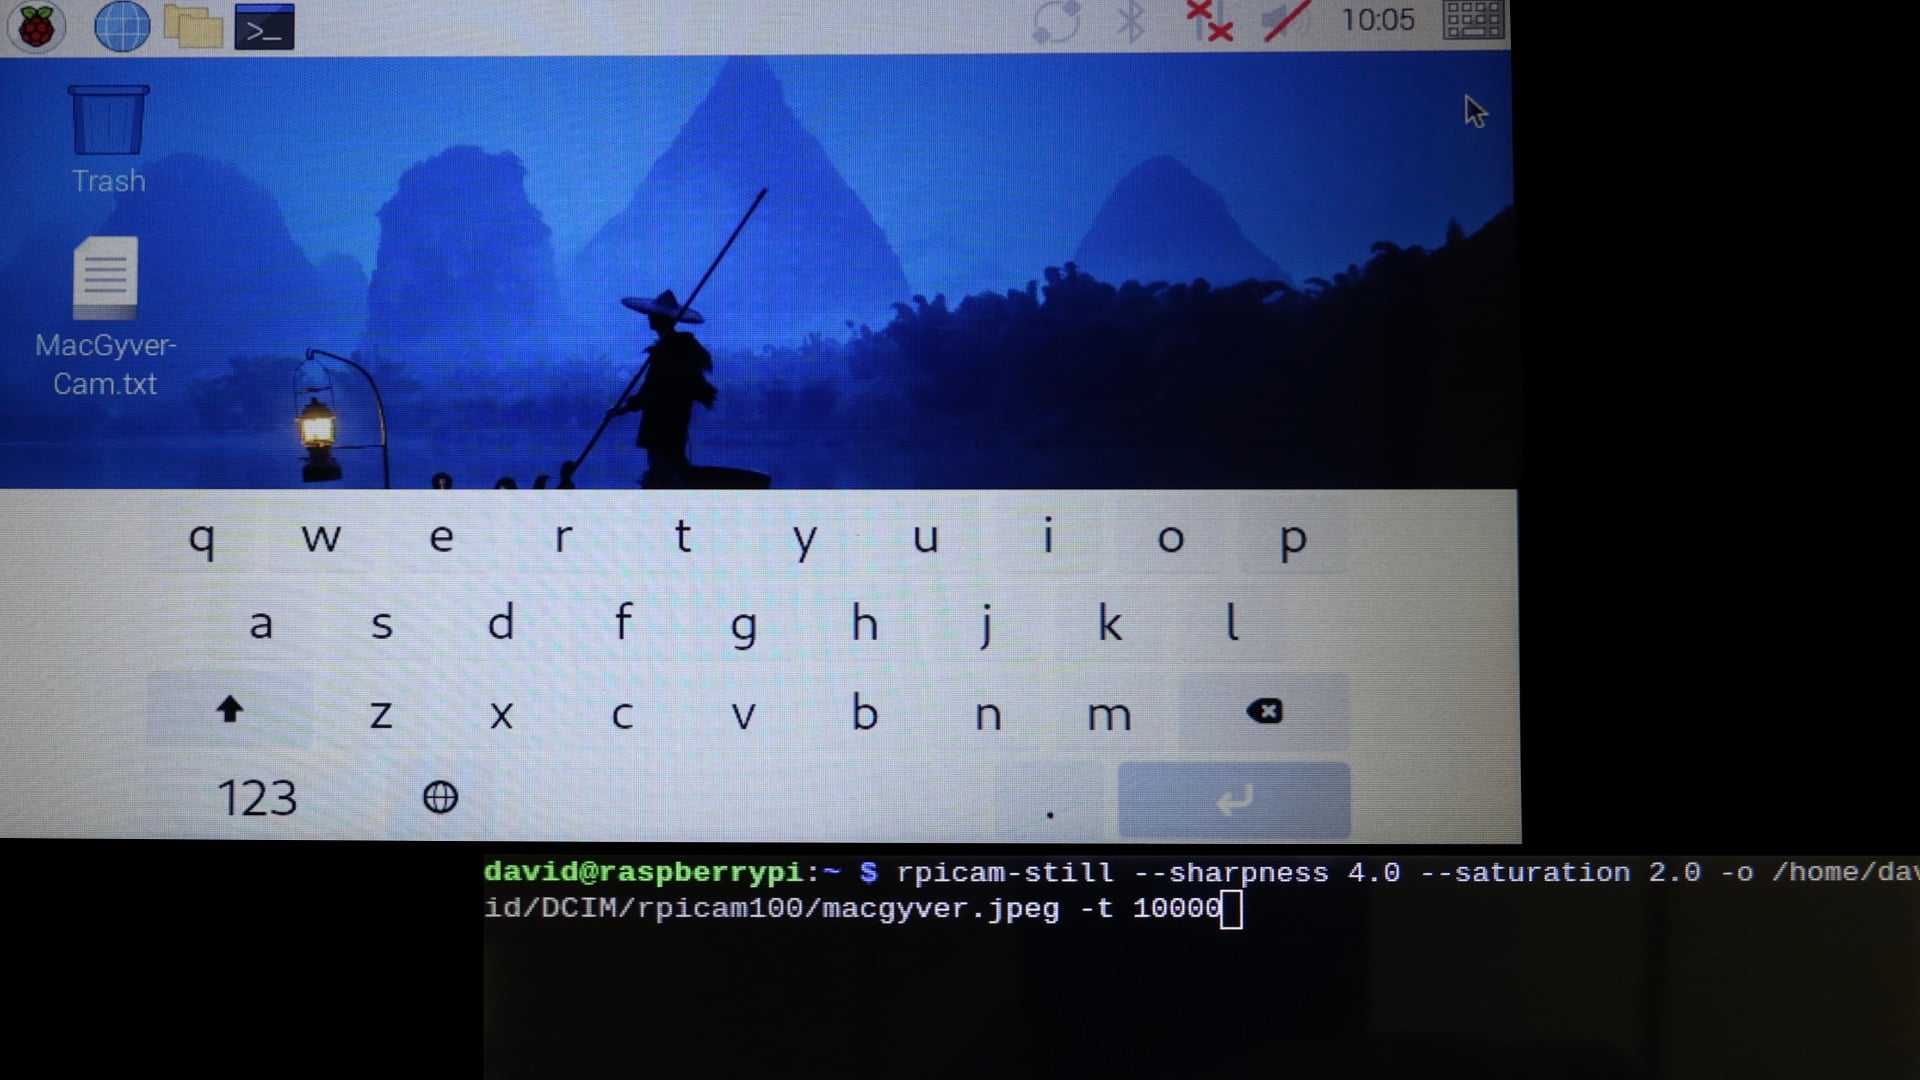
In order to view and record a photograph on your Raspberry Pi, type this command script and press Enter on that same Terminal screen:
rpicam-still --sharpness 4.0 --saturation 1.0 -o /home/david/DCIM/rpicam100/macgyver.jpeg -t 10000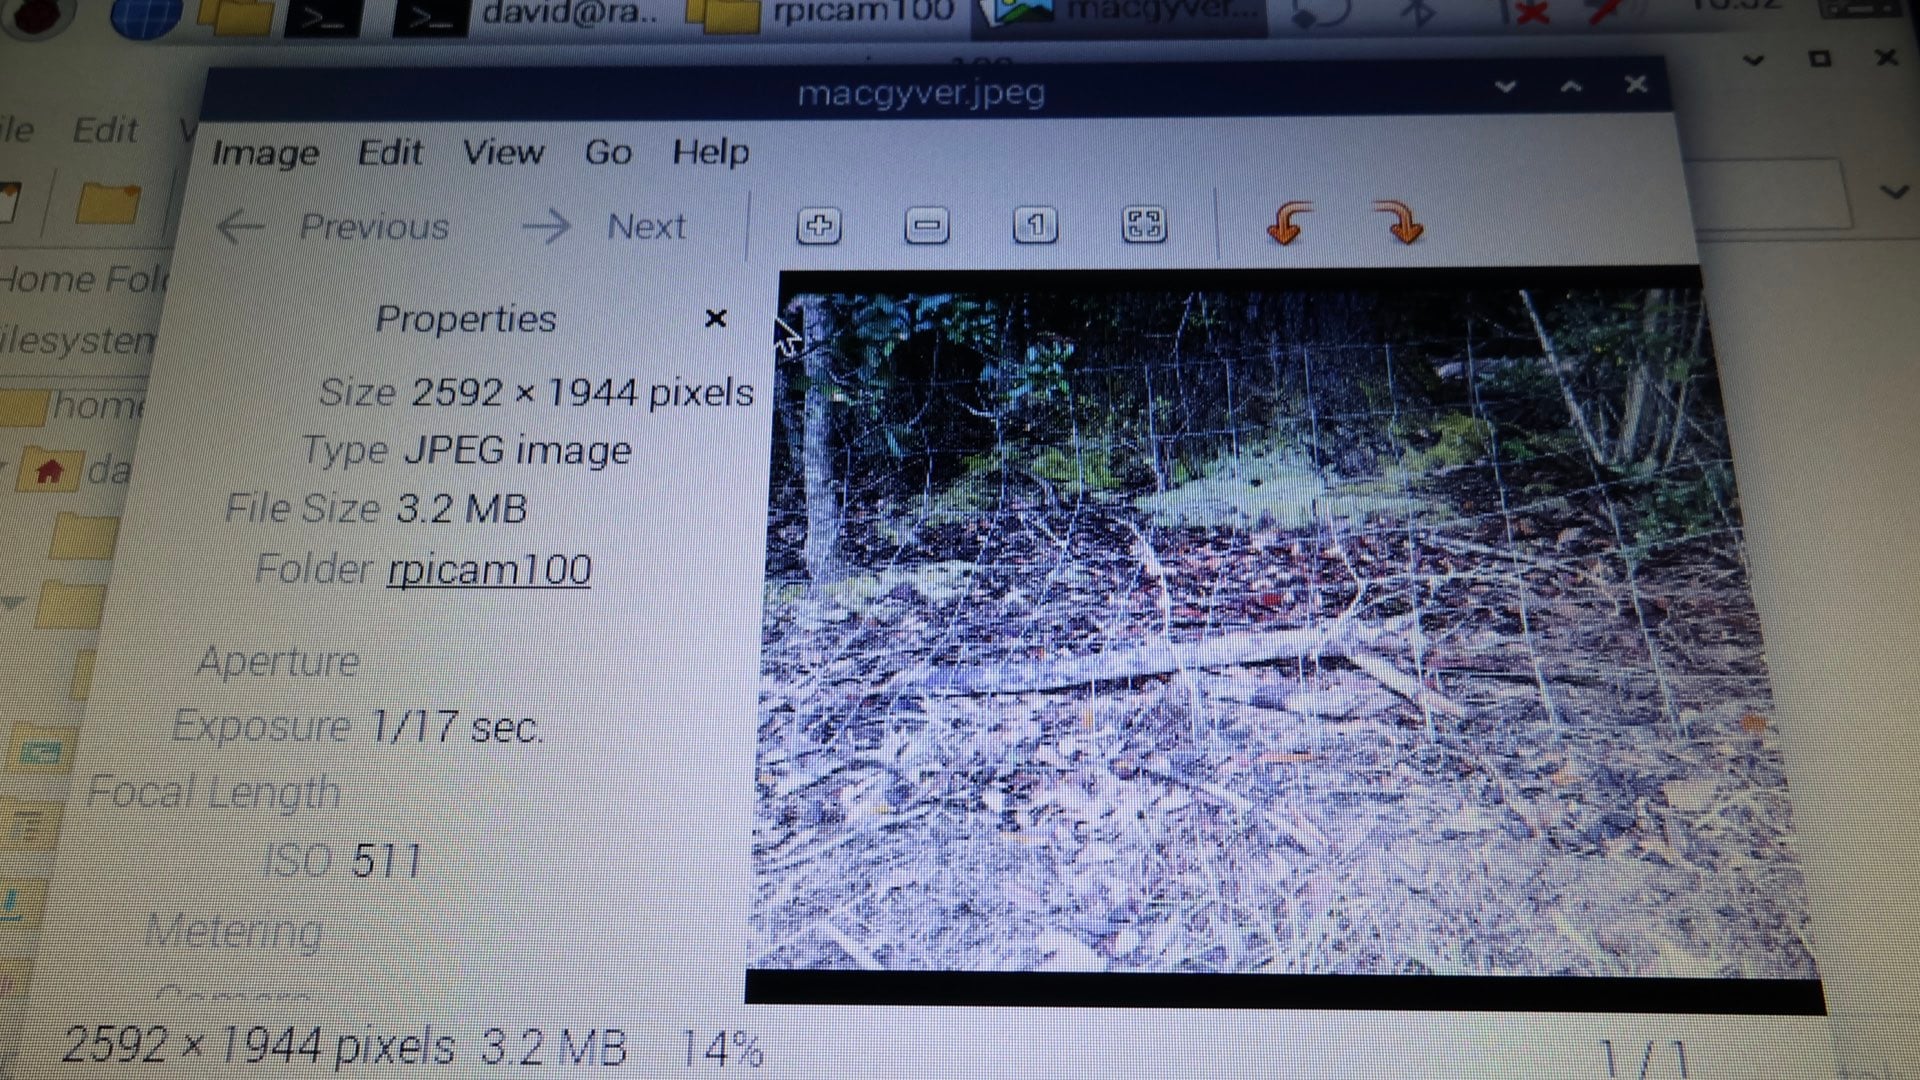
[Please note: when using this command script, an image is displayed on the LCD for 10 seconds prior to automatically recording a photograph. You can alter this time delay with the “-t” command, where:
1000 = 1 second delay; so, -t 10000 = 10 seconds
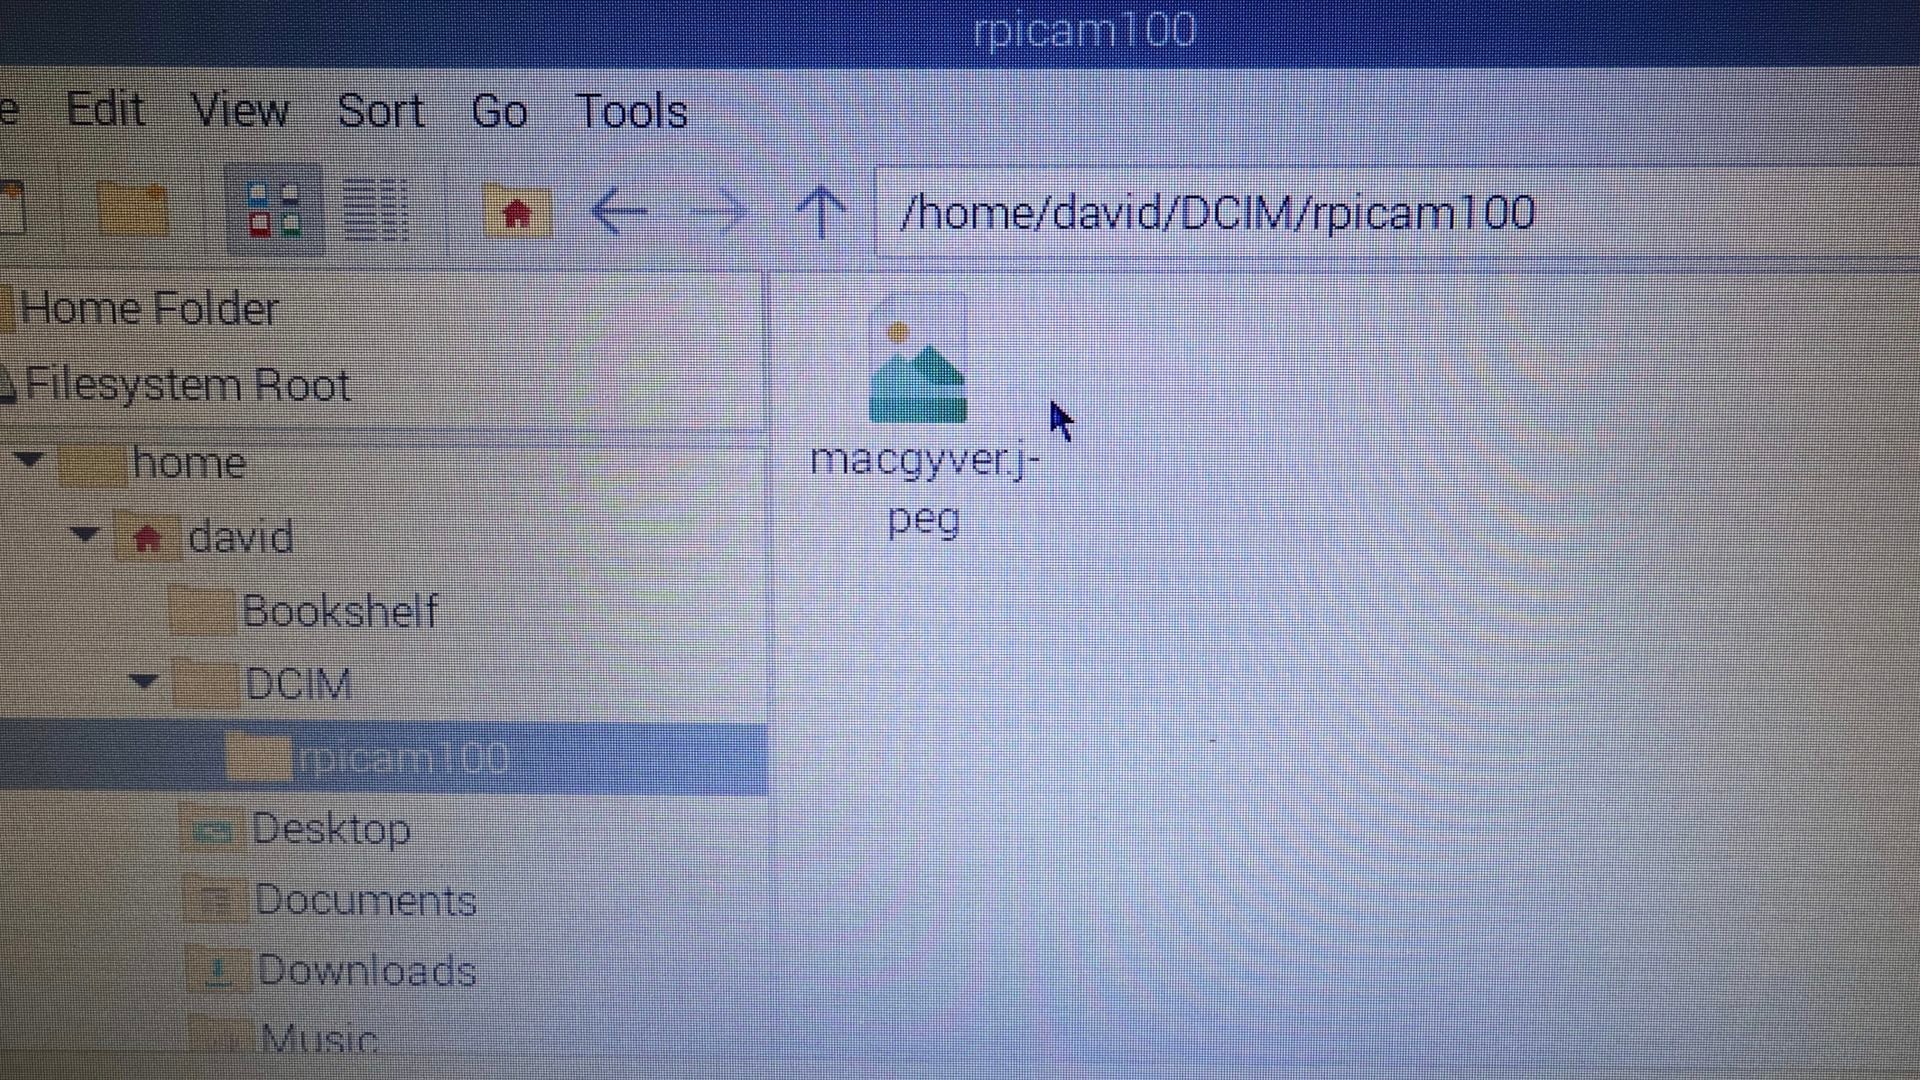
Also, you can set a file location for saving your photograph with the “-o” command, where:
path to your file-saving location = -o /home/YourNameGoesHere/AnyPreviouslyCreatedFolder(s)/FilenameForPhotograph.jpegAnd remember, each time you run the command script, the new photograph will overwrite any previously recorded photograph. If you don’t like that method, just edit a new filename for the photograph before you press the Enter key.]
Equipped with a fully functional camera, you carefully aim your Raspberry Pi contraption towards the approaching figure and press the Enter key. Ta-Da; you’ve successfully recorded a photograph of a Wisconsin Yeti. But wait; that’s not a Yeti. OMG (again); it’s your mother wearing that new full-length faux fur maxi coat that your gave her for her birthday. And she’s carrying a mug of hot chocolate for you to stave off the coldness in your shack while eating some delicious DIYP camera cookies. Aww, thanks, Mom.
Enjoy.
P.S. If you are into building cameras, we have quite a collection: 3D printed camera, wooden camera, Altoids camera, 489-megapixel DIY camera, and even a film video camera.

David Prochnow
Our resident “how-to” project editor, David Prochnow, lives on the Gulf Coast of the United States in Ocean Springs, Mississippi. He brings his expertise at making our photography projects accessible to everyone, from a lengthy stint acting as the Contributing How-To Editor with Popular Science magazine. While you don’t have to actually build each of his projects, reading about these adventures will contribute to your continued overall appreciation of do-it-yourself photography. A collection of David’s best Popular Science projects can be found in the book, “The Big Book of Hacks,” Edited by Doug Cantor.


Join the Discussion
DIYP Comment Policy
Be nice, be on-topic, no personal information or flames.