


Best Time for Landscape Photos: Golden Hour vs Blue Hour Complete Comparison
Oct 21, 2025
Darlene Lleno
Darlene Lleno brings a unique perspective to DIY Photography as someone who grew up surrounded by camera gear but chose words over lenses. With five years of writing experience, she specializes in photography content that’s both technically informed and genuinely passionate. Growing up with a photographer twin brother meant camera talk was everyday conversation in her household. While he mastered capturing moments, Darlene discovered she preferred being the subject and the storyteller behind the scenes. As a travel enthusiast and mother of two, she understands the importance of preserving life’s precious moments. When not exploring new destinations or writing for DIY Photography, you’ll find her reading or tending to her garden. Her approach to photography writing is refreshingly authentic, she may not be behind the camera, but she knows exactly what it takes to help others capture the shots that matter most.
Share:

The best time for landscape photos separates ordinary snapshots from stunning images. Timing matters just as much as your gear or technical skills. You can shoot decent photos anytime, but certain periods deliver light you can’t fake.
Golden hour and blue hour stand out as the top windows for outdoor photography. Each brings unique moods, colors, and challenges. Learn when and how to use these periods, and your work will jump from basic to exceptional.
What Makes Golden Hour Perfect for Landscape Photography
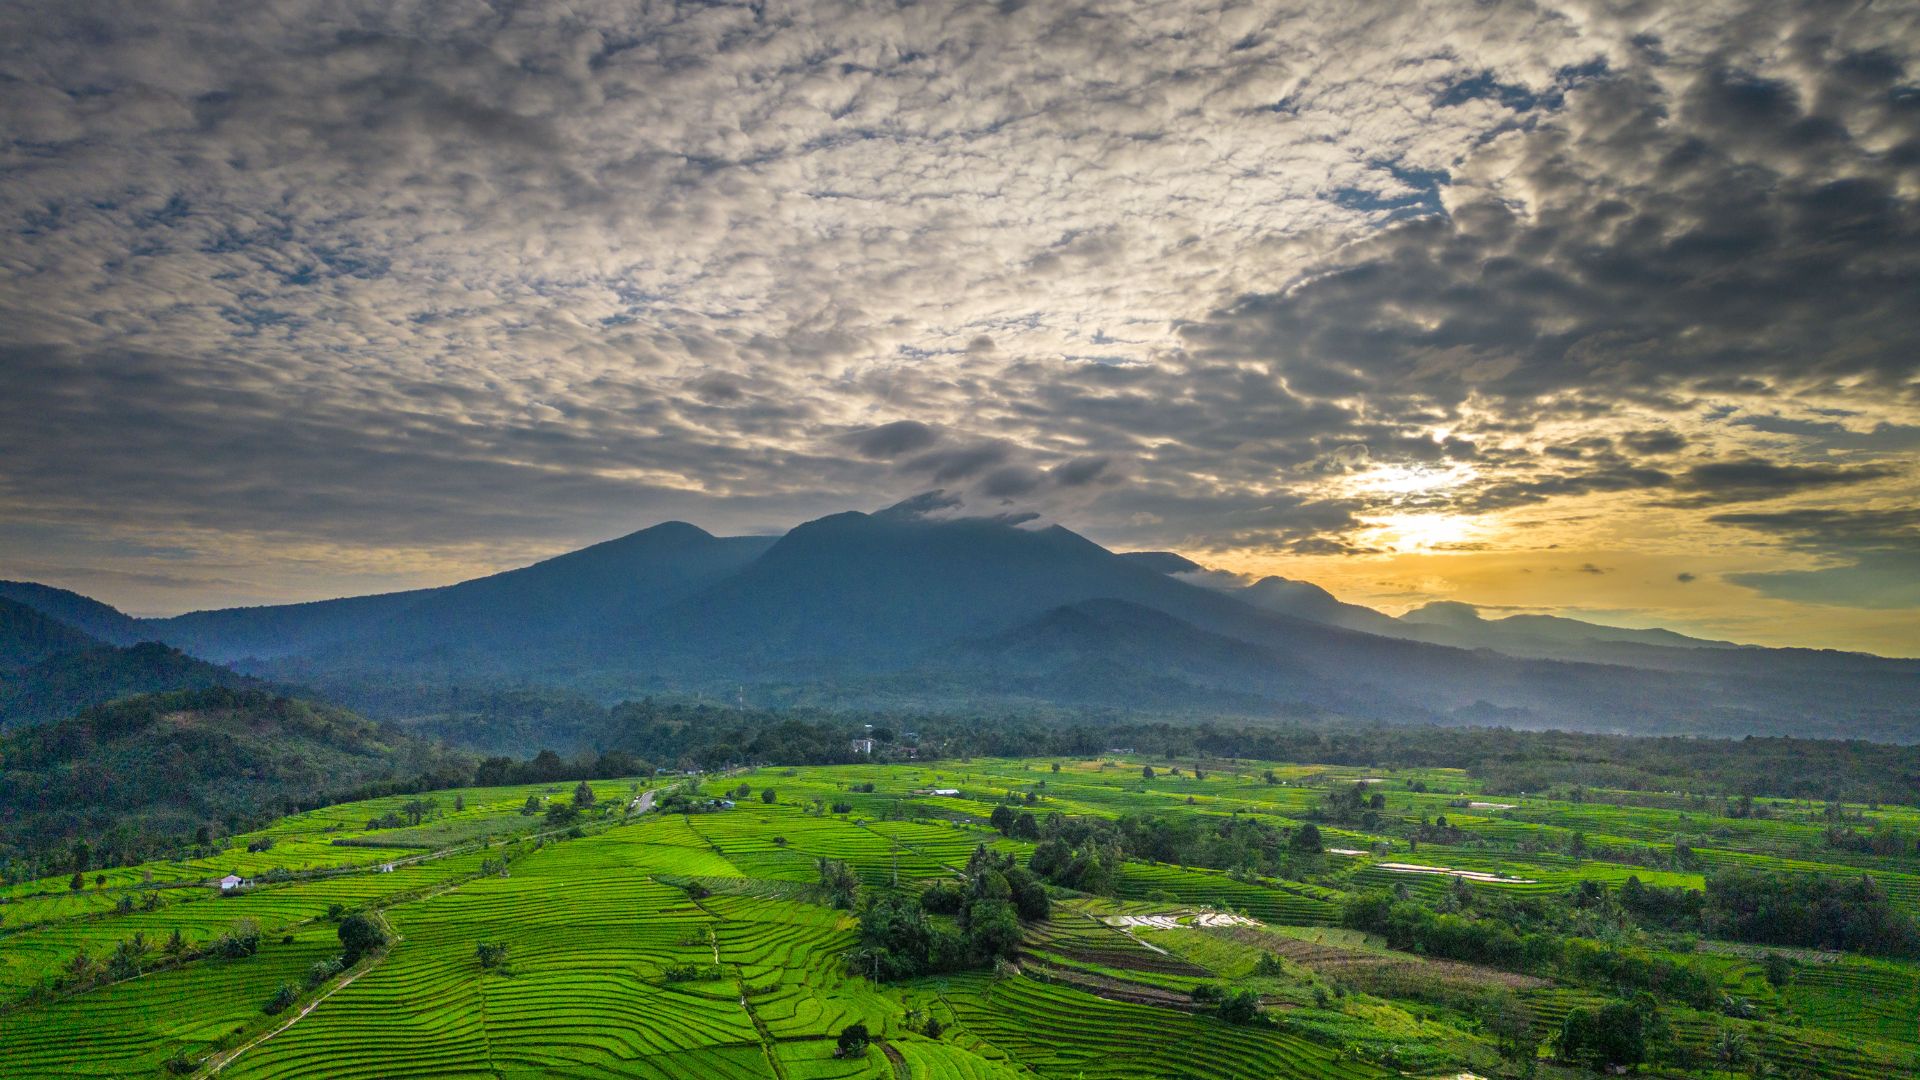
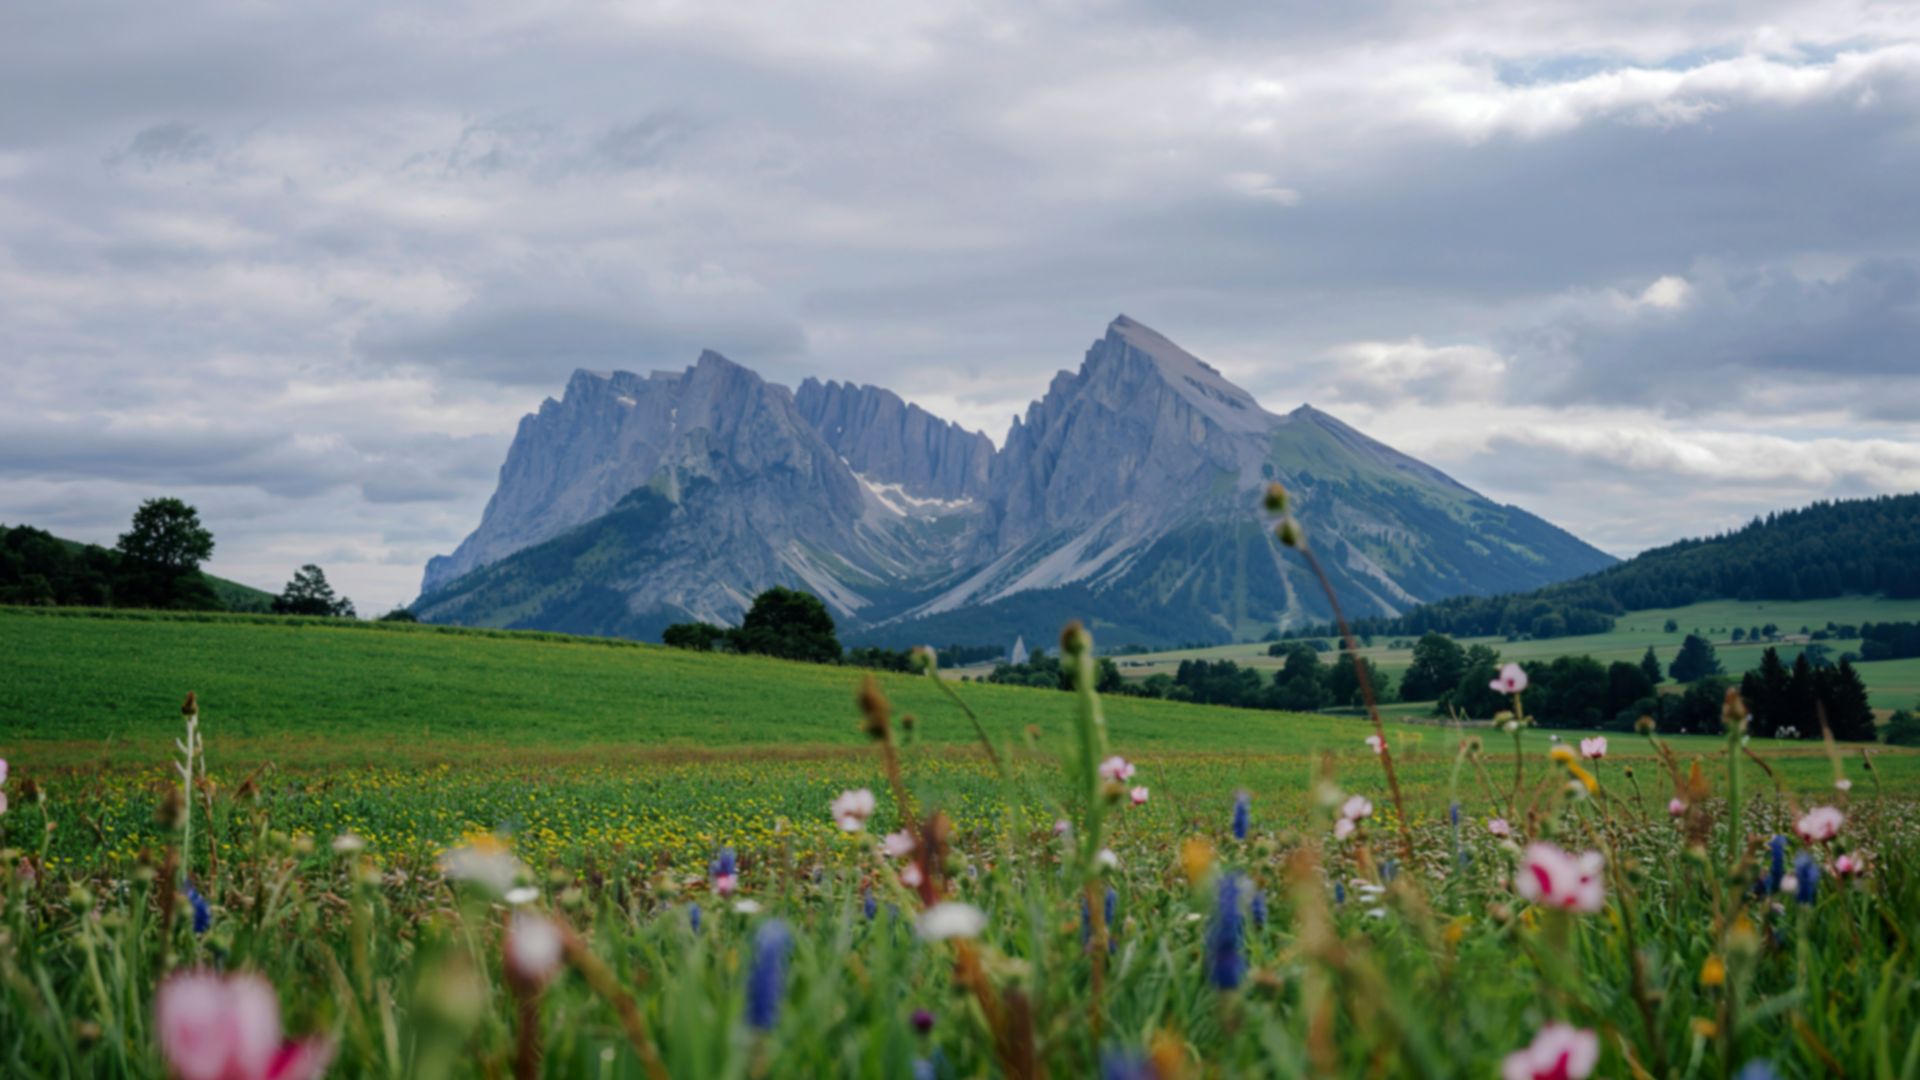
Golden hour transforms landscapes with its magic touch. This period happens twice daily, right after sunrise and before sunset. The sun sits low on the horizon during this time. It creates warm, soft light that covers everything in orange, red, and golden tones.
Here’s the thing: golden hour rarely lasts a full hour. Your location and season determine the actual duration. It might give you just 15 minutes or stretch beyond an hour.
The science is simple. Low sun rays travel through more atmosphere than midday sun. This extra distance scatters blue light waves. Warm tones reach your camera instead. You get soft, beautiful light without harsh shadows.
Best Times to Shoot Golden Hour
Morning golden hour starts when the sun clears the horizon. It continues for 30 to 60 minutes typically. The evening golden hour begins about an hour before sunset.
Your distance from the equator affects timing significantly. Locations near the equator get shorter golden hours, sometimes just 20 minutes. Higher latitudes enjoy longer periods. Winter months extend golden hour at northern and southern locations.
Planning apps take out the guesswork. PhotoPills and The Photographer’s Ephemeris calculate exact times. They factor in your location and date automatically.
Why Photographers Love Golden Hour Light
Warm color temperature adds emotional depth to images. Everything looks more inviting and nostalgic. The low sun angle creates long shadows that reveal texture.
This period offers serious versatility. Position the sun behind your subject for silhouettes. Use it from the side for dramatic texture. Shoot away from it for even lighting. The soft quality rarely gives you blown highlights or crushed shadows.
Mountains look incredible during golden hour. Warm light emphasizes peaks and creates depth through shadow play. Coastal scenes benefit from golden reflections on water. Even ordinary subjects like trees gain visual punch under this light.
Camera Settings for Golden Hour Success
Aperture priority mode works great if you’re learning. Set your aperture between f/8 and f/16 for sharp landscapes. This keeps near and far objects in focus.
Keep ISO low, typically 100 to 400. Golden hour provides enough light for low sensitivity. Watch your shutter speed though. The light stays dimmer than midday. Speeds can drop below safe handheld limits.
White balance needs attention during golden hour. Auto white balance kills those warm tones you want. Try daylight or shade mode to keep the golden hues. Shooting RAW gives you maximum editing flexibility later.
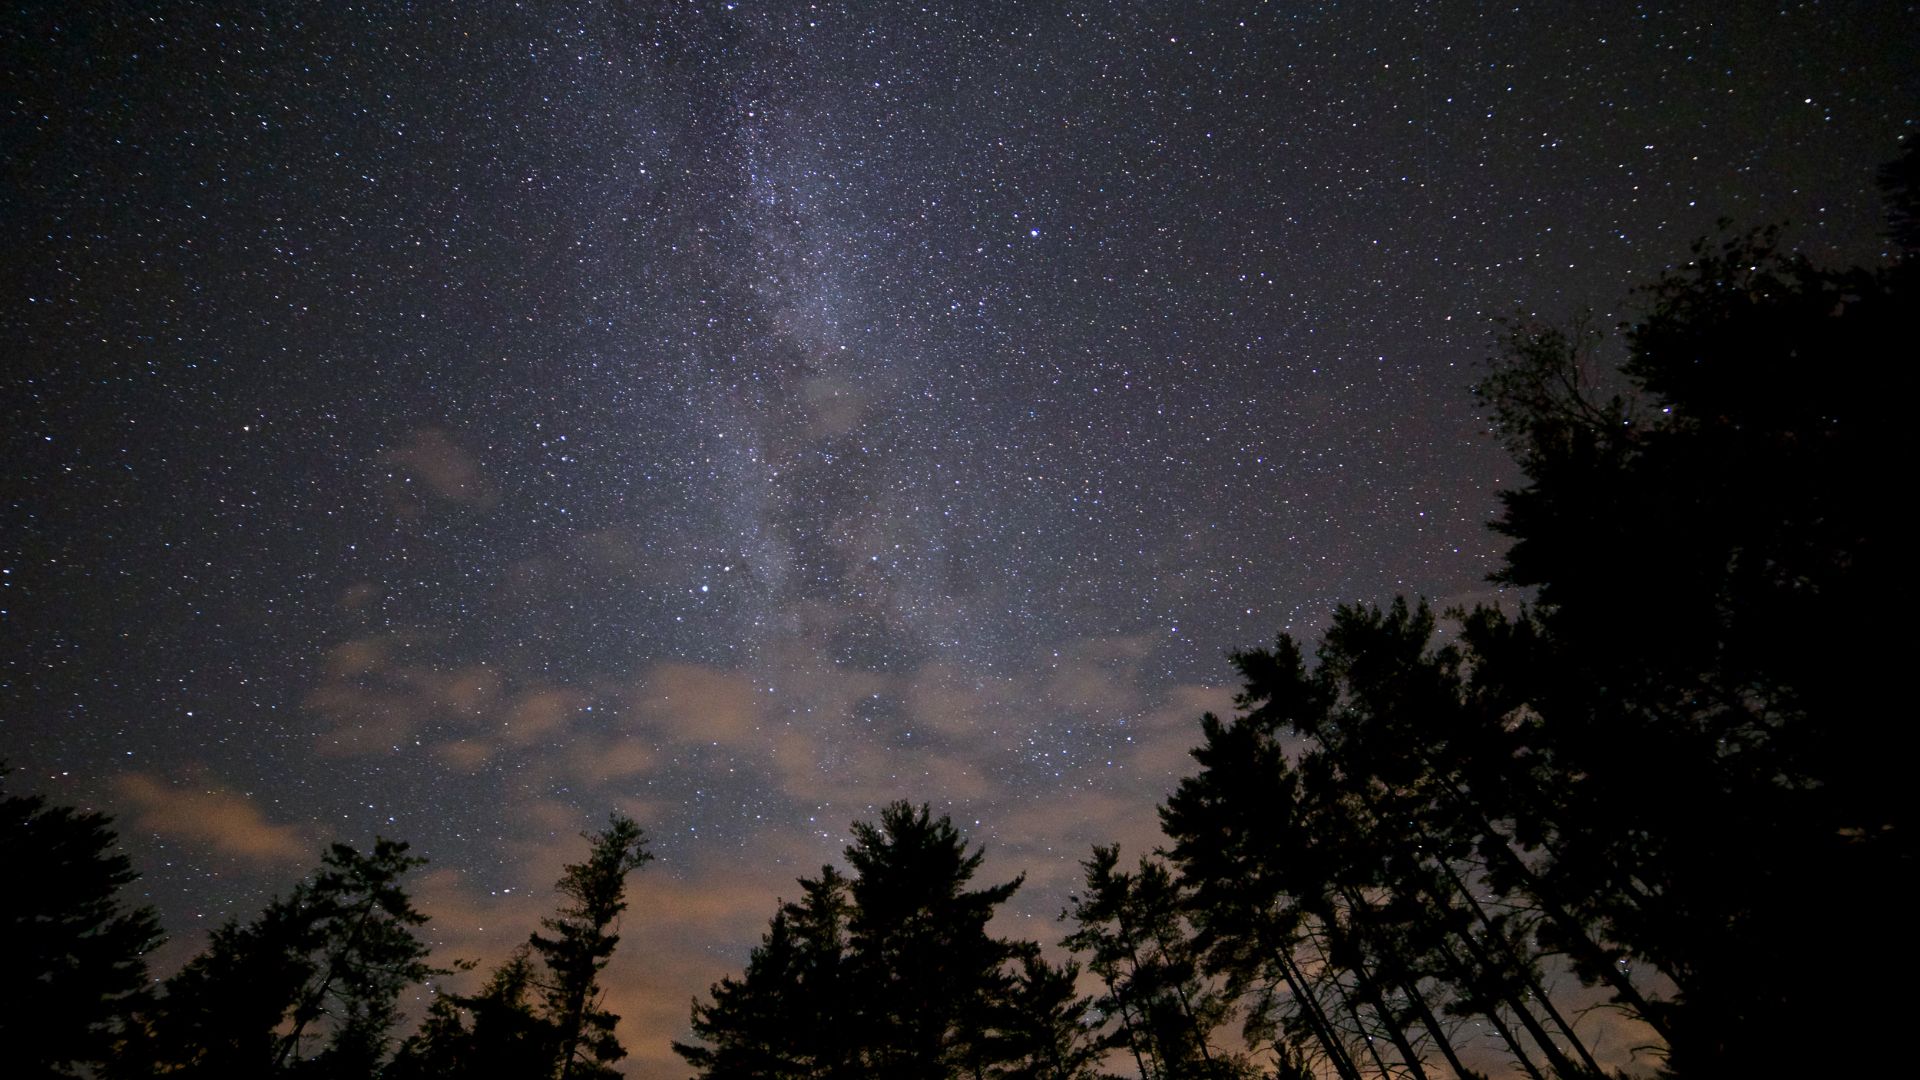
Understanding Blue Hour Photography
Blue hour brings a completely different vibe from golden hour. This happens when the sun sits 4 to 8 degrees below the horizon. The sky turns deep blue while city lights balance with natural light.
Blue hour also occurs twice daily. Morning blue hour comes before sunrise. Evening blue hour follows sunset. Duration runs 20 to 40 minutes usually. Location and season affect this timing.
No direct sunlight reaches you during blue hour. Indirect light scatters through the atmosphere instead. This emphasizes blue wavelengths. You get that cool, calm atmosphere photographers love.
Best Conditions for Blue Hour Shooting
Clear skies or partial clouds work best for blue hour. Clouds catch remaining light and add depth to your shots. Completely gray skies produce flat, dull results.
City landscapes shine during blue hour. Natural sky light balances perfectly with artificial lights. Neither one overpowers the other. Street lamps, windows, and car lights add warm accents against cool blue.
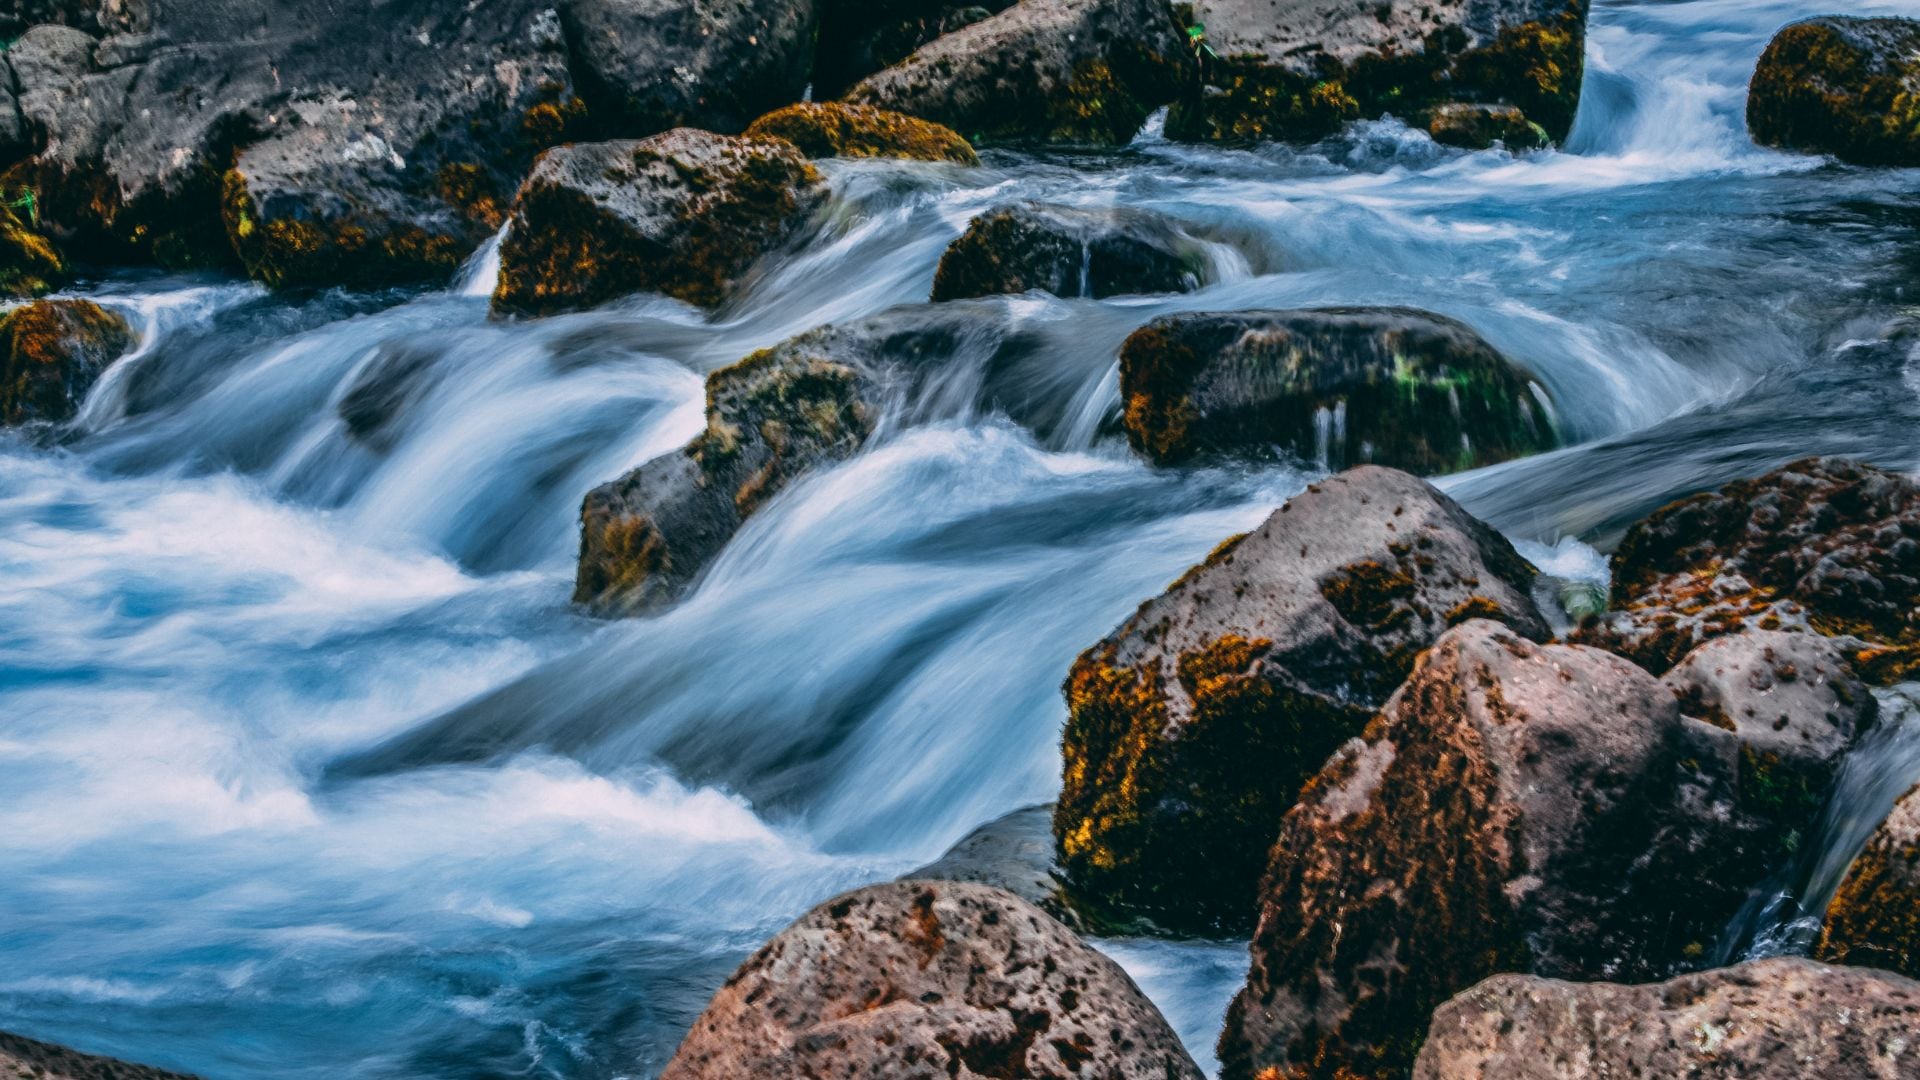
Water features excel during this period. Soft light removes harsh reflections. Surfaces become mirror-like. Lakes, rivers, and oceans develop an otherworldly quality.
Technical Considerations for Blue Hour
Blue hour challenges you more than golden hour technically. Light levels drop fast. You need slower shutter speeds and higher ISO. A solid tripod becomes essential.
Start with aperture around f/8 to f/11 for good depth. Shutter speeds will range from 1 to 30 seconds. This depends on remaining light and your creative goals. Long exposures create dreamy clouds and silky water.
ISO often climbs to 800 or 1600 for proper exposure. Modern cameras handle these values well. Clean files with little noise are standard now. Some grain actually adds character to moody scenes.
White balance during blue hour needs careful handling. Auto white balance tries to warm up those blue tones. This destroys the mood you want. Set white balance to tungsten or 3200K manually.
Golden Hour vs Blue Hour: Which is the Best Time for Landscape Photos
Your creative vision determines which period works best. Golden hour delivers warmth, energy, and nostalgic feelings. Blue hour provides cool, mysterious, contemplative moods.
Subject matter guides this choice significantly. Natural landscapes with mountains and forests typically favor golden hour. Warm tones complement earth colors and plants. Urban scenes and architecture often look better during the blue hour’s dramatic atmosphere.
Comparing Light Quality and Character
Golden hour light comes from one direction on the horizon. This creates clear shadows and highlights. These reveal texture and form. You can use this creatively by positioning subjects relative to light.
Blue hour light comes from everywhere in the sky. This produces even, shadowless lighting. Perfect for minimalist compositions. The lack of harsh shadows simplifies busy scenes.
Color palettes differ hugely between these periods:
- Golden hour offers oranges, reds, yellows, and warm pinks
- Blue hour provides deep blues, purples, and cool cyans
Think about which colors support your message.
Workflow Differences Between the Two
Golden hour allows faster shooting. Light levels permit handheld work with reasonable speeds. You can move quickly between spots. Try different angles and perspectives easily.
Blue hour demands slower, methodical work. Low light requires tripod-mounted cameras. Each shot takes longer to set up. This limits how many images you capture.
Both periods need planning and prep. Arrive early to scout and set up gear. Light changes rapidly during magic hours. Being ready beforehand maximizes your opportunities.
Advanced Techniques for Magic Hour Photography
Some photographers shoot the transition between golden and blue hour. They document how one location transforms as light evolves. This creates compelling before and after stories.
Bracketing becomes valuable during these times. Dynamic range often exceeds single frame capabilities. Multiple exposures at different settings let you blend later. This creates perfectly balanced images.
Using Filters to Enhance Magic Hour Shots
Neutral density filters expand creative options during golden hour. They allow longer exposures in bright light. This creates motion blur in clouds or water. A 3 or 6-stop ND works for most situations.
Graduated ND filters balance bright skies against dark foregrounds. This helps especially during golden hour when horizons get significantly brighter. A 2 or 3-stop grad ND handles most scenes.
Polarizing filters deepen blue skies during late golden and early blue hour. They reduce reflections and glare too. This proves useful when shooting water or wet surfaces. Rotate the polarizer to maximize the effect.
Creating Atmosphere Through Long Exposure
Long exposure during blue hour transforms ordinary scenes into dreamlike visions. Moving water becomes silky and smooth. Clouds streak across the sky adding movement.
Start with exposures around 10 to 30 seconds. This duration smooths water while keeping sky texture. Longer exposures of 1 to 5 minutes create abstract effects.
Traffic during blue hour offers unique opportunities. Long exposure turns vehicles into light trails. This adds energy and leading lines to city shots. Time your shots to capture interesting patterns.
Practical Tips for Shooting During Magic Hours
Success during these periods requires solid preparation. Check weather forecasts several days ahead. Cloud patterns affect light quality dramatically. Partial cloud cover often produces the most striking results.
Scout your location during daylight first. Find potential compositions and check access. Note any safety concerns. Stumbling around unfamiliar terrain wastes precious time and risks injury.
Essential Gear for Magic Hour Photography
A reliable tripod tops the must-have list. Even golden hour compositions need slower shutter speeds for optimal aperture. Blue hour makes tripods absolutely necessary.
Pack extra batteries and memory cards. Cold temperatures drain batteries faster than normal. Perfect light often leads to taking more photos than planned.
A headlamp helps you adjust settings in dim light. Choose one with red light to preserve night vision. Some photographers use smartphone apps instead.
Composition Strategies for Different Light Conditions
Golden hour favors bold, graphic compositions. Directional light creates strong shadows and highlights. These define shapes clearly. Look for textured subjects that side lighting emphasizes.
Blue hour works well with minimalist approaches. Even light lets you reduce scenes to essentials. No distracting shadows get in the way. Negative space becomes powerful during this period.
Strong foreground elements matter regardless of which hour you choose. These guide viewers through your image and add depth. Position them to work with light direction during golden hour.
Common Mistakes to Avoid
Many photographers show up too late for golden hour. The best colors often happen in the first or last 15 minutes. Arrive at least 30 minutes early to prepare.
Sticking to only one magic hour limits your creative range. Blue hour offers different chances than golden hour. Learning both expands what you can do. You’ll capture memorable images regardless of conditions.
Technical Errors That Ruin Magic Hour Photos
Wrong white balance kills the mood completely. Auto white balance during golden hour removes warm tones you traveled to capture. During blue hour, it adds unwanted warmth to cool scenes.
Underexposing blue hour photos happens constantly. Deep blue sky looks darker to cameras than our eyes. Check your histogram often. Don’t fear slight overexposure to preserve shadow detail.
Forgetting to adjust ISO as light changes causes problems. Golden hour starts bright but dims fast. Blue hour begins with decent light that disappears quickly. Monitor your settings and adjust constantly.
Making the Most of Seasonal Variations
Winter gives extended golden hours at higher latitudes. The sun’s lower path creates longer warm light periods. This extended window provides more time to work and experiment.
Summer brings shorter but more intense golden hours. The sun rises and sets at steeper angles. This creates brief but dramatic light. Blue hour also shortens during summer months.
Spring and fall offer moderate conditions between extremes. Cloud patterns vary more during these transitional seasons. This creates interesting skies during both golden and blue hours. These seasons balance duration and light quality well.
Making Magic Hour Work for Your Vision
Both golden hour and blue hour deserve spots in your toolkit. Neither beats the other universally. The best time for landscape photos depends on what you want to express.
Golden hour brings warmth, energy, and vibrancy to natural landscapes. It flatters earth tones and creates dramatic shadows. These add a real dimension to your work. Blue hour offers cool, contemplative moods. Perfect for minimalist work and urban scenes.
Try both periods at the same location. You’ll see how dramatically light affects mood and feeling. Some places transform completely between golden and blue hour. This offers two distinct creative chances from one spot.
Master these magic hours and your landscape photography will jump beyond basic snapshots. Early mornings and late evenings pay off big. You’ll capture not just how a place looks, but how it feels.

Darlene Lleno
Darlene Lleno brings a unique perspective to DIY Photography as someone who grew up surrounded by camera gear but chose words over lenses. With five years of writing experience, she specializes in photography content that’s both technically informed and genuinely passionate. Growing up with a photographer twin brother meant camera talk was everyday conversation in her household. While he mastered capturing moments, Darlene discovered she preferred being the subject and the storyteller behind the scenes. As a travel enthusiast and mother of two, she understands the importance of preserving life’s precious moments. When not exploring new destinations or writing for DIY Photography, you’ll find her reading or tending to her garden. Her approach to photography writing is refreshingly authentic, she may not be behind the camera, but she knows exactly what it takes to help others capture the shots that matter most.


Join the Discussion
DIYP Comment Policy
Be nice, be on-topic, no personal information or flames.