


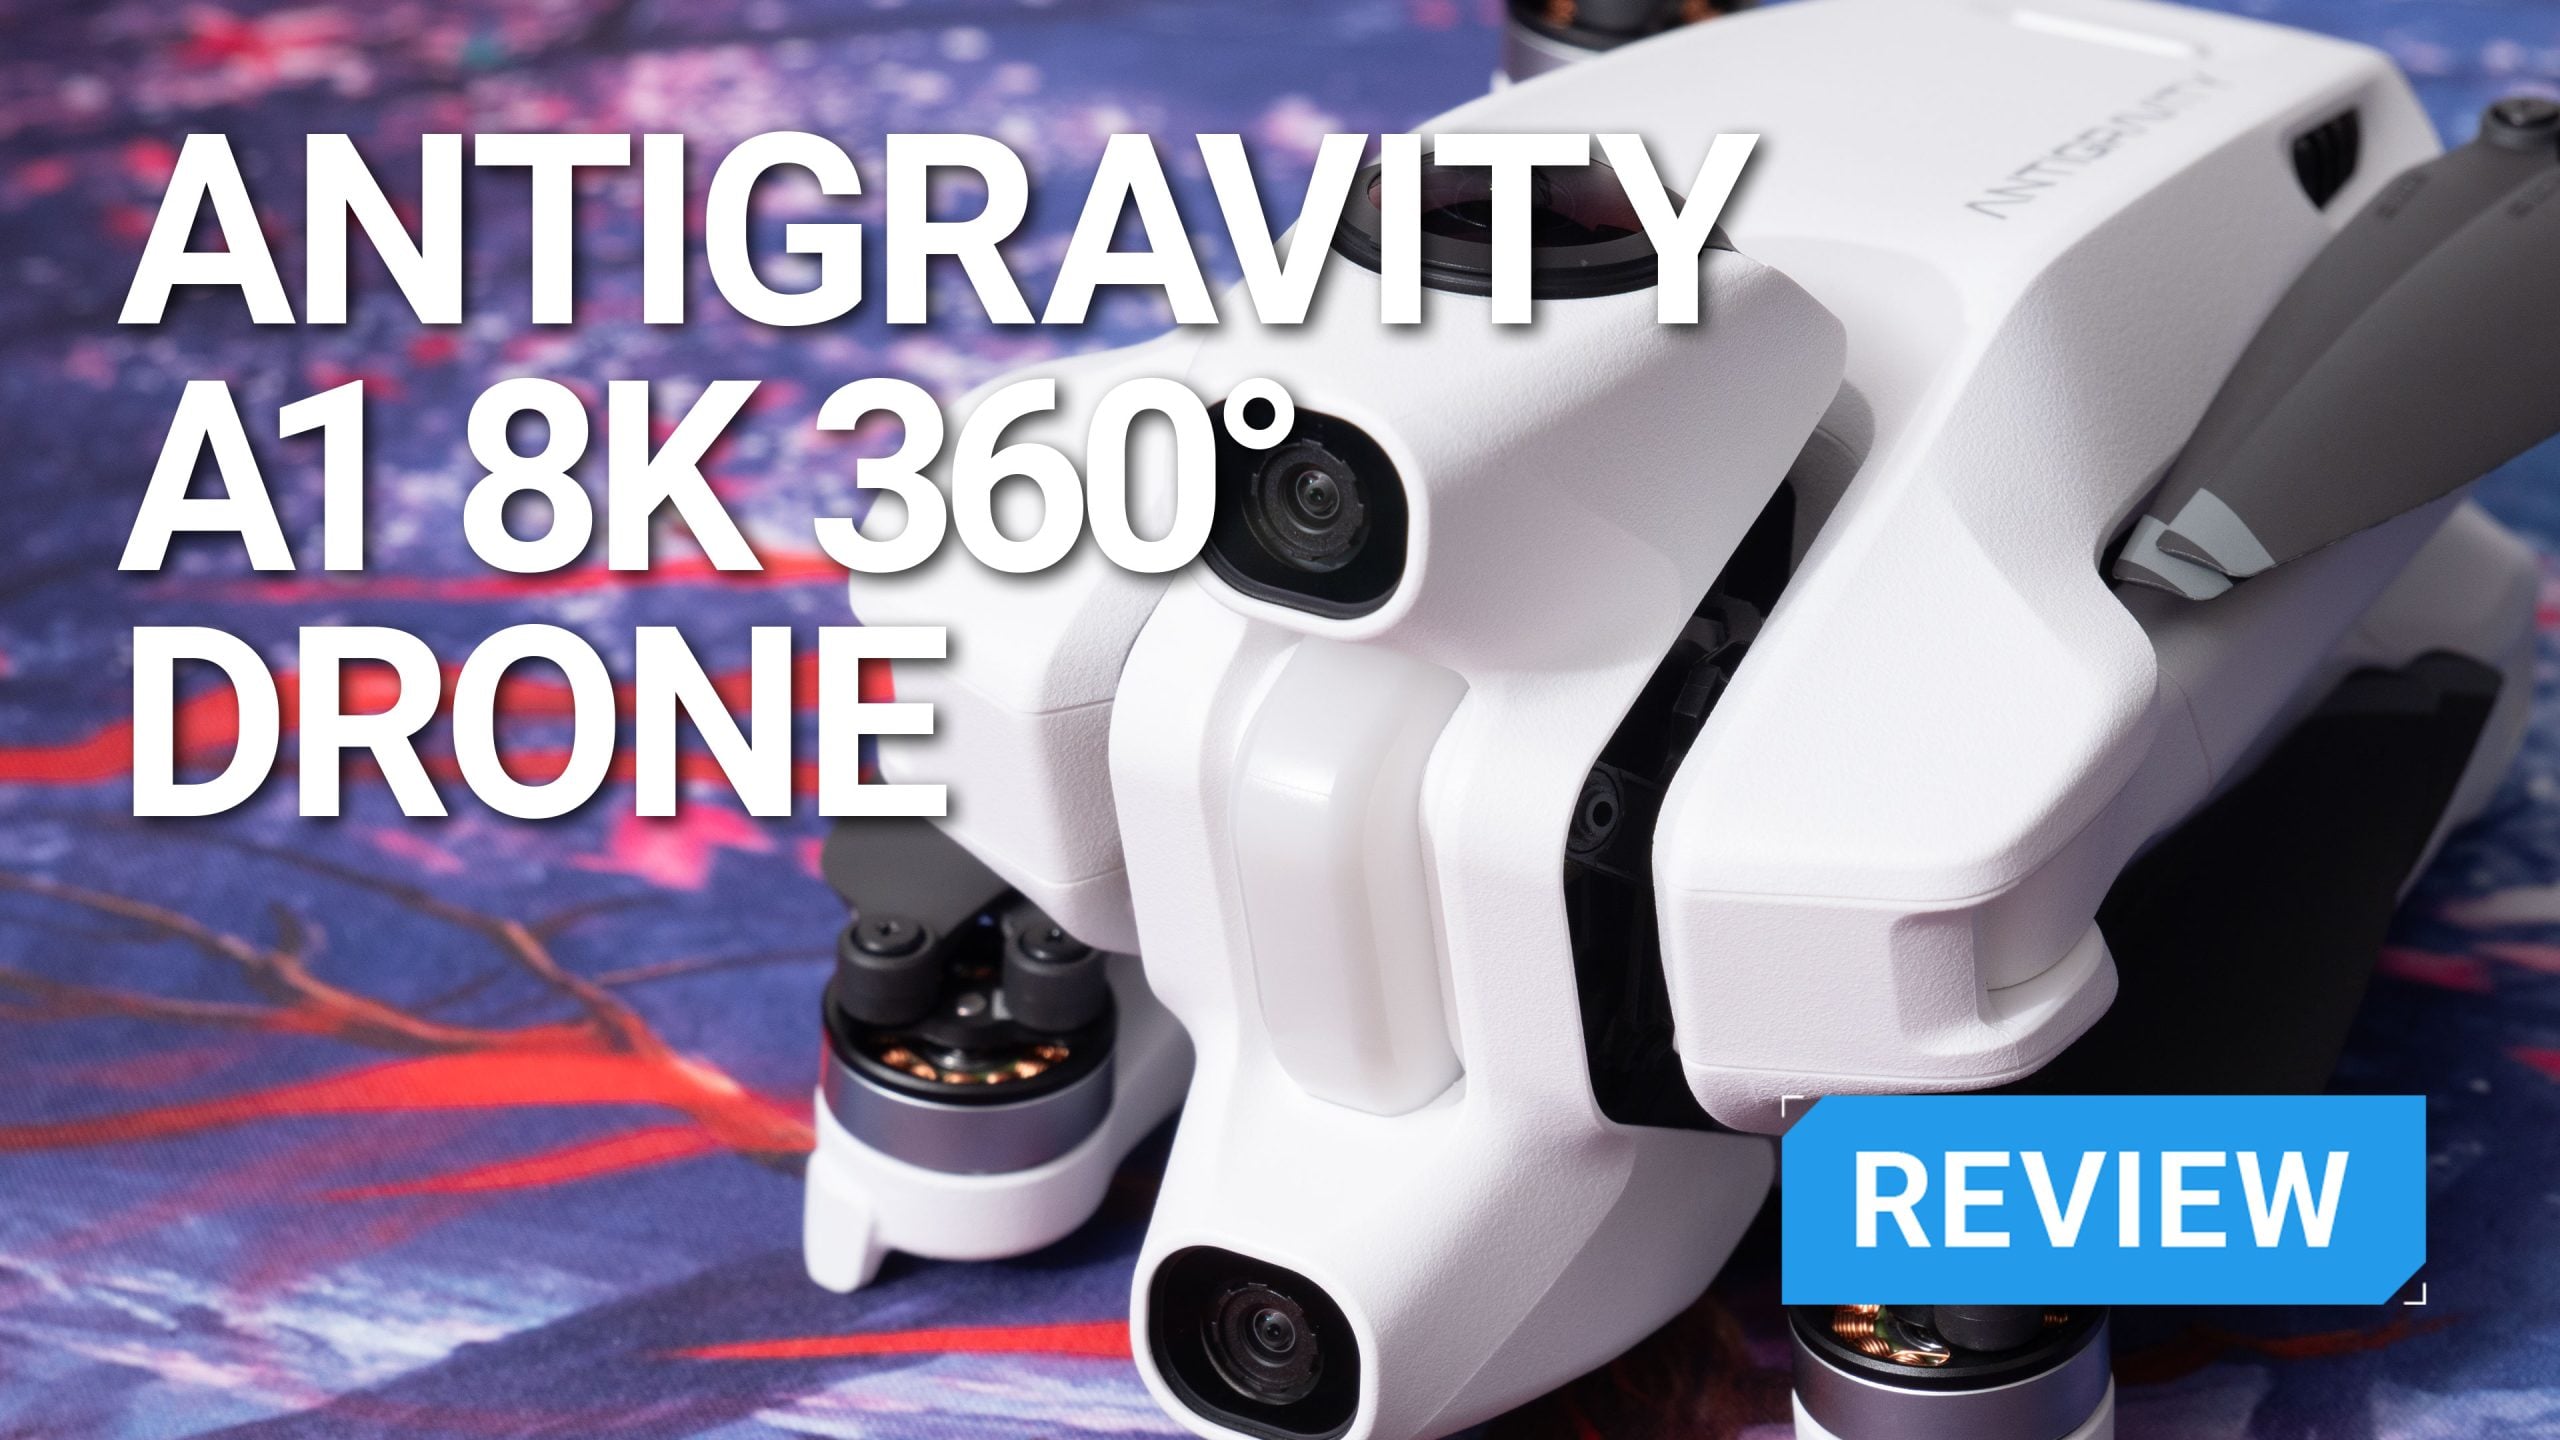
Antigravity A1 8K 360 Drone Is The Most Fun Flying Experience I’ve Ever Had
Dec 4, 2025
John Aldred
John Aldred is a photographer with over 25 years of experience in the portrait and commercial worlds. He is based in Scotland and has been an early adopter – and occasional beta tester – of almost every digital imaging technology in that time. As well as his creative visual work, John uses 3D printing, electronics and programming to create his own photography and filmmaking tools and consults for a number of brands across the industry.
Share:
I’m going to start off the Antigravity A1 review a little differently. I’m essentially going to give you my verdict first, and then we’ll get on with the rest. Basically, if you’ve got the money burning a hole in your pocket and you want the most fun drone flying experience you’ve ever had, then get the Antigravity A1.
For everyone else, there’s a bit more to it. I will say, though, that this is the most fun I’ve ever had with a drone without a shadow of a doubt. Technically, it’s an FPV drone, but it’s not like regular FPV. This one’s special because you get a full 360-degree immersive flight.


What’s So Special?
Before we get into it, what is it that makes the Antigravity A1 so special? It’s the world’s first 360-degree camera drone, capable of shooting at 8K resolution. And even though you’re flying it FPV, it’s not like a regular FPV drone, either.
Unlike traditional FPV drones that just show you the forward camera of the goggles, the Antigravity A1 lets you look around the full 360-degree view from your drone’s perspective at any point throughout the flight. Direction is controlled not by a pair of sticks but by a controller that you just sort of wave around in the air. You can even look and fly in different directions at the same time.
It’s a very unique drone-flying experience. And when it comes to creative freedom, it offers a unique method of flying that’s very different from a traditional RC controller. And being a 360-degree drone, you’re able to focus fully on your flight without worrying about what the camera’s pointing at.
While experienced FPV pilots will be able to get many of the shots you can potentially get with the A1, the A1 is much easier for less experienced drone pilots to get those shots. And, again, as it’s a 360-degree drone, you see in all directions at once. With reframing, one flight might be able to provide you with 2 or 3 different camera angles from the same clip, offering versatility you can’t get with any other drone.


Charging, Set Up and First Use
One of the great things about the Antigravity A1 is that you’ve got the drone, your headset and your controller all talking to each other wirelessly. The problem is, all of these things need charging.
Fortunately, the drone batteries are easy to charge via their little docking station. This allows you to plug in up to three batteries at a time, and you’ve even got a little display at the top telling you the exact percentage of each battery.
Also, fortunately, the controller and the battery for the goggles both support various USB protocols, allowing for a lot of current to be drawn for faster charging.
Once charged, though, pairing the goggles, controller and drone together was all done through the app and fairly straightforward. A firmware update later, and we were pretty much ready to fly.
A word of note at this point, and this might change in the retail version, but the firmware updates pretty much killed an entire battery when they downloaded and installed. This might have just been because it was a pre-production unit or this may be normal.
The reason I mention it is not to put you off, but just to remind you to do your firmware updates before you leave the house, while you still have access to power, and don’t show up to your location with a dead battery.
Of course, USB power banks are always handy to keep in your drone bag, too!
The first time I flew the Antigravity A1, I went to a local race course. It’s a very odd feeling the first time, not entirely sure how to control everything. There are tutorials you can take through the headset to figure these things out, but you have to try to remember everything at the end of them.
It’s just something you get used to by going through the tutorials a few times or just giving it a go until you remember. I chose the latter option.
As I said, it’s an odd feeling, being up at that altitude and being able to literally just look around at the drone’s surroundings through the headset. Flying through it, though, is probably the closest thing you’ll ever feel to pretending you’re Superman.
That first one or two trips, don’t count on getting any usable footage, even if you’re experienced flying with drones. Use these flights to get used to the controls and how the A1 flies. Then figure out a style that works well and feels comfortable for you.
Don’t try to rush it or force trying to get good, and certainly don’t take any risks until you’re fully familiar with how to manoeuvre the drone. Just take two or three trips out with it to get used to it in a clear and calm environment.
My second and third times out with the A1 were much easier. It was a lot quicker to get into flying, having remembered at least some of the controls from previous trips out, and getting to grips with new ones. After this, flying the A1 is something of a doddle.
The point-to-fly motion control nature of the controller makes flying the Antigravity A1 about as intuitive as it gets. You’re definitely not going to manoeuvre it the same as a regular drone (whether FPV or not), but it also allows you to get shots that would otherwise be difficult or impossible with regular drones, too.
But we’re getting ahead of ourselves again. Let’s start with the star of the show…
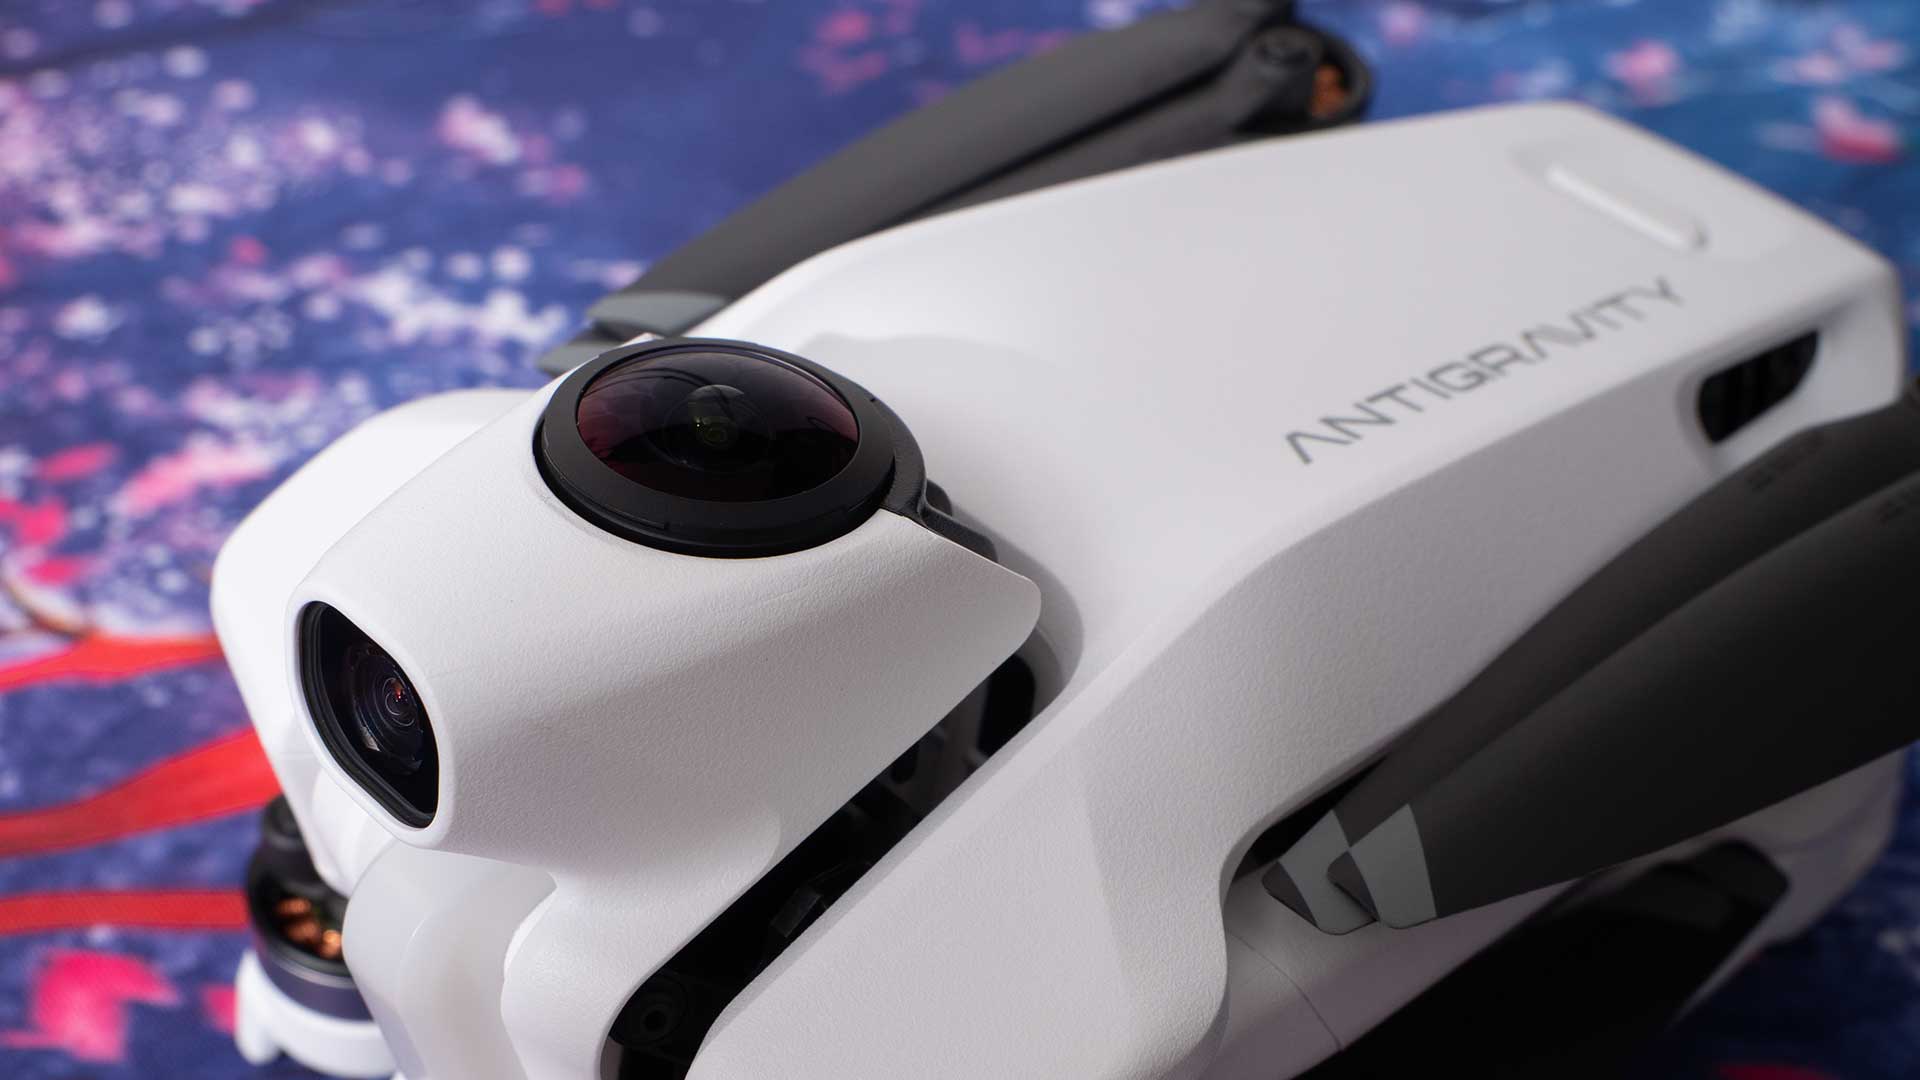
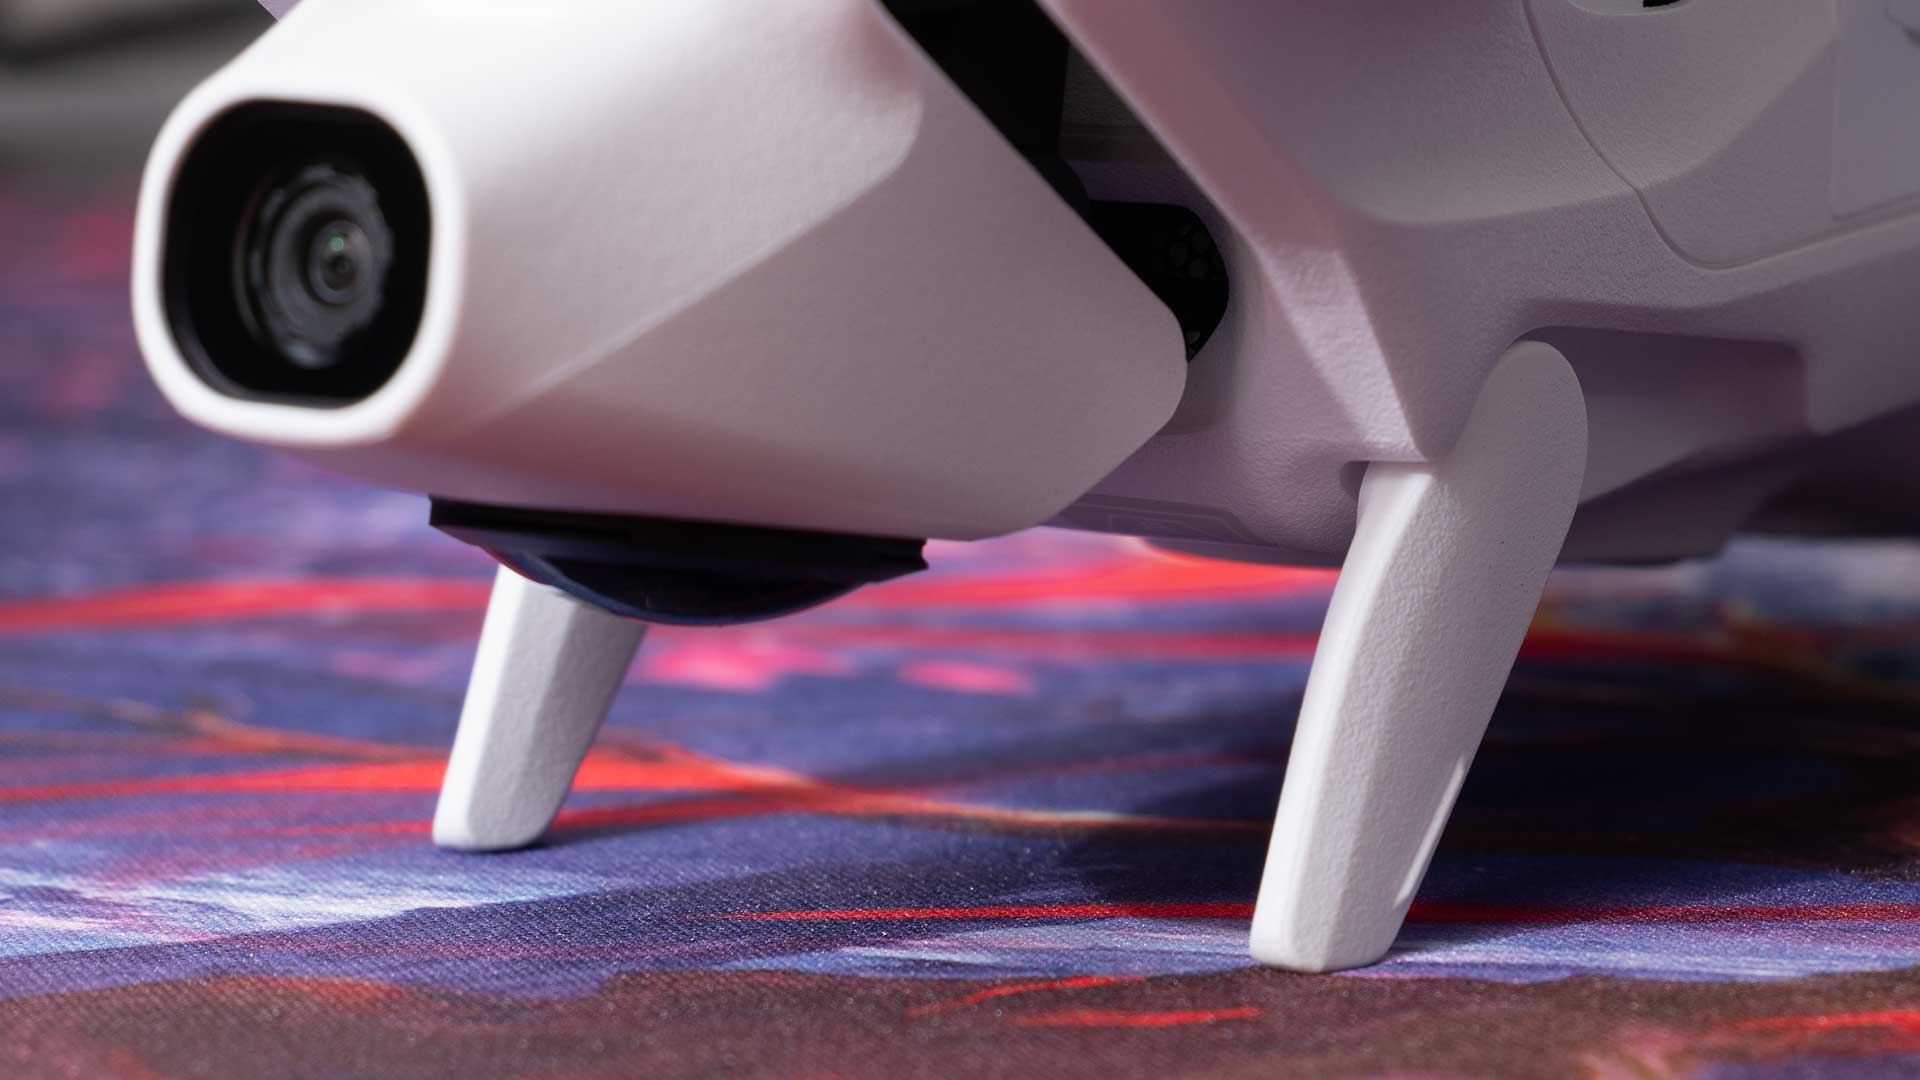
Antigravity A1 – The Drone is Invisible
The Antigravity A1 is a small drone. It weighs less than 250g, reducing the flying restrictions in much of the world. But into this <250g bundle, we’ve got two cameras that, when combined, shoot up to 8K resolution 360-degree video footage.
The drone itself is not visible in the footage at all for the most part. You’ll see the landing gear pop in or out of frame when you’re taking off and landing, and extreme turns might briefly cause a part of the drone to show in part of the shot occasionally (very rare), but for the most part, you’ll never see it.


The two lenses contained within the Antigravity A1 are similar to those found in the Insta360 X5 and the recently released Insta360 X4 Air. That is to say, they’re user-replaceable. This was always going to be an issue for a 360-degree drone. It’s just far too easy to scratch a lens.
Now, though, with user-replaceable lenses, it’s not really an issue. Sure, it’s still going to cost you money to have spares, but at least you’re not spending hundreds and waiting weeks shipping your drone to the other side of the planet to have it fixed.
The Smartphone and Desktop Apps
Like Insta360’s range of 360-degree cameras, the Antigravity A1 can be edited using either the Antigravity smartphone app or the Antigravity Studio desktop app. The desktop app is essentially a reskinned and modified version of Insta360 Studio.

The mobile app, on the other hand, is very different.
While it does feature pretty much all of what we’ve come to love about the Insta360 smartphone app, it also features a few drone-specific features, too. Like, a full 3D map of your location (with little virtual buildings and everything).
Despite not needing a phone to fly the drone, and despite not being able to see your phone while flying the drone, this can be a handy feature before you put your goggles on, just to give your surroundings one last check for any buildings or obstacles you might not have spotted.
For me, like with the Insta360 cameras, I’ll probably stick to reframing and exporting from Antigravity Studio and then edit the clips together in DaVinci Resolve.
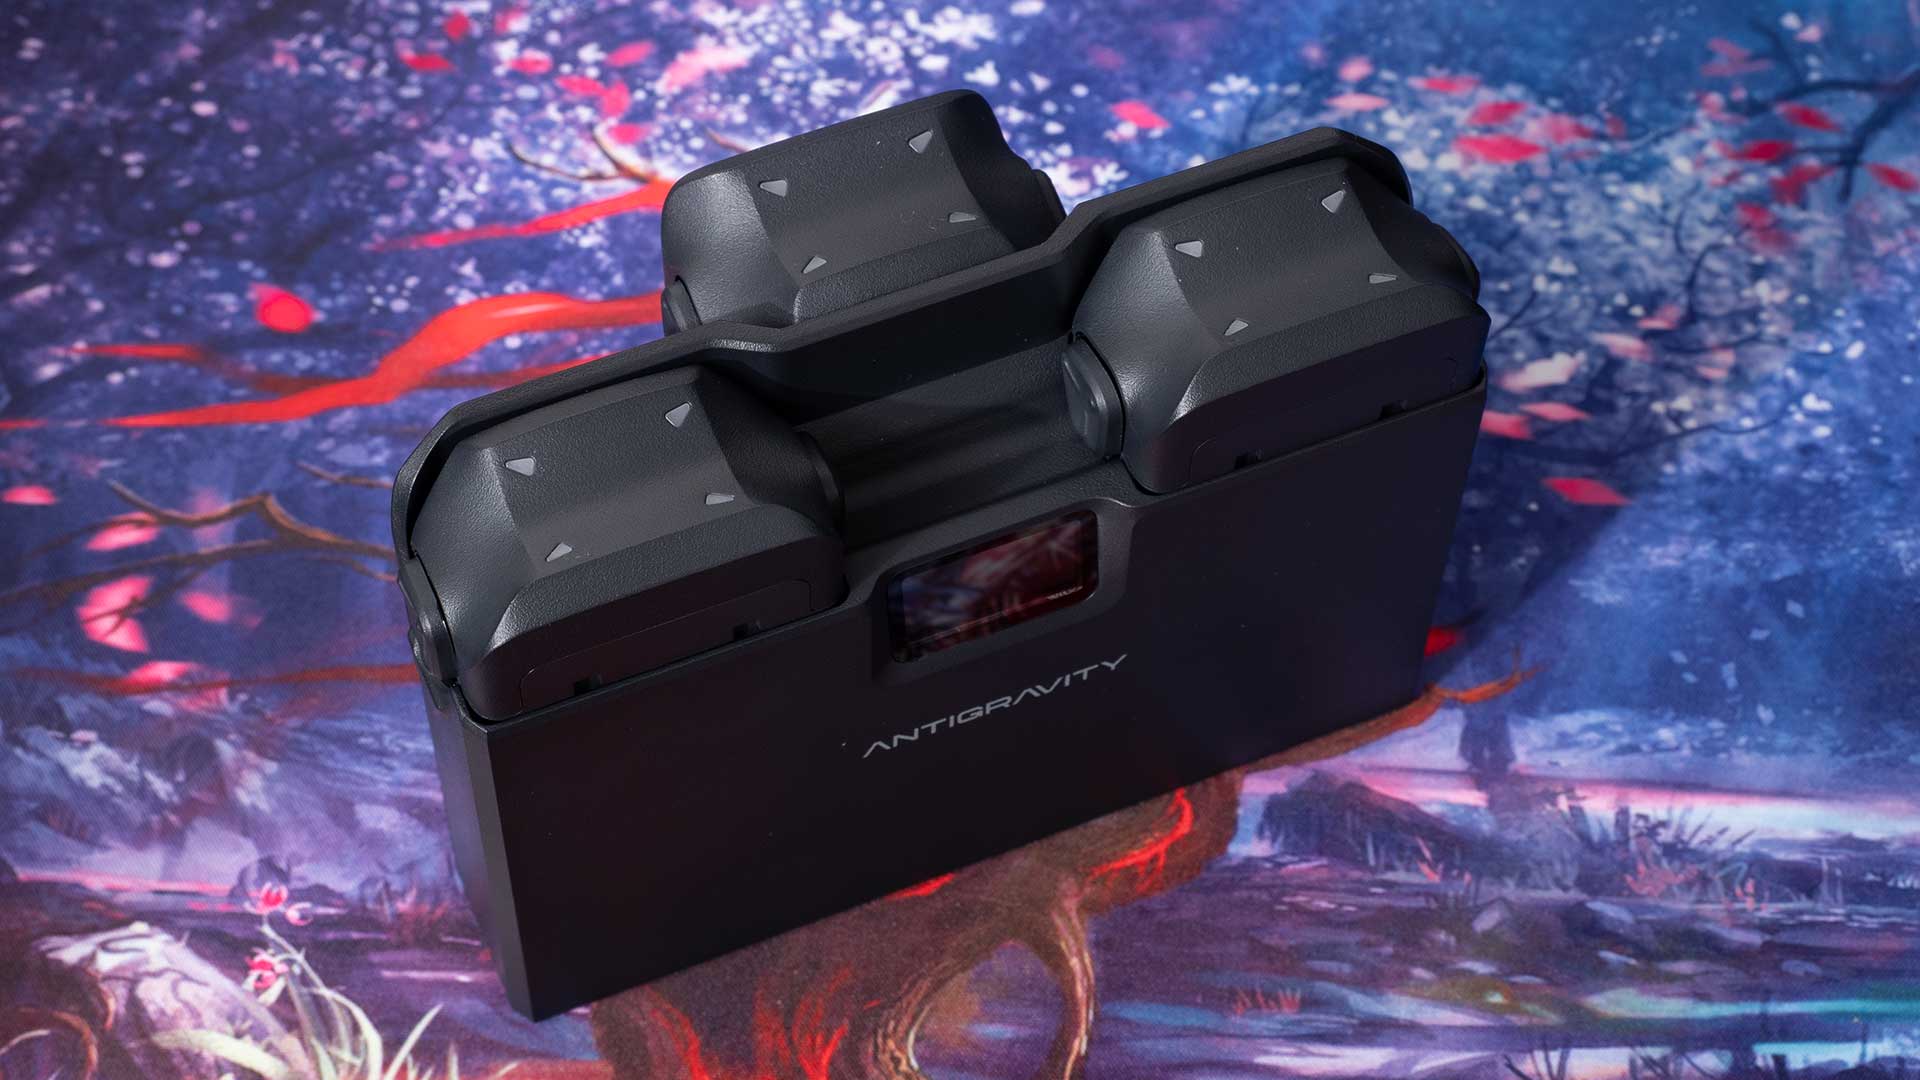
The Goggles
The goggles on the Antigravity A1 feel more like a VR headset, like the Pico 4 Ultra, rather than the usual FPV drone headset. It sports dual 1-inch Micro-OLED (2560×2560) displays for viewing with pancake optics. This is higher resolution than both the Pico 4 Ultra (2160×2160 pixels per eye) and even the Meta Quest 3 (2064×2208 pixels per eye).

As soon as you put them on and power them up for the first time, though, you’re confronted with a 360-degree virtual world, informing you to set things up and update the firmware. While this process is going on, the headset continues to show your progress, but firmware updates can take a few minutes, and the display on the outside of the goggles also shows percentage complete and lets you know when it’s done.
Speaking of the display on the outside of the goggles, when I first saw it, I thought, “that’s a great idea” so that others can see what I’m seeing when I’m up in the air. The problem is, it’s fairly small, so anyone watching is practically breathing on you. You also turn a lot when flying the drone, making it really difficult for a spectator to follow the action.

It’s handy for monitoring things like firmware updates that take a while, and you don’t want to have to sit wearing the goggles the whole time you’re waiting. But that’s pretty much it. It would be nice to see an HDMI output in a future iteration of the goggles.
From the wearer’s perspective, though, they’re quite comfortable. There is some very slight droop over time as you use them, but not much. In reality, they don’t require much positional fixing at all, really – at least not for me. They’re certainly as comfortable as any other FPV/VR goggles I’ve tried.


Being able to look around the scene while you fly is an incredibly freeing experience. But being able to dodge obstacles and fly through things is so much easier than it is with a regular drone – or even a regular FPV drone, especially if you’ve not done it much before.
There is also a camera on the front of the goggles that lets you see the actual real-world view in front of you while wearing them. Should you want to take a peek at what’s going on around you without removing them, it’s just a trigger click away.

It also features a built-in microSD card slot, allowing you to record the view from your goggles directly to a card to bring into your edit. And it is pretty much the exact view you see in your goggles. Every head turn, every menu option, everything.

The Controller
The controller for the Antigravity A1 is a simple handheld joystick that you wave around in the air to tell it where to go. Of course, it has a few other buttons, too, for things like taking off, landing, and the usual flying things, but it’s about as easy as it gets, really.

Tap the up slider to turn props on, hold the up slider to get it to take off, point where you want it to go, hit the trigger, and off it goes, doing its thing.
And as with any FPV drone, because you’re seeing the drone’s perspective, you can fly with a lot more confidence and consistency. It becomes immediately apparent when you’re seeing the drone’s eye view on the goggles, whether you’re going to make it through that tiny hole or not.

One of the great things about this controller, and the fact that you’re wearing goggles, is that there’s no cellphone required when flying. You can keep it firmly in your pocket while out in the middle of nowhere, capturing the wide open vistas or jetting through the forests.
As a consequence, this means it’s a great controller to use when wearing gloves. Here in Scotland, we’re starting to regularly dip below freezing during the daytime now, so this is especially useful at the moment!

There are quite a few buttons on the controller, but not loads, and it’s designed for use in the right hand. If you’re a lefty, like me, then it will take some learning and getting used to. No, you can’t just use it in your left hand anyway. You won’t be able to hit the buttons easily enough, and you’ll accidentally hit others when you don’t want to.
Handling and Performance
As mentioned above, flying the Antigravity A1 is incredibly fun. It’s basically just point, pull the trigger and go. Ok, there’s a little more to it than that. You have to hit a couple of buttons and a slider to make it actually take off, but once it’s in the air, it’s fantastic.
The one thing that does take some getting used to is that the A1 doesn’t appear to have a reverse. In other words, you can’t fly backwards like you can with most drones. At least, if there is a way, I haven’t found it yet.

But it doesn’t really matter. Given that the drone is always looking behind it as well as in front of it (and everywhere else), if you want to get a pull-away shot with it, you fly forward away from it and reframe the view in your edit to the rear.
Not being able to reverse does take some getting used to, especially when you get too close to stuff, and the obstacle avoidance sensors start kicking in. You might think you’re stuck, but nope, you just turn yourself around, the drone rotates with you, and then you just fly away from your obstacle.

When you don’t have to deal with obstacles, though, flying the A1 is great fun, and it’s easy to get up and flying. Navigating through the air is a doddle. You just look in your goggles, a diamond-shaped target comes up on the screen, denoting the position of your controller. Holding the trigger makes it turn and fly towards the diamond.
To change direction, you literally just move your hand or turn around while keeping the trigger held down and it’ll keep flying towards that diamond. The trigger, like a typical drone controller stick, is also pressure sensitive. Hold the trigger in a little bit, and it moves slowly. Hold it in all the way, it goes at the max speed it can.

I haven’t flown it in extreme winds, but it’s been a little breezy while I’ve been out with it so far, and it hasn’t been an issue. It’s not even really been noticeable. Antigravity says it can handle up to level 5 winds (19-24mph).
Skypath & Sky Genie
Skypath is Antigravity’s answer to waypoint flight automation. It allows you to plan and save precise flight routes for the drone to follow automatically. So, if you wanted to survey an area, you can just set up your points, hit go and it does its thing.
Antigravity mentions one advantage of this being the ability to hand over your goggles to someone else during the flight – as it doesn’t need to be controlled by a person – so that they can see and experience the 360 immersive flight for themselves.
This isn’t something I was able to try before this review needed to be published. But it’s on my list, as soon as the weather decides to cooperate. If I’m able to get out soon enough to test this, I’ll be sure to update this review.
Sky Genie, on the other hand, is Antigravity’s name for its different quick flight modes, like arc shot, spiral ascent, oval orbit, etc., with just a single tap, accessed through a menu in the goggles.
“Real” FPV Mode
For those who want it and are more used to flying FPV drones, the Antigravity A1 does feature an actual FPV mode. I only tried this briefly, as I’m not terribly used to flying FPV drones, but it essentially acts as you’d expect.
See, the big difference between the A1 and other FPV drones is that other FPV drones have a fixed camera that only points forward. The A1, of course, lets you look everywhere. In FPV mode, the view in the goggles is fixed to the front of the drone.
Even though your view is always straight ahead in FPV mode, you’re still shooting 8K 360 video. So, you can still reframe in post to make the camera look in any direction you want.
This will probably be most useful for those who are transitioning to the A1 from a regular FPV drone. I think most users, especially beginners, will want to stick with the regular 360-degree flying mode.
Image/Video Quality
While probably not quite the same tech, the Antigravity A1 is essentially a flying Insta360 X5. As such, it offers a very similar level of quality. In fact, it uses a reskinned and slightly modified version of Insta360 Studio called Antigravity Studio for editing your clips on the desktop.
While I haven’t done any side-by-sides between the Antigravity A1 and the Insta360 X5, the two cameras feel pretty close in terms of dynamic range and overall image quality. I did take the Insta360 X4 Air out while filming with the A1, though, and there are a couple of shots from that mixed in with the A1 sample footage to give you an idea of how the two compare.
My basic workflow is essentially the same as it is with Insta360’s regular 360 cameras. I bring the footage into Antigravity Studio, I reframe and export the clips I want as flat footage, and then I cut them together in DaVinci Resolve.
Unlike the X5, with shoots 72-megapixel still images, the Antigravity A1 shoots a mere 55 megapixels. That makes for an 10496 x 5248 resolution image. Still quite good, even for a 360-degree view, leaving plenty of room for cropping while still being able to keep the detail – especially if you’re only posting to socials.

Battery Life
The battery life of the Antigravity A1 is officially 24 minutes and has a capacity of 2,360mAh. But this comes with caveats. Shooting 5.2K 30fps (not 8K or 60fps), flying forward at a steady 13.4mph in a controlled windless environment.

In reality, I’ve found that I get close to around 15-20 minutes per battery when shooting 8K 30fps or 5.2K 60fps footage. You’re definitely not going to be flying a whole day, so, you’re going to want to carry multiple batteries with the multi-battery charger and some USB-PD power banks wherever you go.
There is a high-capacity battery that increases the battery capacity up to 4,345mAh, offering up to 39 minutes of flight time – in the same test conditions – but the weight of this battery does send the drone over the 250g limit, bumping it up quite significantly to 291g.

Whether this extra weight is an issue for you depends on where you live and what you want to do with your drone. But you do have that higher capacity option if you need it.
The Downsides
There isn’t much that I don’t like about the Antigravity A1, really. There are a few things that I think would make life easier, but they’re not deal breakers. The optimist in me hopes that these will come in future iterations of Antigravity drones, but I guess we’ll see.
HDMI output or wireless video transmission – There’s no real way for multiple people to watch the flight simultaneously. Sure, you’ve got that outside display, but if you’re spinning around in all different directions, nobody’s going to be able to really watch it effectively.
I can understand why Antigravity may have decided against it. If you’re spinning yourself around to change your direction, then that cable’s going to get tangled really quickly. But if you’ve got it plugged into a Hollyland HDMI transmitter or something, you can just put that on your belt, and it spins around with you. No tangled cables.
A good alternative to this would be some kind of wireless streaming. Again, Hollyland’s HDMI and SDI transmitters both offer streaming straight to a smartphone or tablet app for viewing, and you can connect multiple of them to have several viewers.
It would also be very handy for those who wish to live-stream the goggles’ view of their flights to platforms like YouTube.
Reverse mode – Although flying backwards isn’t really needed when you can simply turn around and fly forward, it would be nice to see this added. Sometimes, you just need to watch where you’ve been when you fly instead of where you’re going.
This is especially true if you want to track a subject that’s coming towards you, but sometimes you find yourself in a situation where you got a little too close to what you want to shoot and just need to back up a couple of feet.
Note: It’s entirely possible that it already has some kind of reverse feature, but I’ve not seen mention of it in the documentation I’ve received so far, nor have I seen anything in the goggles to suggest it’s available.
Alternate transmitter – The included controller is fantastic when flying through the goggles. It lets you quickly and easily turn and fly in whatever direction you wave your arm. Sometimes, though, you don’t want to fly with the goggles on.
Depending on where you are in the world, flying FPV is going to require a spotter to be with you at all times. That’s not always possible, but you still want to throw a drone up in the air and shoot some footage.
Hopefully, Antigravity will release a more traditional style controller for the A1 at some point for those who want to fly without having to wear their goggles. Because right now, your only other option is to use a different drone.
That’s pretty much it, though. It’s a pretty well-thought-out product that offers a great flying experience.

Final thoughts
Overall, it’s an impressive first drone from Antigravity. It’s a very different device from your traditional drone, and even other FPV drones. And while it’s not going to be everyone’s cup of tea, the Antigravity A1 is a fun drone to fly that produces decent results.
Yeah, you’re going to lose resolution when you crop in too much. You’re not going to get that telephoto look at high quality that you see on other drones – of course, Topaz Video AI might help with that – but you are getting a fully immersive experience both during flight and playback – even for final delivery on YouTube or other platforms if you want it.
For me, I think the vast majority of what I shoot with the Antigravity A1 will probably remain 360-degree footage rather than be converted to flat footage. The A1 will be going with me everywhere (obviously, obeying geographical laws), ready to capture my vacations, day trips, events and experiences as much as possible for me to rewatch in a VR headset on YouTube.
For you, your needs might be different. You might want to turn everything into flat footage for editing into your regular videos. And like any 360-degree camera, if that’s what you want to do, you can.
Sample Footage
Sample footage is coming soon!
Price and Availability
The Antigravity A1 is available to pre-order now, starting at $1,599 for the base bundle. This includes…
- Antigravity A1 Drone
- Antigravity Vision Goggles
- Antigravity Grip Motion Controller
- 1x Flight Battery
- Headband
- Vision Battery
- Foam Padding
- Lens Caps
- Battery Lanyard
- 4x Spare Propellers (half set)
- Carry Case
- Corrective Lens Frame
…along with a few cables, straps, manuals and other bits. While this does give you need to get up and running, you’ll probably want to buy a few spare batteries and the triple charger. Of course, if you’re going to do that, you might as well step up to the $1,899 Explorer Bundle. This includes everything that the base bundle does, except it offers…
- 3x Flight Battery
- Charging Hub
- 8x Spare Propellers (full set)
- Sling Bag
For $1,999, you can go for the Infinity Bundle. This includes everything the Explorer Bundle does, except it comes with three high-capacity flight batteries and a quick reader
Many thanks to Deejay for braving the cold Scottish weather and heading out to fly this with me!

John Aldred
John Aldred is a photographer with over 25 years of experience in the portrait and commercial worlds. He is based in Scotland and has been an early adopter – and occasional beta tester – of almost every digital imaging technology in that time. As well as his creative visual work, John uses 3D printing, electronics and programming to create his own photography and filmmaking tools and consults for a number of brands across the industry.


Join the Discussion
DIYP Comment Policy
Be nice, be on-topic, no personal information or flames.