













How to Add Depth to Landscape Photos Without Overediting
Nov 20, 2026
Alysa Gavilan
Alysa Gavilan has spent years exploring photography through photojournalism and street scenes. She enjoys working with both film and mirrorless cameras, and her fascination with the craft has grown over the decades. Inspired by Vivian Maier, she is drawn to capturing everyday moments that often go unnoticed.
Share:

A landscape photo can capture a beautiful scene and still look surprisingly flat on screen. The difference often comes down to how light, contrast, and color guide the viewer’s eye. In a recent video, photographer William Patino shares several Lightroom editing techniques that can help landscape images feel more three dimensional without pushing them too far from what the photographer saw.
His approach focuses on local adjustments rather than applying the same treatment across the entire image. By selectively changing exposure, contrast, and color, photographers can create separation between elements and give the composition a clearer visual direction.
Add a hint of directional light
Patino first demonstrates how to create the impression of light entering a telephoto composition. His example is a waterfall photographed on an overcast day, where much of the scene has similar tonal values.
Using Lightroom’s Adjustment Brush, he raises the exposure by roughly half a stop along the top edge of the frame. The soft brush creates a subtle highlight that suggests light filtering into the scene. This brighter area also gives the viewer’s eye a natural place to land.
The adjustment does not need to be dramatic. Patino recommends adapting the direction of the light to the composition, using a side or angled highlight when it makes more sense for the scene.
Increase foreground contrast
Wide angle photographs often benefit from stronger contrast in the foreground. Patino explains that nearby objects typically appear to have deeper shadows and stronger contrast than elements farther away.
He uses a large, soft adjustment brush to increase contrast in the foreground leaves of a landscape image. This makes the darker tones more pronounced while allowing brighter areas to stand out. In the background, he does the opposite, lifting shadows and blacks to reduce contrast and make distant elements appear farther away.
This technique is an example of atmospheric perspective, where contrast and tonal differences help communicate distance.
Use warm and cool tones to separate elements
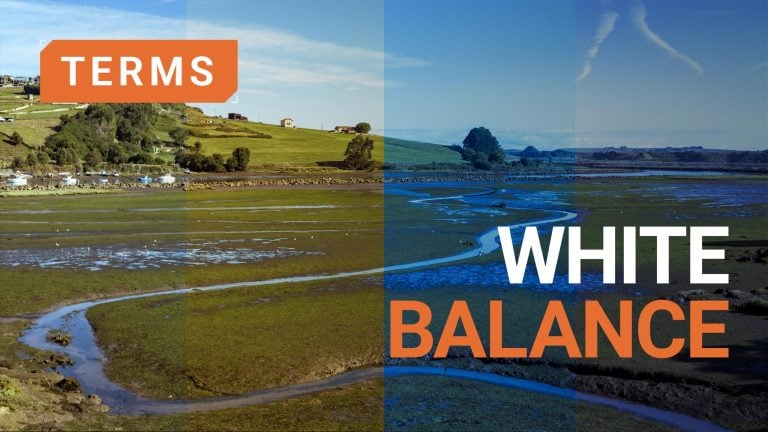
Landscape scenes photographed around sunrise or sunset can sometimes look uniformly warm because of automatic white balance. Patino uses Lightroom’s Color Grading controls to introduce cooler blue tones into the midtones and shadows, while retaining the warmer highlights.
The goal is not to make the image look artificially blue. A small adjustment can help separate warm light from cooler areas, adding depth and preserving the atmosphere of the original scene.
Guide the eye with light and shadow
Patino’s final demonstration brings the techniques together in a sunrise landscape. He begins with global adjustments to exposure, highlights, and color, then uses local brushes to darken parts of the sky and foreground while brightening the illuminated area in the center.
He also adjusts the fog and water, keeping in mind that reflections should generally appear darker and more saturated than the scene above them.
A landscape edit should bring out the depth already present in the scene, not make every corner compete for attention. Patino’s techniques are worth trying, but restraint matters. Save your adjustments, take a break, and revisit the image with fresh eyes.
If the light still feels believable and your attention naturally moves through the frame, you may be closer to the finished photograph.
See more from DIYPhotography.net on Google
Add DIYPhotography.net as a trusted source. This makes
our stories more likely to appear in your Google Search results.
 Add as a preferred source on Google

Alysa Gavilan
Alysa Gavilan has spent years exploring photography through photojournalism and street scenes. She enjoys working with both film and mirrorless cameras, and her fascination with the craft has grown over the decades. Inspired by Vivian Maier, she is drawn to capturing everyday moments that often go unnoticed.



Join the Discussion
DIYP Comment Policy
Be nice, be on-topic, no personal information or flames.