


How to Shoot in Low Light: Simple Tips for Better Photos
Jun 18, 2026
Leonard Skapp

Alex Baker is a portrait and lifestyle driven photographer based in Valencia, Spain. She works on a range of projects from commercial to fine art and has had work featured in publications such as The Daily Mail, Conde Nast Traveller and El Mundo, and has exhibited work across Europe
Share:
Low-light photography can feel intimidating when you’re starting out. Images become blurry, autofocus starts hunting, and raising the ISO often turns your beautiful scene into a noisy mess. It’s one of the most common challenges photographers face, whether you’re shooting indoors, at a concert, or during blue hour after the sun has gone down.
The good news is that low-light photography isn’t about having the most expensive camera. While better equipment certainly helps, understanding both the exposure triangle and how to work with the light you have is far more important. A few simple techniques can dramatically improve your results.
Understand the exposure triangle
Photographers rely on three settings to gather enough light for a properly exposed image:
- Aperture – A wider aperture (smaller f-number) lets in more light.
- Shutter speed – A slower shutter speed gives the sensor more time to collect light.
- ISO – Increasing ISO makes the sensor more sensitive to light.
The relationship between them is called the Exposure Triangle. Understanding the relationship between these three is fundamental to understanding how to shoot in low light. Changing any of these three parameters can allow more or less light into the camera. The challenge is finding the right balance between the three; however, every adjustment comes with a trade-off.
For example, a slower shutter speed may introduce unwanted motion blur, a wider aperture reduces depth of field, and a higher ISO can increase noise. Learning to manage those compromises is one of the key skills in low-light photography.
Open up your aperture
One of the easiest ways to improve your low-light images is to use a wider aperture available on your lens. A lens capable of shooting at f/1.8 or f/2.8 can gather significantly more light than a lens limited to f/5.6. That extra light allows you to use faster shutter speeds or lower ISO settings, both of which can improve image quality. With wider-angle lenses, the shallower depth of field tends to be less noticeable than with longer lenses, so you can get away with shooting wider apertures than you might otherwise.
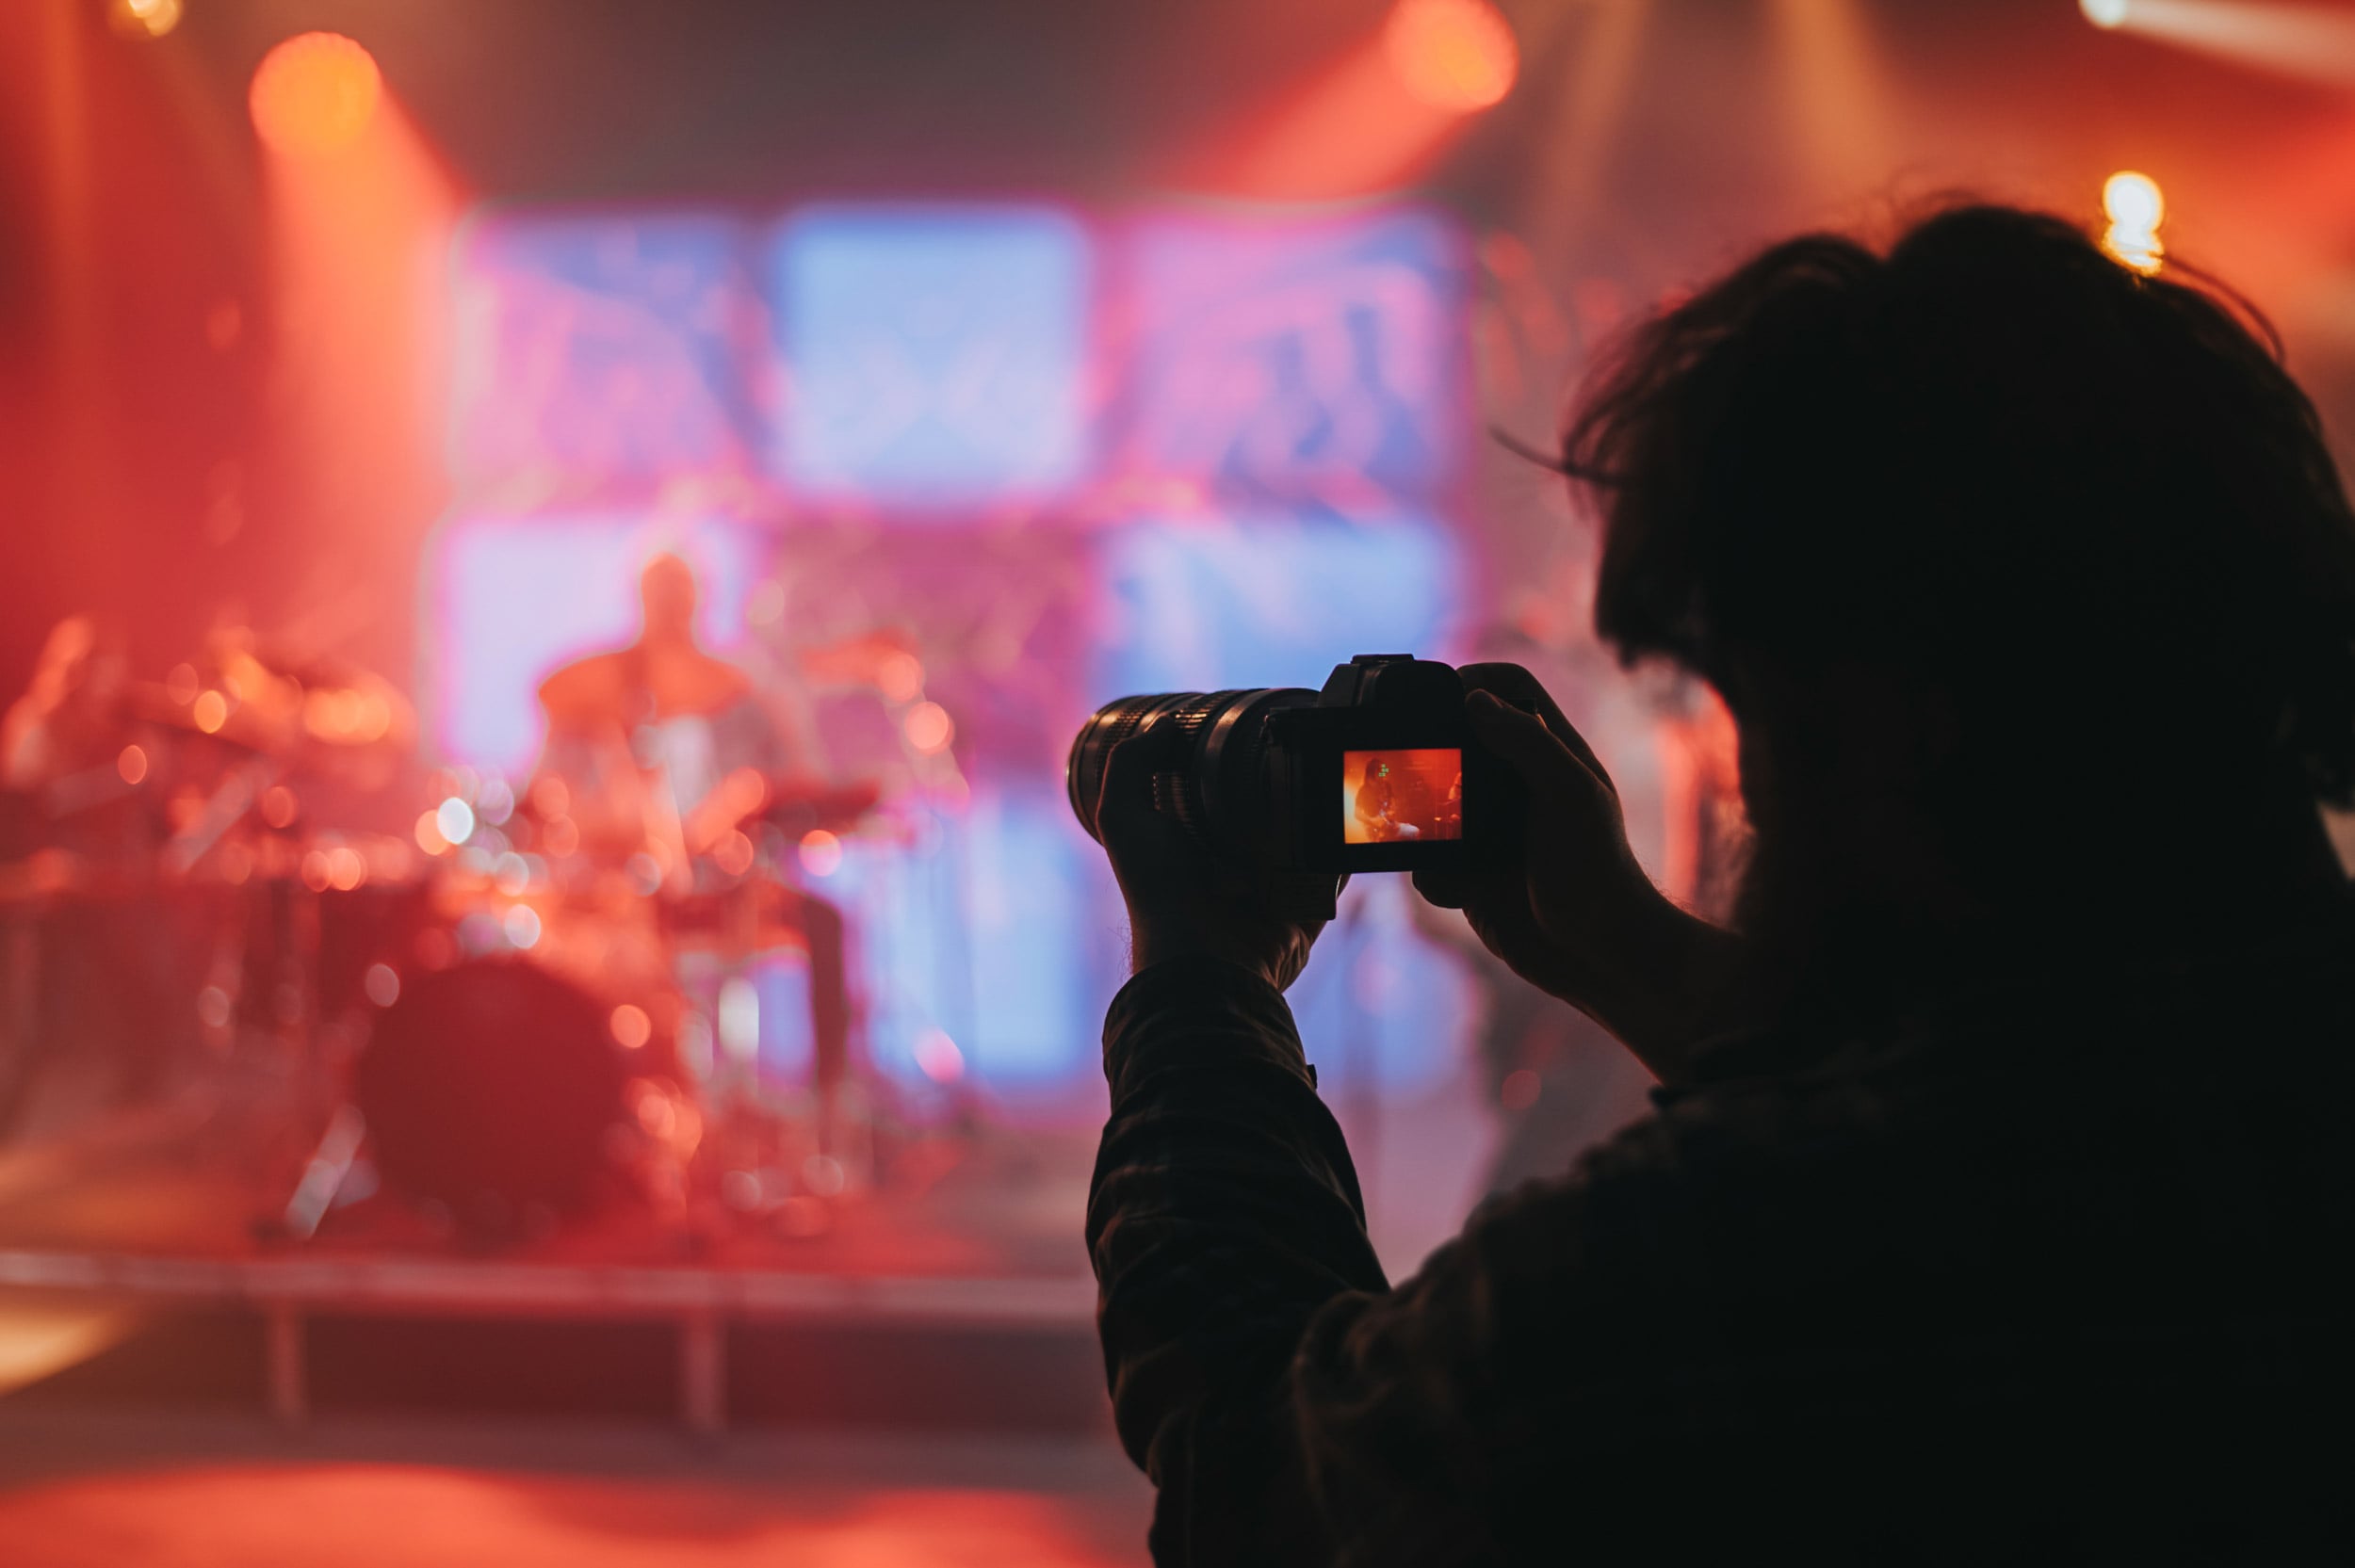
Don’t fear higher ISO settings
Many beginners are taught to avoid high ISO settings at all costs, but that advice is becoming increasingly outdated, especially with more sophisticated mirrorless cameras and editing software that can eliminate noise from high ISO.
While a higher ISO may introduce some grain, it’s often a worthwhile trade-off if it allows you to capture a sharp image. I will happily shoot a concert at ISO 6400, for example, in order to make sure the image is sharp, rather than reducing the shutter speed too much. After all, viewers tend to forgive a little noise. They’re much less forgiving of a photo that’s blurred because the shutter speed was too slow.
Pay attention to your shutter speed
As light levels drop, shutter speed becomes increasingly important. When hand-holding a camera, there’s a limit to how slow you can shoot before camera shake becomes visible. Longer lenses make this even more challenging, as small movements become more noticeable at higher magnifications.
If your subject is moving, you’ll need to be even more careful. A person walking through a scene may require a much faster shutter speed than a static building or landscape. Understanding whether you’re freezing movement or embracing it creatively is an important part of working in low light.
These days, many lenses have built-in image stability, and camera bodies have IBIS (in-camera image stabilisation), which can reduce the needed exposure by several stops. This allows you to hand-hold at slower shutter speeds.
Look for the light that’s already there
One of the biggest mistakes photographers make is assuming that low-light photography means photographing in complete darkness. In reality, successful low-light photography is often about finding and using the available light that already exists in the scene. Street lamps, neon signs, shop windows, candles, headlights, and window light can all become valuable tools.
Sometimes moving your subject just a few steps closer to a light source can completely transform an image. Learning to see light, rather than simply seeing subjects, is one of the habits that separates experienced photographers from beginners.
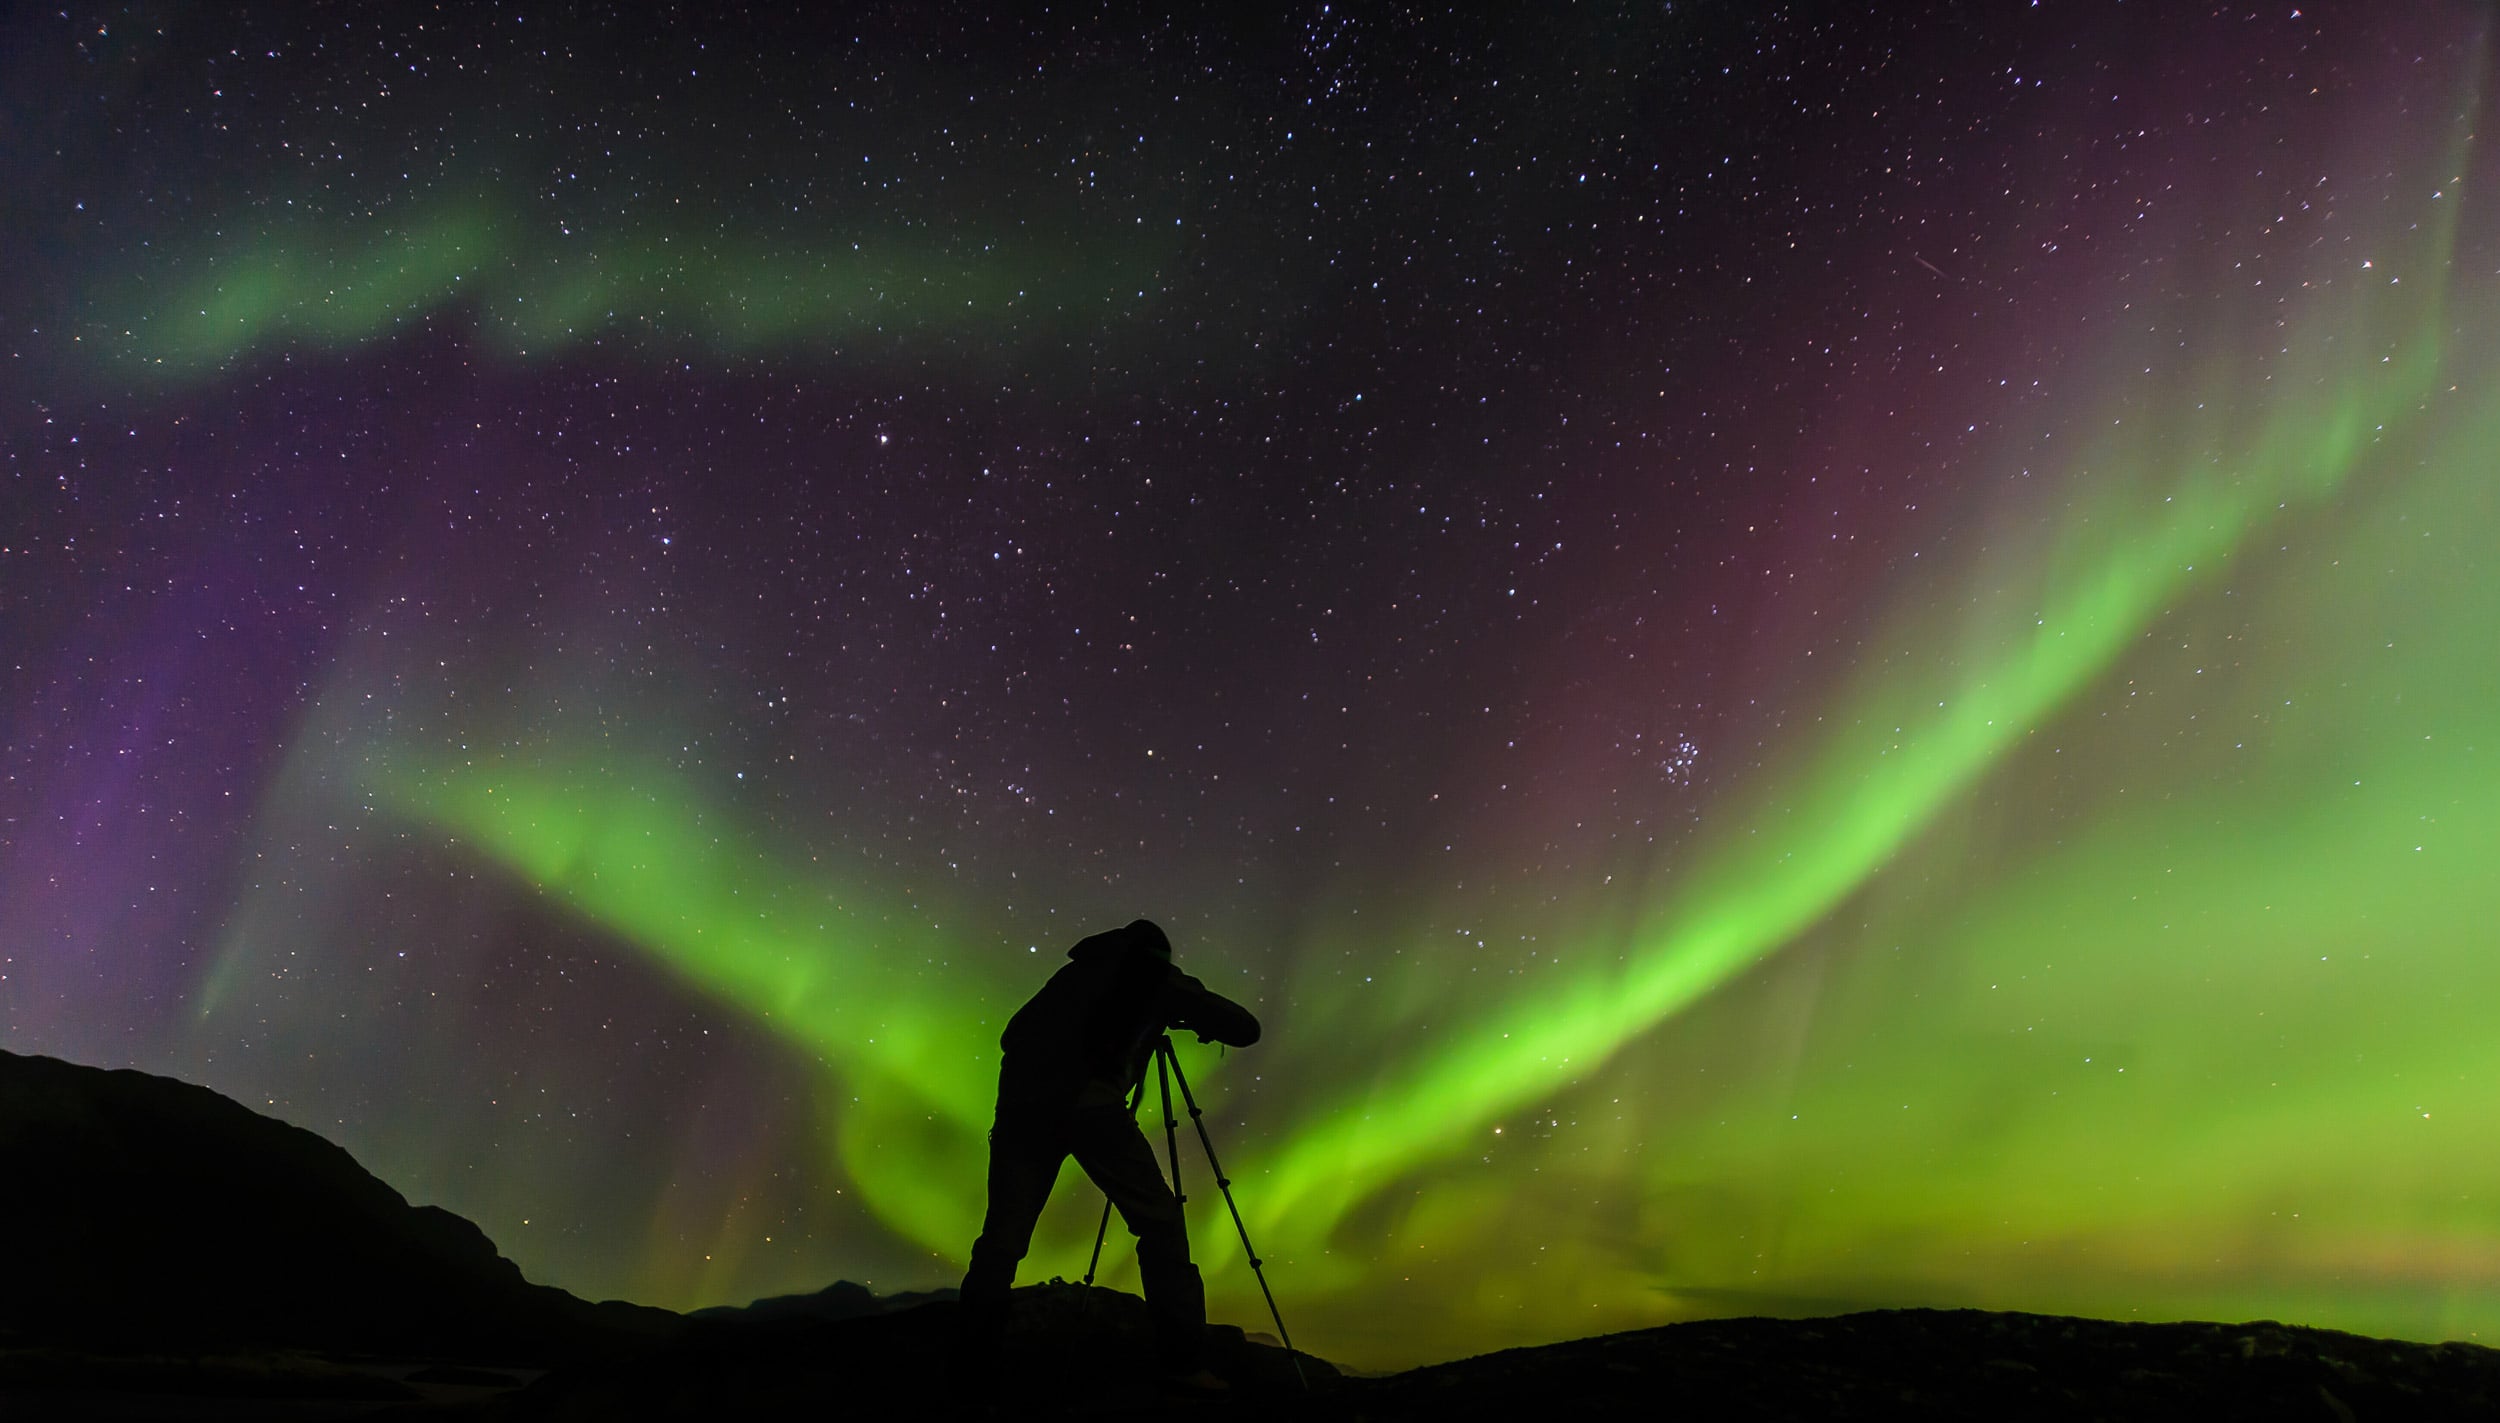
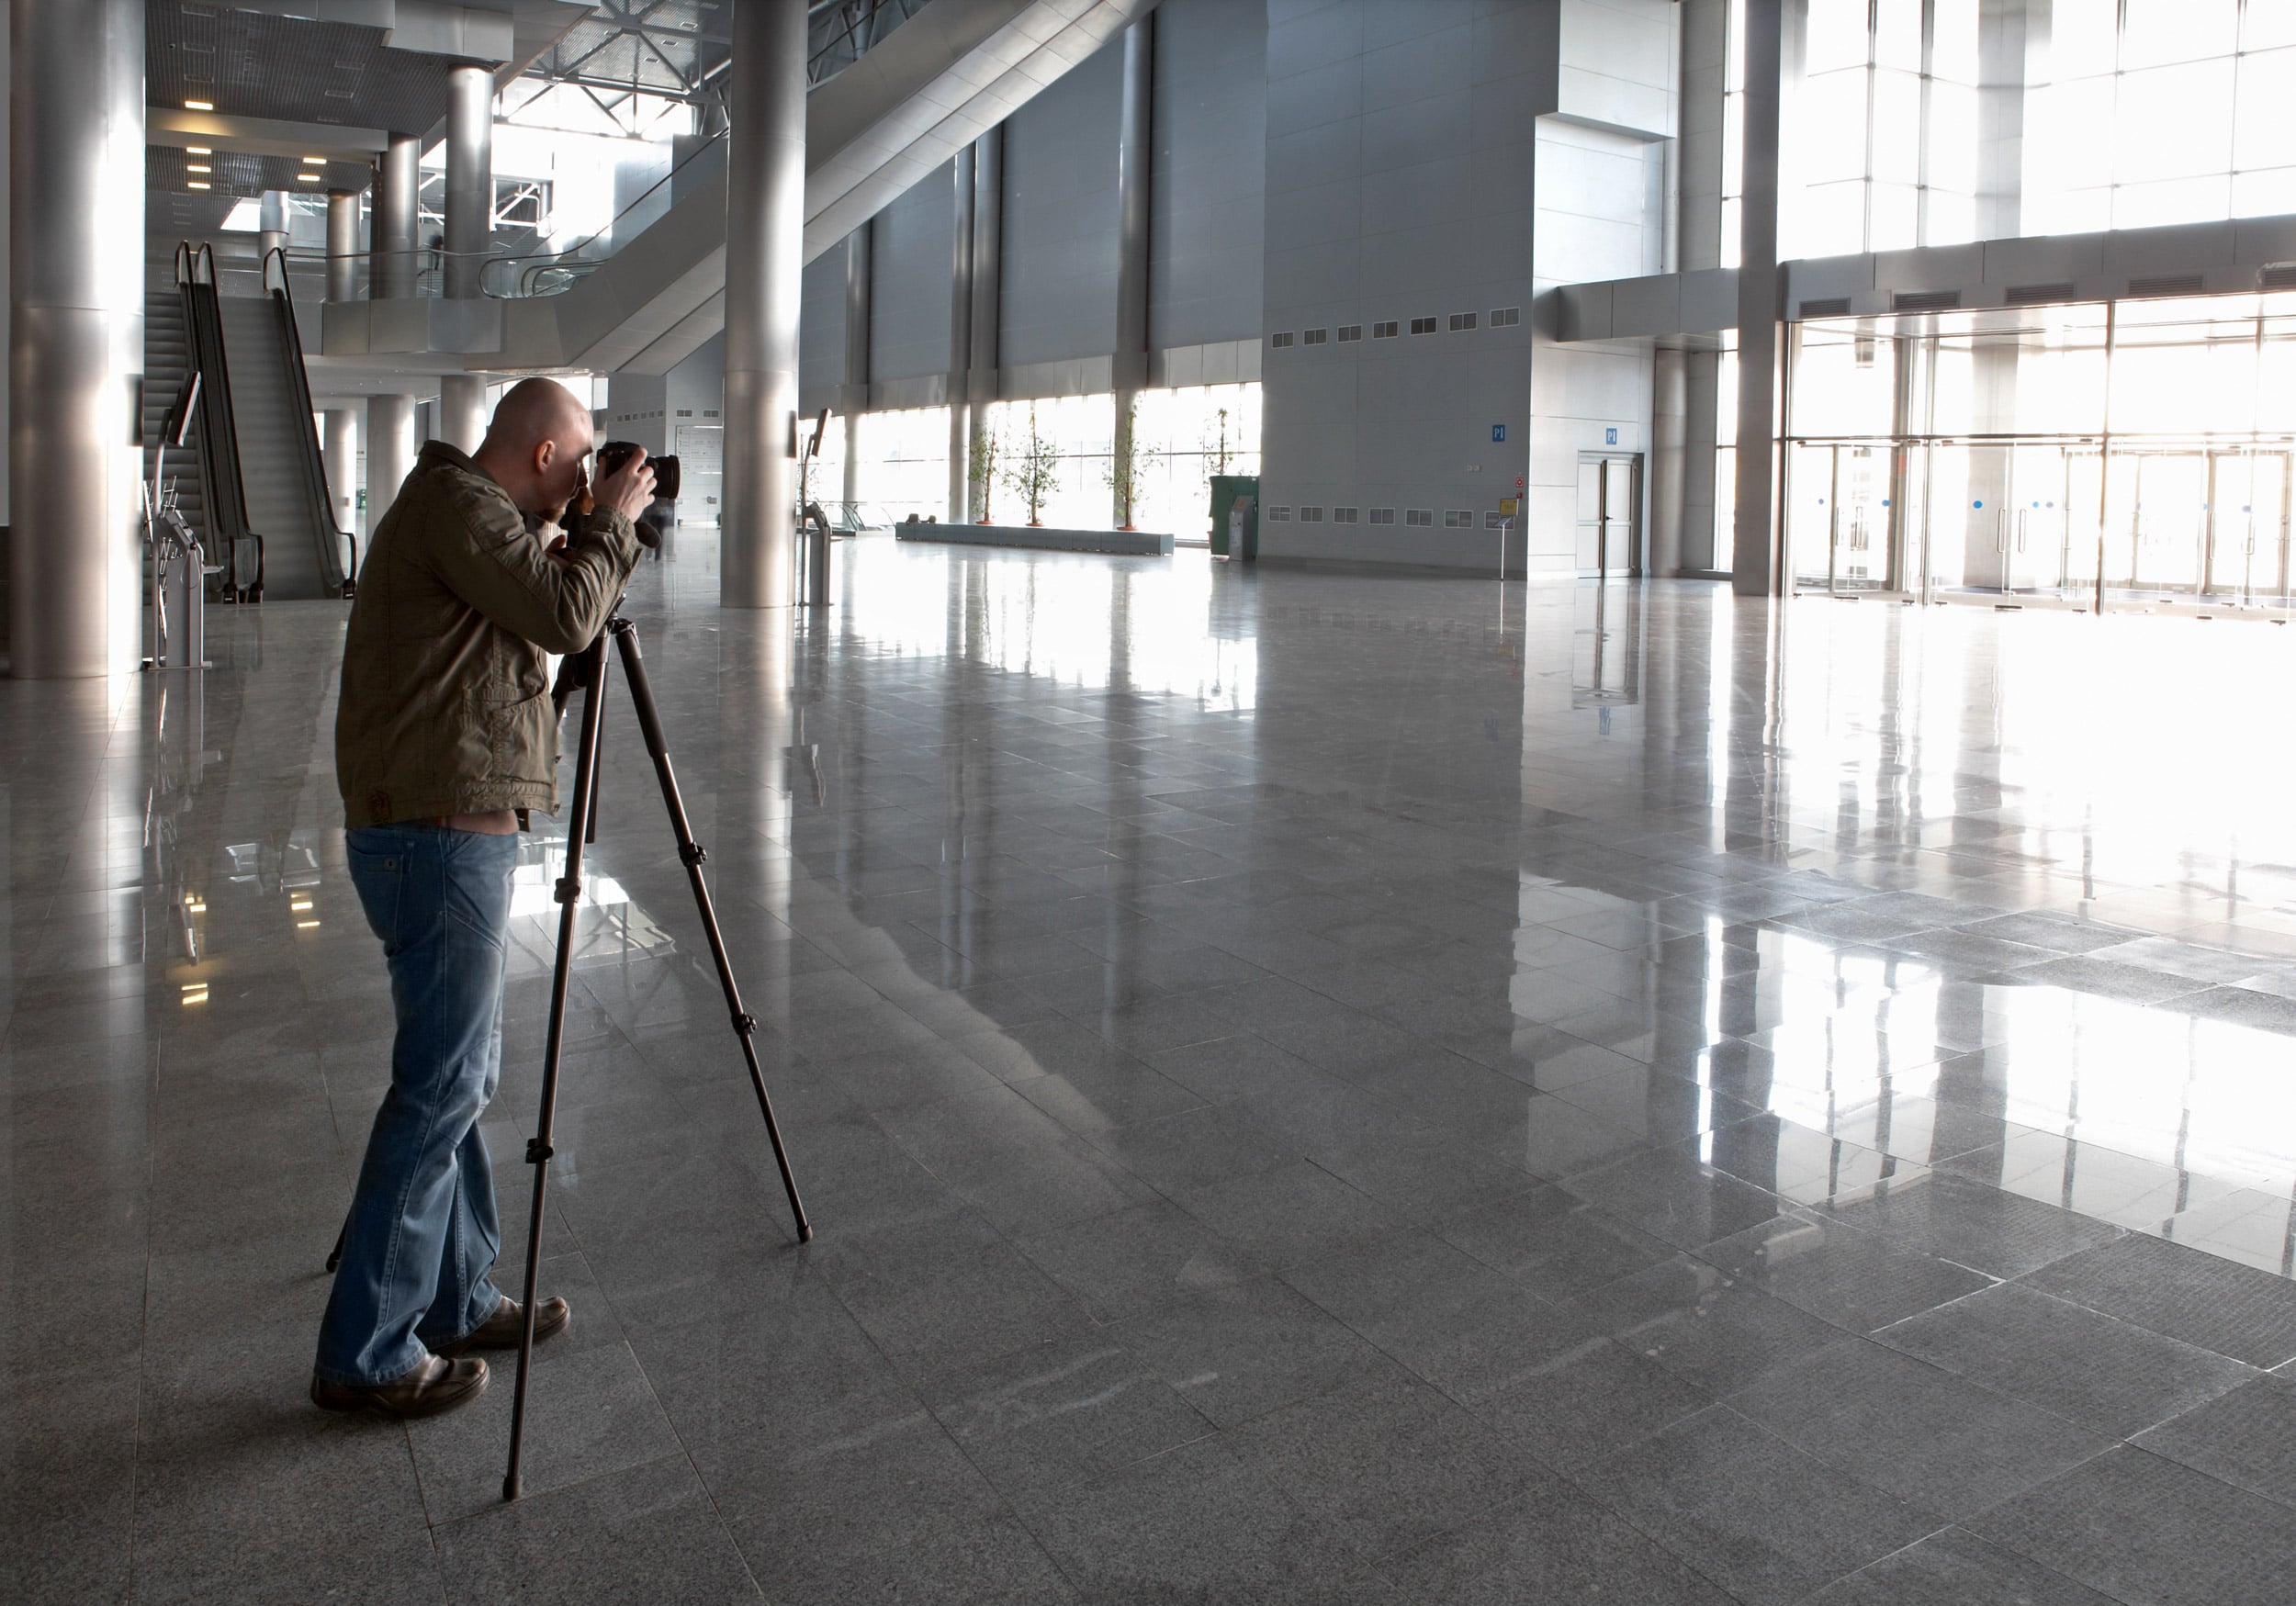
A tripod can make all the difference
When your subject isn’t moving, a tripod can completely change what’s possible. By stabilising the camera, you can use much longer shutter speeds without introducing blur from camera shake. This allows you to keep your ISO lower and preserve more image quality.
Night cityscapes, landscapes, architecture, and astrophotography all benefit enormously from a stable tripod. In these situations, patience often matters more than camera specifications.
Shoot in RAW whenever possible
Low-light scenes frequently contain deep shadows, bright highlights, and difficult colour casts. Shooting in RAW gives you much more flexibility when editing these images later. A RAW file contains significantly more information than a JPEG, making it easier to recover shadow detail, reduce noise, adjust white balance, and fine-tune exposure. While it won’t fix every mistake, shooting in RAW gives you far more room to work with when conditions are challenging.
Conclusion
Learning how to shoot in low light is really about learning how to work with limitations. Every scene requires a balance between shutter speed, aperture, and ISO, while also making the most of whatever light is available. The more you practise, the more intuitive those decisions become.
Once you start to understand low-light photography, you’ll discover that some of the most atmospheric and memorable images are made after the sun goes down. Rather than avoiding low-light situations, embrace them. They can be challenging, but they’re also where photography becomes most interesting.
About Leonard Skapp
Leonard “Len” Skapp is a photographer with a particular interest in cameras, lenses, accessories, camera bags, lens filters, tripods, camera straps, and, on rare occasions, photography itself. Equal parts reviewer and enthusiast, he enjoys digging into the technical details behind the latest gear and translating them into plain English for fellow photographers. He maintains that every purchase is a carefully considered investment, although his bank account and overflowing camera cupboard continue to dispute this claim.
We love it when our readers get in touch with us to share their stories. This article was contributed to DIYP by a member of our community. If you would like to contribute an article, please contact us here.


Join the Discussion
DIYP Comment Policy
Be nice, be on-topic, no personal information or flames.