


Waterfall Photography 101: Learn the Basics in 5 Minutes
May 20, 2026
Dunja Đuđić
Dunja Djudjic is a multi-talented artist based in Novi Sad, Serbia. With 15 years of experience as a photographer, she specializes in capturing the beauty of nature, travel, concerts, and fine art. In addition to her photography, Dunja also expresses her creativity through writing, embroidery, and jewelry making.
Share:
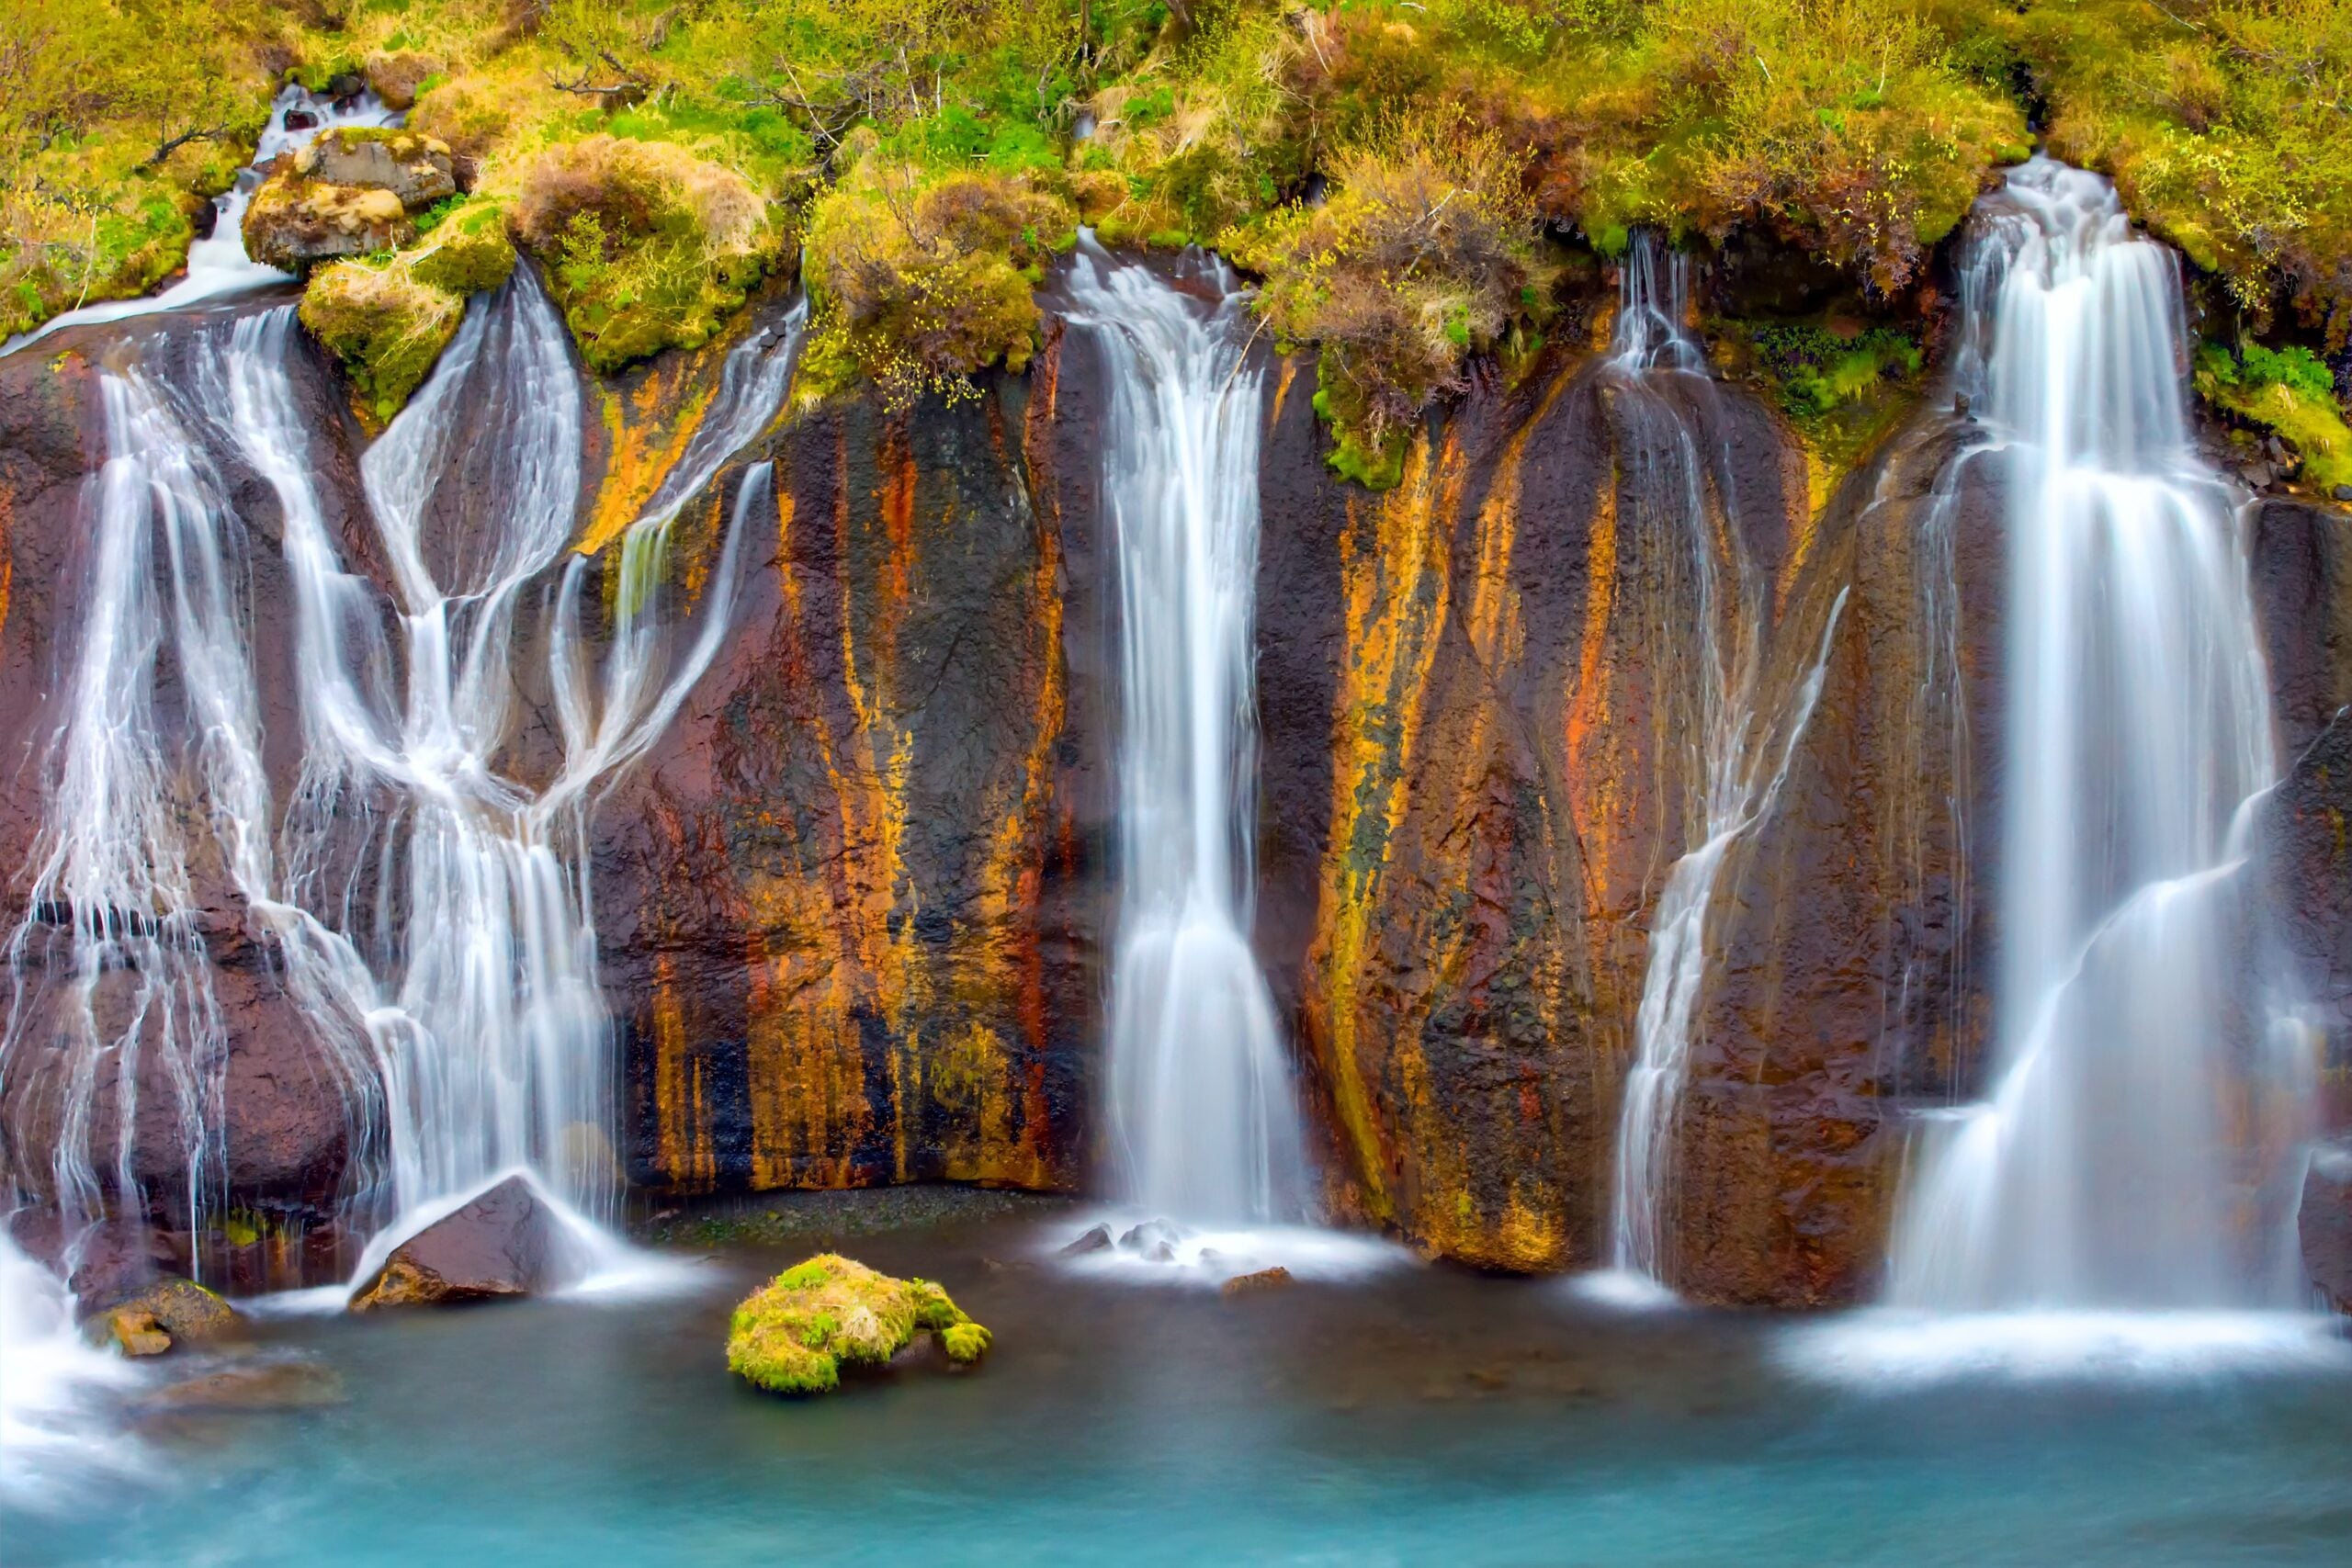
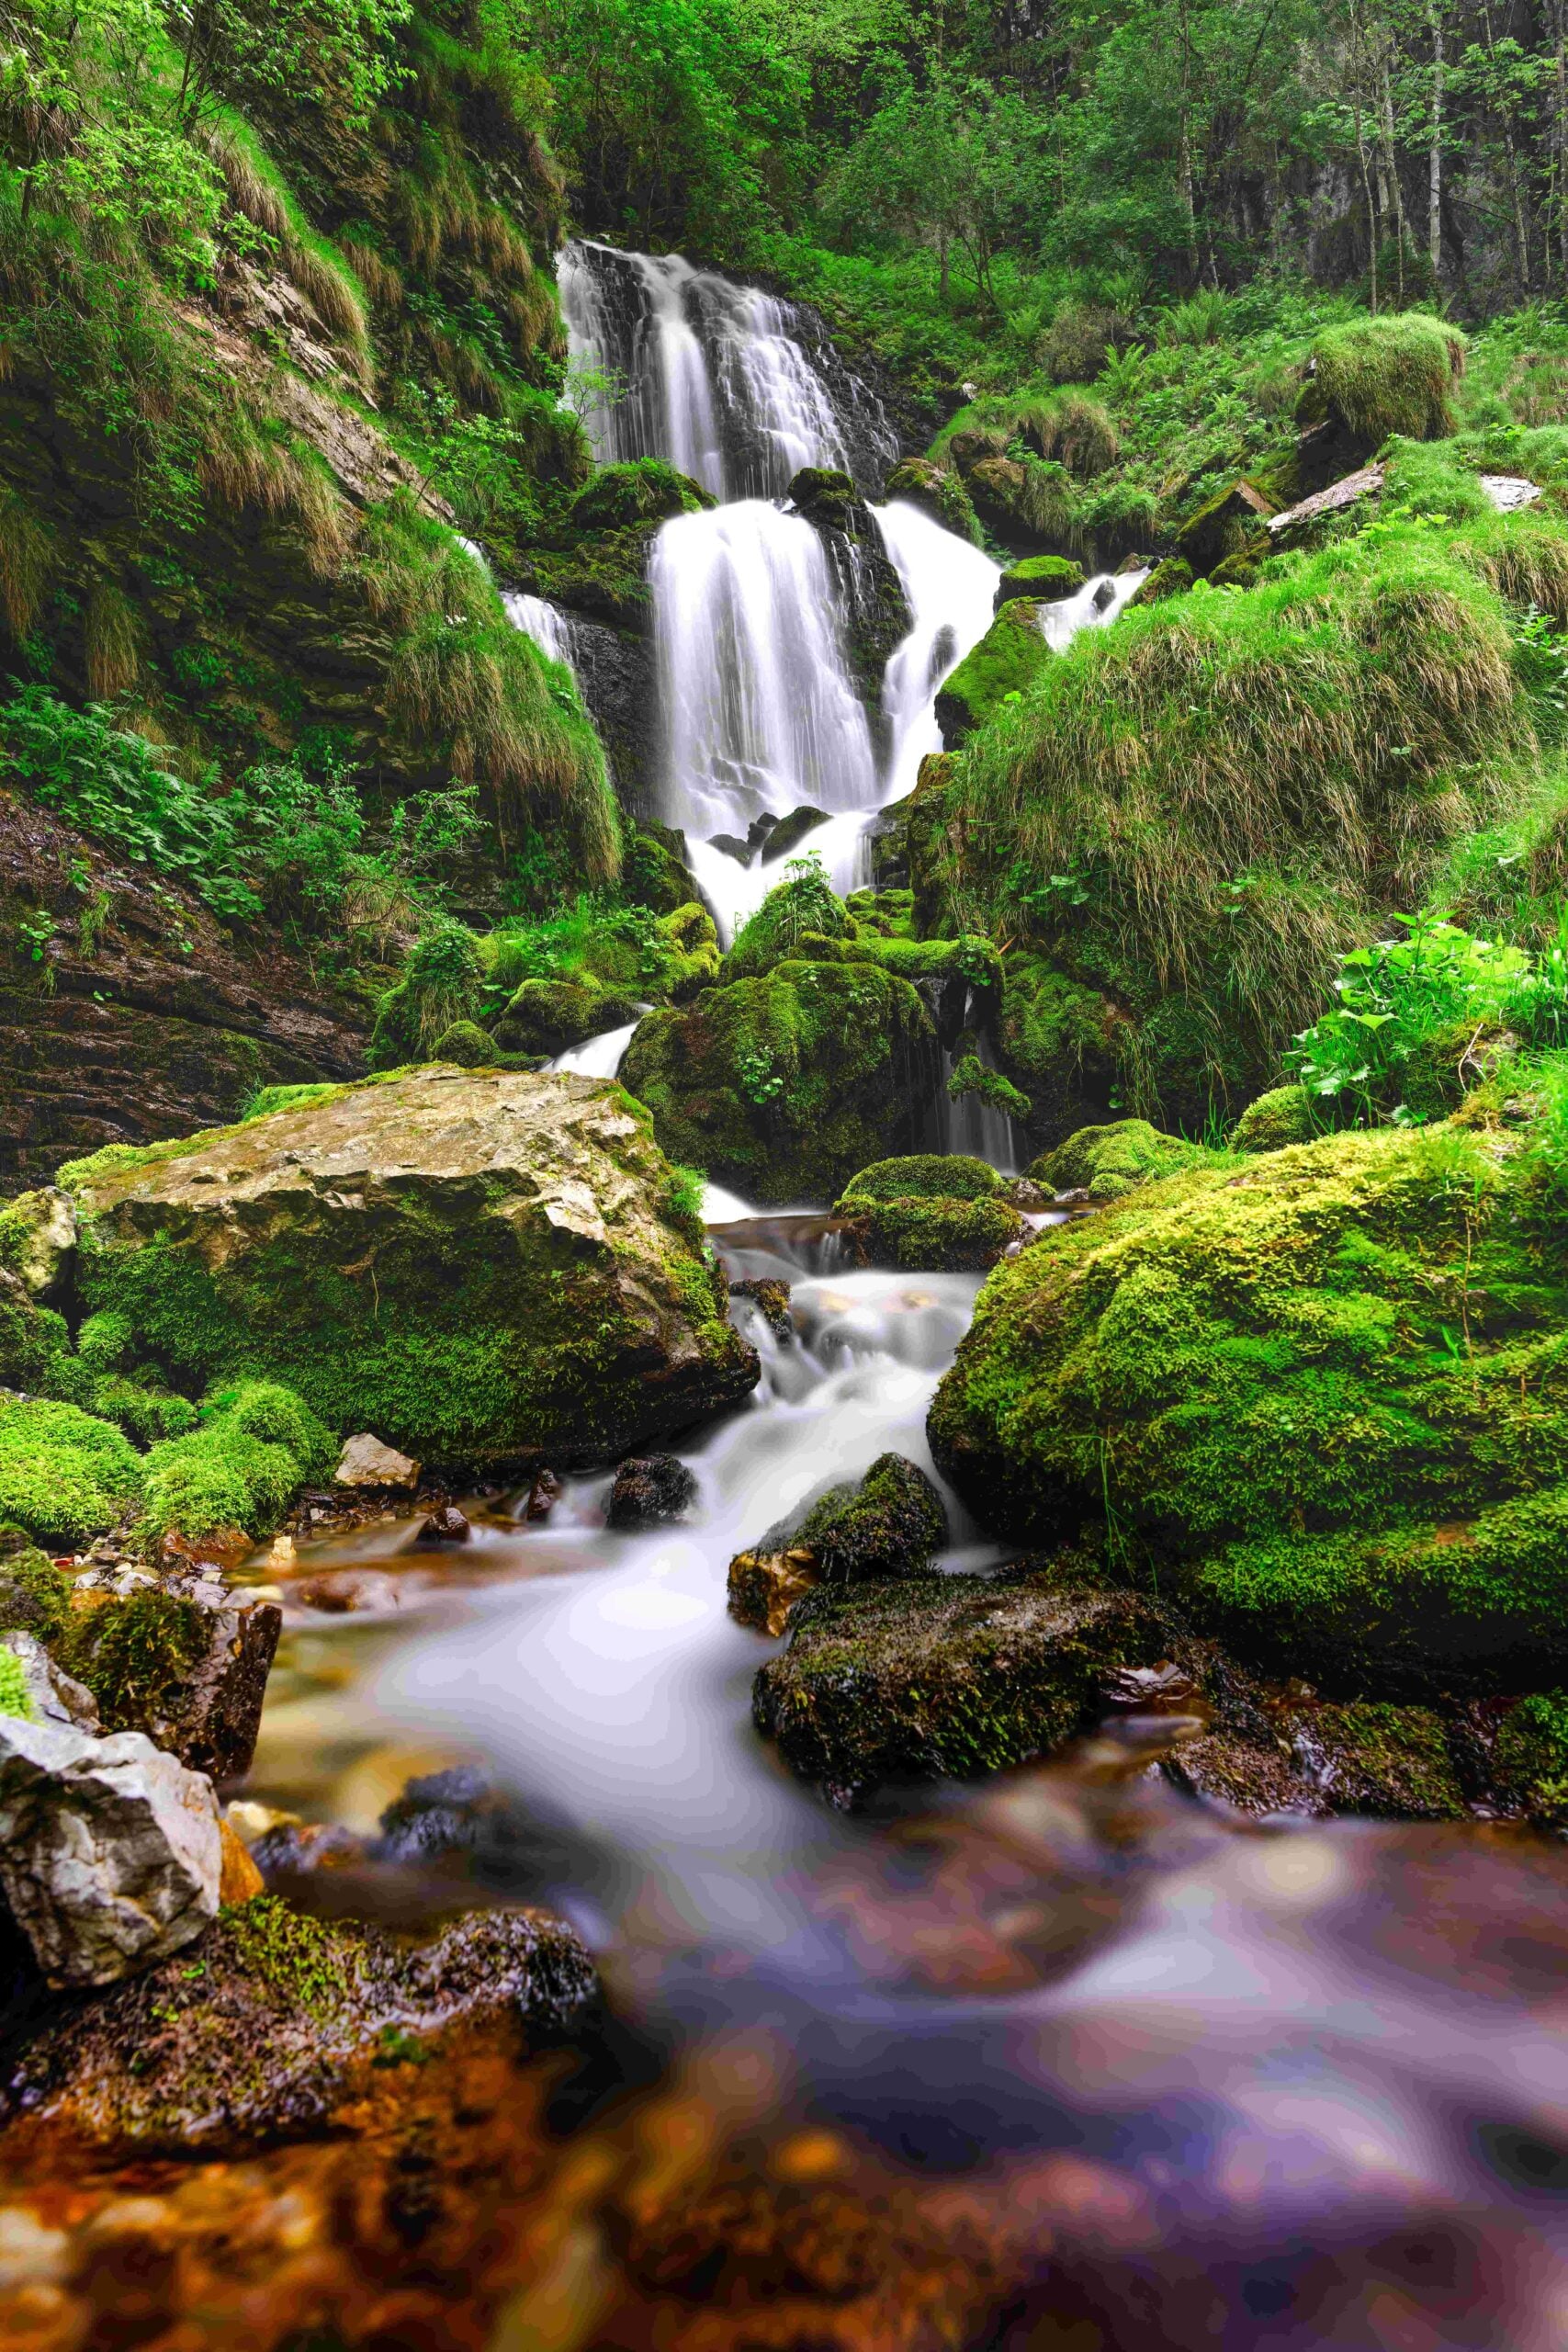
Spring is already in full swing here in the northern hemisphere. If you’re anything like me, you probably spend every free moment outside in fresh air, exploring the forests and mountains near and far. Waterfall photography is one of those pursuits that brings a double reward: a great hike and a great shot.
In a recent video from Simon d’Entremont, he packs an incredible amount of practical advice into just five minutes. He covers everything you need to know, from composition to creative in-camera effects that really make your waterfall photos stand out. It’s a genuinely fantastic breakdown, and if you love being outdoors with a camera, this one’s worth your time.
Gear to Bring Along
Before we get into technique, let’s make a gear checklist. Simon keeps the kit list simple: a camera with a wide-angle lens, a sturdy tripod, and a couple of filters – neutral density (ND) and circular polarizer (CPL). Simon actually uses a 2-in-1 filter from Kase. If you’re willing to wade in a bit for a more interesting angle, waterproof boots are a smart addition. But if you’re an avid forest wanderer, I’m sure you’ve already got those.
And that’s pretty much it! Let’s lace up those boots, go on a hike, and find a waterfall.
Find Your Composition First
Once you arrive at your location, Simon’s first piece of advice is to find your composition before you even think about camera settings.
A snapshot-style photo of a waterfall is easy to take. What we’re after is something more considered, deliberate, and artistic. A classic approach is to place something interesting in the foreground with the falls in the background. Simon likes to walk around with the camera’s LCD screen open, almost like a film director framing up a scene, to help visualize how different angles will look.
Try getting low. It opens up the foreground and gives the image a sense of depth. Try both vertical and horizontal orientations, and zoom in and out to test how the scale feels. Simon also recommends framing slightly wider than you think you need, leaving a little room to crop or level the image in post. Once you find a composition you like, you’re ready to dial in your settings.
Getting the Settings Right
For waterfall photography, manual mode is your best bet. This way, you can control every variable independently. Simon starts with a two-second self-timer to avoid any vibration from pressing the shutter button, which matters more than you’d think when the camera is on a tripod capturing long exposure. You can also use a wireless trigger, which is something I always have in my camera bag.
The settings he lands on are ISO 100, an aperture of around f/8 to f/10, and a shutter speed adjusted last to get the correct exposure. That aperture range is the sweet spot for most wide-angle lenses: sharp across the frame and with enough depth of field to keep everything in focus from foreground to falls. Because we’re on a tripod, there’s no need to push the ISO higher to compensate for a slower shutter. Let the shutter do the work.
For focus, Simon places the focal point about one-third of the way into the scene. With wide-angle lenses, depth of field extends roughly two-thirds behind the focus point and one-third in front of it, so this placement tends to keep the whole frame sharp. If you wanna go in-depth about this focusing technique (hyperfocal distance), you can read more about it here. We even have a hyperfocal distance calculator for sharp landscape and waterfall shots with every lens (how cool is that?).
Alright, now take a few test shots to confirm the framing and focus look the way you want before moving on.
Adding Silky Motion With an ND Filter
Here’s where things get creative. One of the most recognizable looks in waterfall photography is that smooth, silky blur on the water. To achieve it, you’ll need a neutral density (ND) filter, and this kind of waterfall photography is the only reason that yours truly bought one.
This is essentially a darkening filter that reduces the amount of light hitting the sensor, which forces a longer shutter speed to achieve the correct exposure. The longer the shutter stays open, the more the water moves during the exposure, creating that streak and sense of flow.
Simon uses a six-stop ND filter, which brings his shutter speed out to around 3.2 seconds in this scene. At that point the water gets beautifully smooth. Buts note that there’s no single right answer here: you can go with an even longer or shorter shutter speed. A very long exposure of 10 seconds or more gives a completely smooth, almost mist-like effect. A shorter one, around 1/10th to 1/30th of a second, can preserve more texture and implied motion. It’s worth experimenting to find what suits your taste and the particular waterfall you’re shooting.
Using a Polarizer to Reduce Glare
The second creative tool Simon reaches for is a circular polarizing filter. A polarizer cuts through reflected light on the water’s surface, revealing more color and detail underneath. As you rotate the filter, you can dial in exactly how much reflection you want to remove. Sometimes the reflections add something to the image. Other times, reducing them brings out richer tones in the rocks and water. As I mentioned, Simon uses a combination ND and polarizer filter, which handles both jobs at once.
As with the shutter speed, this is also a creative decision, and that’s the ebauty of it. Spin the polarizer, look at the result, rinse, repeat, and go with what you like.
Finishing the Shot
Once you capture the image you want, crop and straighten it if necessary, and processes it to your taste. One guiding principle Simon shares for editing: darken the busier or more cluttered areas of the frame so the viewer’s eye isn’t pulled away from the main subject: the waterfall. It’s a subtle but effective way to keep the composition working the way you intended.
Waterfall photography sits at this wonderful intersection of nature, photography, and patience. With a bit of thought about composition, a solid understanding of your settings, and a couple of filters in your bag, you can easily come home with images that go well beyond the average snapshot. So get out there, enjoy the fresh air and have fun with the creative process.
[WATERFALL PHOTOS 101: learn to take waterfall photos in 5 minutes. | Simon d’Entremont]

Dunja Đuđić
Dunja Djudjic is a multi-talented artist based in Novi Sad, Serbia. With 15 years of experience as a photographer, she specializes in capturing the beauty of nature, travel, concerts, and fine art. In addition to her photography, Dunja also expresses her creativity through writing, embroidery, and jewelry making.


Join the Discussion
DIYP Comment Policy
Be nice, be on-topic, no personal information or flames.