


Using Negative Space to Make More Impactful Photos
Jan 2, 2026
Darlene Lleno
Darlene Lleno brings a unique perspective to DIY Photography as someone who grew up surrounded by camera gear but chose words over lenses. With five years of writing experience, she specializes in photography content that’s both technically informed and genuinely passionate. Growing up with a photographer twin brother meant camera talk was everyday conversation in her household. While he mastered capturing moments, Darlene discovered she preferred being the subject and the storyteller behind the scenes. As a travel enthusiast and mother of two, she understands the importance of preserving life’s precious moments. When not exploring new destinations or writing for DIY Photography, you’ll find her reading or tending to her garden. Her approach to photography writing is refreshingly authentic, she may not be behind the camera, but she knows exactly what it takes to help others capture the shots that matter most.
Share:

Negative space photography uses empty areas around your subject to create stronger images. The space you leave empty matters just as much as what you include. Most people pack their frames with everything they can fit. This technique flips that approach completely.
The empty areas aren’t actually wasted space. They serve a clear purpose in your shot. The space around your subject makes it stand out more. Minimalist photos depend heavily on this idea.
Your viewer’s eye needs places to rest while looking at photos. Busy frames tire people out fast. Negative space provides that breathing room naturally. It creates balance without needing perfect symmetry.
What Negative Space Does for Your Images
The empty areas change how people see your photos. They create visual weight through what’s not there. This seems backward but works incredibly well.
Your subject gains importance when you surround it with space. A tiny bird against a huge sky suddenly feels significant. The size difference makes the subject impossible to ignore. Viewers focus on it immediately without getting distracted.
This works across every type of photography you shoot. Portrait shots look cleaner with space around heads. Landscapes gain drama from vast empty skies. Product photos feel more premium with generous spacing.
Building Emotional Impact
Empty space carries feelings. Lots of space around someone can show loneliness or freedom. The same exact composition reads differently based on your subject and setting.
One person on an empty beach hits different than a crowded one. The space amplifies whatever emotion you’re capturing. Isolation feels more intense. Peace feels deeper. Joy seems bigger somehow.
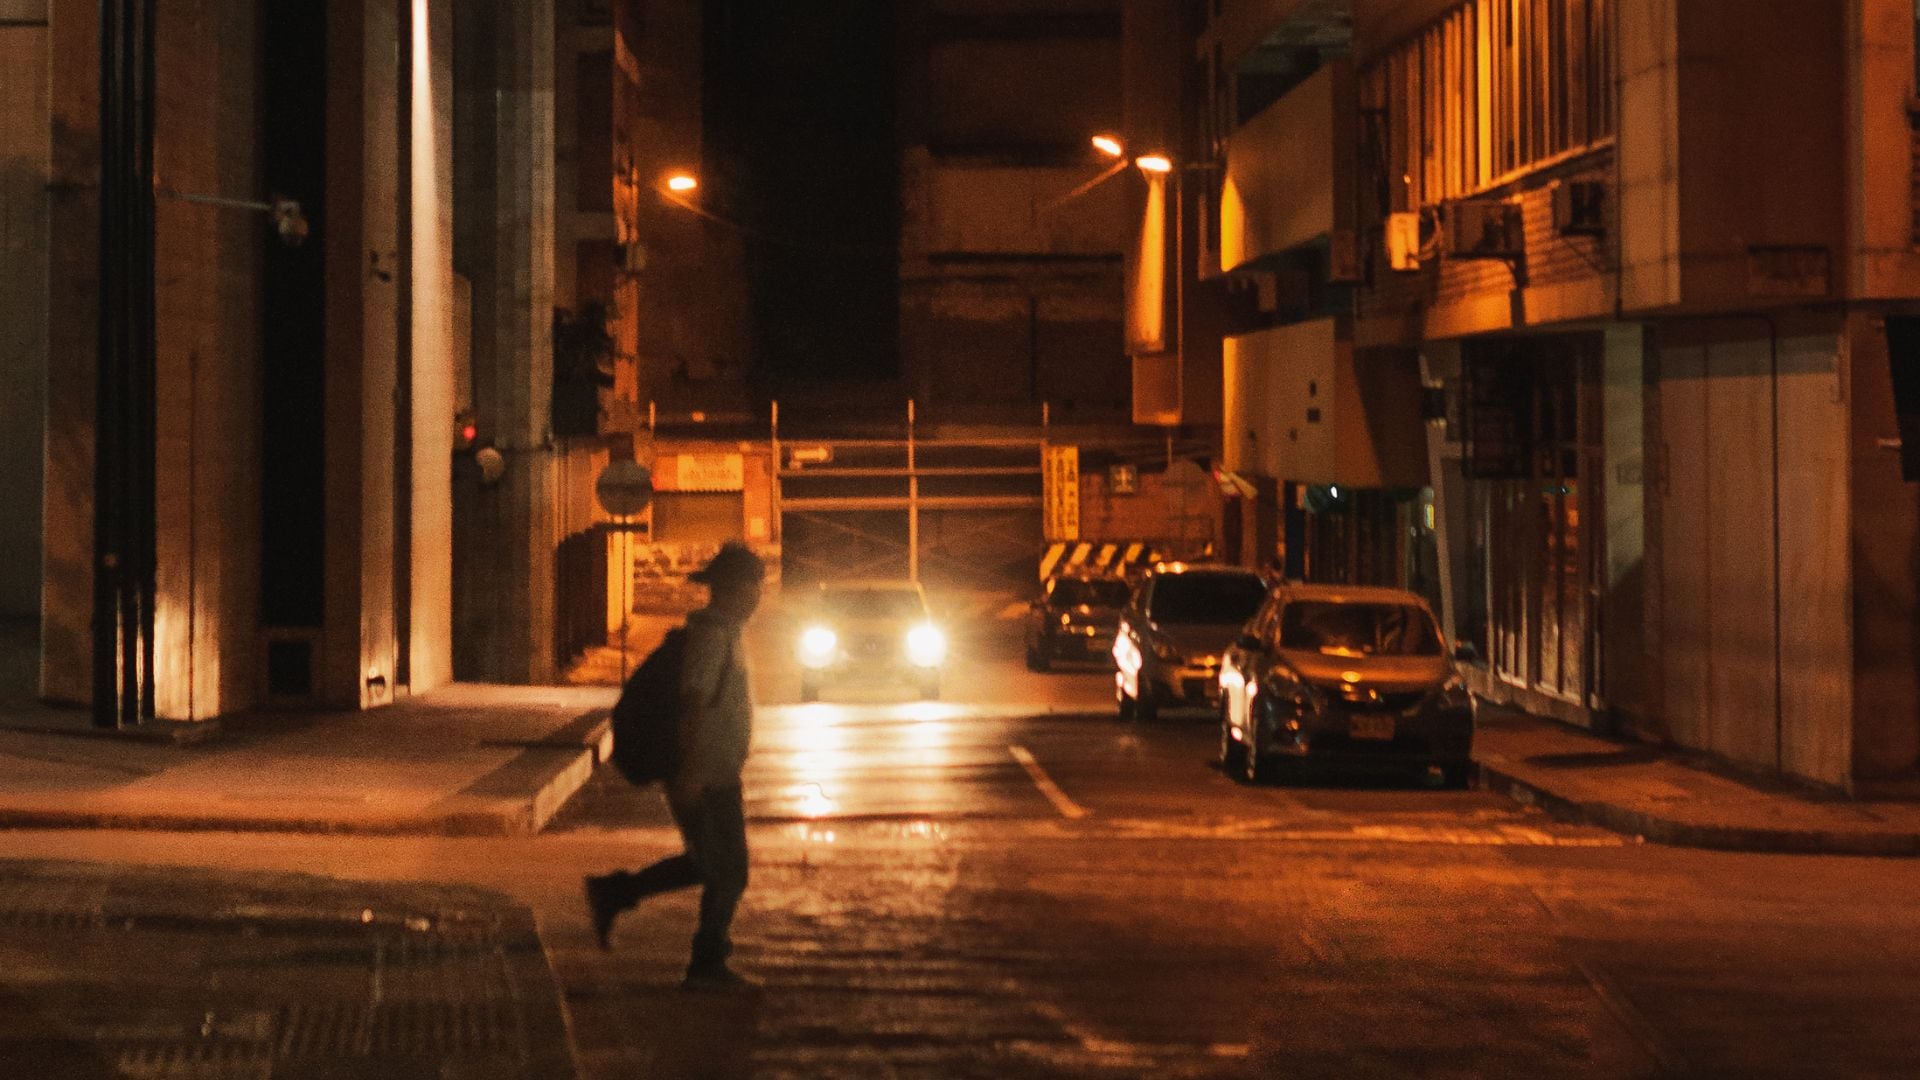
Street photographers use this all the time. A single person in a massive urban space tells stories. The negative space becomes part of what you’re saying.
Setting Up Your Camera for Negative Space
Creating good negative space needs specific camera choices. Here’s what actually matters when you’re shooting.
Picking Your Background
Your background becomes the negative space in your photo. Look for backgrounds that work well:
- Solid colors or simple tones
- No distracting stuff in them
- Clean, basic textures
- Colors that match your subject
Clear skies work perfectly. So do calm water surfaces. Plain walls give you great backgrounds for portraits. Fog creates beautiful soft space naturally.
Controlling Your Depth of Field
Blur transforms messy backgrounds into clean negative space. Shoot wide open at f/2.8 or f/4. The background melts into smooth blur. This creates instant negative space from cluttered areas.
Your subject stays sharp while everything else disappears. This trick works great for product shots. It’s perfect for environmental portraits too where you want some context.
Focus carefully on what matters most in your frame. The blurred area becomes your negative space. Make sure the blur looks smooth and pleasant. Harsh blur ruins the whole effect.
Placing Your Subject
Use the Rule of Thirds when working with negative space. Put your subject at an intersection point. Let empty space fill everything else.
Off-center placement creates tension that feels interesting. The emptiness pulls against your subject visually. This dynamic beats centered compositions every time.
Try making your subject really small in the frame. Surround it with tons of empty space. The huge difference in scale creates serious impact. People can’t look away from that tiny focal point.

Using Negative Space Across Different Styles
Each photography style uses negative space in its own way. Here’s how to apply it practically.
Portrait Work
Portraits with lots of negative space feel calmer and more refined. The space around someone’s head gives breathing room. Their face becomes the only thing you notice.
Position your subject against a plain wall or background. Let one side stay completely empty. The imbalance creates interest while keeping things simple.
Environmental portraits use negative space to show location without competing. Your subject plus carefully chosen space tells the whole story. Empty areas give context without overwhelming the person.
Landscape Photography
Landscape shots often feature huge skies as negative space. The sky becomes your dominant element. Your actual landscape sits small against it.
This really emphasizes scale in powerful ways. Mountains look more impressive with massive skies above. Single trees gain meaning when surrounded by empty fields.
Water works as great negative space too. Calm lakes or oceans provide smooth uniform areas. Place your subject against these expanses for drama.
Product and Commercial Shots
Product photography loves negative space. Clean backgrounds let products speak for themselves. The emptiness suggests quality and good design.
Put your product off-center in your frame. Fill everything else with nothing. This leaves room for text in ads. It also makes products feel more important.
Food photography uses negative space to look elegant. One dish on a big table seems more refined. Empty space frames the food perfectly.

Working With Light in Negative Space
Light defines your negative space as much as composition does. How you light empty areas matters a lot.
Bright Backgrounds
Overexposed backgrounds create pure white negative space. Shoot against bright windows for natural high key looks. The bright background removes all details and distractions.
Your subject needs correct exposure while the background goes white. Use exposure compensation or shoot manual. Measure light off your subject only.
This works great for clean modern looks. Commercial work uses it constantly. Pure white backgrounds become perfect negative space.
Dark Backgrounds
Dark negative space creates different moods entirely. Shoot your subject against black or very dark backgrounds. The darkness becomes empty space that emphasizes lit subjects.
Rembrandt lighting creates negative space naturally. Shadow sides blend into dark backgrounds. Light defines subjects while darkness provides space.
Dark negative space feels more dramatic and moody. It works perfectly for portrait photography with emotional depth.
Natural Light Options
Outdoor negative space depends on natural light quality. Overcast days provide soft even negative space. Gray skies become perfect uniform backgrounds.
Golden hour creates warm negative space. Colored skies add mood without adding detail. Your subject stands out against glowing emptiness.
Harsh sunlight makes negative space trickier. Shadows create patterns that break up empty areas. Pick your backgrounds carefully in bright conditions.
Mistakes to Avoid With Negative Space
Many photographers struggle with this technique at first. Here are problems you need to dodge.
Including Too Much Stuff
The biggest mistake is not fully committing to emptiness. Half-empty backgrounds don’t work well. The space needs to be genuinely simple and clean.
Tiny distracting things ruin negative space completely. One small object in your empty area pulls eyes away. Check your whole frame super carefully before shooting.
Busy textures break up negative space too. Rough surfaces create visual noise. Choose smooth uniform backgrounds whenever you can.
Bad Subject Placement
Random placement weakens negative space shots badly. Where you put your subject matters tons. Too centered feels boring and flat. Too close to edges feels weird.
Use composition rules to place subjects on purpose. The Rule of Thirds works great with negative space. Golden ratio placement creates sophisticated balance.
Think about which way your subject faces or points. Leave more negative space in that direction. This creates natural flow and balance.
Wrong Balance
Negative space needs balance even without being symmetrical. Too much space on one side feels wrong. The composition tips visually toward that direction.
Your subject’s visual weight needs to balance empty space. Darker subjects balance more space than lighter ones. Larger subjects need less surrounding space than smaller ones.
Test different placements before you settle on one. Move your subject around in your frame. Notice how balance changes with different positions.
Advanced Negative Space Methods
Once you nail the basics, try these more advanced approaches.
Layering Your Space
Create depth by layering different types of negative space. Foreground blur plus background emptiness adds dimension. Your subject sits between two types of space.
This works great in landscape photography. Blurred foreground plus empty skies sandwich your subject. The layers create depth while staying simple.
Shoot through objects to create foreground negative space. Blurred frames within frames add visual interest. The technique stays simple while adding sophistication.
Using Color as Space
Solid color fields work as powerful negative space. Blue skies are the classic example. Red walls or green fields work equally well.
Your color choice affects mood dramatically. Cool colors create calm negative space. Warm colors add energy while staying simple. Pick colors that work with your subject.
According to Cambridge in Colour, color relationships in negative space create different emotional responses. Complementary colors between subject and space create tension. Similar colors feel more peaceful.
Converting to Black and White
Black and white often strengthens negative space shots. Color sometimes distracts from the relationship between subject and emptiness.
Converting to monochrome simplifies everything further. Tonal relationships become the only thing that matters. Your subject’s contrast against space becomes everything.
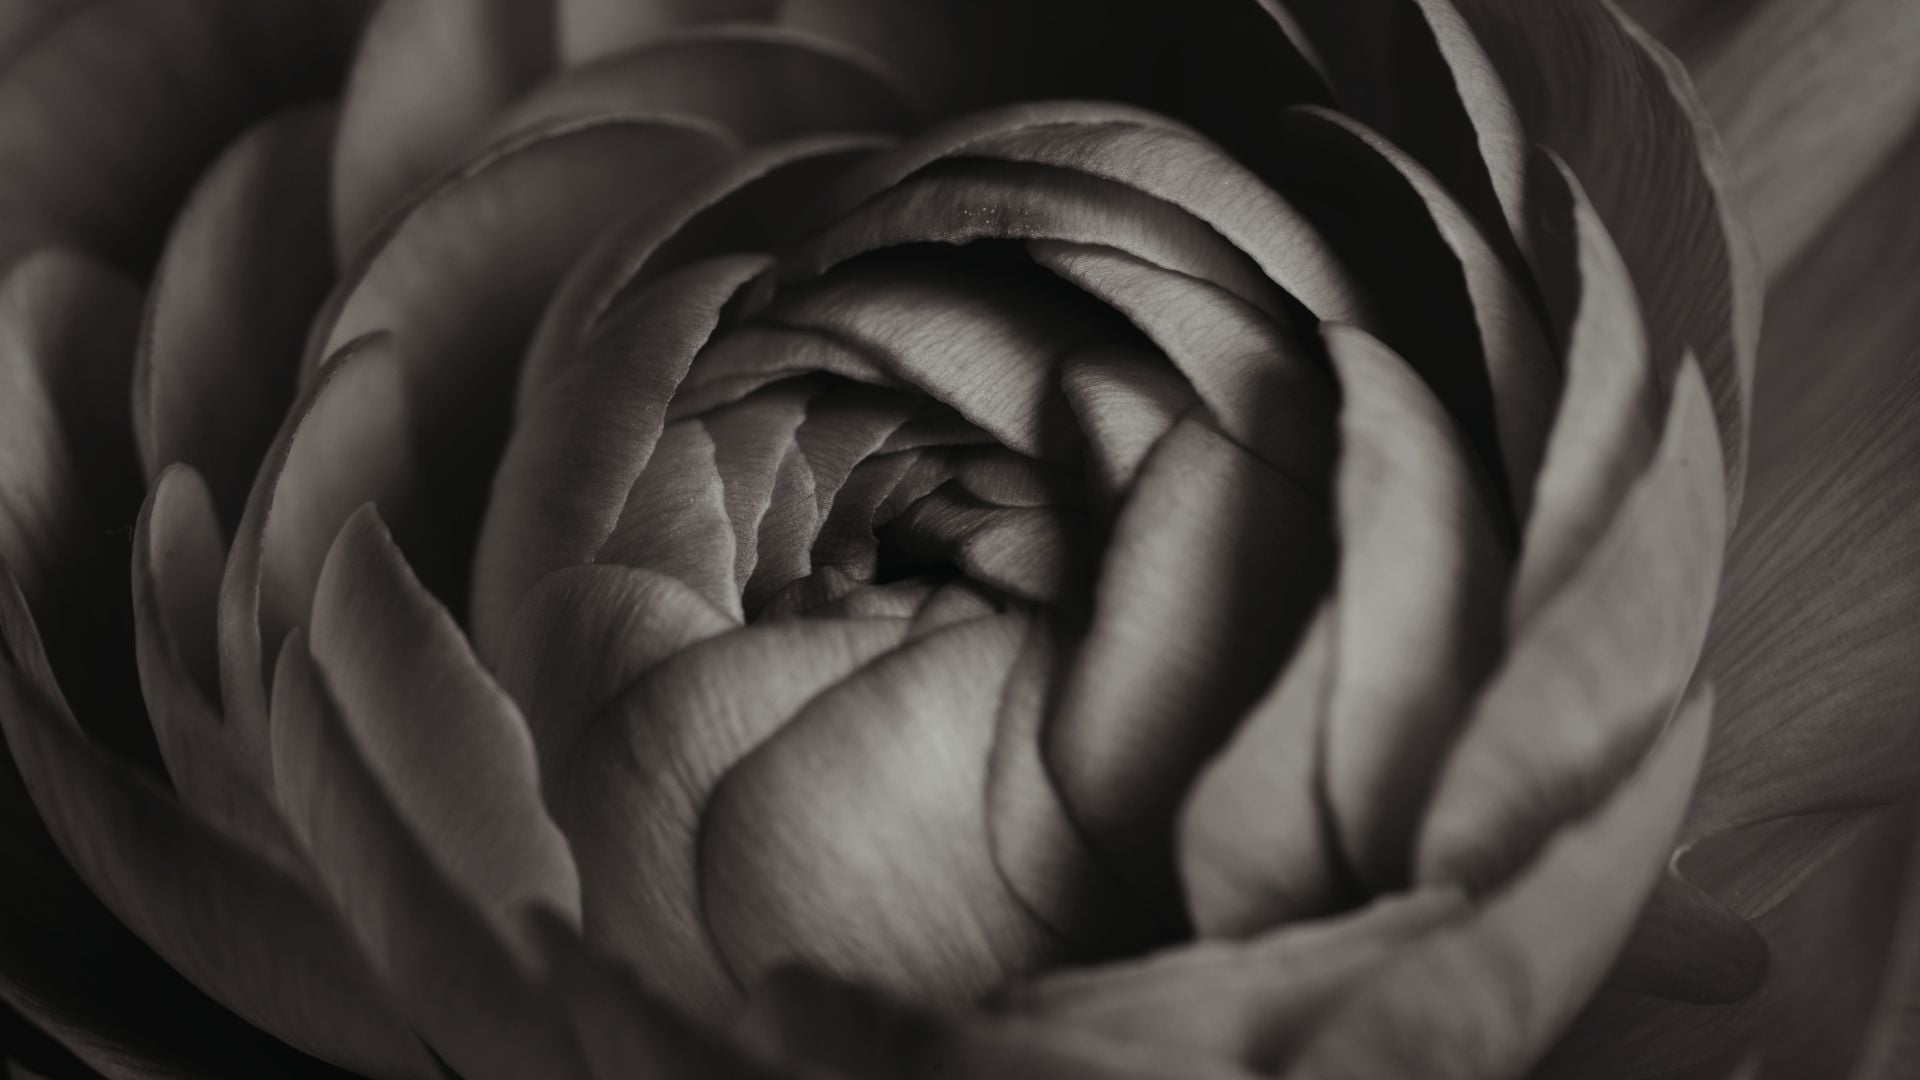
Digital Photography School notes that black and white emphasizes shapes and forms. This naturally makes negative space compositions stronger. The emptiness feels more purposeful.
Practicing This Technique
Building negative space skills takes deliberate practice. Here are exercises that actually help.
Start with single objects against plain backgrounds. A cup on an empty table works perfectly. Try different amounts of surrounding space. Notice how impact changes.
Move to outdoor scenes with natural negative space. Find subjects against clear skies. Try different placements in your frame. See how mood shifts with position.
Practice creating negative space from busy scenes. Use blur to simplify backgrounds. Transform cluttered places into simple space through technique.
Real World Practice
Visit minimalist locations specifically for practice. Empty beaches provide natural negative space. Modern buildings often have plain walls perfect for this.
Travel photography benefits from negative space thinking. Tourist spots become more interesting with generous empty space. The technique creates unique takes on familiar places.
Shoot everyday objects with negative space approaches. Coffee cups, books, and simple items make great subjects. Practice builds your compositional instincts over time.
Keeping Things Interesting With Space
Negative space shouldn’t mean boring photos. The challenge is staying simple while creating engaging images.
Your subject needs to be interesting enough to hold attention. Negative space amplifies whatever your subject already has. Weak subjects don’t improve with more empty space.
Consider adding subtle elements that don’t break the space. Light variations across empty areas add dimension. Gentle gradients keep things interesting without adding clutter.
Texture in negative space can work if it’s uniform. Sand, grass, or water all have texture while staying simple. The pattern stays consistent across the empty area.
Apply Negative Space to Your Photos
Negative space photography needs a different mindset than normal shooting. You’re thinking about emptiness as an active element. The space becomes as important as your subject.
Start noticing negative space in photos you like. See how good photographers use emptiness strategically. Study where they place subjects and how much space they leave.
Practice makes negative space decisions feel natural over time. You’ll start seeing potential compositions everywhere. Empty walls, clear skies, and uniform surfaces become opportunities.
The technique changes your photography by changing how you see. You start valuing simplicity over complexity. Less genuinely becomes more in what you create.

Darlene Lleno
Darlene Lleno brings a unique perspective to DIY Photography as someone who grew up surrounded by camera gear but chose words over lenses. With five years of writing experience, she specializes in photography content that’s both technically informed and genuinely passionate. Growing up with a photographer twin brother meant camera talk was everyday conversation in her household. While he mastered capturing moments, Darlene discovered she preferred being the subject and the storyteller behind the scenes. As a travel enthusiast and mother of two, she understands the importance of preserving life’s precious moments. When not exploring new destinations or writing for DIY Photography, you’ll find her reading or tending to her garden. Her approach to photography writing is refreshingly authentic, she may not be behind the camera, but she knows exactly what it takes to help others capture the shots that matter most.
Related Posts
 Leica Women Foto Project announces impactful 2019 winning photos [NSFW]
 Why negative space is important in photography
 Buzz Aldrin On Taking Self Portraits In Space (Plus, A New Service That Let’s You Make Your Own Space Selfie?!)
 This artist creates negative murals that appear when you invert the image
Join the Discussion
DIYP Comment Policy
Be nice, be on-topic, no personal information or flames.