


Blue Hour Photography: Timing and Settings for Twilight Cityscapes
Dec 2, 2025
Darlene Lleno
Darlene Lleno brings a unique perspective to DIY Photography as someone who grew up surrounded by camera gear but chose words over lenses. With five years of writing experience, she specializes in photography content that’s both technically informed and genuinely passionate. Growing up with a photographer twin brother meant camera talk was everyday conversation in her household. While he mastered capturing moments, Darlene discovered she preferred being the subject and the storyteller behind the scenes. As a travel enthusiast and mother of two, she understands the importance of preserving life’s precious moments. When not exploring new destinations or writing for DIY Photography, you’ll find her reading or tending to her garden. Her approach to photography writing is refreshingly authentic, she may not be behind the camera, but she knows exactly what it takes to help others capture the shots that matter most.
Share:
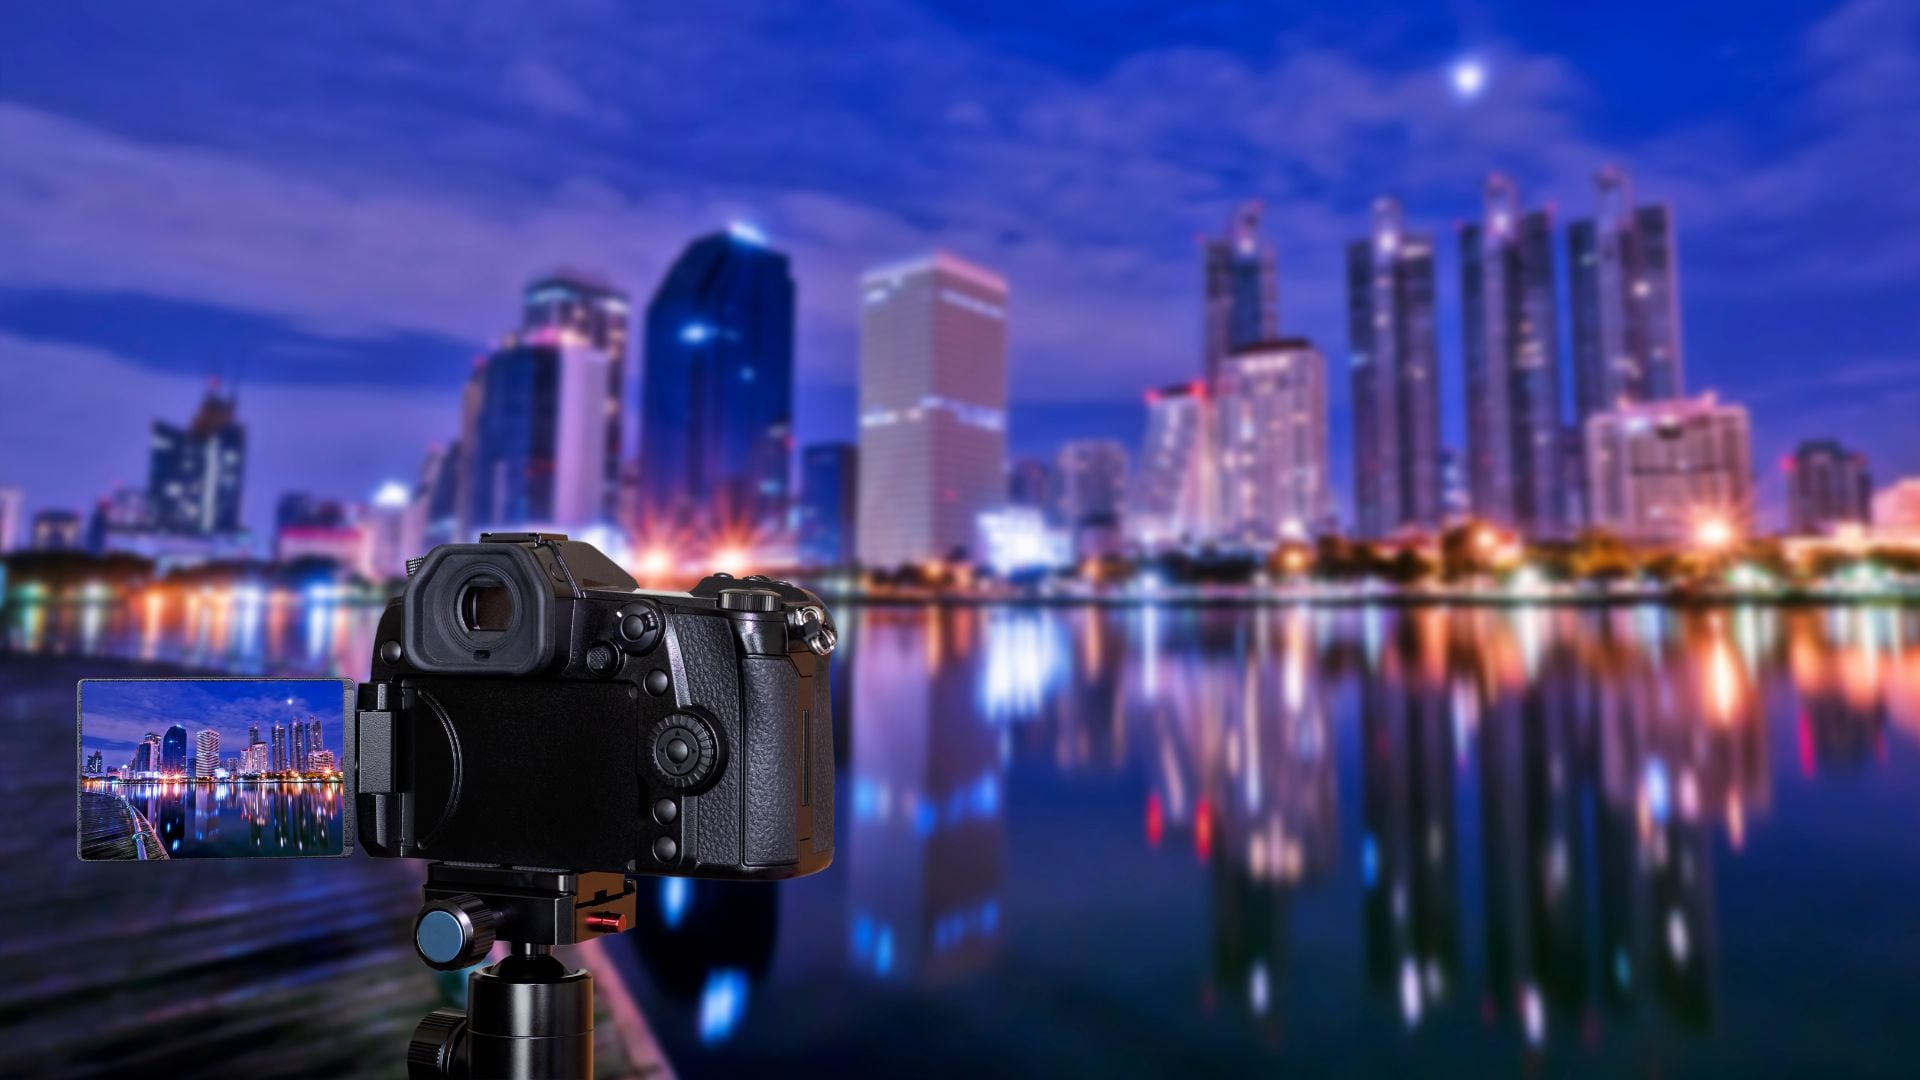
Blue hour photography creates some of the most dramatic cityscape images you can capture. That magical window right after sunset delivers deep blue skies paired with warm city lights. No other time can match this combination. Professional photographers chase this brief period for good reason. It offers a unique blend of natural and artificial light that transforms ordinary scenes.
The challenge lies in its fleeting nature. You get maybe 20 to 30 minutes of perfect light. Then darkness takes over. Most photographers pack up after sunset and miss this opportunity completely. But those who stick around know the real show begins when twilight sets in.
What Makes Blue Hour Special for City Photography
The term “blue hour” describes the period when the sun sits below the horizon. The sky turns deep blue during this time. This happens twice daily. It occurs right before sunrise and right after sunset. Evening sessions work best for cityscapes because city lights come on automatically.
The phenomenon typically starts about 10 to 20 minutes after sunset. It lasts for approximately 20 to 30 minutes. Your location matters here. Cities closer to the equator get shorter blue hours. Locations nearer the poles enjoy longer twilight periods during summer months.
The contrast between cool blue skies and warm artificial lights creates visual tension. Sodium bulbs and amber LEDs produce this warm glow. This natural color harmony happens without any editing tricks. Buildings glow against inky skies. Streets shimmer with reflections. The brightness of artificial lights perfectly matches the overall scene during a brief window.
Planning Your Blue Hour Cityscape Session
Timing separates successful blue hour shots from disappointing ones. You need to arrive early and stay set up through the entire window. Apps like PhotoPills calculate exact blue hour times for your location.
Getting the Timing Right
Arrive at your shooting location at least 60 to 80 minutes early. This applies whether you’re shooting sunrise or sunset. This gives you time to scout compositions and test exposures. You can also position your gear properly. The light changes rapidly during blue hour. What works at the beginning won’t work 15 minutes later.
Scouting the Best Locations
Location scouting makes or breaks cityscape photography. Look for spots with clear views of illuminated buildings. Bridge viewpoints, elevated positions, and waterfront areas often provide the best compositions. Water adds bonus reflections that double your light sources. This also simplifies compositions naturally.
Essential Gear for Blue Hour Photography
Getting the right gear matters more during blue hour than regular daytime shooting. Low light conditions demand specific equipment to capture sharp images.
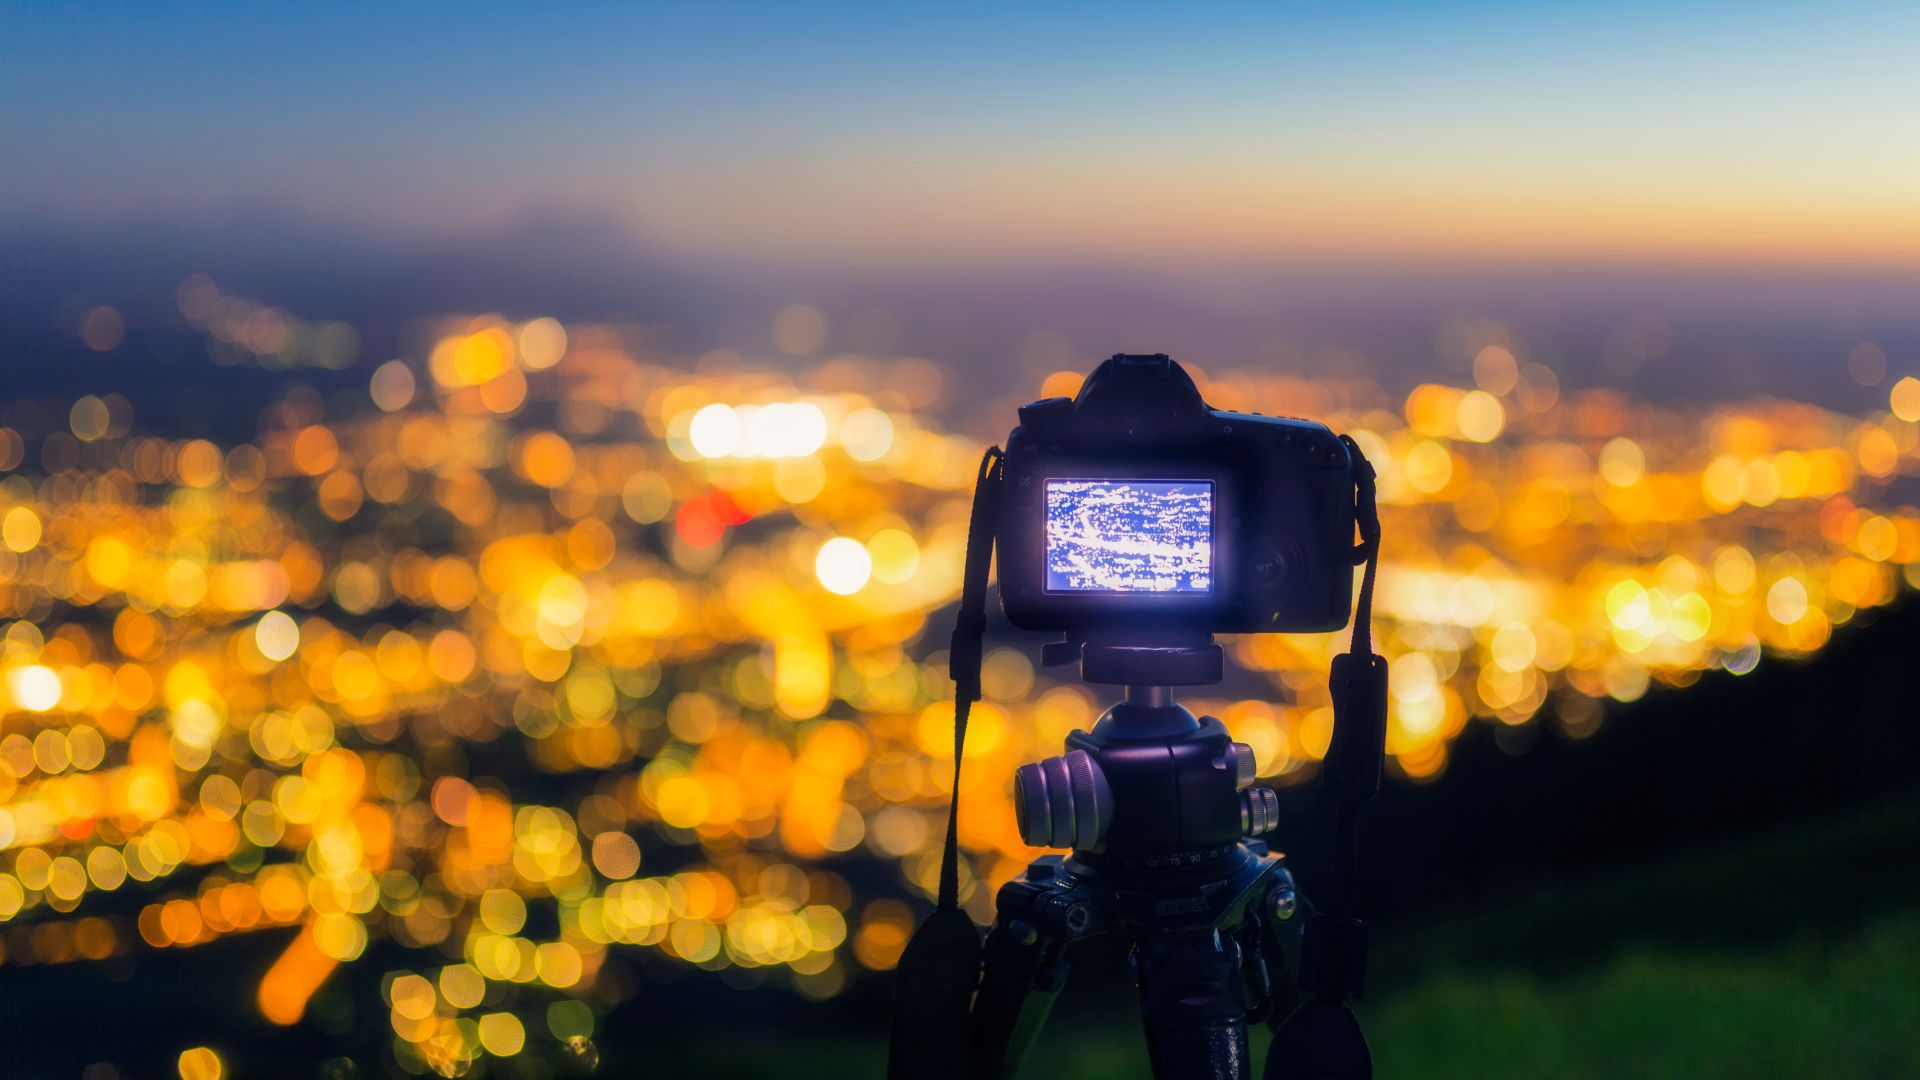
The Tripod You Actually Need
A solid tripod forms the foundation of successful blue hour photography. Long exposures ranging from several seconds to 30 seconds require absolute camera stability. Skip the cheap lightweight tripods. They wobble in wind and compromise sharpness. Invest in something sturdy that can handle your camera weight.
Choosing the Right Lens
Wide-angle lenses capture expansive city scenes effectively. A focal length between 16mm and 35mm works well for most situations. Wide-angle glass helps you capture sweeping vistas and dramatic skylines. Standard zoom lenses covering these ranges work fine too. You don’t need expensive prime lenses to start.
Remote Shutter Release Options
Remote shutter releases or your camera’s self-timer prevent shake from pressing the button. Even gentle finger pressure introduces blur during long exposures. Set a two-second delay if you lack a remote trigger. This simple step dramatically improves image sharpness.
Camera Settings That Work
Manual mode gives you complete control over exposure variables. Blue hour demands precision that automatic modes can’t deliver. Here’s how to set up your camera for the best results.
ISO Settings for Clean Images
Start with ISO 100 to 200 for clean files with minimal noise. Low ISO settings produce maximum image quality. Your tripod handles stability, so you don’t need high ISO. Only raise ISO if wind threatens to shake your setup. Keep it as low as possible for the cleanest results.
Aperture for Sharp Cityscapes
Set your aperture between f/8 and f/11 for optimal lens sharpness. These apertures also give you adequate depth of field. Both foreground and background elements stay acceptably sharp. Avoid stopping down further than f/16 unless absolutely necessary. Diffraction softens images at very small apertures. Stick to the sweet spot of f/8 to f/11.
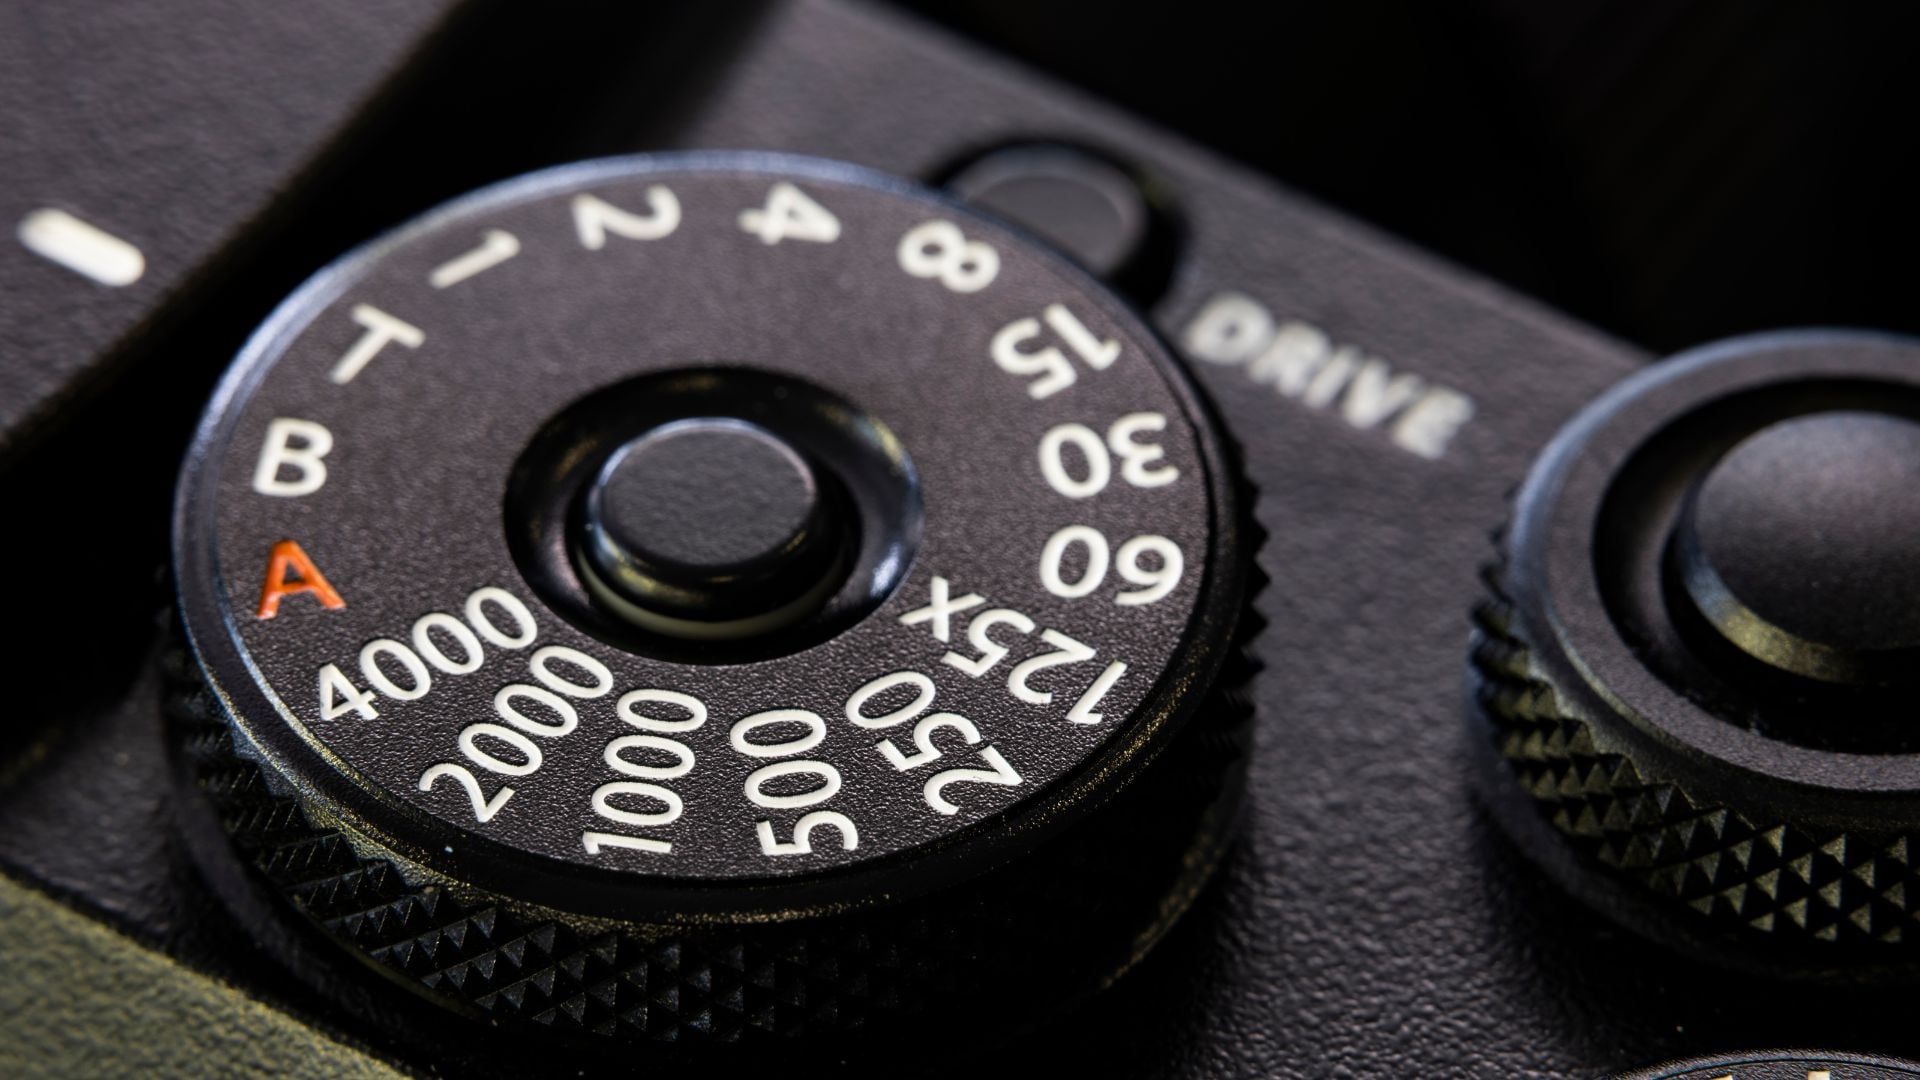
Shutter Speed Through the Blue Hour
Shutter speed varies throughout the blue hour. Begin with exposures around two to four seconds early on. Then gradually increase to 10 to 30 seconds as darkness intensifies. Check your histogram after each shot. Your LCD screen looks deceptively bright in darkness. This leads to underexposure if you rely on it alone.
White Balance Considerations for Blue Hour
Avoid Auto White Balance during blue hour. Your camera tries to neutralize the blue tones you want to preserve. Switch to Daylight preset around 5500K. You can also try Kelvin settings between 4000K and 5500K.
Cooler white balance settings preserve the signature blue color. Blue hour images should look cooler than normal daylight photos. Resist the urge to warm things up too much in post-processing. The cool atmosphere defines this style of photography.
Shooting RAW files gives you flexibility to adjust white balance during editing. You can fine-tune color temperature without degrading image quality. This safety net proves valuable when you’re learning optimal settings.
Focusing Techniques in Low Light
Switch to manual focus using magnified live view. Focus on a bright distant light for edge-to-edge sharpness. Autofocus struggles in dim conditions. It often hunts endlessly without locking on. Manual focus delivers consistent results once you nail the technique.
Streetlights, illuminated building windows, or bright signs make excellent focus targets. Zoom into live view at maximum magnification. Adjust your focus ring until the light source appears sharp and defined. This method works reliably even in near darkness.
Hyperfocal distance focusing keeps everything sharp from foreground to infinity. This traditional landscape photography technique applies perfectly to cityscapes. Calculate hyperfocal distance for your lens and aperture combination. Then set focus accordingly for maximum sharpness throughout your frame.
Creating Light Trails and Star Bursts
Blue hour cityscapes get more interesting when you add creative elements. Light trails and starbursts transform static scenes into dynamic images.
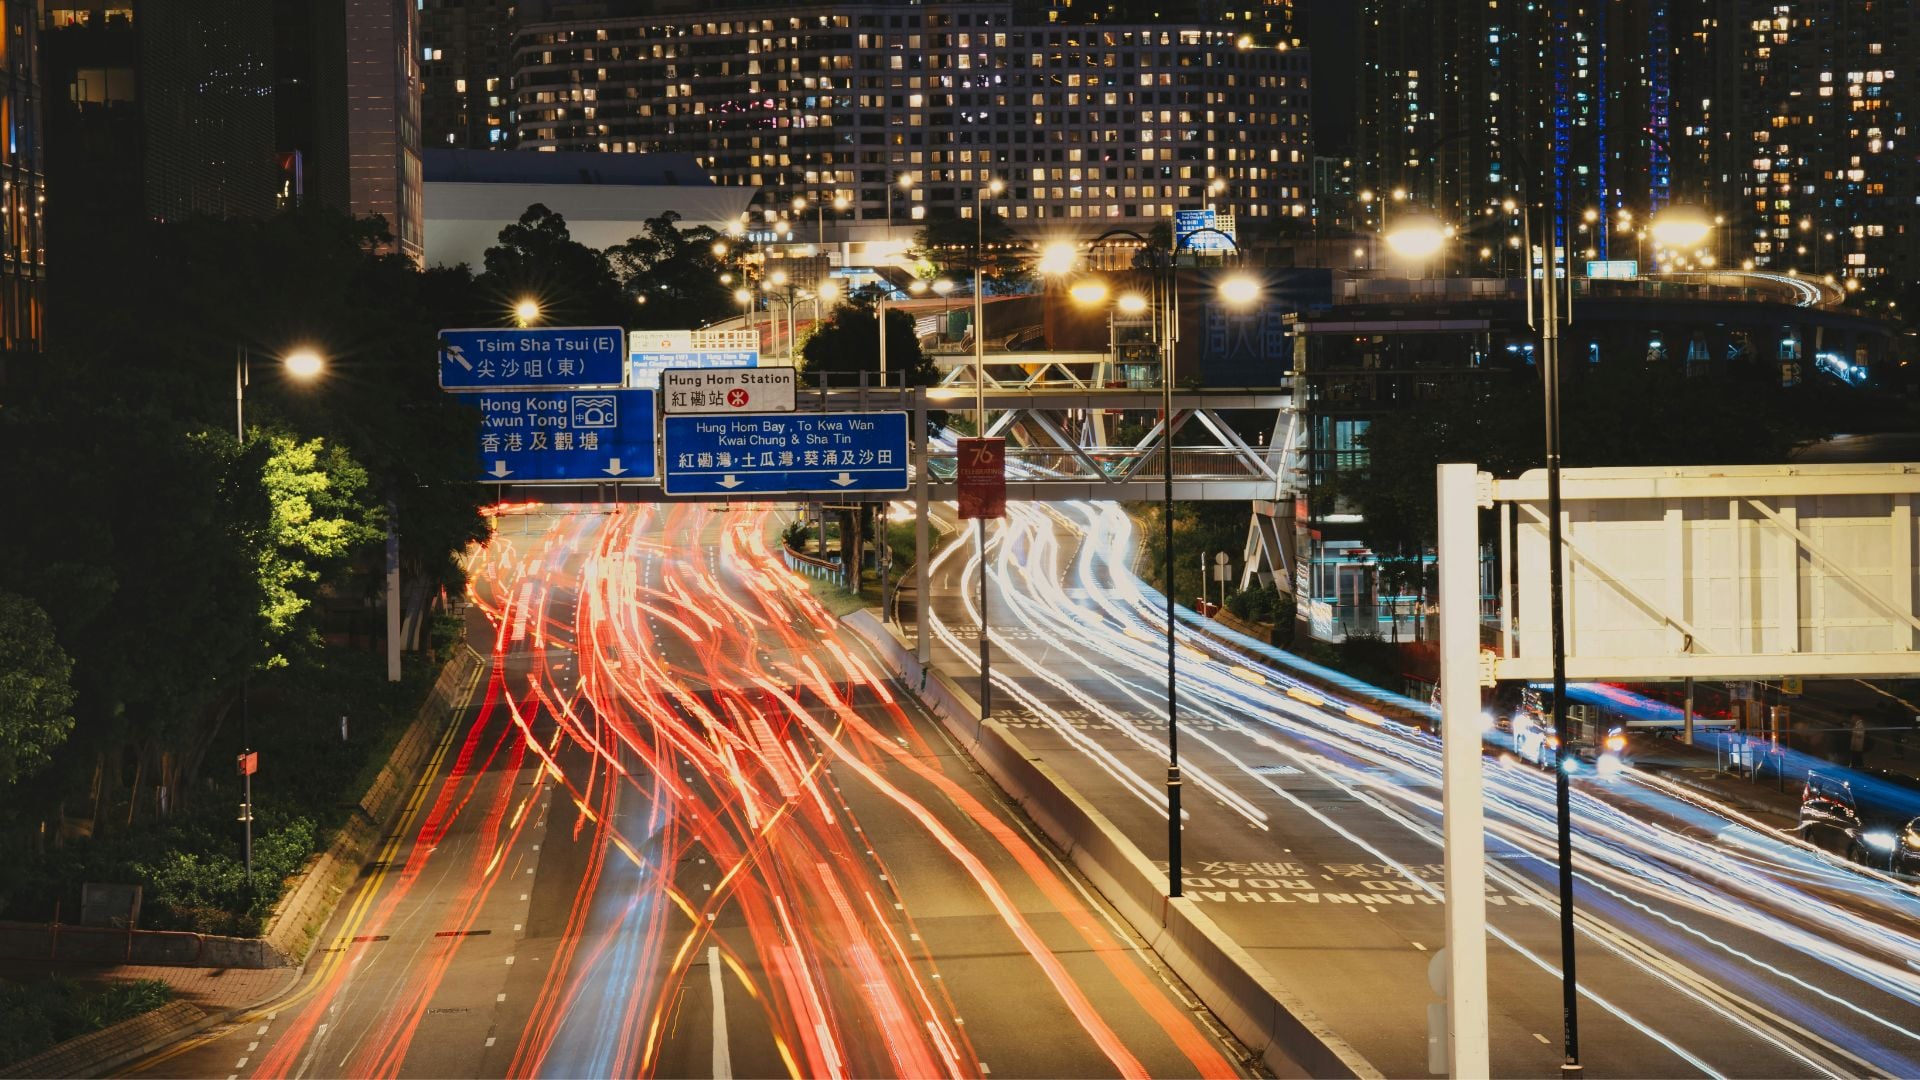
Capturing Vehicle Light Trails
Traffic light trails require shutter speeds between 5 and 30 seconds. The exact timing depends on vehicle speed. Faster traffic needs shorter exposures. Slower traffic demands longer ones. Multiple test shots help determine ideal timing for your specific scene.
Position yourself where traffic moves through your frame. Highway overpasses, busy intersections, and bridge approaches provide consistent vehicle flow. Time your shots to capture multiple cars entering and exiting the frame. This happens during a single exposure.
Creating Starburst Effects
Starburst effects come from using narrow apertures like f/16 to f/22. These apertures transform point light sources into defined star shapes. Street lamps, building lights, and vehicle headlights all create dramatic starbursts. This effect adds visual interest to otherwise static elements. Just remember that going too small with your aperture can reduce overall sharpness.
Managing High Dynamic Range Scenes
Blue hour presents exposure challenges. Bright lights and dark shadows coexist in the same frame. Your camera’s sensor can’t always capture the full range in a single exposure.
Bracketing multiple exposures at different brightness levels enables you to merge them later. Shoot three to five exposures at one-stop intervals using your camera’s auto-exposure bracketing. One exposure captures highlight detail in bright lights. Another preserves shadow information in darker areas. Merge these files in software later.
Part of blue hour’s magic lives in the shadows. Avoid overexposing images which destroys that moody atmosphere. Slightly darker exposures often look better than technically perfect ones. Embrace the darkness rather than fighting it. According to Digital Photography School, preserving the mood is more important than perfect exposure.
Common Blue Hour Photography Mistakes
Learning what not to do saves time and frustration. Here are the biggest mistakes photographers make during blue hour.
Leaving image stabilization enabled on your tripod-mounted camera actually introduces vibration. This reduces sharpness. Stabilization systems detect tiny movements and compensate by shifting lens elements. These movements blur images when the camera sits perfectly still. Always turn off image stabilization when using a tripod.
Arriving too late ranks as the most common mistake. The best light happens before most people expect. Shooting after blue hour ends leaves you with black skies instead of rich blue ones. No amount of editing fixes a missed window. Earlier arrival always beats hoping for the best.
Stopping too soon wastes opportunities. Keep shooting as conditions evolve. The light changes constantly throughout the blue hour. Your last shots often turn out better than your first ones. This happens as you refine compositions and settings. Stay until the blue completely fades to black.
Advanced Blue Hour Techniques
Once you master the basics, these advanced techniques take your images further. They add depth and interest to already dramatic scenes.
Reflections amplify blue hour’s impact significantly. Puddles, rivers, lakes, and wet pavement all create mirror images. Multi-second exposures smooth water surfaces and boost color saturation in reflections. They also simplify overall composition naturally.

Scenes with mostly static elements but a few moving parts work exceptionally well. Waves lapping at shores, flags waving in wind, or people walking through the frame help. These add dynamic elements to otherwise still compositions.
Balance cool tones with warm artificial light sources. Position lamps and illuminated windows against the cobalt sky. This color contrast happens naturally during blue hour. But it requires intentional composition to maximize effect. Look for warm foreground elements against cool backgrounds. PetaPixel recommends this approach for the most striking results.
Post-Processing Blue Hour Images
Start with global adjustments in your RAW processor. Exposure, contrast, and color balance form the foundation. Don’t push shadows too aggressively. Retain some darkness to preserve the blue hour mood. Overly bright shadows destroy atmosphere and look unnatural.
Selective adjustments help balance bright and dark areas. Graduated filters darken skies without affecting foregrounds. Radial filters spotlight specific buildings or architectural details. These targeted edits refine your vision without overdoing the processing. Keep adjustments subtle for the most natural-looking results.
Color adjustments separate good blue hour photos from great ones. Slightly cool the overall temperature to enhance blue tones. Warm up city lights individually using color range selections. This selective approach maintains natural-looking contrast. The difference between artificial and ambient light should feel authentic.
Shooting Blue Hour in Different Seasons
Blue hour duration varies dramatically based on latitude and season. Summer offers longer twilight periods in northern latitudes. Winter brings brief blue hours closer to the equator. Plan accordingly based on your location and time of year.
Winter blue hour arrives earlier in the evening. More people are active on streets at this time. This adds human elements to cityscapes naturally. Summer blue hour happens later when most activities wind down. Each season offers unique opportunities and challenges for urban photography.
Weather conditions affect blue hour quality significantly. Clear skies produce intense blue colors. Thin clouds add texture and interest to otherwise plain skies. Heavy overcast kills the blue completely. This reduces the effect to ordinary dusk photography. Check weather forecasts before planning your shoot.
Master Blue Hour Photography
Strong composition transforms technically correct photos into memorable images. Apply these principles to create compelling blue hour cityscapes.
Leading lines guide viewers through your frame effectively. Streets, bridges, rivers, and architectural elements all create natural paths. Use rows of streetlights as leading lines that pull viewers into your composition. These light sources double as both compositional elements and actual subjects.
Foreground interest prevents flat, boring images. Include dock posts, railings, statues, or architectural details in the near portion of your frame. The sky cannot be the subject itself because it lacks interest. Strong foregrounds combined with dramatic skies create complete compositions. This applies to all landscape photography, not just cityscapes.
Shooting from different perspectives creates unique images that stand out. Get low to emphasize foreground elements. Shoot from elevated positions to show expansive views. Move side to side to find the cleanest compositions. Most photographers shoot from eye level and miss more interesting angles.
Blue hour photography rewards patience and preparation. Master the timing and technical settings first. Then watch your cityscape images transform from snapshots into portfolio pieces. The brief window demands focused execution. But the results justify every early arrival and late departure. Start practicing these techniques on your next outing and you’ll see immediate improvement.

Darlene Lleno
Darlene Lleno brings a unique perspective to DIY Photography as someone who grew up surrounded by camera gear but chose words over lenses. With five years of writing experience, she specializes in photography content that’s both technically informed and genuinely passionate. Growing up with a photographer twin brother meant camera talk was everyday conversation in her household. While he mastered capturing moments, Darlene discovered she preferred being the subject and the storyteller behind the scenes. As a travel enthusiast and mother of two, she understands the importance of preserving life’s precious moments. When not exploring new destinations or writing for DIY Photography, you’ll find her reading or tending to her garden. Her approach to photography writing is refreshingly authentic, she may not be behind the camera, but she knows exactly what it takes to help others capture the shots that matter most.


Join the Discussion
DIYP Comment Policy
Be nice, be on-topic, no personal information or flames.