


















Add Filters to the Rollei 35AF
Nov 18, 2025
David Prochnow
Our resident “how-to” project editor, David Prochnow, lives on the Gulf Coast of the United States in Ocean Springs, Mississippi. He brings his expertise at making our photography projects accessible to everyone, from a lengthy stint acting as the Contributing How-To Editor with Popular Science magazine. While you don’t have to actually build each of his projects, reading about these adventures will contribute to your continued overall appreciation of do-it-yourself photography. A collection of David’s best Popular Science projects can be found in the book, “The Big Book of Hacks,” Edited by Doug Cantor.
Share:
[Please note: See an important update at the end of this article.]
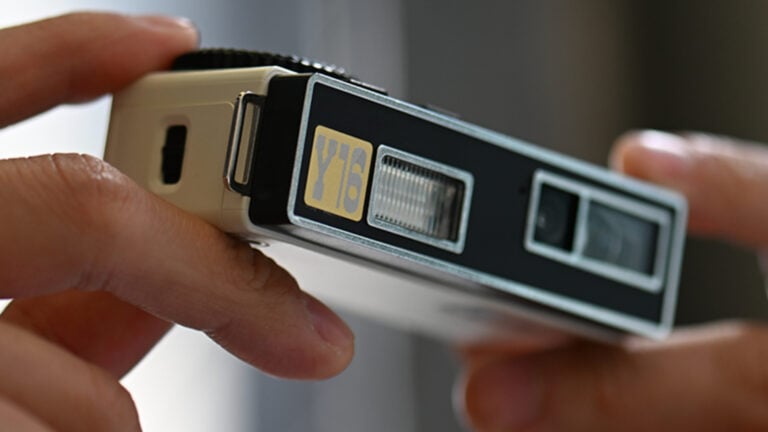
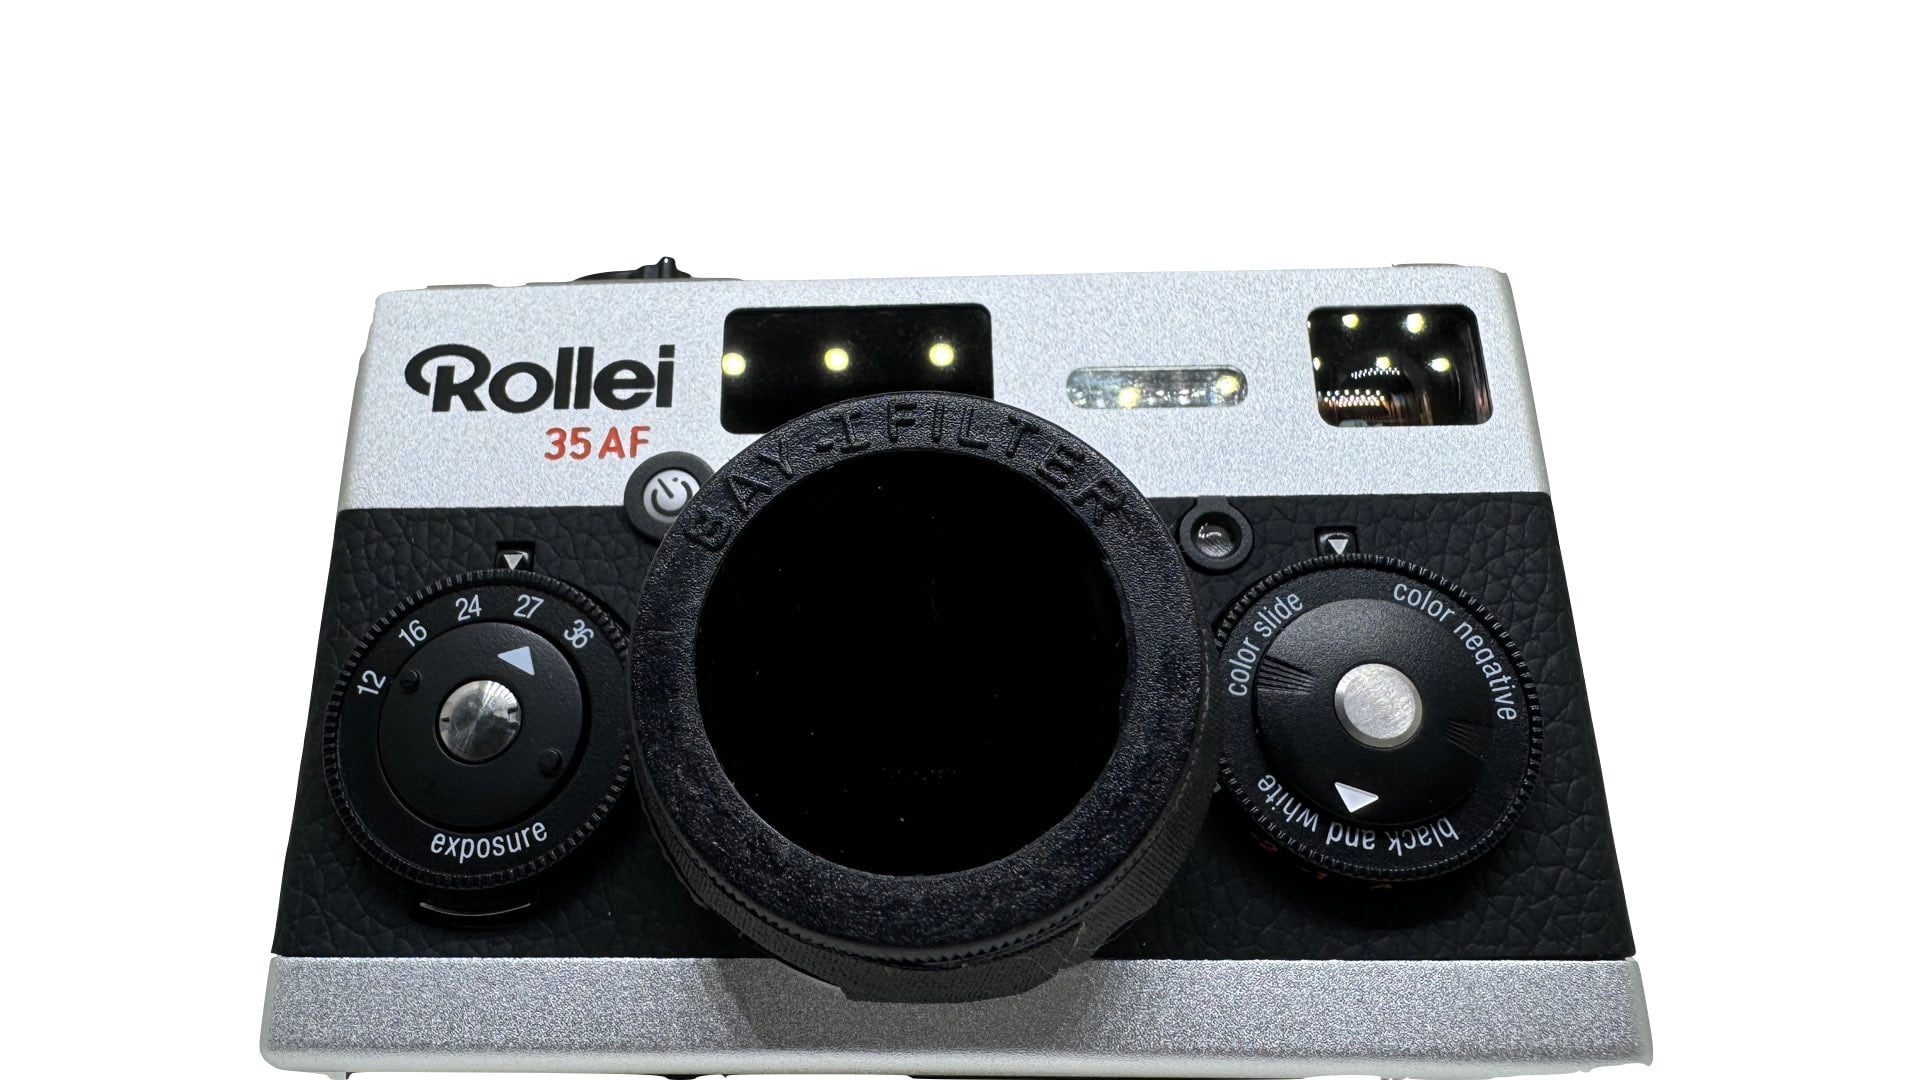
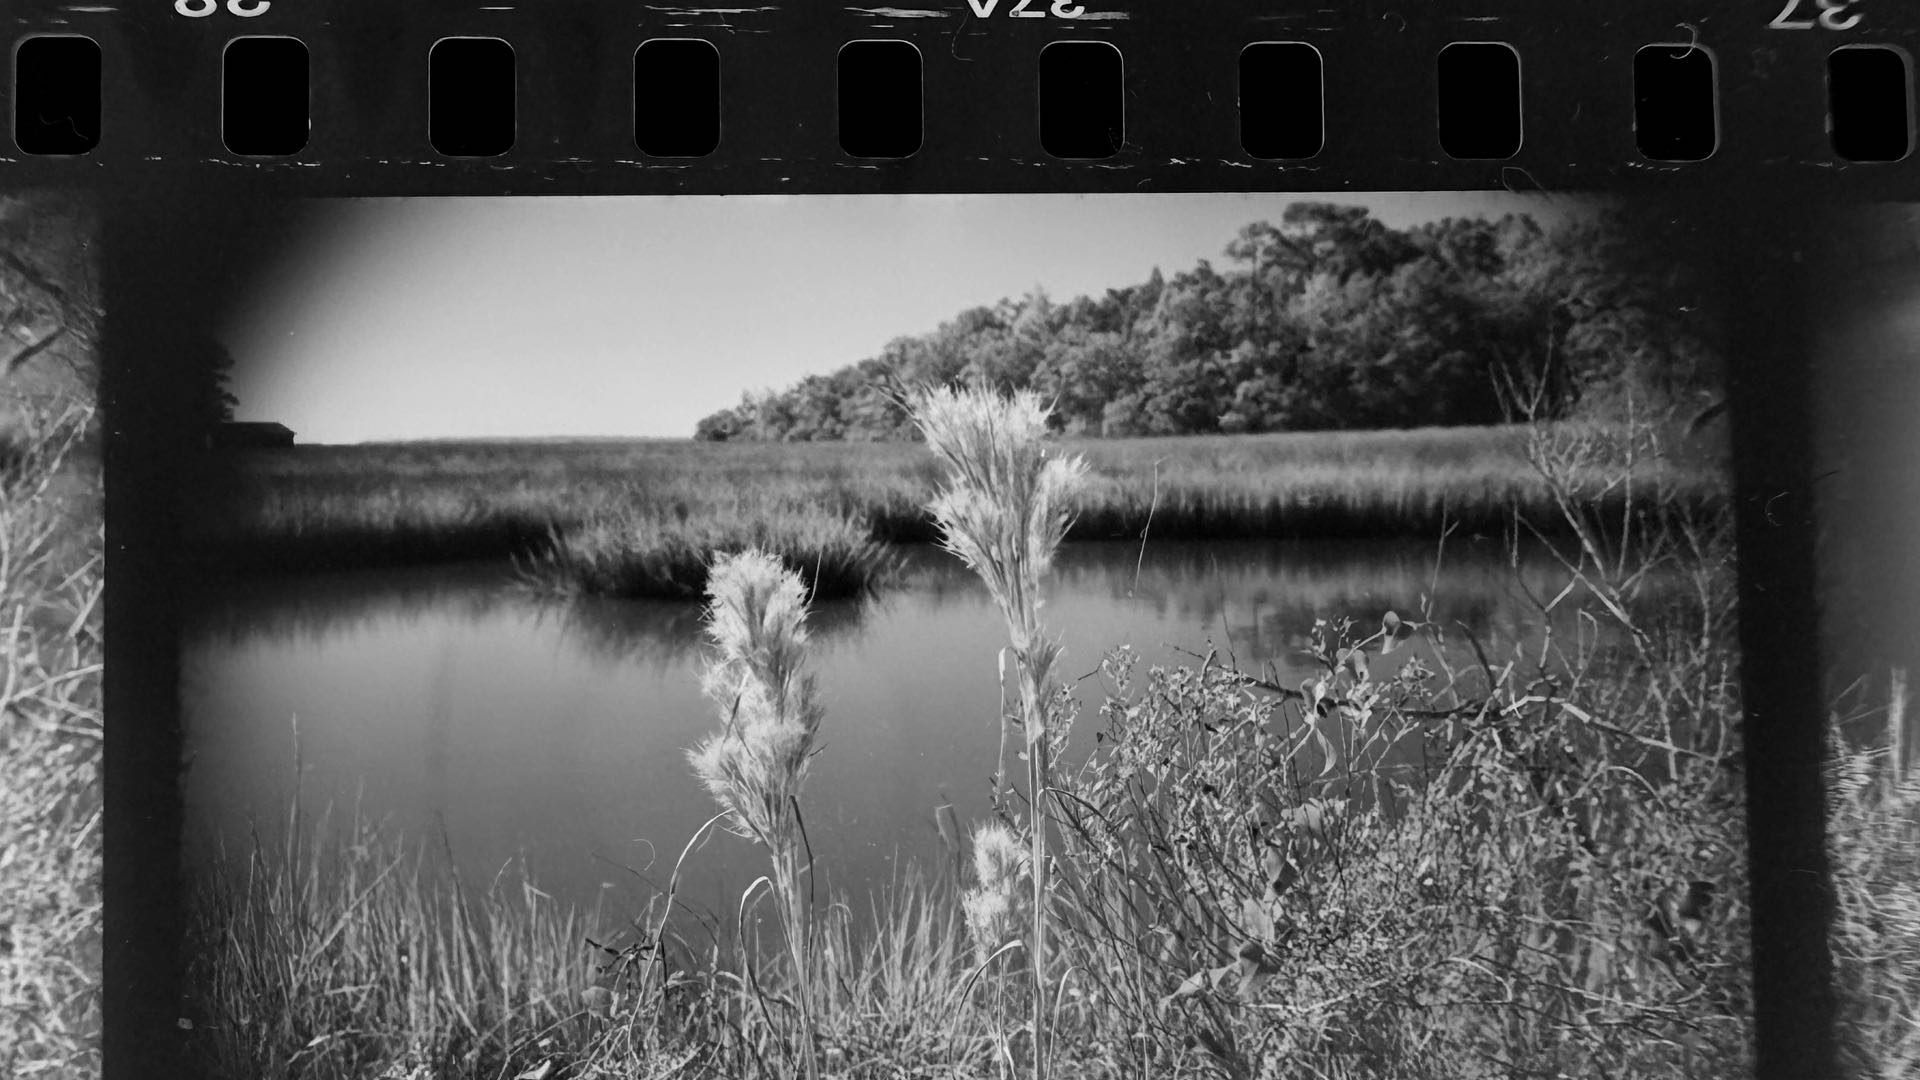
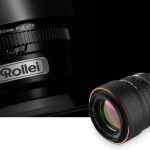
Up until now, accessories for the Rollei 35AF have been curiously nonexistent. For example, owners of this 35mm film camera have been clamoring for the ability to add filters to the lens since the product’s release in late 2024. Well, wait no more, Rollei 35AF owners. Adding filters to your beloved camera is as easy 1-2-3.
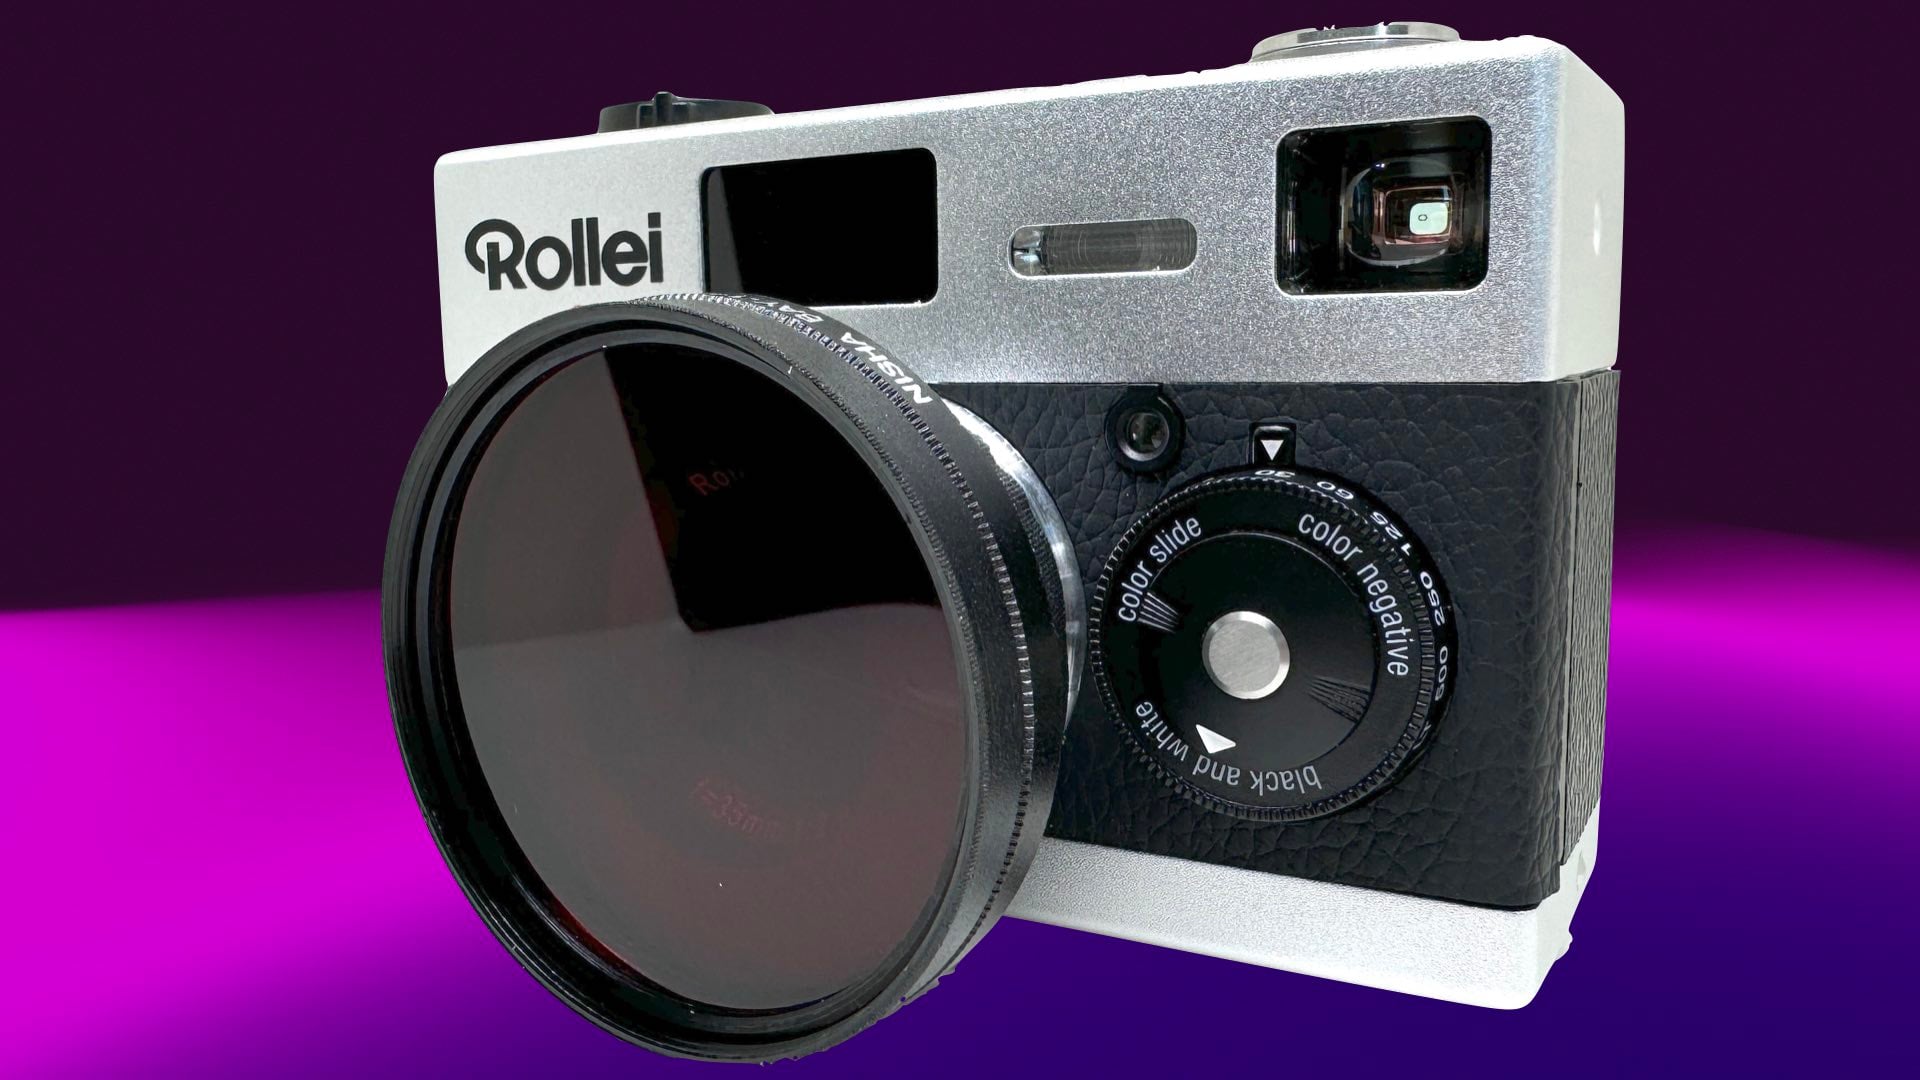
After a considerable amount of “trial-and-error” fitting, the ideal filter size for attachment to the front of the Rollei 35AF lens was determined to be Bayonet I. This size enables the filter to sit snuggly on the lens without any overhang which might occlude the light meter. Ironically, bayonet-sized filters earned a favored reputation on Franke & Heidecke Rollei twin lens reflex (TLR) cameras. It should come as no surprise, therefore, that this selected size is keeping these filters “all in the family.”
How to Add a Filter
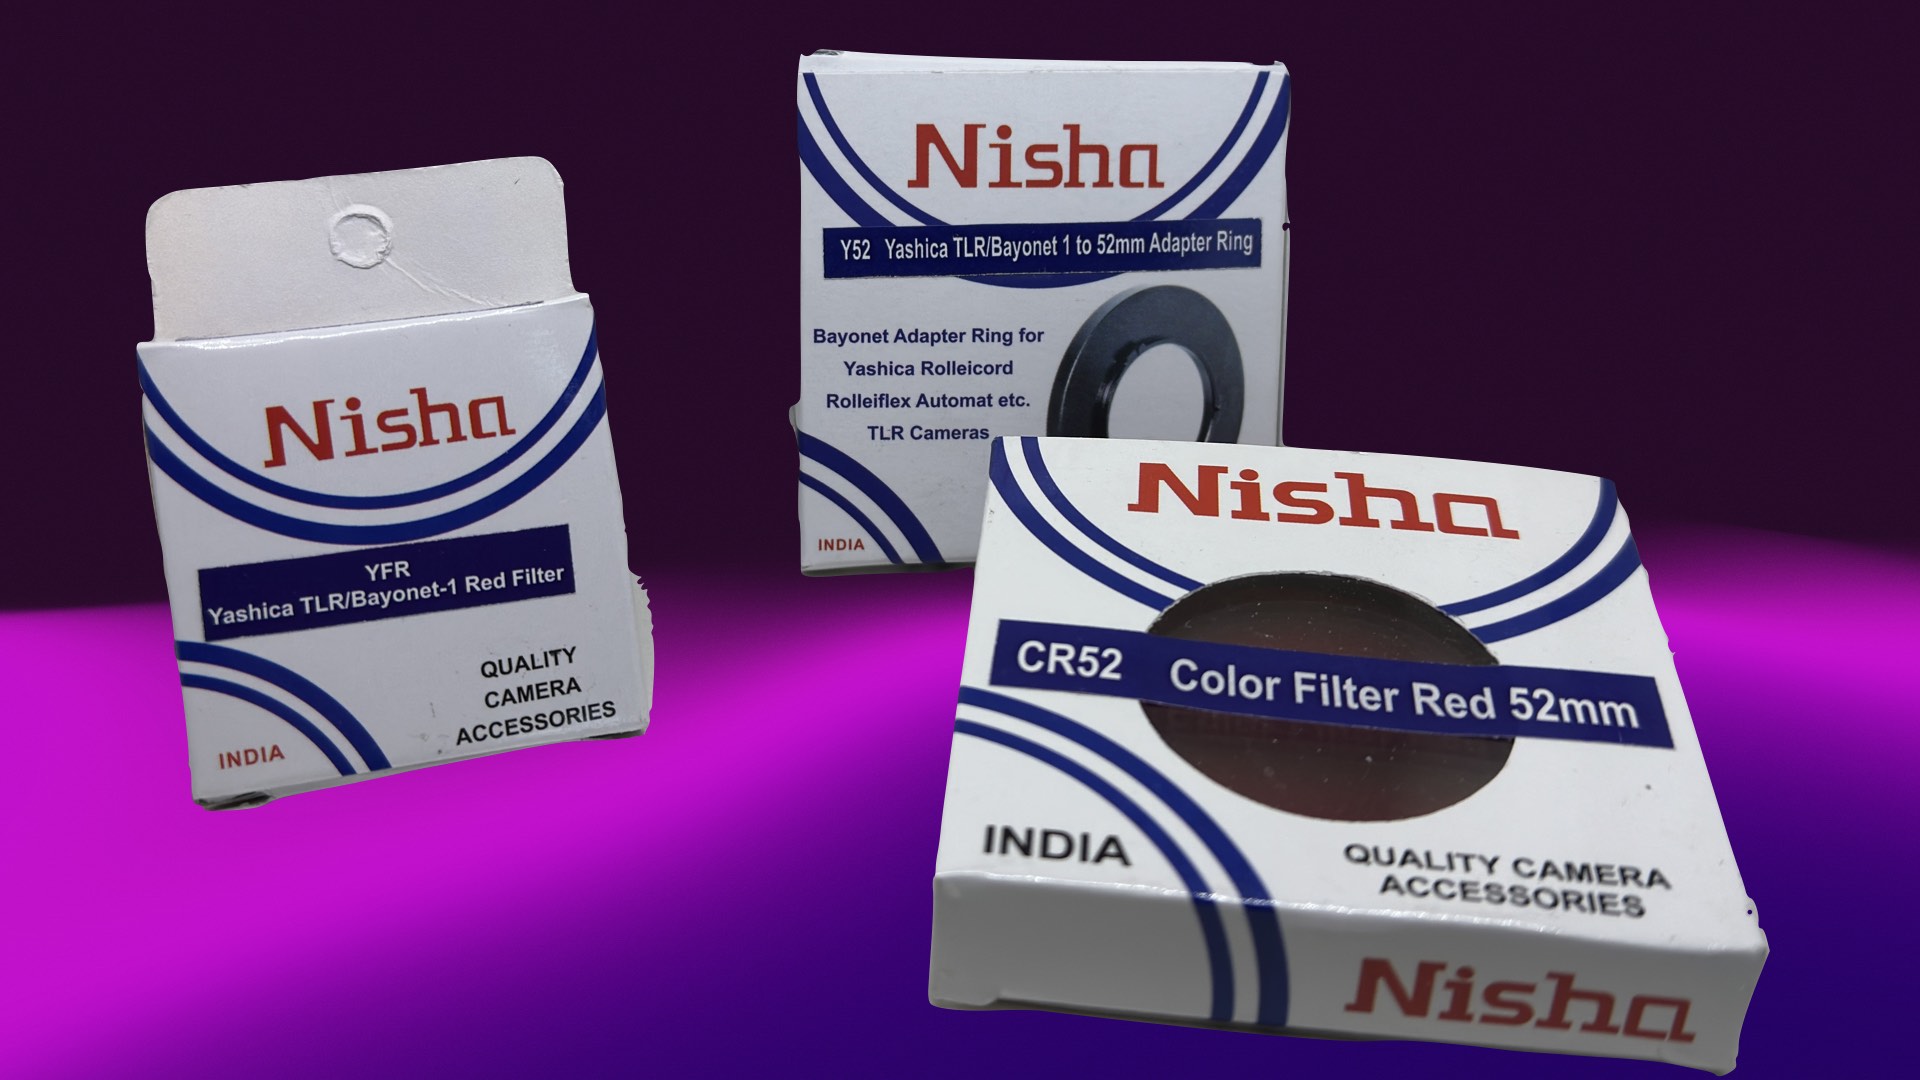
Finding a “modern” Bayonet I filter can be a challenge. Luckily, Nisha makes a wide assortment of Bayonet I filters. From a clear filter to blue and priced at $14.95 each, it just becomes a matter of matching an appropriate filter to the task at hand. For example, shooting Leica Monopan 50 film with the Rollei 35AF might necessitate the installation of a Bayonet I red filter on the front of the lens. This chore becomes a trivial task with this simple procedure:
1. Choose your Bayonet I filter. In this case, a red filter is being used in conjunction with exposing Leica Monopan 50 film inside the camera.
2. Lay the camera (lens up) on a flat surface. Gently set the filter on top of the lens and center it on the inner raised ring’s ridge.
3. Using tape, attach the outside edge of the filter to the outside edge of the lens.
You are now ready to use your filter-equipped Rollei 35AF. Prior to each exposure, however, you will need to set the camera to manual mode and take a normal meter reading. Use this reading to adjust the shutter speed and/or aperture for adding the required compensation for your selected filter. In other words, the previously selected red filter would require a 2- to 3-stop exposure adjustment to the meter reading prior to exposure, or you can use the Auto Mode (e.g., A+2).
If you find yourself wishing to be more flexible in the use of various filters, a Nisha Bayonet I to 52mm Step-Up Adapter Ring priced at $19.95 can be substituted for the dedicated Bayonet I filter. In this case, the adapter ring would be taped onto the outside edge of lens and threaded 52mm filters could be interchanged on the front of the lens.
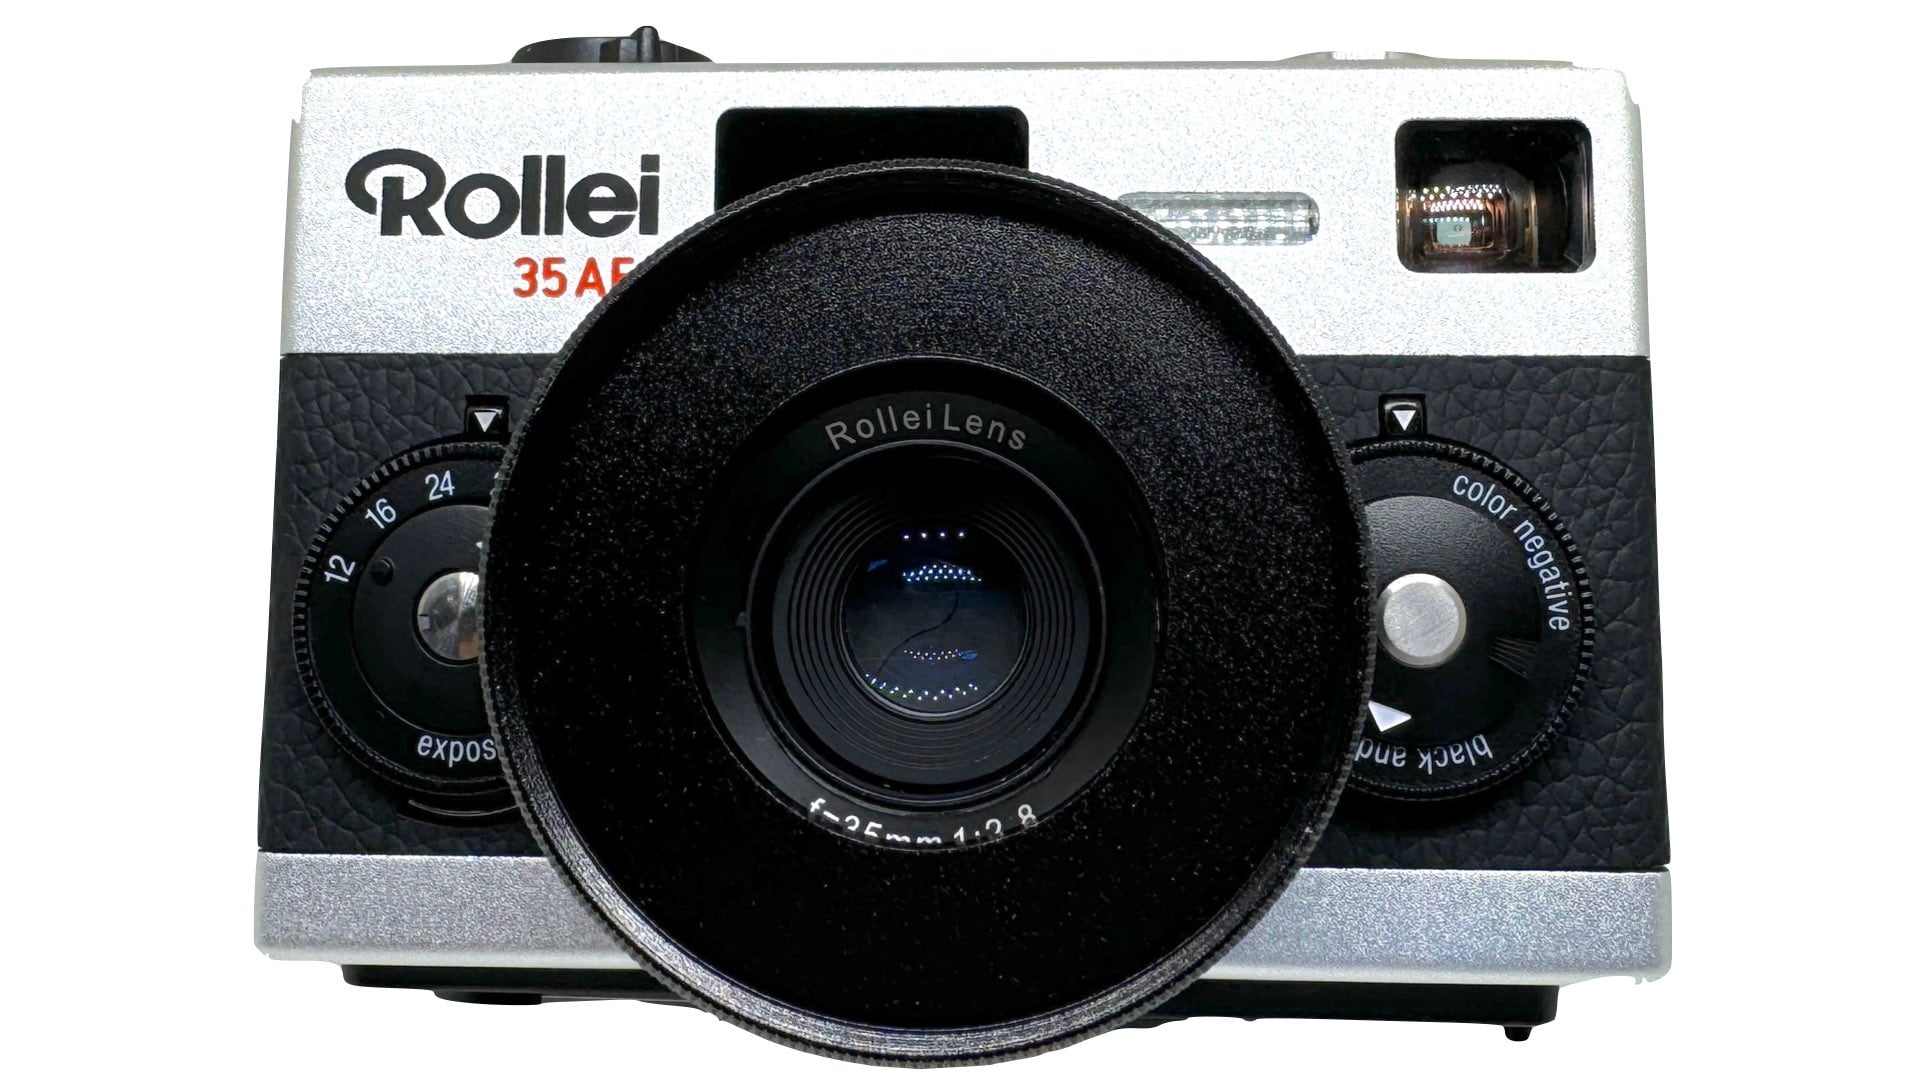
There is one drawback to using this adapter ring on the Rollei 35AF, however. It partially blocks the camera’s light meter. Therefore, you will need to use an external handheld meter when attaching filters with this alternative setup.
[Update: As this article was being prepared, Rollei announced the release of a magnetic filter kit for the Rollei 35AF. Priced at $99 the set includes a 40.5mm adapter ring, UV filter, yellow filter, and black mist 1/4 filter. Although Rollei doesn’t confirm nor deny that this filter kit blocks the built-in meter, you might have to still use manual exposure compensation accompanied with a handheld meter.]
Enjoy.
See more from DIYPhotography.net on Google
Add DIYPhotography.net as a trusted source. This makes
our stories more likely to appear in your Google Search results.
 Add as a preferred source on Google

David Prochnow
Our resident “how-to” project editor, David Prochnow, lives on the Gulf Coast of the United States in Ocean Springs, Mississippi. He brings his expertise at making our photography projects accessible to everyone, from a lengthy stint acting as the Contributing How-To Editor with Popular Science magazine. While you don’t have to actually build each of his projects, reading about these adventures will contribute to your continued overall appreciation of do-it-yourself photography. A collection of David’s best Popular Science projects can be found in the book, “The Big Book of Hacks,” Edited by Doug Cantor.


Join the Discussion
DIYP Comment Policy
Be nice, be on-topic, no personal information or flames.