


Tweak Instax Film for Better Prints
Oct 1, 2025
David Prochnow
Our resident “how-to” project editor, David Prochnow, lives on the Gulf Coast of the United States in Ocean Springs, Mississippi. He brings his expertise at making our photography projects accessible to everyone, from a lengthy stint acting as the Contributing How-To Editor with Popular Science magazine. While you don’t have to actually build each of his projects, reading about these adventures will contribute to your continued overall appreciation of do-it-yourself photography. A collection of David’s best Popular Science projects can be found in the book, “The Big Book of Hacks,” Edited by Doug Cantor.
Share:

Among all of the Fujifilm instax™ film multicolored frame packs there is a little used emulsion that can add impact to your imagery. The Monochrome film is packaged in the same kind of 10-exposure box, but yields a black & white print versus the colorful images from the more mainstream color film. Don’t expect to get excellent results, however, when using Monochrome straight out of the, err, well, box. It’s gonna take some tweaking to make superior black & white prints.
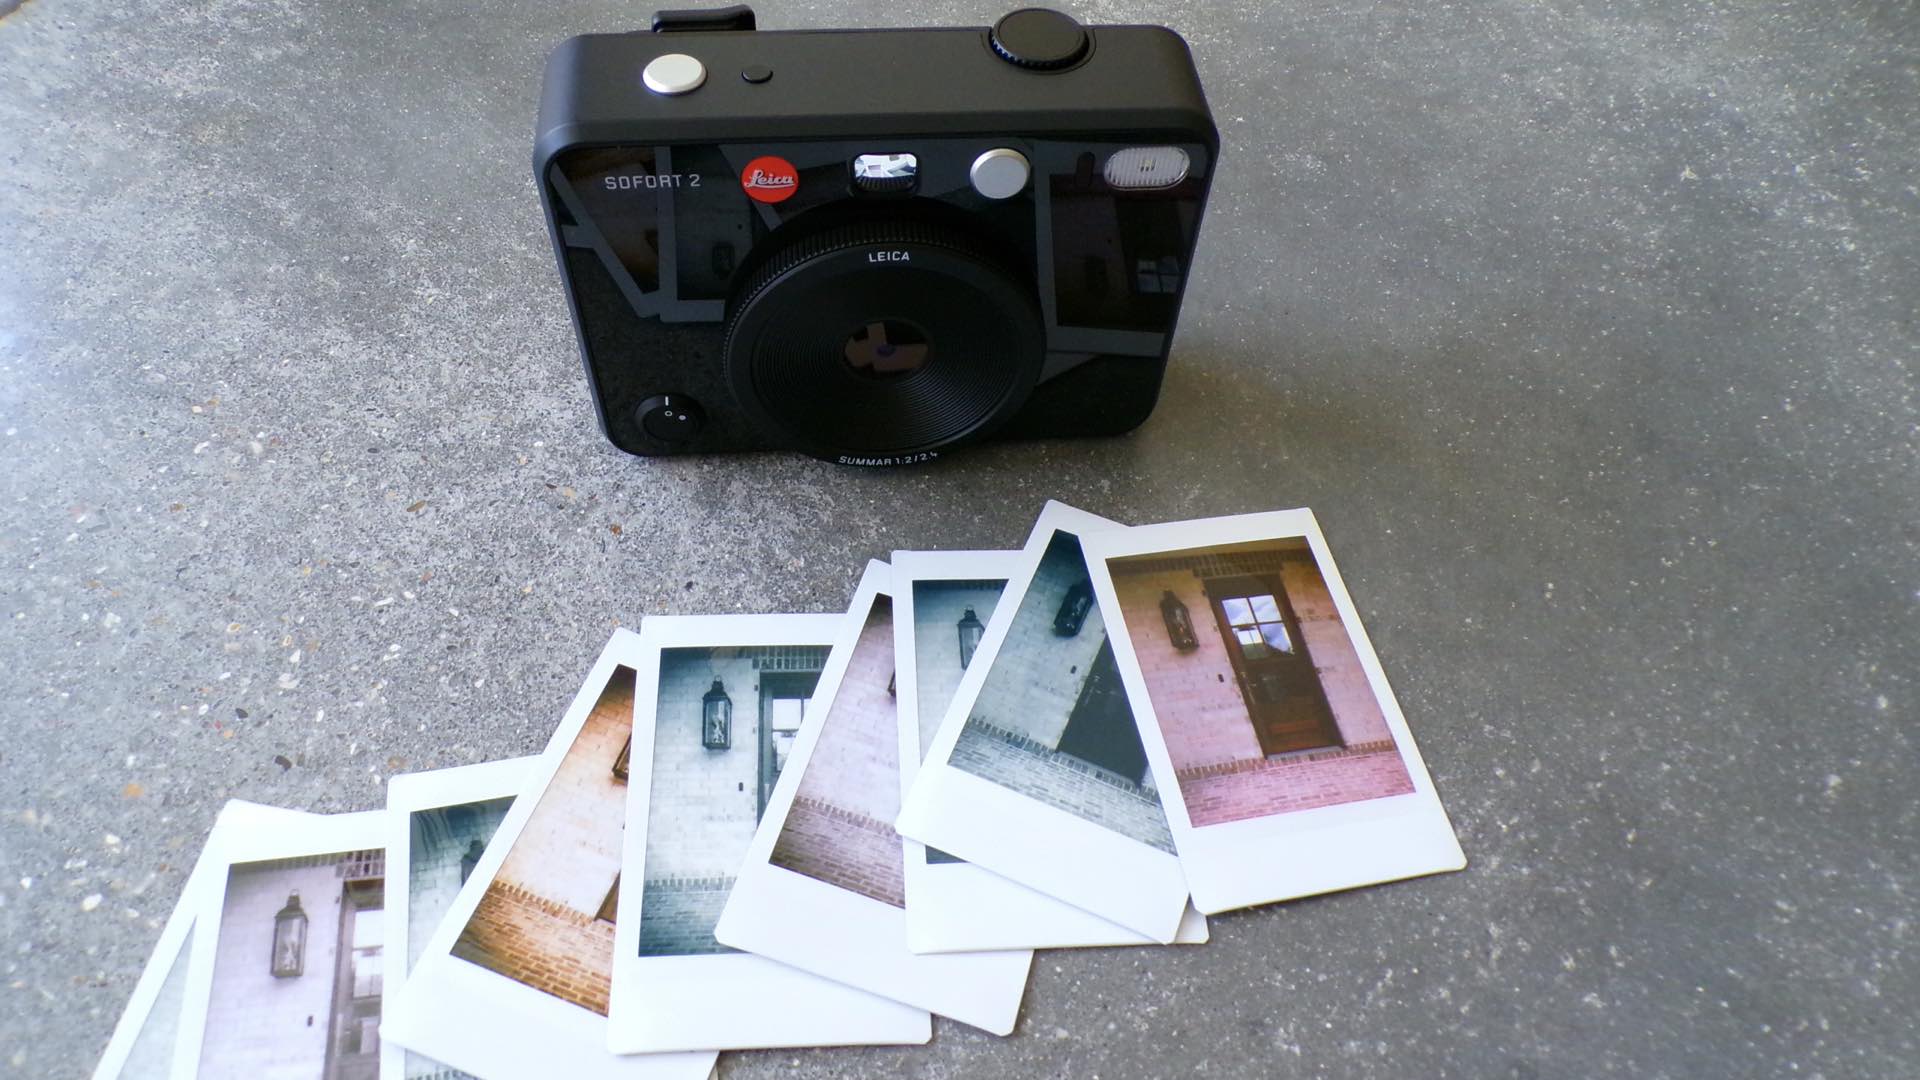
Priced at $17.99, the Monochrome instax film might seem like an unappealing extravagance. Although, when used in the right context, Monochrome film can make a dramatic statement. Unfortunately, just dropping this unusual film pack into a standard instax camera won’t provide the best results. There are a couple of things that you need to do in both pre- and post-production. First of all, however, this photographic transformation begins with the camera.
Not all instax cameras are created equal and, therefore, your work with Monochrome film could be less than satisfying with the wrong camera. For optimal results, your camera should have the ability to enable a “monochrome” mode. Even better, a camera with the ability to add filter effects to the monochrome mode will increase your control over the final look of your black & white prints.
Monochrome, Monochrome, and More Monochrome
Once you’ve verified that your camera is monochrome mode/filter capable, it’s time to load a pack of Monochrome film and setup two pre-production steps. First, enable the monochrome mode on your camera. Yes, it might seem like overkill, but the results will improve the look of your print.
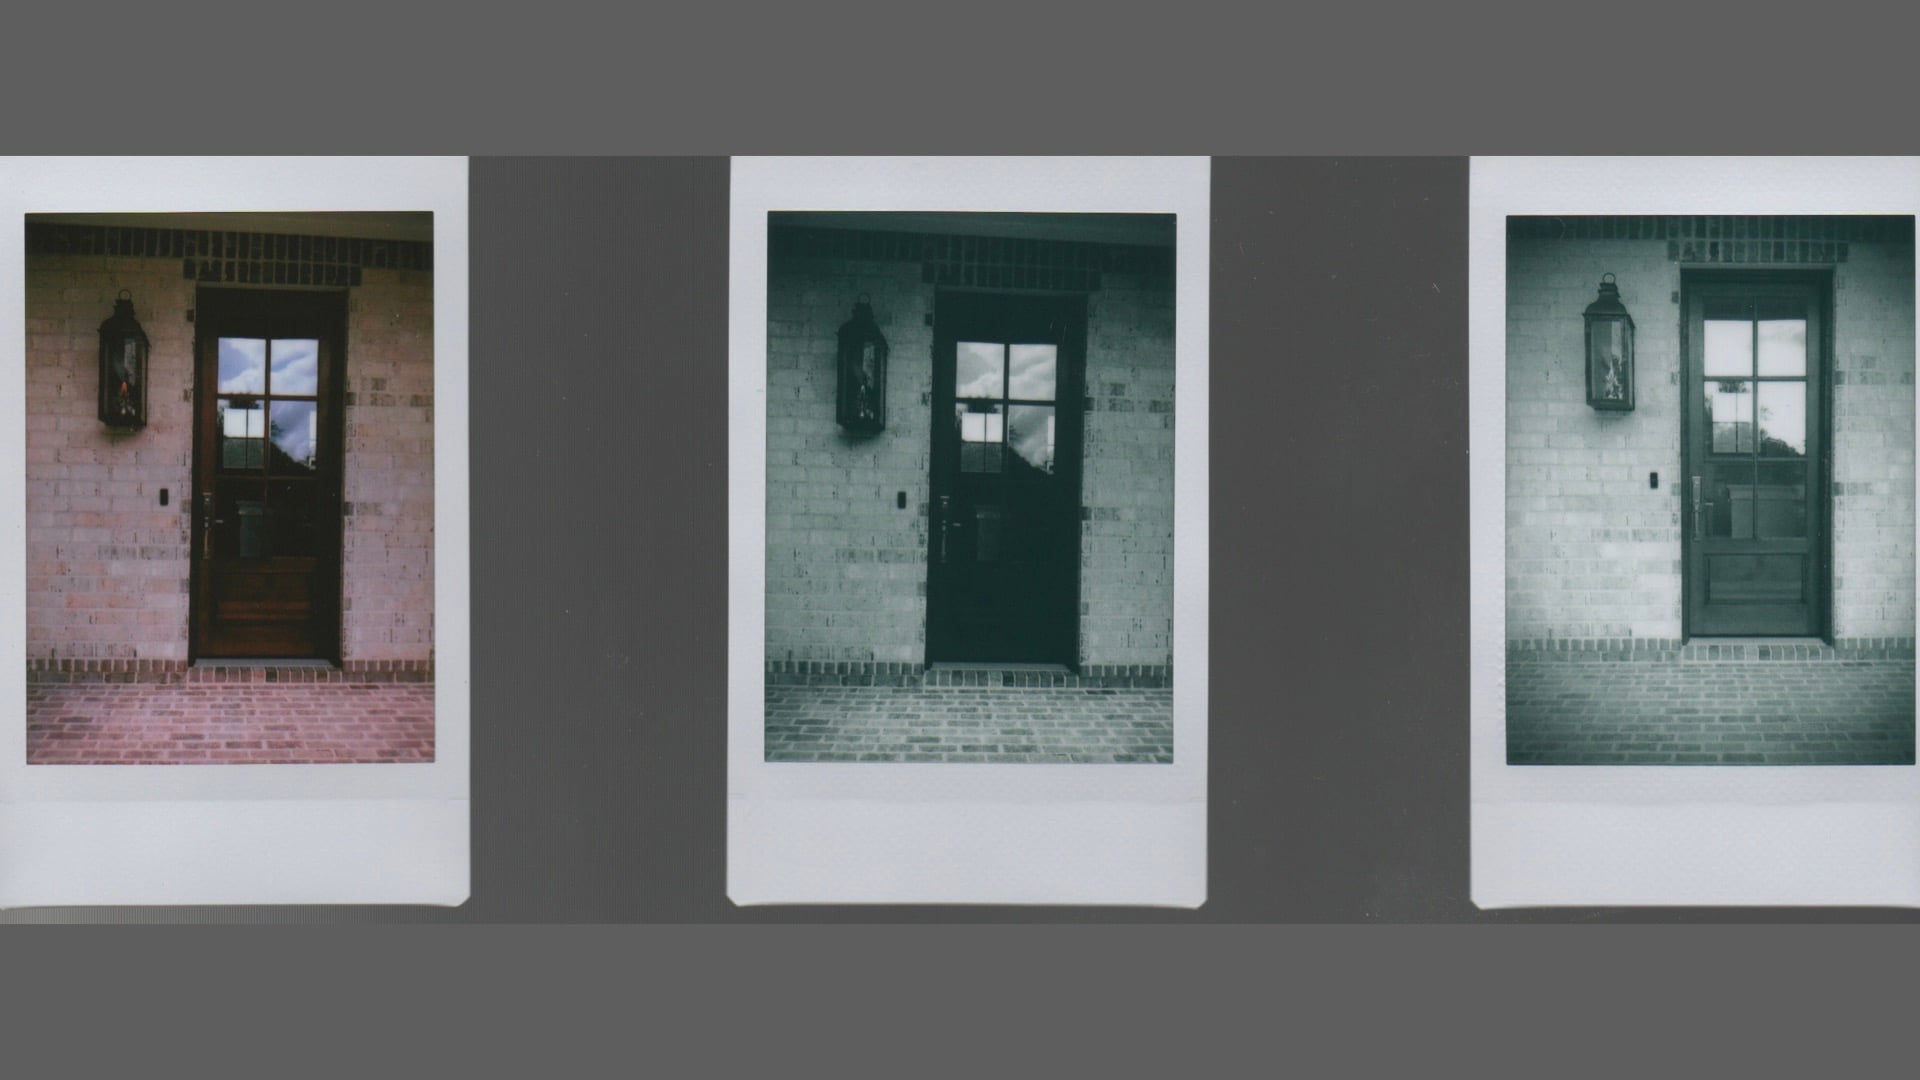
Second, select an appropriate filter for accentuating your black & white print. As a starting point, the standard “vignette” filter works pretty good with Monochrome film. Another filter effect worth trying is the colored filter. Typically, this filter might be called “yellow” or “red” which could help to strengthen some of your greyscale tones.
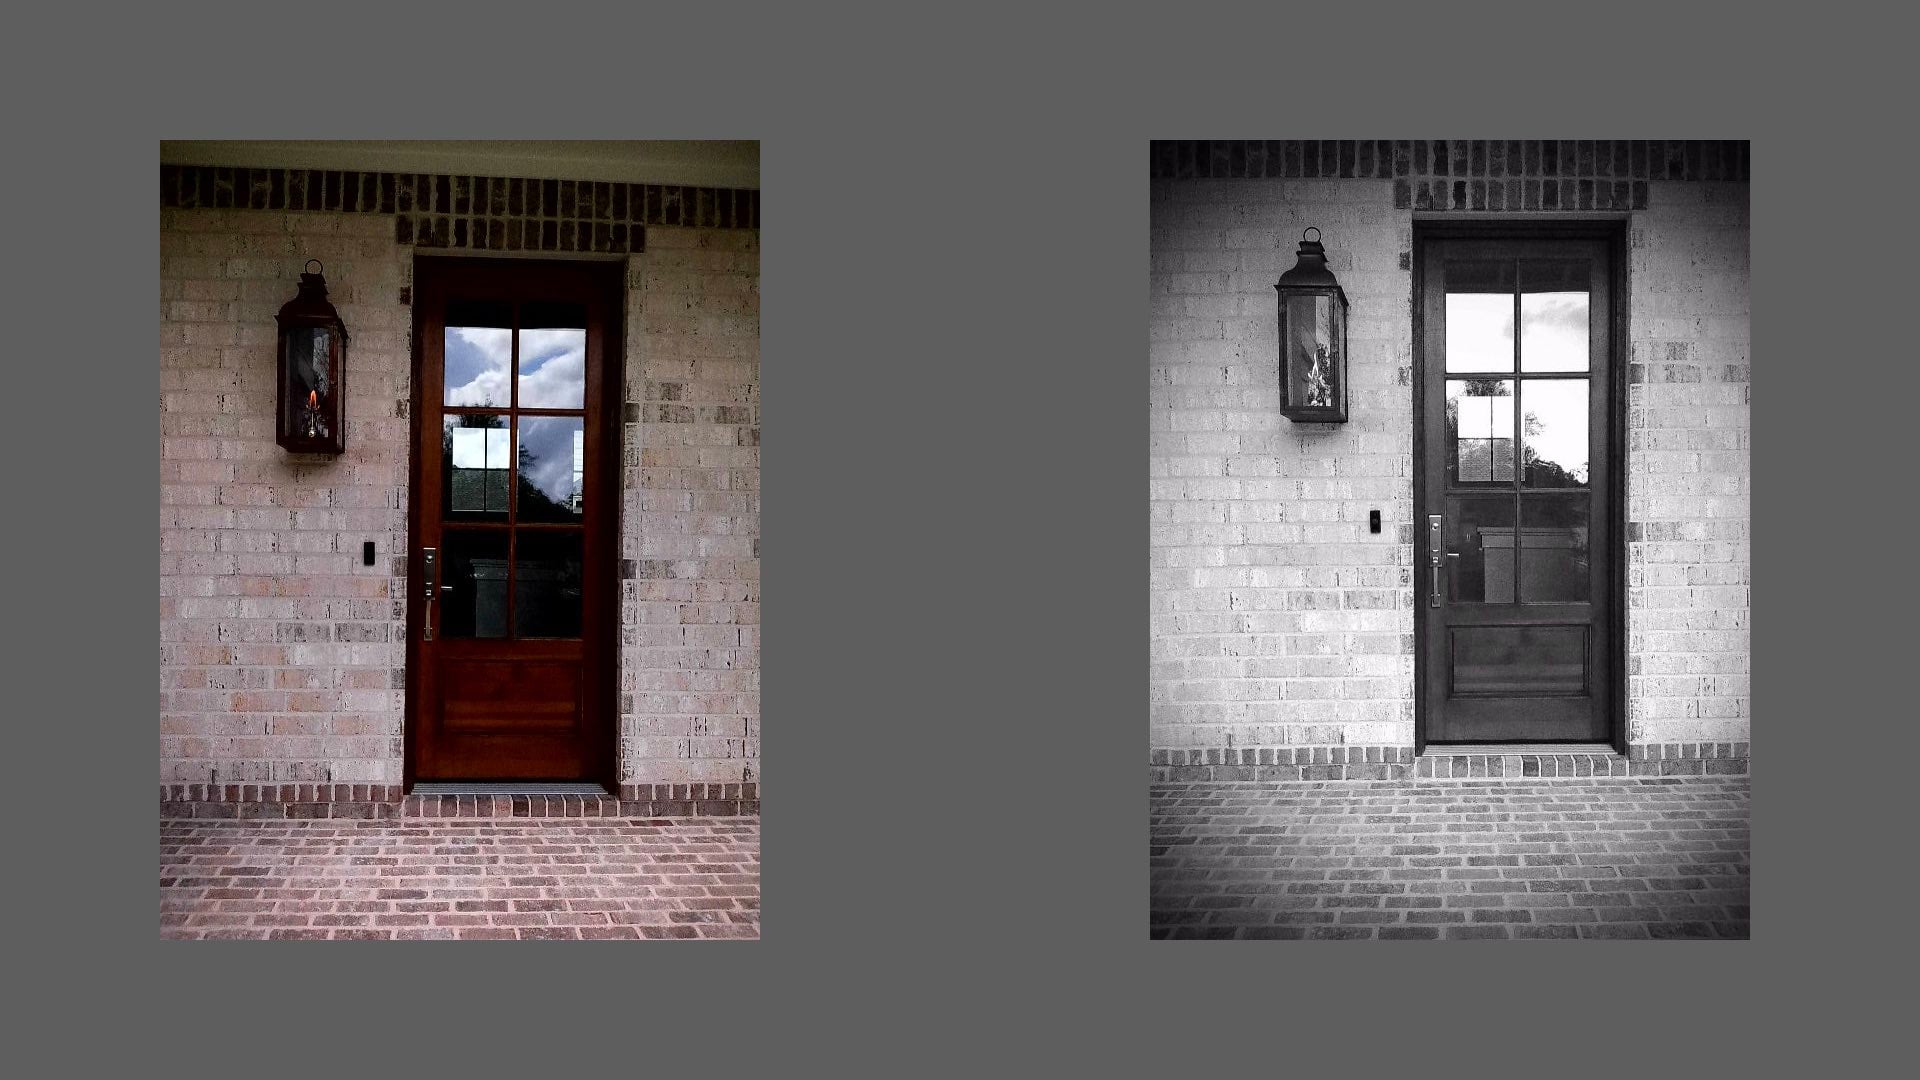
If your instax camera is able to defer printing, you can enhance your final print with post-production editing. In this case, you must be able to transfer your unprinted image to your smartphone, store the image in your photo gallery, use the gallery’s editing tools, save the edited photograph, and transfer this edited image back to your instax camera for printing.
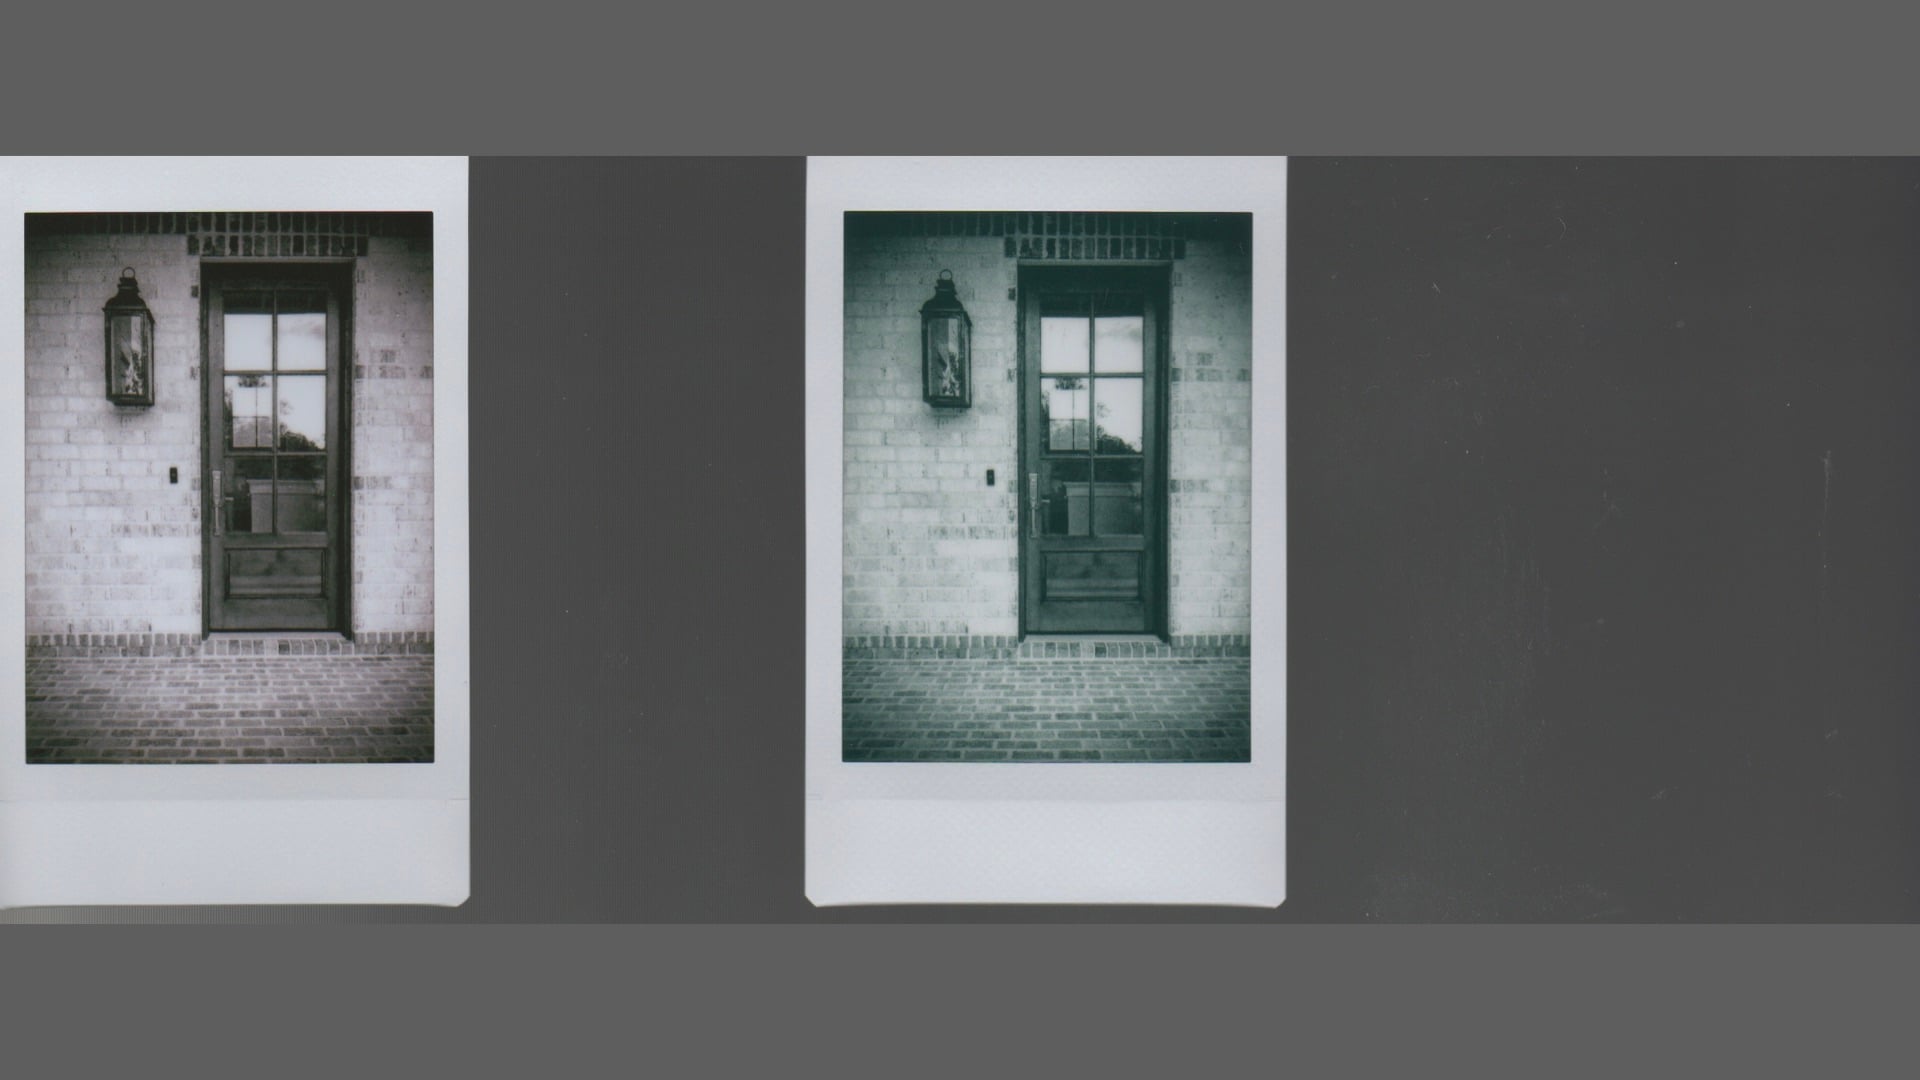
Whew, yes that sounds like a lot of effort, but the final black & white print will be worth it. In fact, the print from this new Monochrome film workflow could be a lot better than either a similar color print or a “straight” monochrome print using a color mode. Just remember to keep notes on the steps you used to achieve your best results for making better prints.
Enjoy.
Filed Under:
Tagged With:

David Prochnow
Our resident “how-to” project editor, David Prochnow, lives on the Gulf Coast of the United States in Ocean Springs, Mississippi. He brings his expertise at making our photography projects accessible to everyone, from a lengthy stint acting as the Contributing How-To Editor with Popular Science magazine. While you don’t have to actually build each of his projects, reading about these adventures will contribute to your continued overall appreciation of do-it-yourself photography. A collection of David’s best Popular Science projects can be found in the book, “The Big Book of Hacks,” Edited by Doug Cantor.
Related Posts
 How to Turn Color Film Negatives Into Instax Prints Without a Darkroom
 INSTAX Adventure – Capturing Manhattan in INSTAX instant film
 Fujifilm finally releases a follow-up to its most advanced analog Instax mini camera – Fujifilm Instax Mini 99
 New Instax Mini 40 is more expensive Instax Mini 11 in a retro suit
Join the Discussion
DIYP Comment Policy
Be nice, be on-topic, no personal information or flames.
One response to “Tweak Instax Film for Better Prints”
This article exhibits very little concrete advice. It essentially states that your photos will be better if you use your camera, whichever one it is, correctly.