Three Ways To Photograph A Perfect Watch
Dec 19, 2014
Share:
Over the last month I’ve been writing about different ways to shoot a watch. One way involved using only DIY modifiers and the other one was done using nothing but an iPad. This is the last part of the series and it is focused more on using photoshop way to complete the shoot.
Before I begin, let’s just recap the first two ways on shooting a watch.
How To Shoot A Watch Using One Light And All The DIY Gear In The World
For this tutorial, I just used one light and a lot of DIY reflectors and flags to shoot a watch.
How To Shoot A Perfect Watch Using Only An iPad
The second way involved using a lightpainting technique to photograph a watch. To make it more interesting I used my iPad and smartphone as light sources.
Method 3 – Collecting Light
Now for the third series of How to photograph a Watch. This third series will more on layering in photoshop and achieving the final result that you want by using layer masks.
How to shoot:
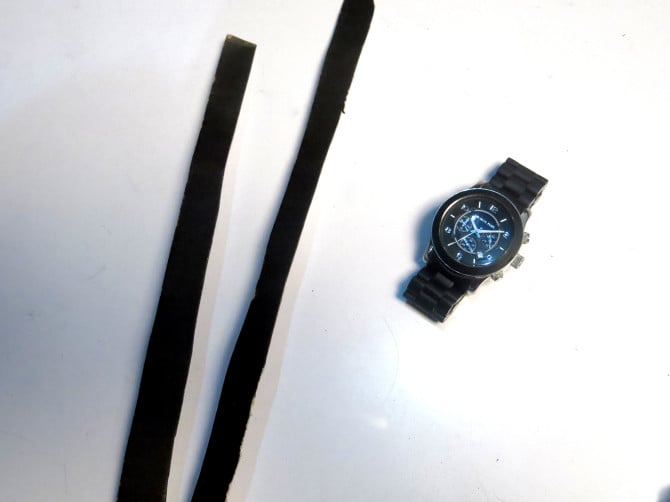
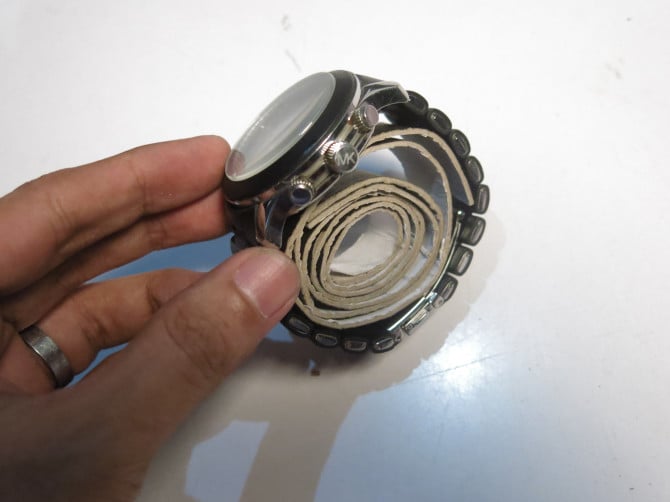
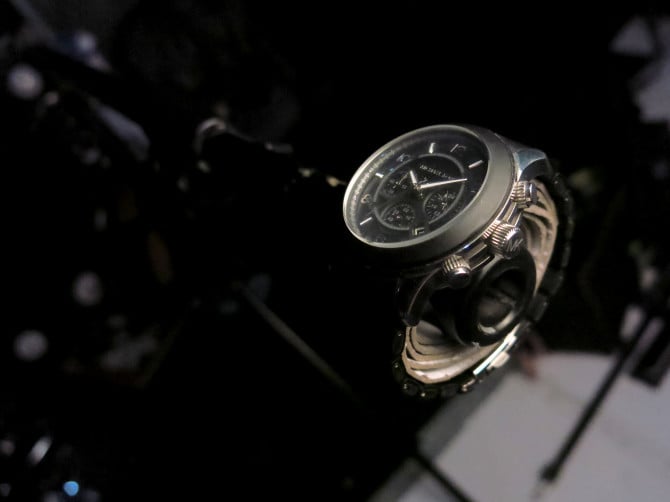
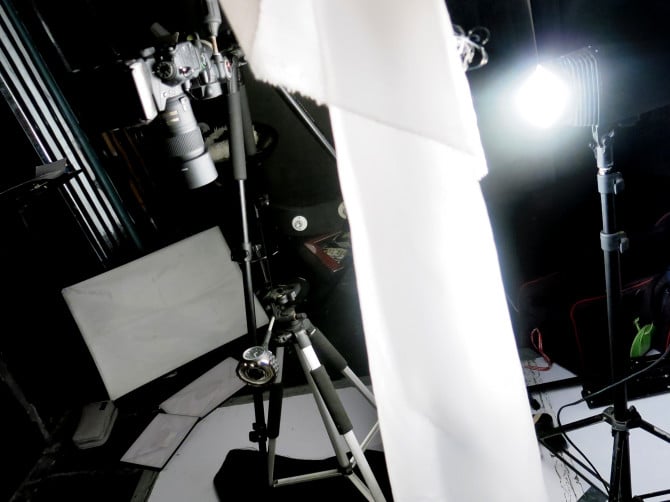
1. I started off by making an easy DIY holder for the watch. I wanted it hanging so I cut some pieces of illustration board to put in the middle of the watch. Placing the cards inside the strap provided some form for the watch and also gave something to hold the watch with. I than used a tripod handle to hold the watch.
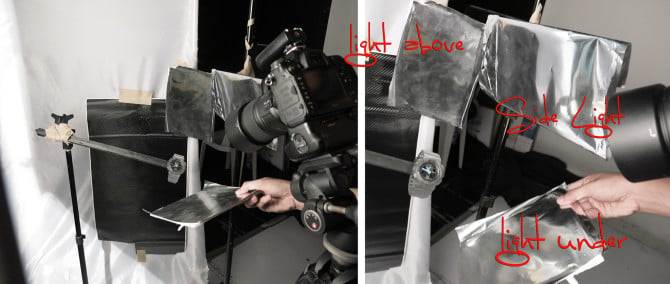
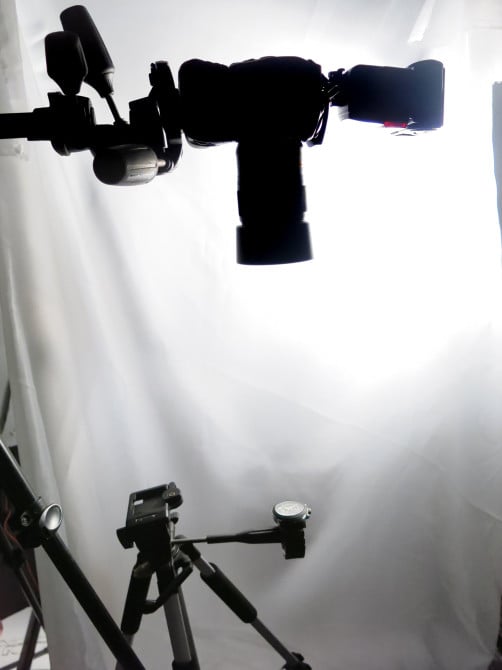
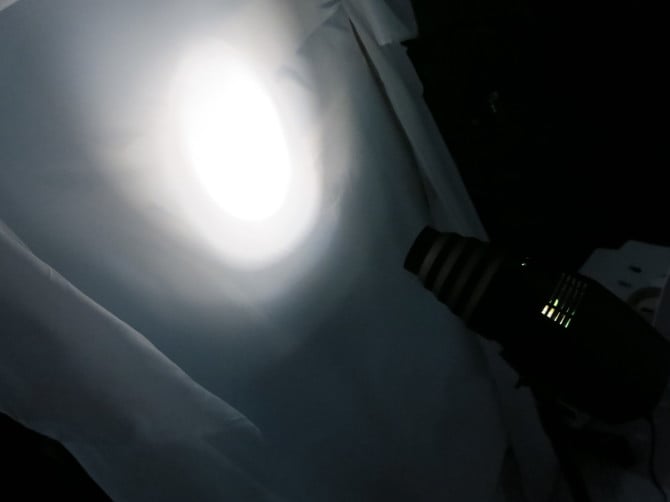
2.For the lighting you can use one or more lights. I used my DIY scrim made out of a clothes hanger and a studio strobe at the back.
3. Set your camera on a tripod and focus and compose on your subject. Make sure that both the tripod and the subject are stable because you will be shooting multiple images and merging them in photoshop. Any movement will be create images that are hard to work with.
4. I was using a D7000 and a 60mm macro lens. I was shooting at around ISO 200, 1/160, f18. My studio strobe was at 1/8 power.
5. Now start by playing around with your lights. You can try changing the position of the studio strobe and putting a snoot or softbox to get different lights on the watch. (You’ve seen me do this on a larger scale with a motorcycle before)

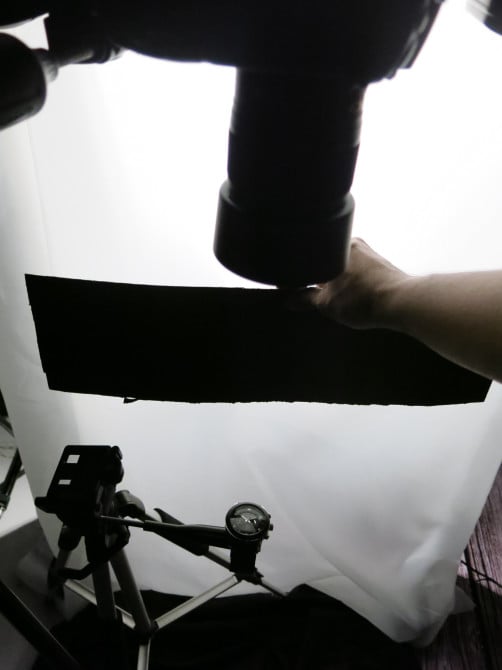
6. To get the black shadow on the steel part on the top and bottom of the watch, I got an illustration board and placed it in between the light and the watch.
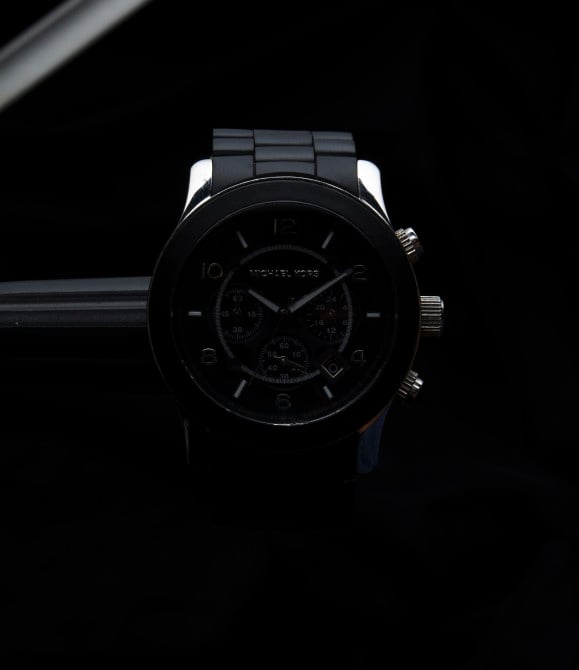 7. Make sure to light all parts of the watch. You could also place reflectors to bounce the light from your main light.

Editing
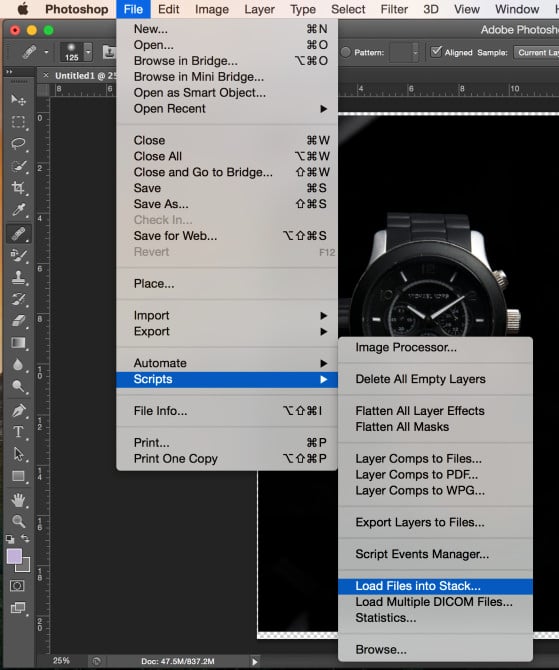
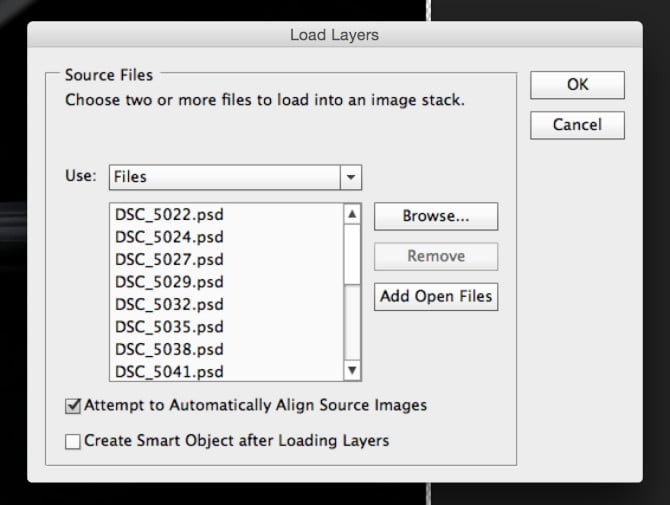
1. Open photoshop and click File > Script > Load Files into Stack. Select your files and click attempt to automatically align source images.
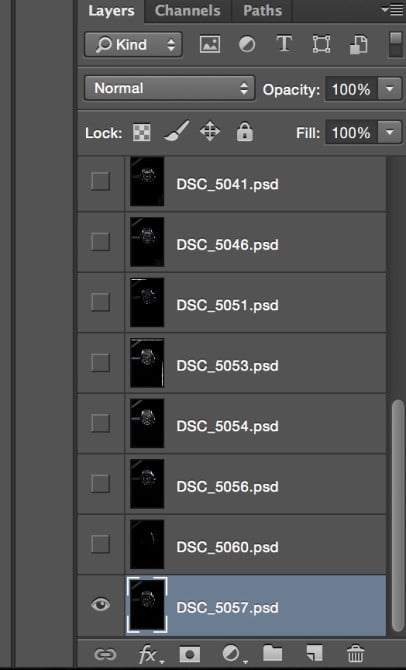
2. Hide all the images and choose your base image.
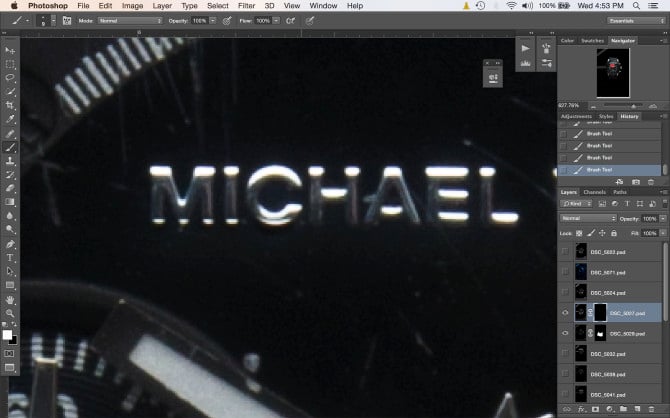
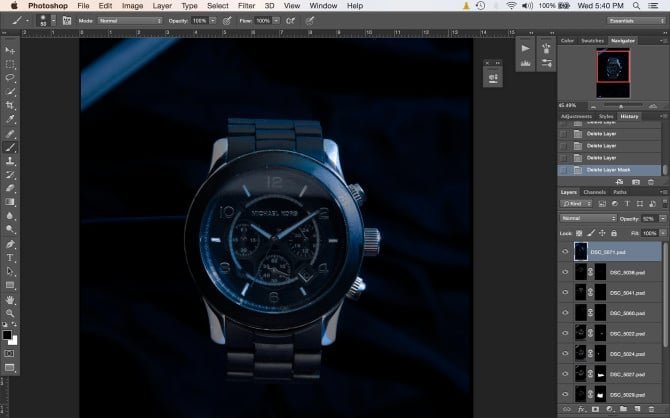
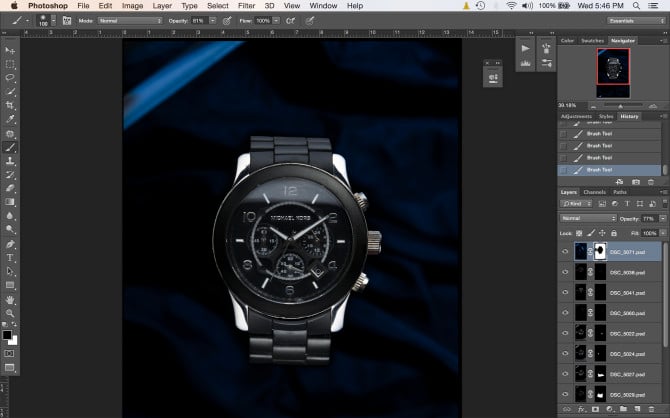
3. The trick here is only revealing the parts that you want to be seen in the final image. Choose the first image and click Alt+Add Layer Mask, select your white brush and paint over the parts that you think have the best lighting for that part.
4. Repeat Step 3 to all images until you get all the lighting that you want.
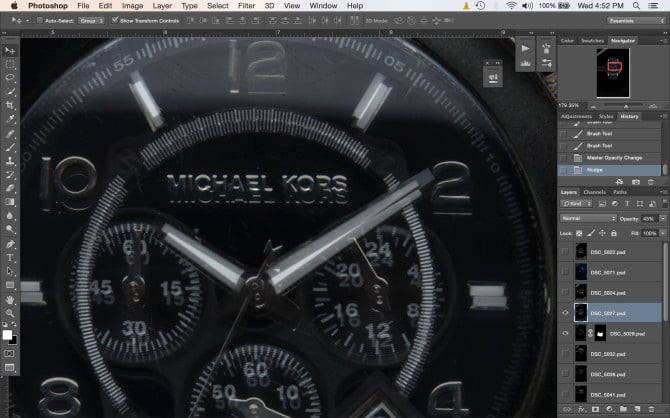
5. There are times that the image doesn’t layer properly. To fix this, select the layer and move your opacity to around 35%-50% and move the layer until you get a clean image. (remember when we told you to have both the camera and subject stable – this is why!)
6. After finishing with the lighting, duplicate all layers and merge layers them together to create one image. Now we will do the cleaning and contrast part of the editing. (Note that the MK watch I used has seen better days so I just cleaned the noticeable parts and didn’t do a really extensive cleaning)
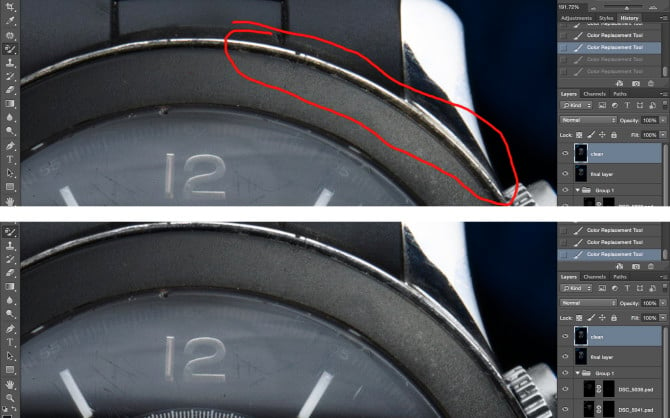
7. First thing to do is use the color replacement tool to clean out the reflections, this will also help with the discoloration or dirt parts in the watch. Duplicate your final image and select a color closest to part of the discoloration.
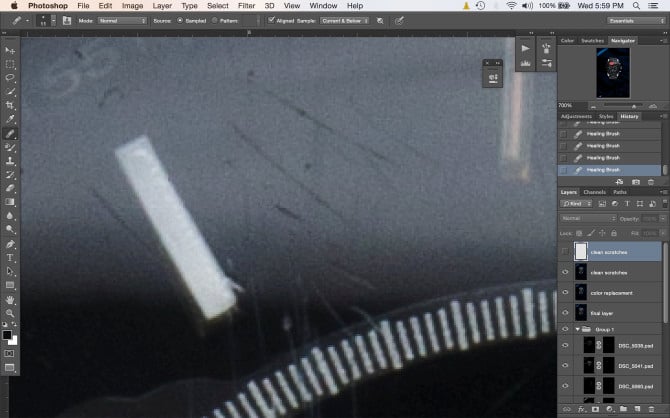
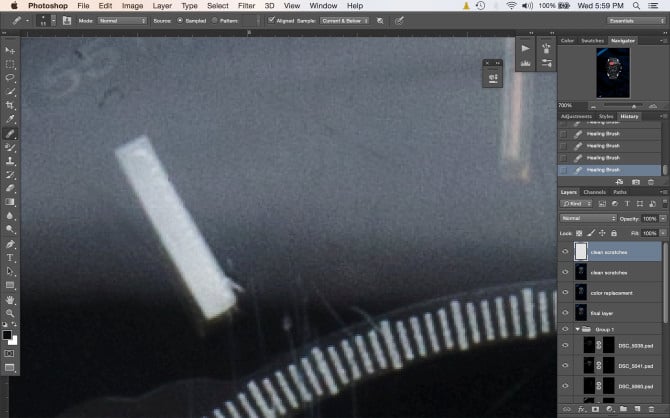
8. Now make a new layer, and by using the clone tool and healing brush clean all the scratches in the image. Make sure to select Current & Below in the Sample.
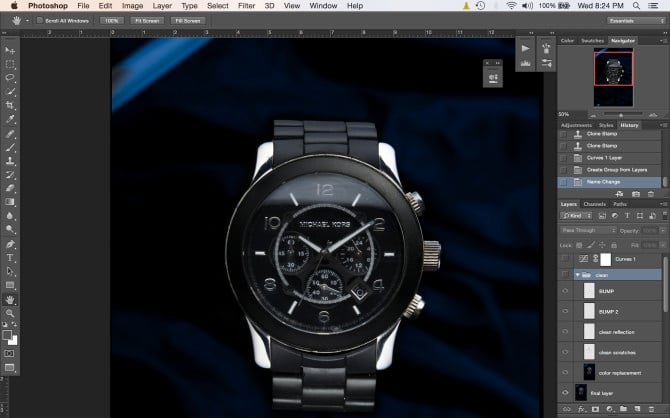
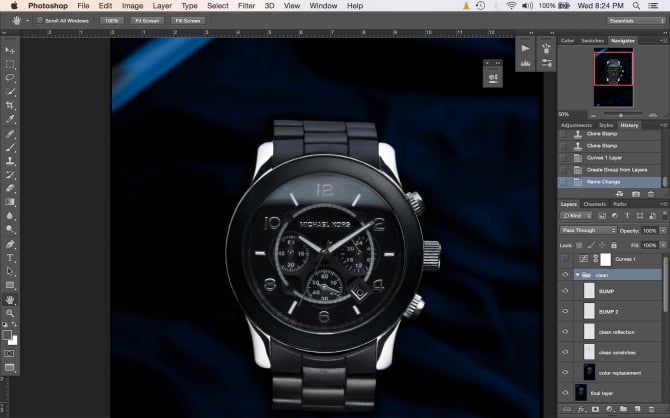
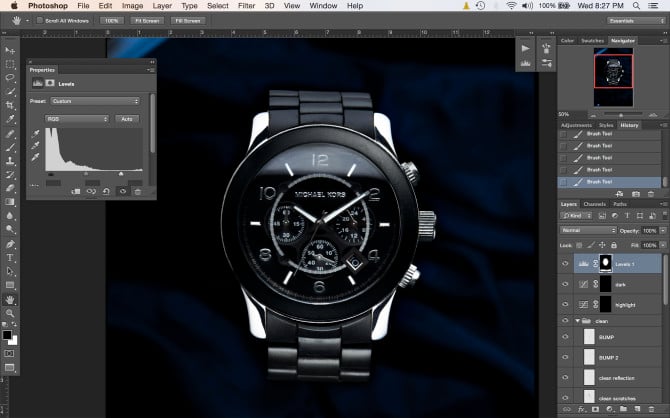
9. Next is adjusting the levels and dodging and burning on the parts of the watch.
10. For the background. I applied the same technique as Step 3 only this time I did it for the background. I also cleaned and removed the bar and the dirty parts of the background using the clone tool.
Here is the process animated for two watches:


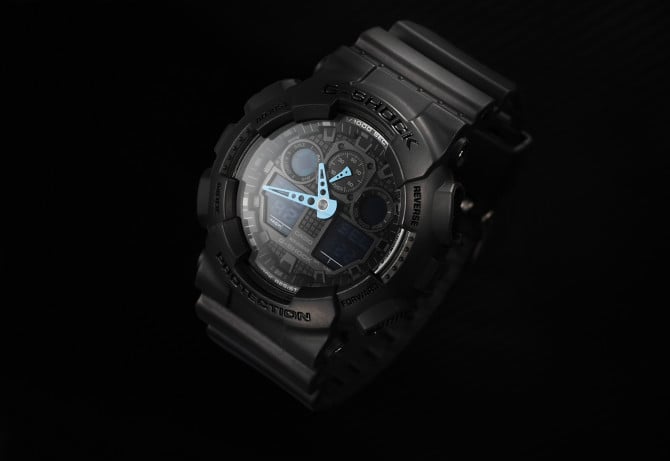
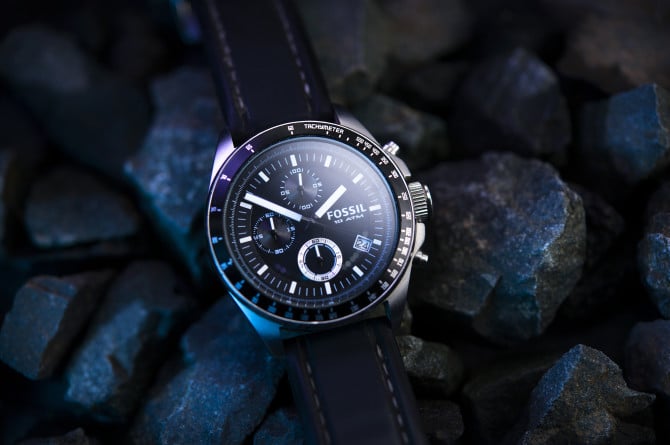
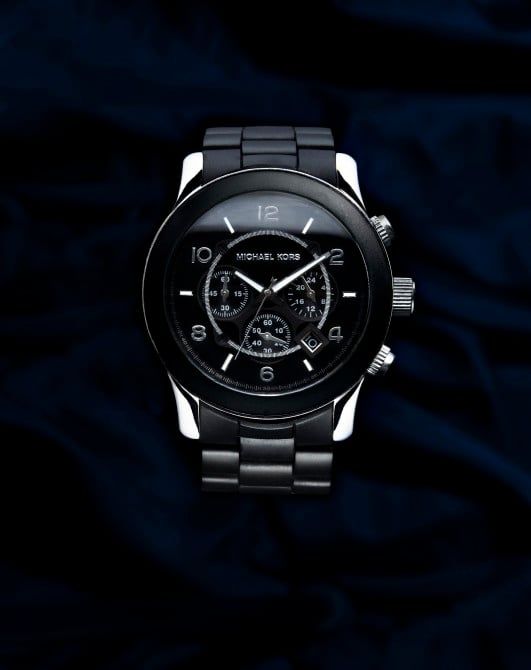
And here are the Final Images:
Filed Under:
Tagged With:
Laya Gerlock
Laya Gerlock is a Portrait and Product photographer based in the Philippines. His passion is teaching and sharing his knowledge in Photograpy and has been doing this for 6 years.









Join the Discussion
DIYP Comment Policy
Be nice, be on-topic, no personal information or flames.
5 responses to “Three Ways To Photograph A Perfect Watch”
I think this is really helpful post.. I appreciate your effort.
very nice your tutorial, thank for your good article share with we
Amazing photographs!. Very very nice tutorial dude.
Amazing Product photography
Very useful tips! These techniques make photographing watches look professional and appealing.