


How to Build Your Own Photography Posing Box for Less Than $100
Feb 3, 2026
Darlene Lleno
Darlene Lleno brings a unique perspective to DIY Photography as someone who grew up surrounded by camera gear but chose words over lenses. With five years of writing experience, she specializes in photography content that’s both technically informed and genuinely passionate. Growing up with a photographer twin brother meant camera talk was everyday conversation in her household. While he mastered capturing moments, Darlene discovered she preferred being the subject and the storyteller behind the scenes. As a travel enthusiast and mother of two, she understands the importance of preserving life’s precious moments. When not exploring new destinations or writing for DIY Photography, you’ll find her reading or tending to her garden. Her approach to photography writing is refreshingly authentic, she may not be behind the camera, but she knows exactly what it takes to help others capture the shots that matter most.
Share:
Video source: https://www.youtube.com/watch?v=D_XvyRuWdqg
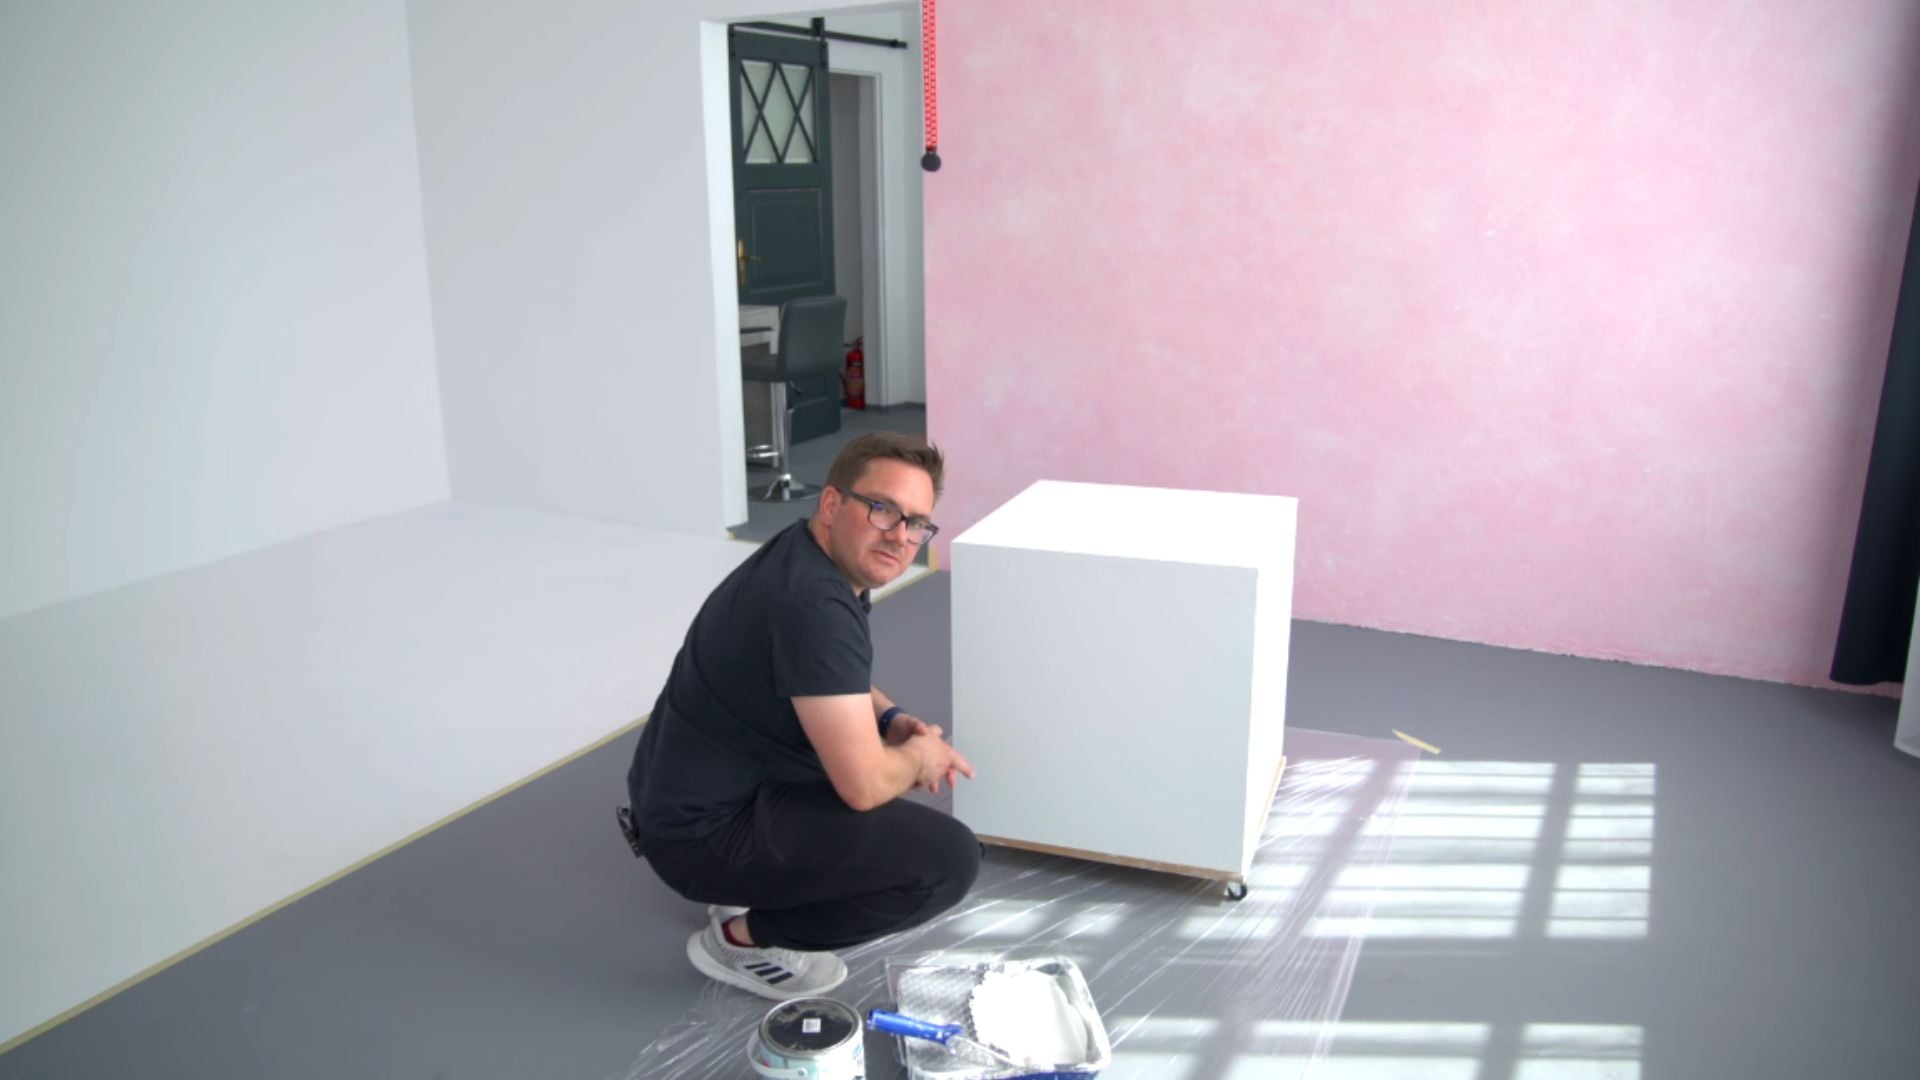
Building a photography posing box is one of the smartest investments you can make for your studio setup. These versatile props give you endless creative options for portrait photography, product shots, and even fashion work. Instead of dropping hundreds of dollars on commercial versions, you can build a sturdy, professional-looking posing box for under $100 with some basic materials and tools.
Materials You’ll Need
Before starting your photography posing box project, gather these materials:
- 3 pieces of MDF board (600mm x 600mm, 18mm thick)
- 2 pieces of MDF board (600mm x 564mm, 18mm thick)
- Wood glue
- Box of 12-16mm wood screws
- Box of 40mm wood screws
- 16 L-shaped brackets with 4 screw holes each
- Wood putty
- 120-grit sandpaper
- Exterior wood paint (1 liter)
Optional for rolling platform: 1 MDF board (600mm x 600mm), 4 small wheels, short screws
Step 1: Glue the First Three Sides
Apply wood glue along the edges of three MDF boards. Press them together to form three sides of your photography posing box. Use clamps and protective foil to hold everything in place while the glue dries. Let this sit for several hours before moving to the next step.
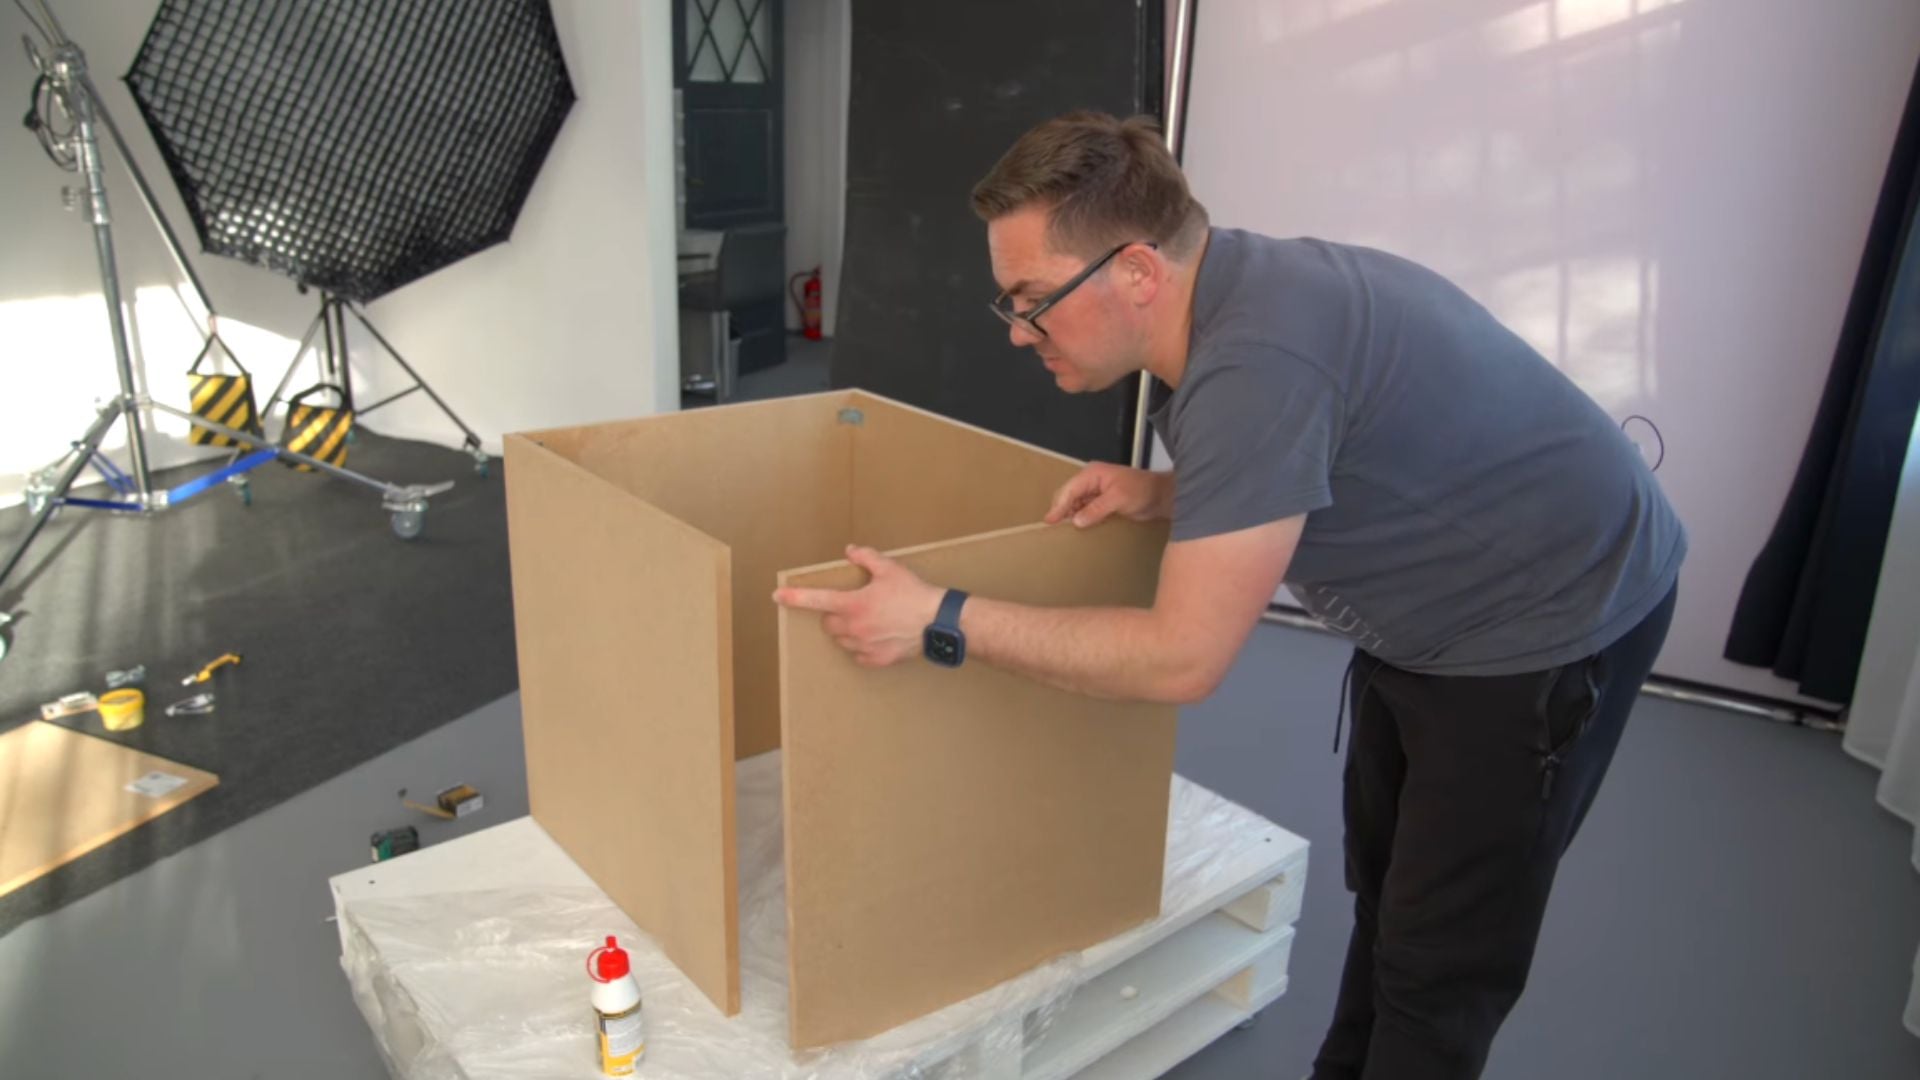
Step 2: Add the Fourth Wall
Once the first three sides have bonded, apply glue to the edges where the fourth piece will attach. Position the board carefully and clamp it in place. Make sure all corners are properly aligned before letting it dry overnight. This creates the basic cube structure of your photography posing box.
Video source: https://www.youtube.com/watch?v=D_XvyRuWdqg
Step 3: Install Internal Brackets
Flip the box and attach L-shaped brackets to all inside corners using 12-16mm screws. Space them evenly for maximum support. These brackets reinforce the joints and prevent the photography posing box from coming apart under weight. Use at least 16 brackets total for best results.
Step 4: Add the Bottom Panel
Position the final MDF board on the bottom opening. Mark where it fits best, then flip the entire box upside down. Apply glue around all edges and place the box on top of the bottom panel. Add extra glue along the inside seams for a stronger bond.
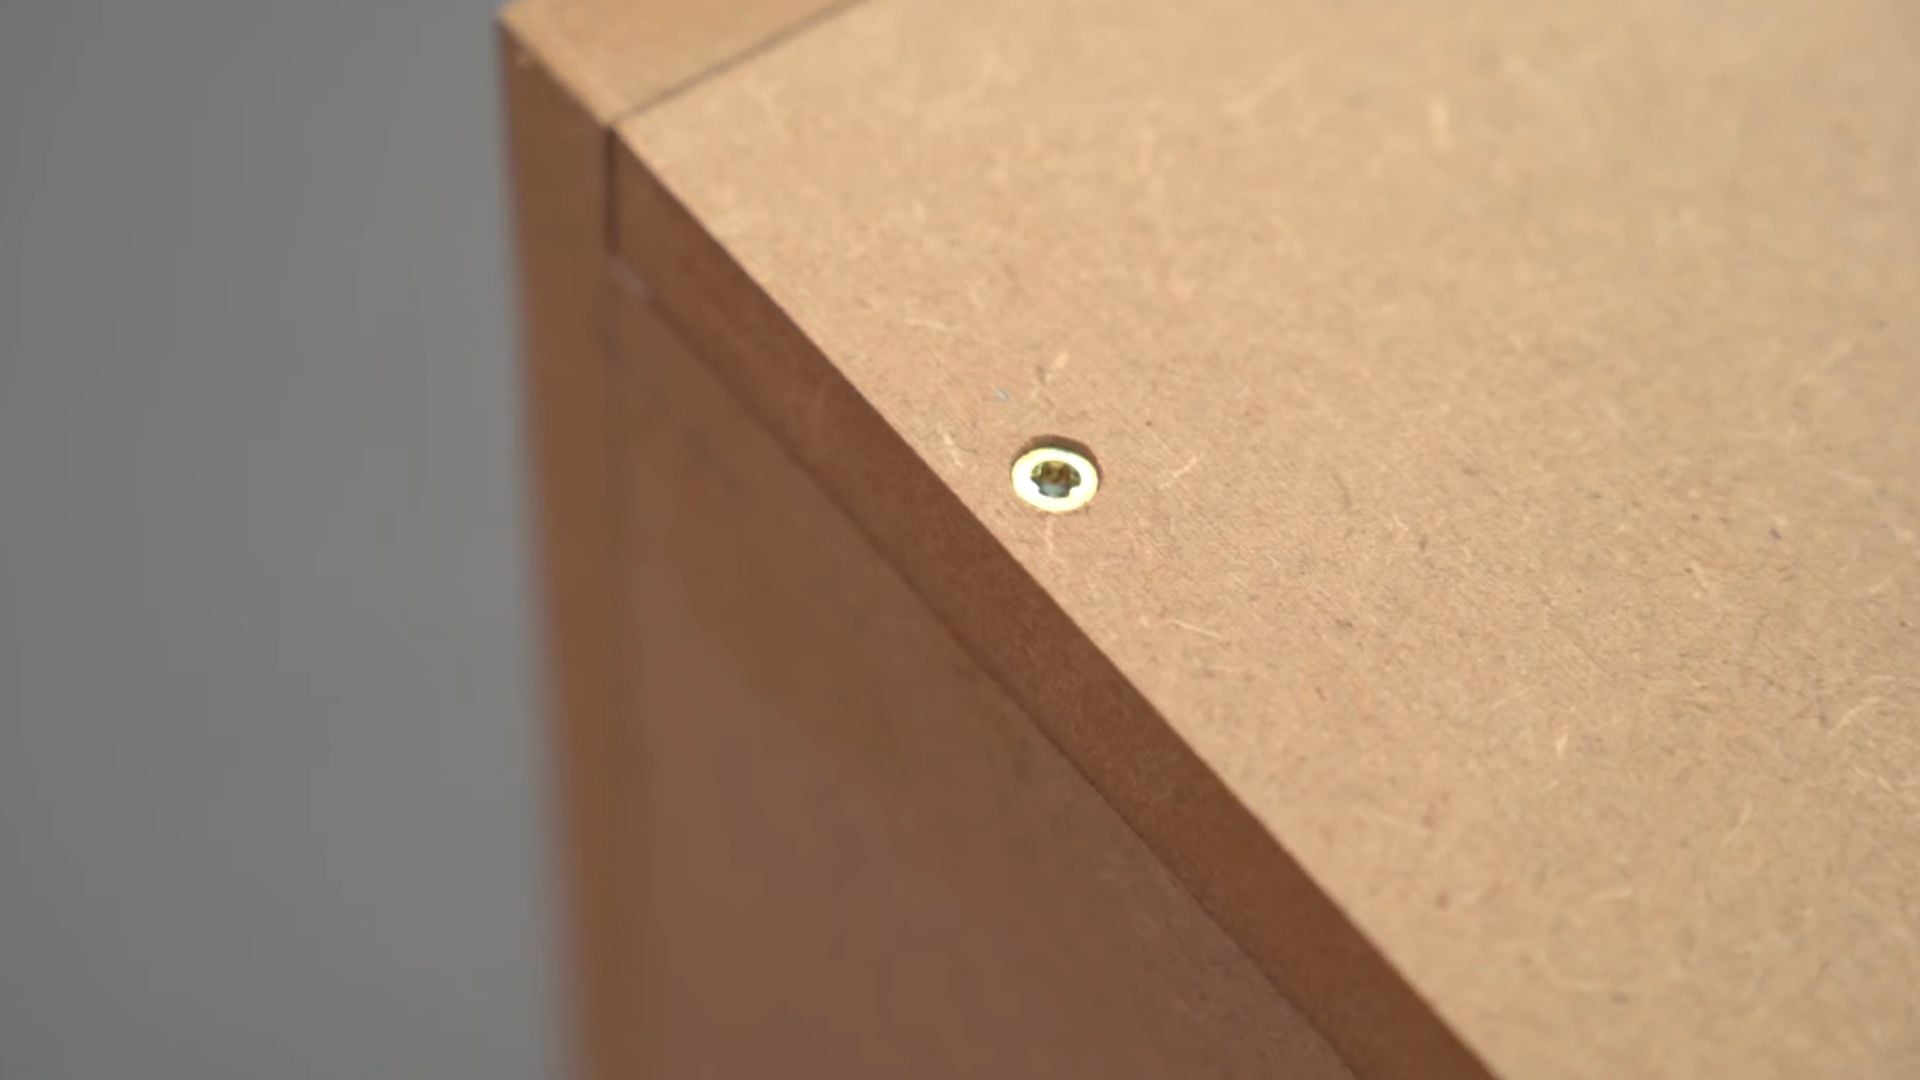
Step 5: Reinforce with Side Screws
Drill pilot holes through the sides of the boards, measuring carefully to find the center thickness. Drive 40mm screws through these holes to create additional connection points. This step makes your photography posing box strong enough to support adults during studio sessions.
Video source: https://www.youtube.com/watch?v=D_XvyRuWdqg
Step 6: Fill and Sand
Apply wood putty to all screw holes, gaps, and imperfections. Use slightly more than needed since it shrinks when drying. Once dry, sand the entire photography posing box with 120-grit sandpaper until smooth. Pay extra attention to sharp edges that could snag clothing during portrait shoots.
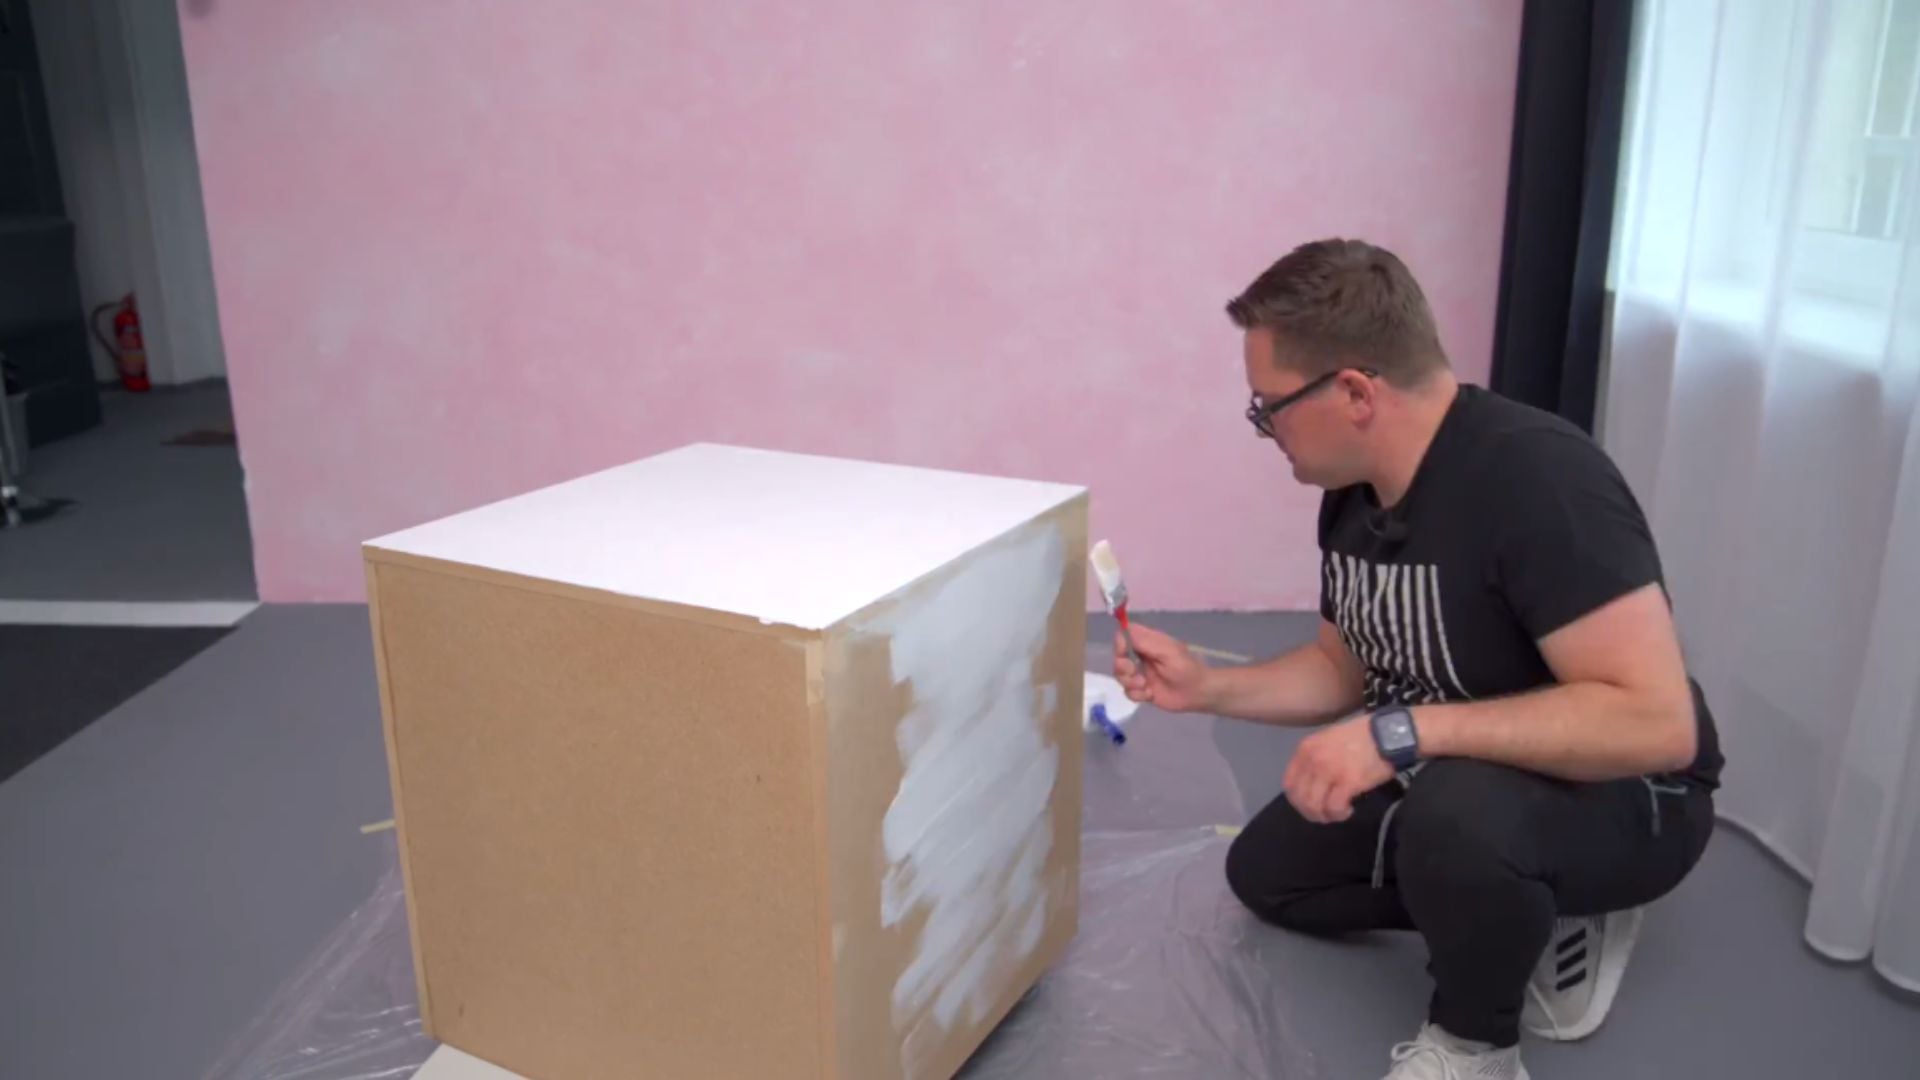
Step 7: Paint Your Photography Posing Box
Wipe down all surfaces with a damp cloth to remove dust. Apply the first coat of exterior wood paint with a brush, working it into seams and corners. Let it dry completely, then use a roller for the second and third coats. Exterior paint holds up better than regular wall paint during studio photography work.
White works great for high-key photography, while black creates drama for low-key portraits.
Video source: https://www.youtube.com/watch?v=D_XvyRuWdqg
Step 8: Build a Rolling Platform (Optional)
Create a mobile base by attaching four small wheels to another 600mm x 600mm MDF board. Use screws shorter than the board thickness so they don’t poke through. This makes it easy to move your photography posing box around during different lighting setups.
Time to Create Your Photography Posing Box
Keep screws shorter than your board thickness to avoid them poking through. Don’t rush the gluing process since proper drying time creates stronger bonds. Use exterior paint instead of interior paint because it resists stains and scuffs better. Round off sharp edges with sandpaper to protect clothing and skin during fashion shoots.
Your finished photography posing box can support 200+ pounds when built correctly. Use it for seated portraits, product photography, family sessions, or as compositional elements with different backdrops. Build multiple cubes in various sizes and colors to expand your creative options.

Darlene Lleno
Darlene Lleno brings a unique perspective to DIY Photography as someone who grew up surrounded by camera gear but chose words over lenses. With five years of writing experience, she specializes in photography content that’s both technically informed and genuinely passionate. Growing up with a photographer twin brother meant camera talk was everyday conversation in her household. While he mastered capturing moments, Darlene discovered she preferred being the subject and the storyteller behind the scenes. As a travel enthusiast and mother of two, she understands the importance of preserving life’s precious moments. When not exploring new destinations or writing for DIY Photography, you’ll find her reading or tending to her garden. Her approach to photography writing is refreshingly authentic, she may not be behind the camera, but she knows exactly what it takes to help others capture the shots that matter most.


Join the Discussion
DIYP Comment Policy
Be nice, be on-topic, no personal information or flames.