























What Is Chromatic Aberration and How to Avoid It
Dec 29, 2025
Darlene Lleno
Darlene Lleno brings a unique perspective to DIY Photography as someone who grew up surrounded by camera gear but chose words over lenses. With five years of writing experience, she specializes in photography content that’s both technically informed and genuinely passionate. Growing up with a photographer twin brother meant camera talk was everyday conversation in her household. While he mastered capturing moments, Darlene discovered she preferred being the subject and the storyteller behind the scenes. As a travel enthusiast and mother of two, she understands the importance of preserving life’s precious moments. When not exploring new destinations or writing for DIY Photography, you’ll find her reading or tending to her garden. Her approach to photography writing is refreshingly authentic, she may not be behind the camera, but she knows exactly what it takes to help others capture the shots that matter most.
Share:

Chromatic aberration prevention starts with knowing what creates those annoying color fringes around edges. This optical issue happens when your lens can’t focus all light wavelengths on the same point. You get purple, green, or blue halos, especially in high-contrast areas.
Most photographers spot this problem along tree branches against bright skies or building edges. Cheaper lenses and certain shooting conditions make it worse. But you can prevent most of it before clicking the shutter.
Understanding the Problem
Light behaves differently depending on its wavelength. When light passes through your lens glass, different colors bend at slightly different angles. This splitting creates visible color separation at high-contrast edges.
Two main types affect your images. Longitudinal chromatic aberration appears throughout your frame at any aperture. Transverse chromatic aberration shows up more toward frame edges and corners.
Why Some Lenses Show More Fringing
Lens design plays a huge role in fringing levels. Cheaper lenses use standard glass that splits light more noticeably. Budget zoom lenses struggle most because they pack in more glass elements.
Prime lenses typically perform better than zooms for controlling this problem. They use simpler optical formulas with fewer elements. Less glass means fewer chances for light to split incorrectly.

High-quality lenses include special glass types to fix the issue. ED glass and fluorite elements bend different wavelengths more similarly. These materials cost more but deliver way cleaner edges.
Picking the Right Lens
Chromatic aberration prevention begins when you buy lenses. Your lens choice beats any shooting technique for controlling fringing. Quality glass pays off immediately in cleaner images.
Look for lenses marked with ED, LD, or SD in their names. These labels mean special low-dispersion glass elements. Canon uses UD while Nikon prefers ED designations.
Reading the Specs
Lens specifications reveal fringing performance before you buy. Check reviews specifically mentioning color separation at wide apertures. Real-world testing shows problems faster than the manufacturer claims.
Professional reviews test lenses at extreme contrast edges. They shoot backlit subjects and measure color separation. These tests expose problems that casual shooting might miss.
Modern lens designs from 2025 use better glass and coatings. Computer-aided design minimizes optical flaws better than ever. Even budget lenses now control fringing better than premium glass from ten years ago.
Prime vs Zoom Performance
Prime lenses naturally prevent chromatic aberration better than zooms. Their simpler designs use fewer glass elements. Each element you add creates another chance for light splitting.
A 50mm f/1.8 prime typically shows less fringing than a 24-70mm zoom. The prime’s straightforward design keeps wavelengths together better. This holds true across all price ranges.
Zoom lenses work harder, maintaining focus across their range. Glass elements inside move and shift as you zoom. This complexity makes perfect color convergence tougher throughout the zoom range.
Smart Shooting Methods
Chromatic aberration prevention improves dramatically with better shooting habits. Simple changes reduce fringing before you even import images. These methods work with any lens you own.
Stop down your aperture by one or two stops from wide open. Shooting at f/5.6 instead of f/2.8 cuts longitudinal fringing significantly. The smaller opening forces light through the lens center, where glass quality peaks.
Working With Aperture
Wide apertures create way more fringing than stopped-down settings. Light passing through the lens edges bends more dramatically. The outer portions of glass elements show more optical flaws.
Most lenses perform best around f/5.6 to f/8 for sharpness and clean edges. This sweet spot balances diffraction with optical quality. You sacrifice some shallow depth of field but gain cleaner results.
Extreme apertures like f/1.4 or f/2 show maximum fringing potential. Use these settings only when absolutely necessary for creative effects or shooting conditions.
Shooting RAW Files
Always shoot RAW when chromatic aberration matters. RAW files preserve complete color data for fixing later. JPEG files bake in processing that limits your correction options.
RAW gives you the flexibility to remove fringing without quality loss. Modern editing software includes powerful chromatic aberration tools. These work best with unprocessed RAW data.
Camera JPEG processing applies some automatic fringing correction. But this automatic approach can’t match manual RAW adjustments. You lose control over how the camera fixes things.
Composition Tips That Work
Chromatic aberration prevention extends to how you frame shots. Smart composition choices minimize situations where fringing appears. These techniques need no special gear or settings.
Here’s what helps most when composing your shots:
- Keep high-contrast edges away from frame borders where fringing hits hardest
- Center your subjects to avoid problem zones in corners
- Watch your background choices to minimize extreme contrast
- Position yourself to reduce backlit situations when possible
Controlling Your Lighting
Backlit situations create the worst chromatic aberration conditions. Bright light behind dark subjects maximizes contrast where fringing shows. Reposition yourself or wait for better light when you can.
Overcast days produce more even lighting without extreme contrast. Clouds diffuse sunlight and reduce harsh edges. Your lens handles these gentler transitions way better than bright sun against shadow.
Golden hour creates beautiful warm tones, but also strong contrast. The low sun angle produces dramatic backlighting. Watch for fringing around silhouetted subjects during these times.

Using Your Lens Hood
Always use a lens hood for chromatic aberration prevention. Hoods block stray light from hitting your front element at weird angles. This reduces internal reflections that worsen optical flaws.
Stray light bouncing around inside your lens hurts image quality overall. It lowers contrast and creates weird color shifts. A proper hood keeps light paths cleaner through the glass.
Generic hoods work okay, but lens-specific designs perform best. They’re shaped to match your exact focal length without vignetting. The investment pays off in consistently better quality.
Filter Quality Matters
Cheap filters add another glass surface that can split light. Low-quality UV filters often create more problems than they solve. If you need protective filters, buy quality options.
High-end filters use multi-coated glass that minimizes light splitting. They cost more but won’t hurt your expensive lens’s performance. Think of them as transparent lens hoods with physical protection.
Some photographers skip protective filters entirely on premium lenses. They rely on lens hoods and careful handling instead. This removes one potential source of chromatic aberration completely.
Special Filter Concerns
Polarizing filters need extra attention for chromatic aberration. They add thick glass that light must pass through. Cheap polarizers show noticeable fringing in high-contrast scenes.
Quality polarizing filters from reputable brands minimize this issue. Look for multi-coated options designed for digital cameras. The extra cost buys cleaner color separation.
Graduated neutral density filters can cause problems, too. The transition zone between clear and dark often shows fringing. Position the graduation away from high-contrast edges when you can.
Zoom Range Strategy
Chromatic aberration prevention means using your zoom lens smartly. Extreme focal lengths show more fringing than mid-range settings. The 24mm and 200mm ends of a 24-200mm zoom struggle most.
Stick to the middle third of your zoom range for best results. A 24-70mm lens performs best around 35-50mm typically. Plan your shots to work within this sweet spot.
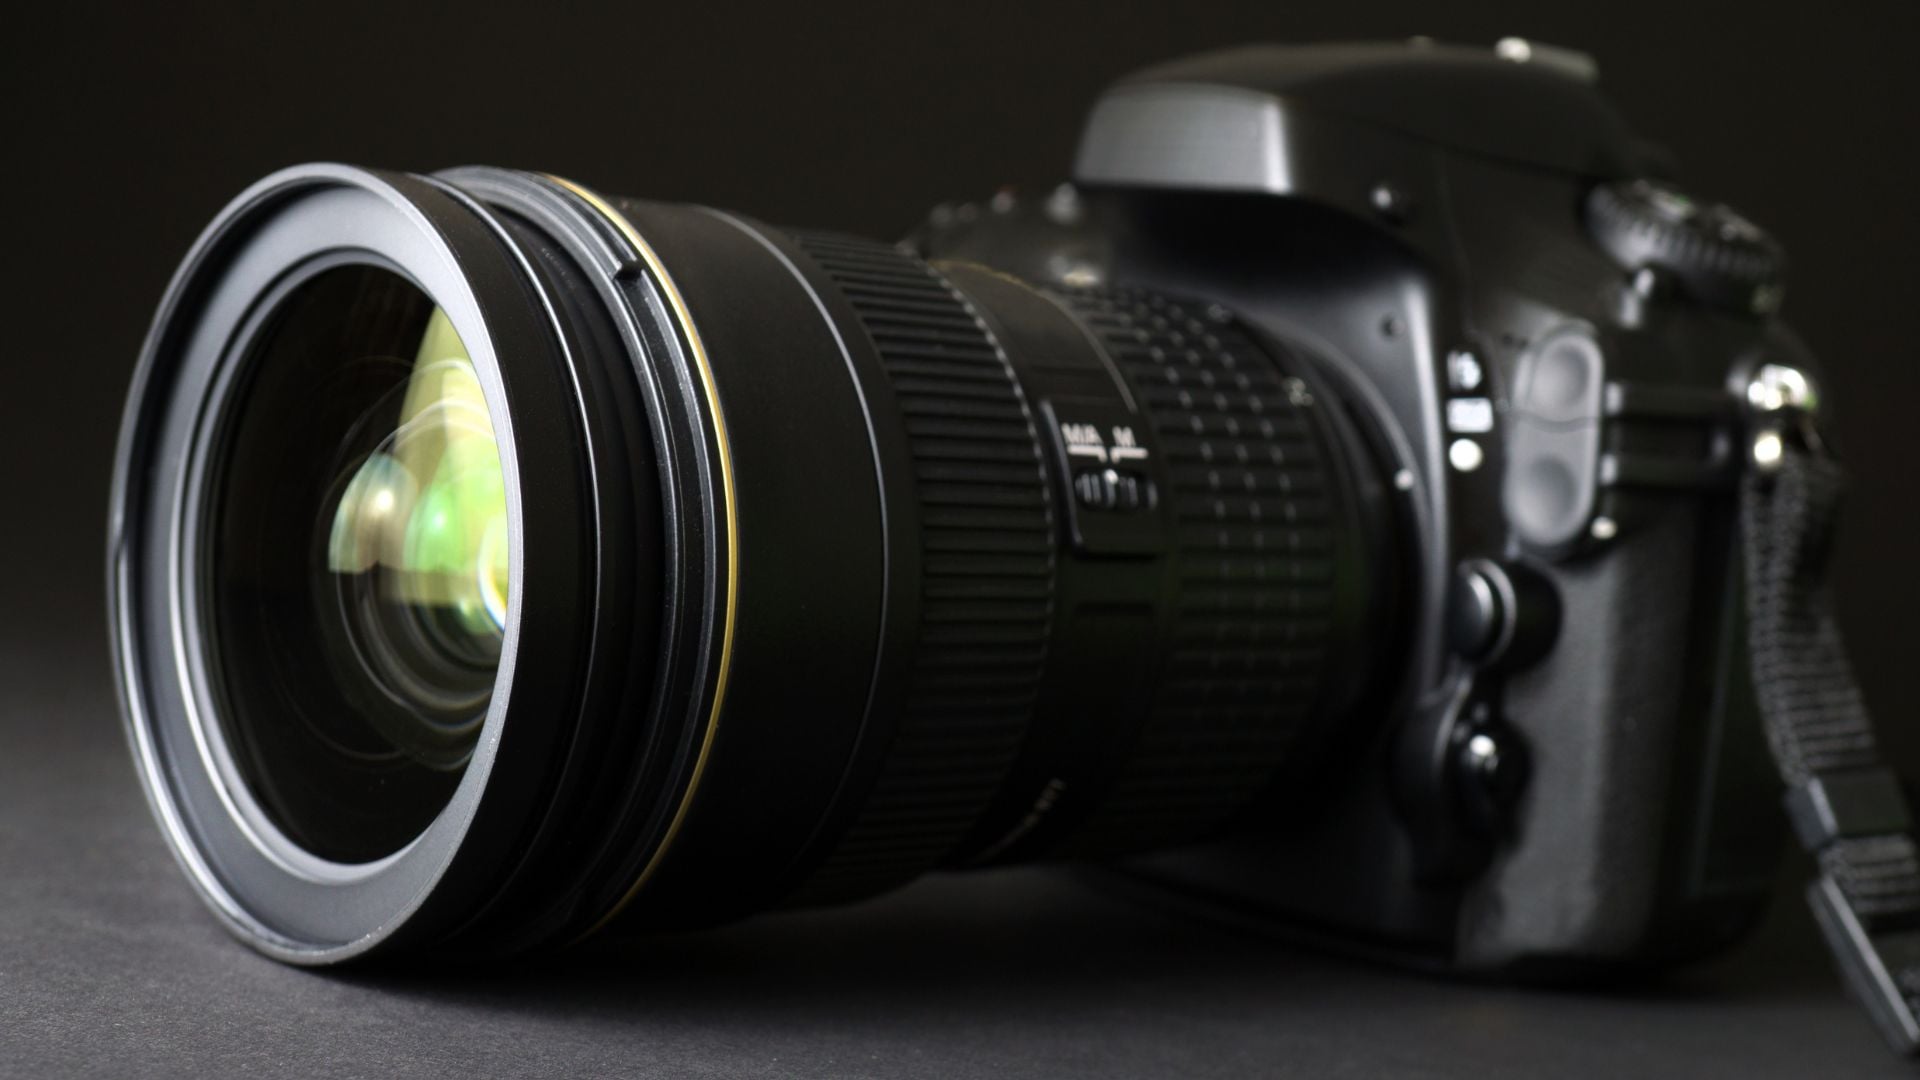
Wide-angle extremes bend light more dramatically. Telephoto extremes magnify any optical flaws. Both create tough conditions for chromatic aberration control.
Planning Your Shots
Choose appropriate focal lengths before shooting starts. Know which range your lens handles best. This planning prevents you from using problematic focal lengths unnecessarily.
A 70-200mm lens typically rocks from 100-150mm. Use those lengths for critical shots. Save the extreme ends for when you absolutely need that specific framing.
Multiple lenses often work better than one super-zoom. A 24-70mm plus 70-200mm combo gives you flexibility without extreme zoom ranges. Each lens operates closer to its optical sweet spot.
Fixing It After Shooting
Even with perfect chromatic aberration prevention techniques, some fringing may appear. Modern editing software fixes most of it quickly. According to Adobe’s guides, automated tools work surprisingly well for common fringing.
Lightroom and Photoshop include dedicated chromatic aberration removal. These tools detect color fringes and remove them selectively. The process takes seconds once you know where to look.
Automated Tools
Enable lens profile corrections in Lightroom or Camera Raw. These profiles contain chromatic aberration data for thousands of lenses. The software automatically fixes your specific lens’s tendencies.
Manual sliders give you fine control beyond automatic fixes. The purple and green fringe sliders target specific color shifts. Adjust these when automatic correction misses subtle fringing.
Most modern cameras also apply correction inside the camera body. Check your camera menu for chromatic aberration settings. Enabling these helps even JPEG shooters reduce visible fringing.
Manual Cleanup Methods
Photoshop offers more precise chromatic aberration removal than Lightroom. The Camera RAW filter provides the same controls but with layer flexibility. This lets you correct specific image areas selectively.
Color correction selections target fringing colors specifically. Select purple or green fringes and desaturate them completely. This option works when automatic tools fail.
Some extreme cases need manual cleanup with clone or healing tools. Paint away the remaining fringes carefully at high magnification. This work becomes unnecessary with proper shooting technique.

Different Photography Types
Chromatic aberration prevention requires different approaches for various shooting styles. Landscape photography faces different challenges than portraits or architecture.
Landscape shooters deal with busy tree branches against skies constantly. These create maximum contrast edges where fringing loves to appear. Stop down to f/8 or f/11 and avoid frame edges.
Portrait Work
Portrait photography rarely shows chromatic aberration issues. The softer contrasts and centered compositions naturally avoid problem areas. Wide apertures for shallow depth create more risk, though.
Position your subject away from bright windows when shooting indoors. Backlighting creates harsh contrast that reveals fringing. Use reflectors to fill shadows instead.
Portrait lenses typically include good chromatic aberration correction. Fast 85mm and 135mm primes use quality glass. Makers know these lenses get used wide open regularly.
Architecture Shooting
Architectural photography battles chromatic aberration heavily. Straight building edges against bright skies create perfect fringing conditions. Every corner and window frame becomes a potential problem area.
Shoot during blue hour when sky brightness drops closer to building lights. The reduced contrast helps your lens perform better. According to Digital Photography School, this timing significantly cuts visible fringing in architectural work.
Use tilt-shift lenses if you shoot architecture seriously. These specialized lenses correct perspective and typically include excellent chromatic aberration control. The investment makes sense for professionals.
Wildlife and Action
Telephoto lenses for wildlife and sports magnify chromatic aberration issues. Long lenses use many glass elements that compound fringing problems. Premium super-telephoto lenses justify their prices partly through superior chromatic aberration control.
Shoot at f/5.6 or f/8 when possible for cleaner edges. Sports and wildlife action often demands faster shutter speeds. Bump your ISO rather than opening your aperture too wide.
Wildlife photography in harsh midday sun creates difficult conditions. Early morning and late afternoon lighting provide gentler contrast. Plan your shoots around better light quality.
Caring for Your Gear
Keeping your lenses clean helps reduce chromatic aberration. Dirty glass scatters light in unpredictable ways. This random scattering can worsen existing chromatic aberration tendencies.
Clean your front and rear elements regularly with proper tools. Microfiber cloths and lens cleaning solution remove oils and dust. Don’t let grime build up over time.
Check for fungus growth inside older lenses. Fungus eats into lens coatings and creates optical flaws. Store lenses in dry conditions to prevent this problem.
Impact Effects
Dropping lenses can knock optical elements out of alignment. This misalignment creates or worsens chromatic aberration. Even minor impacts affect precision optical systems.
Older lenses may show increasing chromatic aberration over time. Lens cement between elements can yellow or separate. Coatings degrade from UV exposure and cleaning chemicals.
Consider professional lens servicing for valuable glass. Technicians can clean internal elements and verify alignment. This maintenance extends lens life and performance.
Chromatic Aberration in Photography
Chromatic aberration prevention combines smart lens choices with good shooting habits. Buy quality glass that includes low-dispersion elements when the budget allows. Use lens hoods, avoid extreme zoom settings, and stop down your aperture slightly.
Stay aware of composition to keep problem areas away from frame edges. Watch for harsh backlighting that maximizes contrast. Position subjects centrally and work with even lighting when you can.
Modern post-processing tools fix remaining fringing quickly. Enable automatic lens corrections and use manual sliders for stubborn cases. The combination of prevention and correction delivers clean, professional images every time.
See more from DIYPhotography.net on Google
Add DIYPhotography.net as a trusted source. This makes
our stories more likely to appear in your Google Search results.
 Add as a preferred source on Google

Darlene Lleno
Darlene Lleno brings a unique perspective to DIY Photography as someone who grew up surrounded by camera gear but chose words over lenses. With five years of writing experience, she specializes in photography content that’s both technically informed and genuinely passionate. Growing up with a photographer twin brother meant camera talk was everyday conversation in her household. While he mastered capturing moments, Darlene discovered she preferred being the subject and the storyteller behind the scenes. As a travel enthusiast and mother of two, she understands the importance of preserving life’s precious moments. When not exploring new destinations or writing for DIY Photography, you’ll find her reading or tending to her garden. Her approach to photography writing is refreshingly authentic, she may not be behind the camera, but she knows exactly what it takes to help others capture the shots that matter most.
Related Posts
 Quick Tip: how to precisely detect and remove chromatic aberration in Lightroom
 How to use frequency separation to remove chromatic aberration and colour fringing
 New Flat Lenses Technology Could Offer Smaller Lenses with Zero Chromatic Aberration
 This is how Canon’s Spherical Aberration dial works on the new RF 100mm f/2.8 macro
Join the Discussion
DIYP Comment Policy
Be nice, be on-topic, no personal information or flames.
One response to “What Is Chromatic Aberration and How to Avoid It”
You forgot to mention the existence of apochromatic lenses, built exactly to fix the problem