


Bounce Flash Basics: How to Use Your Ceiling as a Giant Softbox
Jan 30, 2026
Darlene Lleno
Darlene Lleno brings a unique perspective to DIY Photography as someone who grew up surrounded by camera gear but chose words over lenses. With five years of writing experience, she specializes in photography content that’s both technically informed and genuinely passionate. Growing up with a photographer twin brother meant camera talk was everyday conversation in her household. While he mastered capturing moments, Darlene discovered she preferred being the subject and the storyteller behind the scenes. As a travel enthusiast and mother of two, she understands the importance of preserving life’s precious moments. When not exploring new destinations or writing for DIY Photography, you’ll find her reading or tending to her garden. Her approach to photography writing is refreshingly authentic, she may not be behind the camera, but she knows exactly what it takes to help others capture the shots that matter most.
Share:

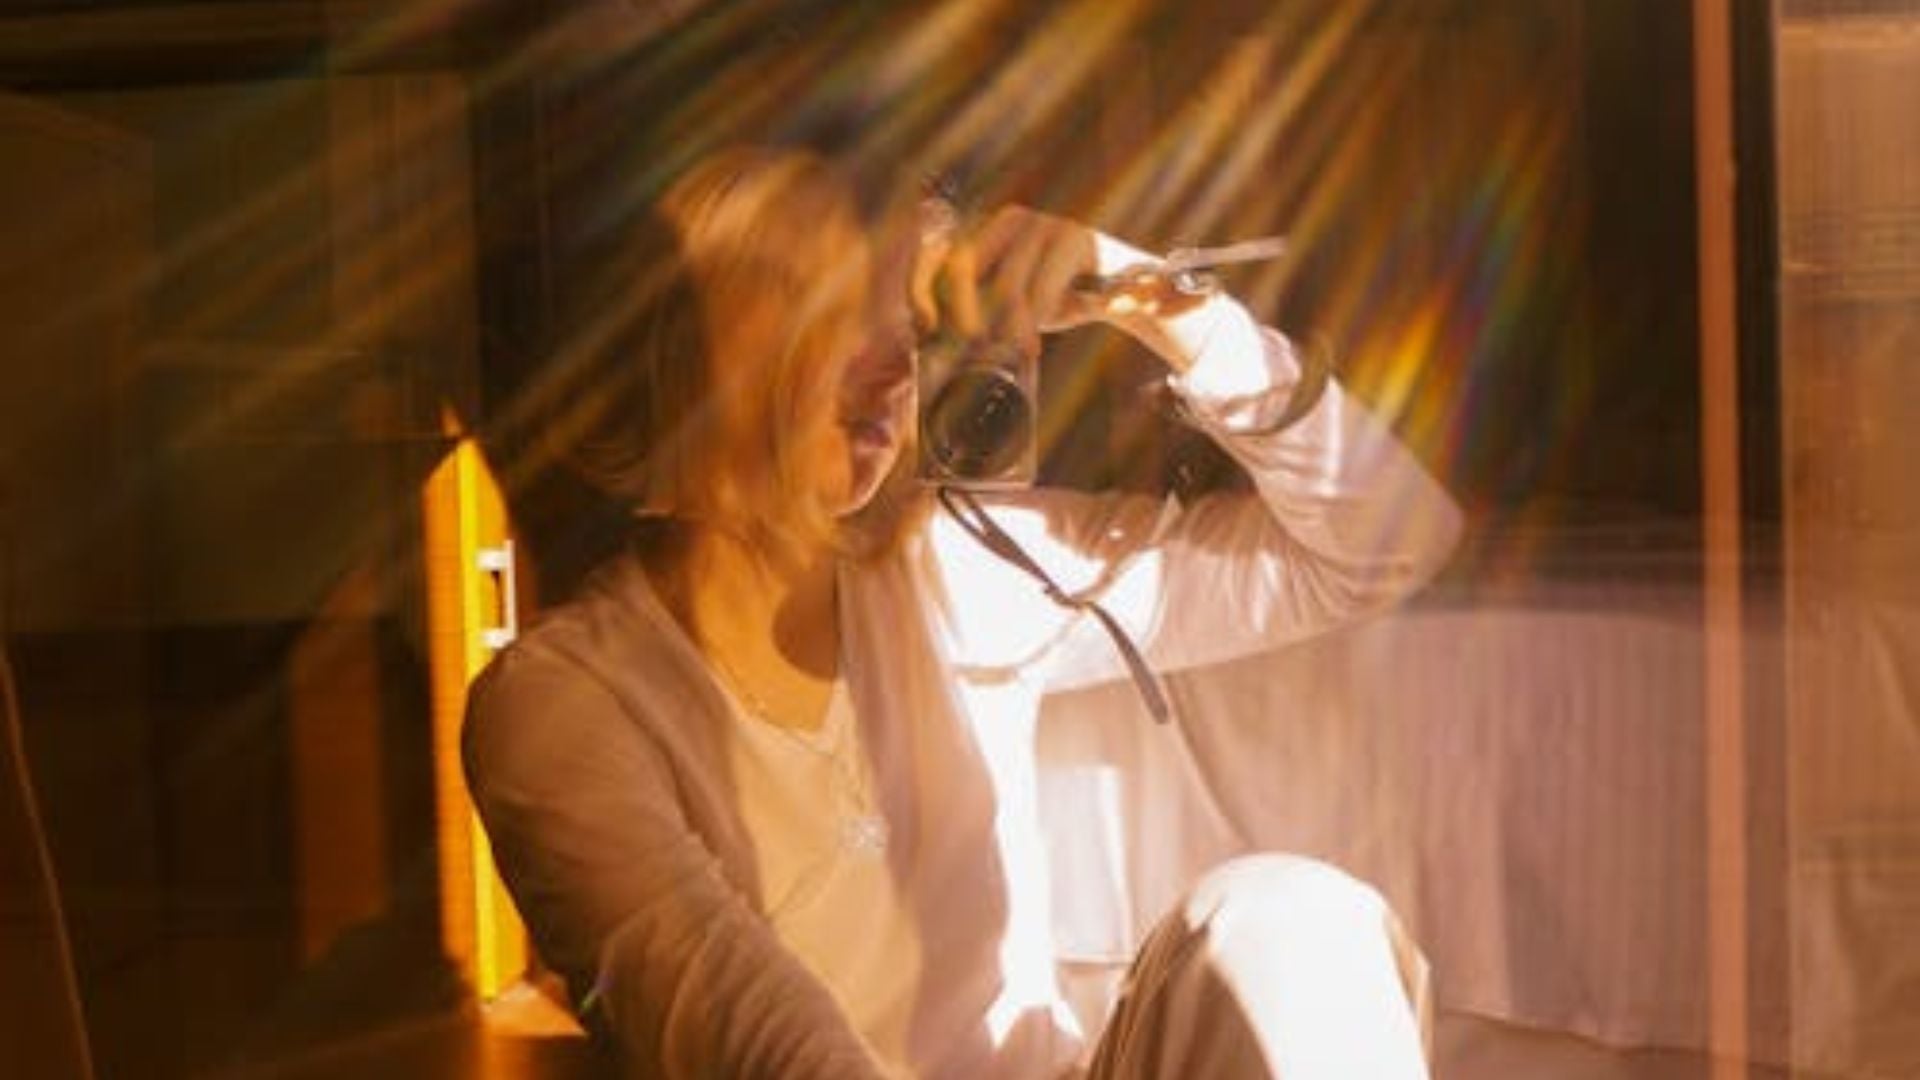
Learning bounce flash basics transforms your indoor photography from harsh and unflattering to soft and professional. Most photographers struggle with direct flash because it creates hard shadows and washes out their subjects. But there’s a simple fix that costs nothing and works with any speedlight you already own.
YOUR CEILING. Did you know that your ceiling can become a massive light modifier? When you angle your flash toward the ceiling instead of pointing it straight at your subject, the light bounces back down, spreading across the room like a giant softbox suspended overhead.
Why Direct Flash Creates Problems
Direct flash sits on your camera and fires straight ahead. The light travels in a narrow beam, hitting your subject with full intensity. Shadows form behind people, appearing dark and distracting. Eyes get that red-eye effect from the flash entering the retina at the wrong angle. Skin looks shiny, and the texture disappears under the harsh light.
The science behind bounce flash is straightforward. Light quality depends on the size of the light source relative to your subject. A small speedlight head produces hard light. A 10-foot ceiling reflecting that same flash output becomes a massive light source, creating soft light that wraps around your subject.
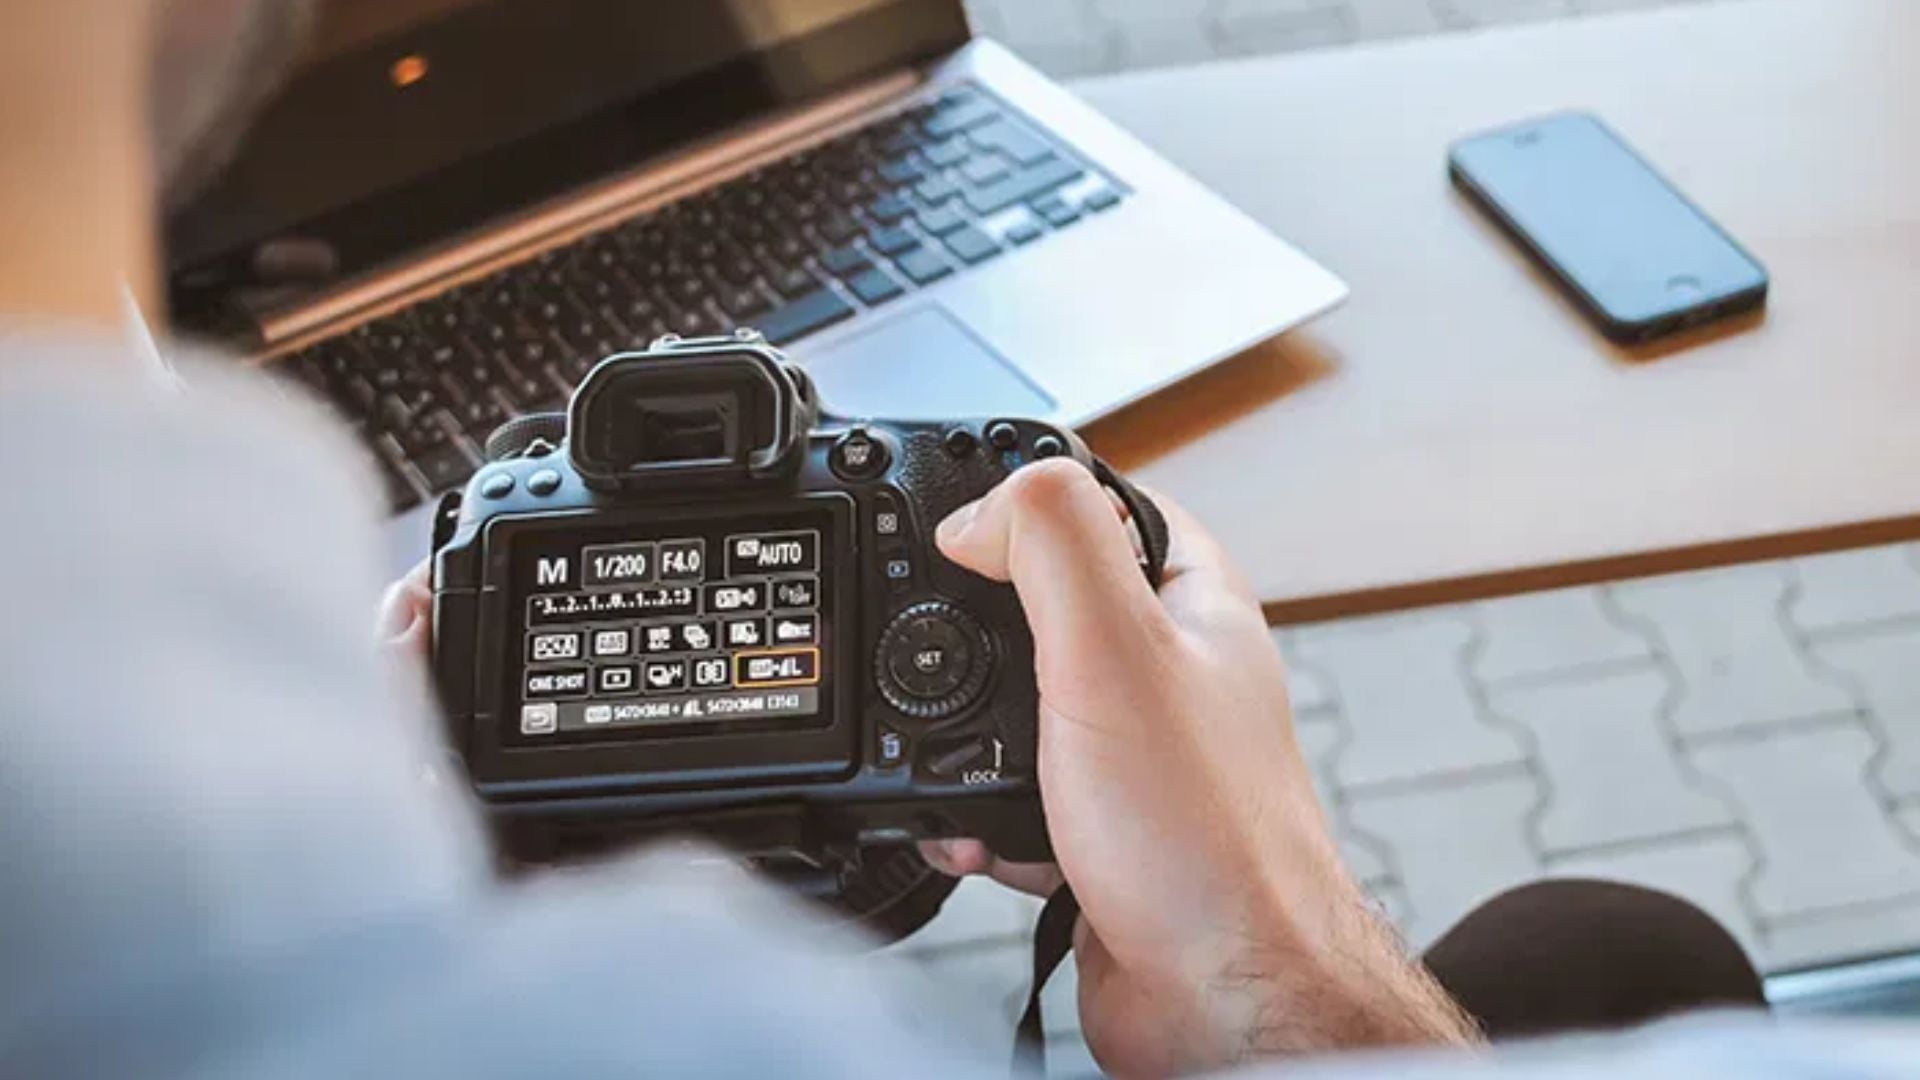
Essential Bounce Flash Basics Setup
Getting your equipment ready for bounce flash takes just a few minutes. Your speedlight needs a tilting head, and your camera settings need proper adjustment to capture the bounced light effectively.
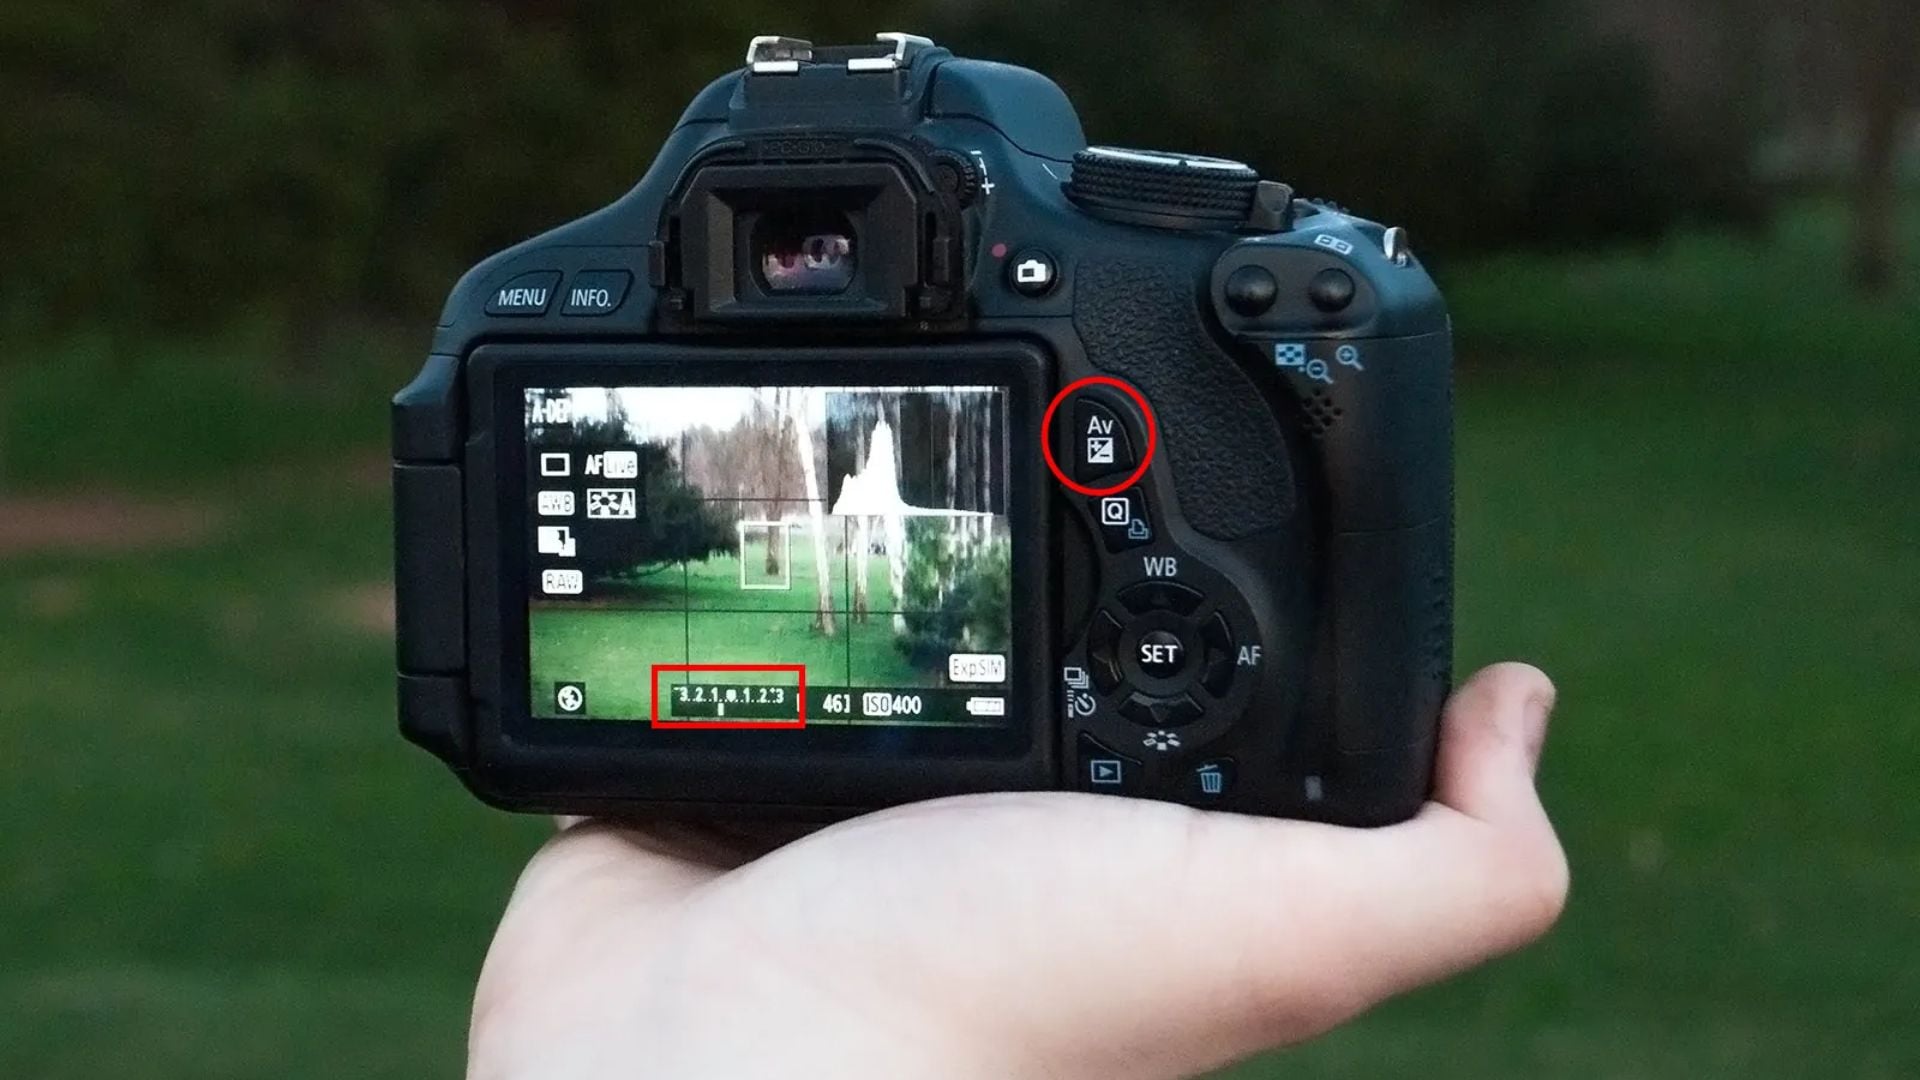
Camera Settings That Work
Start with these baseline settings and adjust based on your results:
- Aperture: Set between f/2.8 and f/5.6 to let in ambient light
- ISO: Begin at 400-800 for standard ceiling heights
- Shutter Speed: Keep at 1/60th or slower to capture room ambiance
- Flash Mode: Use TTL if available, or start manual at 1/2 power
Your shutter speed matters less with bounce flash because the flash freezes action. Keeping it slower captures ambient light from the room, creating a natural look where flash supplements existing light instead of overpowering it.
Flash Head Positioning
Your speedlight head needs proper positioning to bounce light effectively. Most modern flashes tilt up to 90 degrees and swivel left or right. Push the locking mechanism button and rotate the head until it points straight up at the ceiling. This 90-degree position works for most standard shooting situations with 8 to 10-foot ceilings.
Core Bounce Flash Techniques
Different shooting situations call for different bounce angles and approaches. These fundamental techniques form the foundation of professional bounce flash work.
Standard Ceiling Bounce
Point your flash head straight up at 90 degrees. This works for most situations where you want even, flattering light on your subject. Stand about 6 to 10 feet from your subject for best results. The light travels up, spreads across the ceiling, and bounces down to illuminate your subject from above. This creates soft, portrait photography lighting similar to expensive studio setups.
Angled Bounce Method
Tilt your flash head to 60 or 75 degrees instead of straight up. This reduces the distance light travels, giving you more power. The angle also creates subtle shadows that add dimension to faces. Use this when you need more flash power or want slightly more dramatic lighting that reveals facial structure.
Wall Bounce Approach
Rotate your flash head to the side so it points at a nearby wall when ceilings are too high or the wrong color. The wall becomes your light source, providing side lighting that creates shape and form. This works great for three-quarter portraits where you want to emphasize facial features and add depth to your images.
Solving Common Bounce Flash Problems
Every photographer encounters challenges when learning bounce flash basics. Understanding these issues and their solutions saves time and frustration during shoots.
Ceiling Color Issues
White ceilings reflect light perfectly without adding color casts. Colored ceilings tint your photos, requiring correction in post-processing or custom white balance adjustments. Here’s how different ceiling colors affect your shots:
- Beige/Cream: Adds warm tones that often look natural in portraits
- Wood/Brown: Creates heavy, warm casts that need correction
- Blue/Green: Produces obvious unnatural color problems
- Dark Colors: Absorb light, requiring increased flash power or ISO
Height Challenges
Low ceilings under 7 feet create overly bright results. The short distance gives your flash too much efficiency. Reduce flash power to 1/4 or 1/8 strength, or add a diffuser to cut output. High ceilings over 12 feet spread light too thin. Increase ISO to 1600 or open your aperture wider to f/2.0 if your lens allows it.
Power Management
Bounce flash uses more power than direct flash because light travels farther. Your flash drains batteries faster and takes longer to recycle between shots. Carry spare batteries and consider an external battery pack for event work. Modern rechargeable batteries provide consistent power throughout long shooting sessions.
Advanced Bounce Flash Strategies
Once you master basic ceiling bounce, these advanced techniques expand your creative options and improve results in challenging situations.
Multiple Surface Bouncing
Point your flash at the corner where a wall meets the ceiling. The light bounces off both surfaces, spreading evenly across the room. This creates wraparound lighting that eliminates harsh shadows completely. The technique works particularly well for group photos where you need even coverage across multiple people.
Flash Zoom Control
Your speedlight’s zoom setting changes the beam angle and light concentration. Wide zoom settings like 24mm spread light across more ceiling area, creating softer but weaker output. Narrow settings like 105mm concentrate light in a tighter beam, bouncing with more intensity. Match your Zoom setting to your lens focal length for the most efficient light use.
Feathering Technique
Point your flash slightly behind or beside your subject instead of directly over them. The edge of the light beam hits your subject with softer, more gradual illumination. This prevents hot spots in the center of your frame while maintaining good exposure overall. Professional photographers use feathering to create subtle lighting gradations that add depth to portraits.
Real-World Applications
Bounce flash basics work across different photography situations. Understanding how to adopt the technique for specific scenarios produces consistently professional results.
Event Photography
Receptions, parties, and corporate events take place in venues with various ceiling heights and colors. Scout your location early to identify problem areas. Position yourself to stay within range of white or light-colored ceilings. The soft, natural look of bounce flash helps you capture genuine moments without the obvious flash appearance that makes subjects self-conscious.
Home Photography Sessions
Living rooms with standard 8-foot ceilings work perfectly for bounce flash. Position your subject away from walls to prevent background shadows. The technique gives you studio-quality lighting without investing in expensive equipment or dedicating space to permanent setups.
Product and Detail Work
Small items on tables benefit from the overhead lighting quality that mimics natural window light. The soft shadows reveal product shapes without creating distracting dark areas. This approach works especially well for food photography, jewelry shots, and detail images where you need clean, professional lighting.
Equipment That Enhances Results
While bounce flash works with basic gear, certain accessories improve performance and expand your options in challenging conditions.
Diffusion domes spread light in all directions, hitting ceilings, walls, and your subject simultaneously. These work well in tight spaces where you can’t predict the best bounce surface. External battery packs speed up recycling time between shots, giving you faster shooting and more consistent output during long sessions.
Light meters help you nail exposure when shooting manually. Point your meter at your subject from the camera position to measure the light actually reaching them. Adjust flash power until your meter reading matches your chosen aperture for perfect exposure every time.
Take Your Bounce Flash Basics to the Next Level
Bounce flash basics give you professional lighting results with equipment you already own. The technique requires practice to master, but the improvement in your photos makes the learning curve worthwhile. Start with simple ceiling bounces in rooms with white ceilings about 8 to 10 feet high for the easiest path to success.
Experiment with different bounce angles to see how they change your results. Straight up creates the softest, most even light. Angled bounces add direction and drama. Wall bounces introduce side lighting for more dimensional portraits. Keep shooting and reviewing your results to build experience that makes bounce flash second nature over time.

Darlene Lleno
Darlene Lleno brings a unique perspective to DIY Photography as someone who grew up surrounded by camera gear but chose words over lenses. With five years of writing experience, she specializes in photography content that’s both technically informed and genuinely passionate. Growing up with a photographer twin brother meant camera talk was everyday conversation in her household. While he mastered capturing moments, Darlene discovered she preferred being the subject and the storyteller behind the scenes. As a travel enthusiast and mother of two, she understands the importance of preserving life’s precious moments. When not exploring new destinations or writing for DIY Photography, you’ll find her reading or tending to her garden. Her approach to photography writing is refreshingly authentic, she may not be behind the camera, but she knows exactly what it takes to help others capture the shots that matter most.


Join the Discussion
DIYP Comment Policy
Be nice, be on-topic, no personal information or flames.