


A+ or F in 3rd Grade Art Class? This Print Technique will Put You at the Head of the Class
Oct 21, 2025
David Prochnow
Our resident “how-to” project editor, David Prochnow, lives on the Gulf Coast of the United States in Ocean Springs, Mississippi. He brings his expertise at making our photography projects accessible to everyone, from a lengthy stint acting as the Contributing How-To Editor with Popular Science magazine. While you don’t have to actually build each of his projects, reading about these adventures will contribute to your continued overall appreciation of do-it-yourself photography. A collection of David’s best Popular Science projects can be found in the book, “The Big Book of Hacks,” Edited by Doug Cantor.
Share:

Every 3rd grader will tell you that the best material for making an art project is construction paper. It can be shaped, colored, and glued into any creative form that one’s mind can imagine and it’s cheap, too. Woe becomes the young artist, however, who accidentally leaves a creative construction paper project exposed to the sunlight. In a matter of hours, a brilliant display of artistic genius can be transformed into a faded mess of former glory. It was the recent discovery of this fading process that led to this amazing “photographic” process article.
Before the complete exposé of this process is divulged to your curious mind, a word of disclosure: this is NOT a photographic procedure. In other words, a light-sensitive emulsion is not used in the preparation of this project. Therefore, a negative that is exposed with this technique will remain a negative on the resulting print. If this statement is still confusing, keep reading, and this negative print of a negative concept will become crystal clear.
While the notion of construction paper fading in direct sunlight is a well-known fact in the life of every young artist, adding a photographic negative into this scenario is not that common. This avoidance is understandable. There are three factors that make construction paper printmaking a very difficult proposition. First of all, the exposure time for thoroughly fading a piece construction paper into a recognizable piece of art is 10-15 hours of direct sunlight.
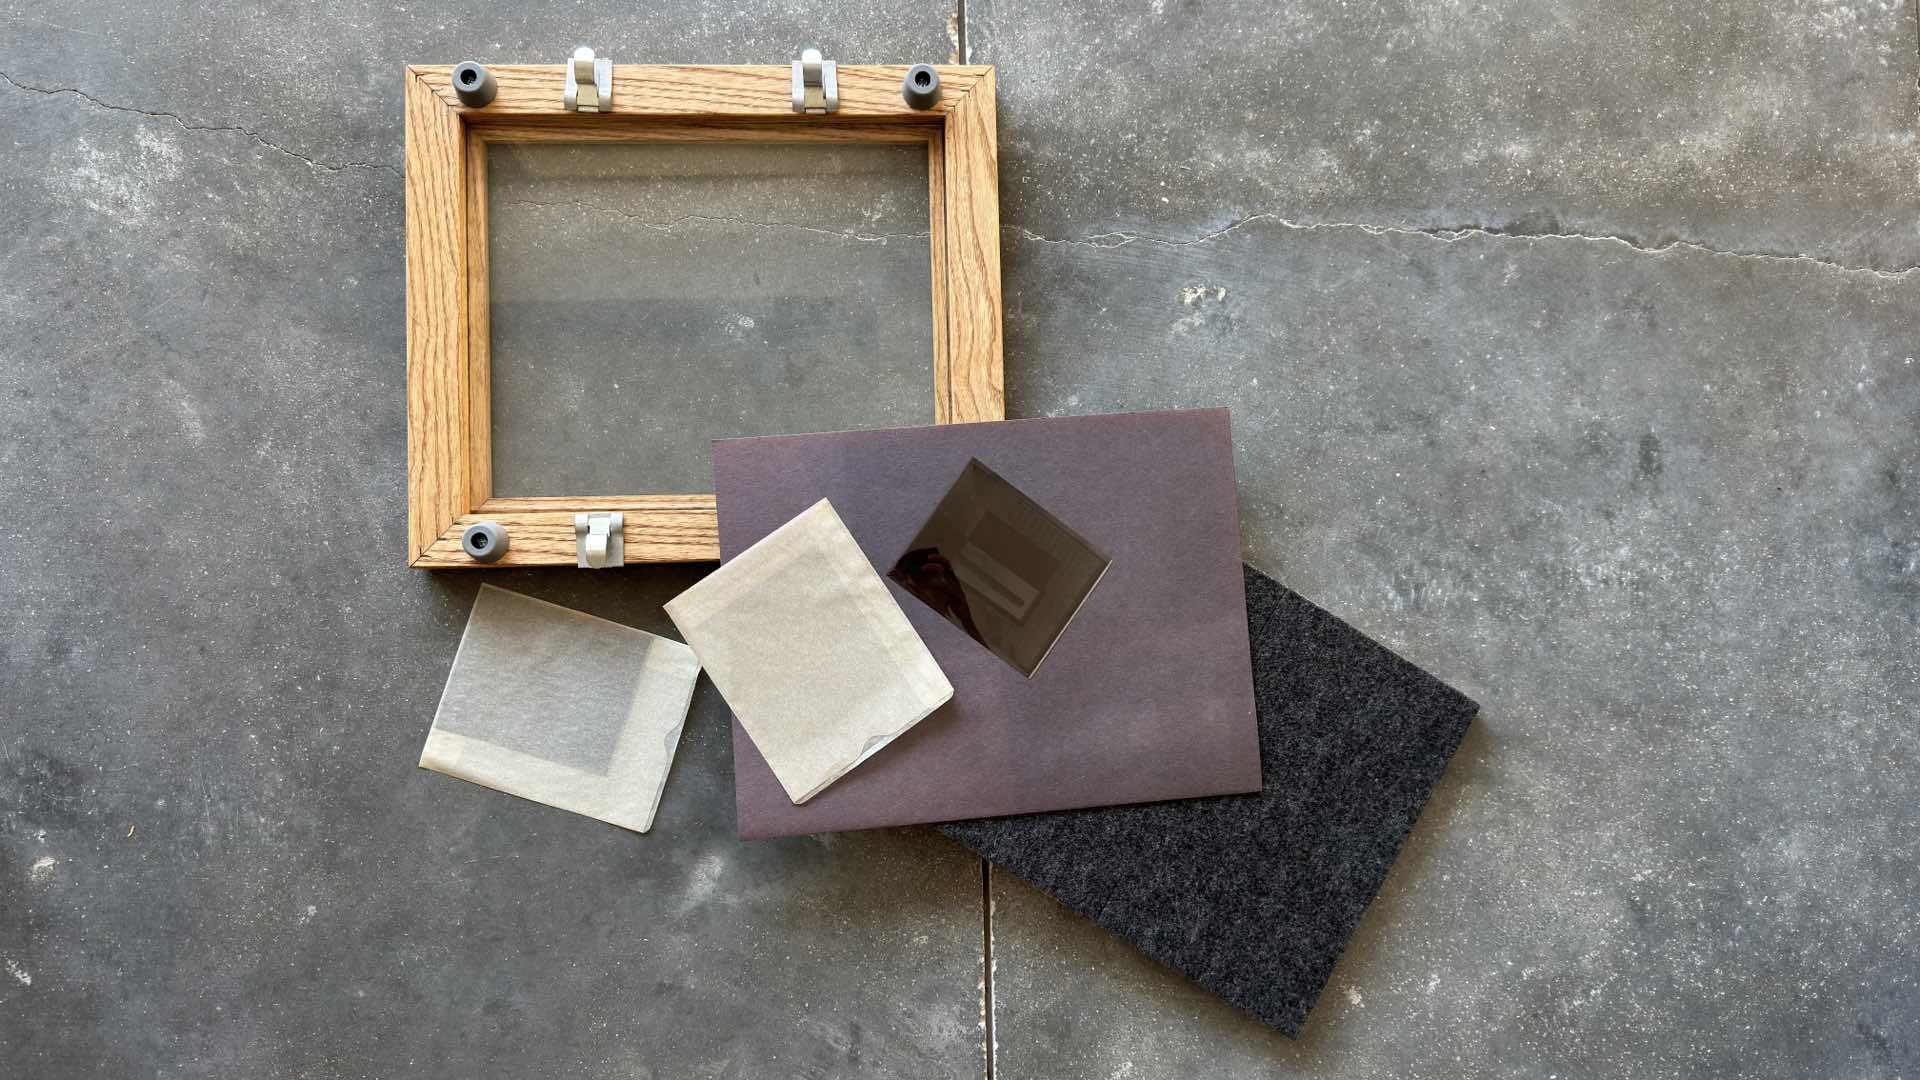
The second factor that limits construction paper “photographs” is the absolute requirement of holding the negative and construction paper in constant contact for the duration of the exposure. This problem can be easily solved with the purchase of a high-quality professional contact printing frame. Priced at $70.95, this frame can be a tough sell for making only one construction paper print–so, why not make 100s of prints?
Finally, having a suitable photographic negative for ensuring a good construction paper print could be difficult to obtain for most young artists. For example, a 35mm negative is not the ideal candidate for making these faded prints. The best source material is a large format, high contrast negative. Finding this type of negative will be the greatest challenge in making a good construction paper print.
Fade to Glory
Once you’ve met these three challenges, your final prerequisite is locating suitable construction paper. While any color of construction paper will work for making these prints, the best color is black. Black construction paper will show the most dramatic amount of fading which is essential for creating a truly exceptional construction paper print.
Finding the best construction paper for your printmaking will require testing a variety of samples. Please avoid any paper product that claims to be sulphite (sic) or “fade resistant!” Cheap black construction paper can be found at your local school supply store and online.
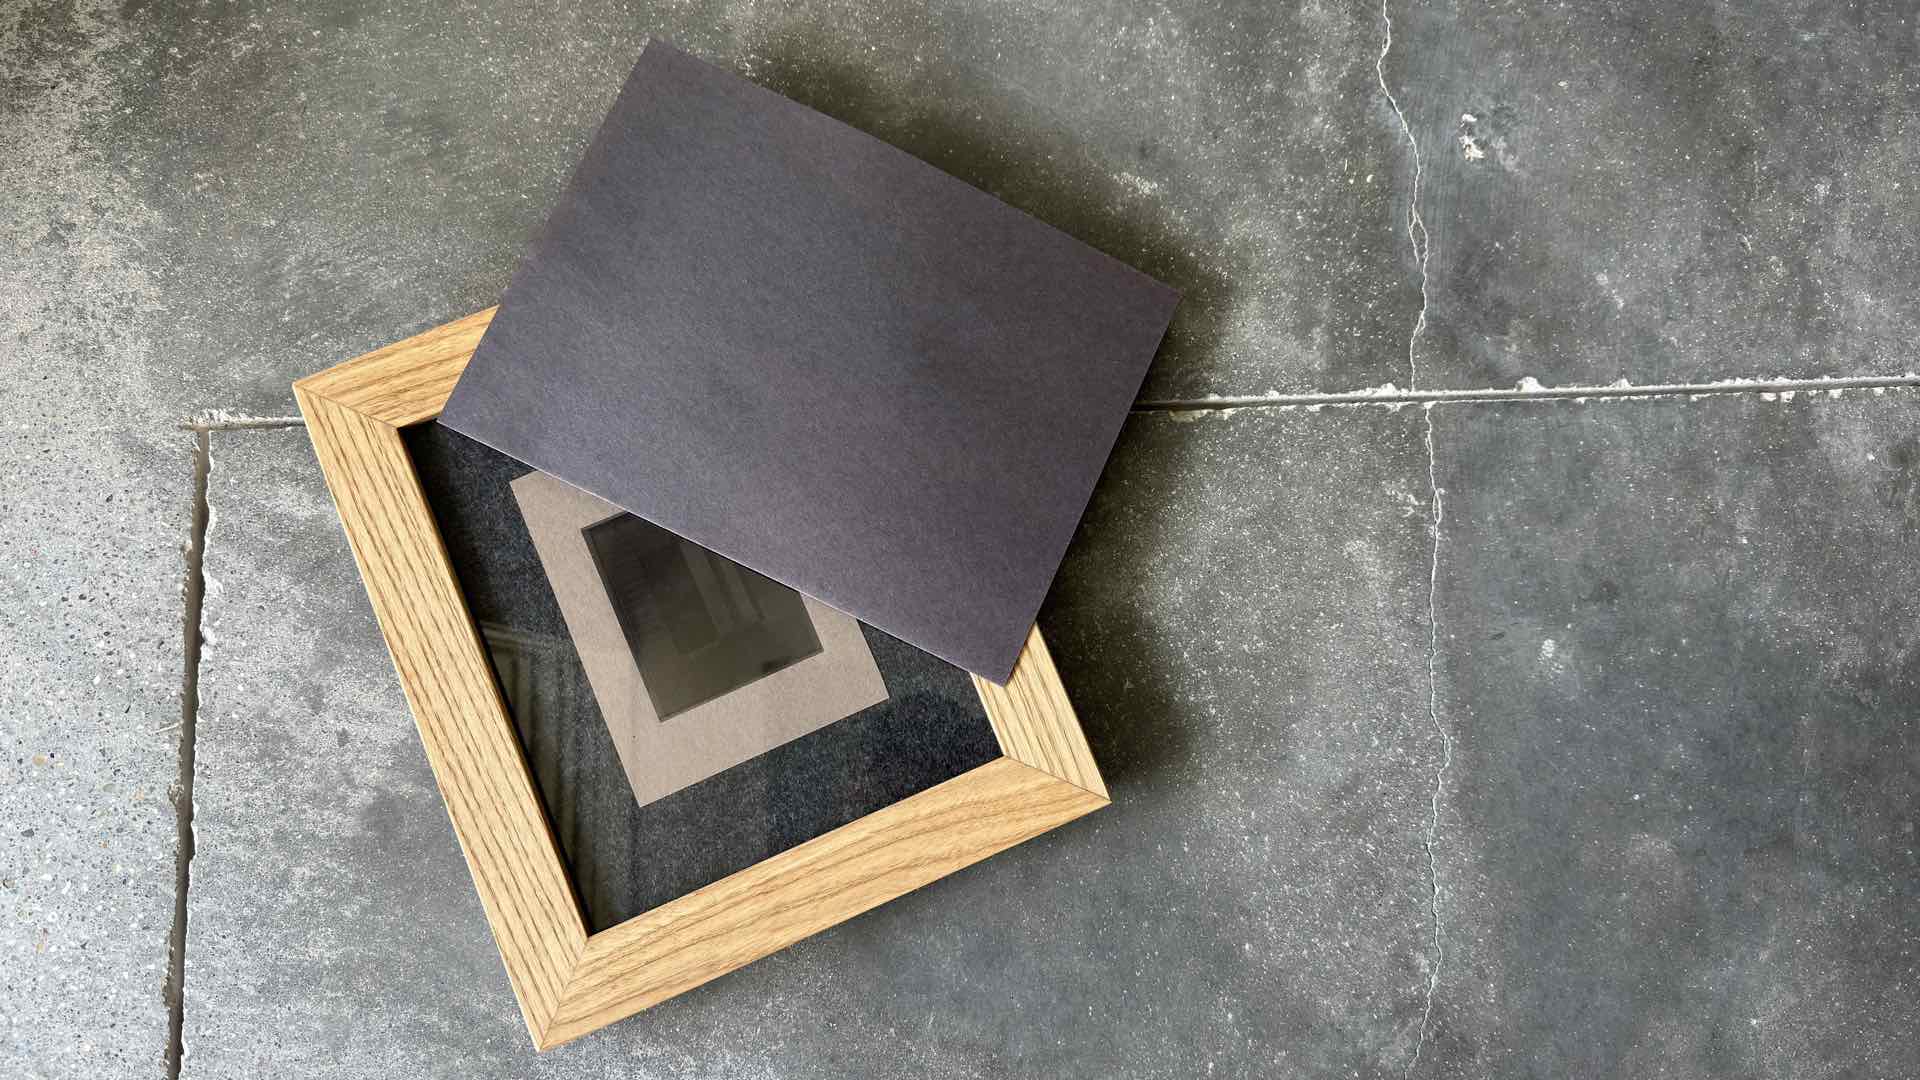
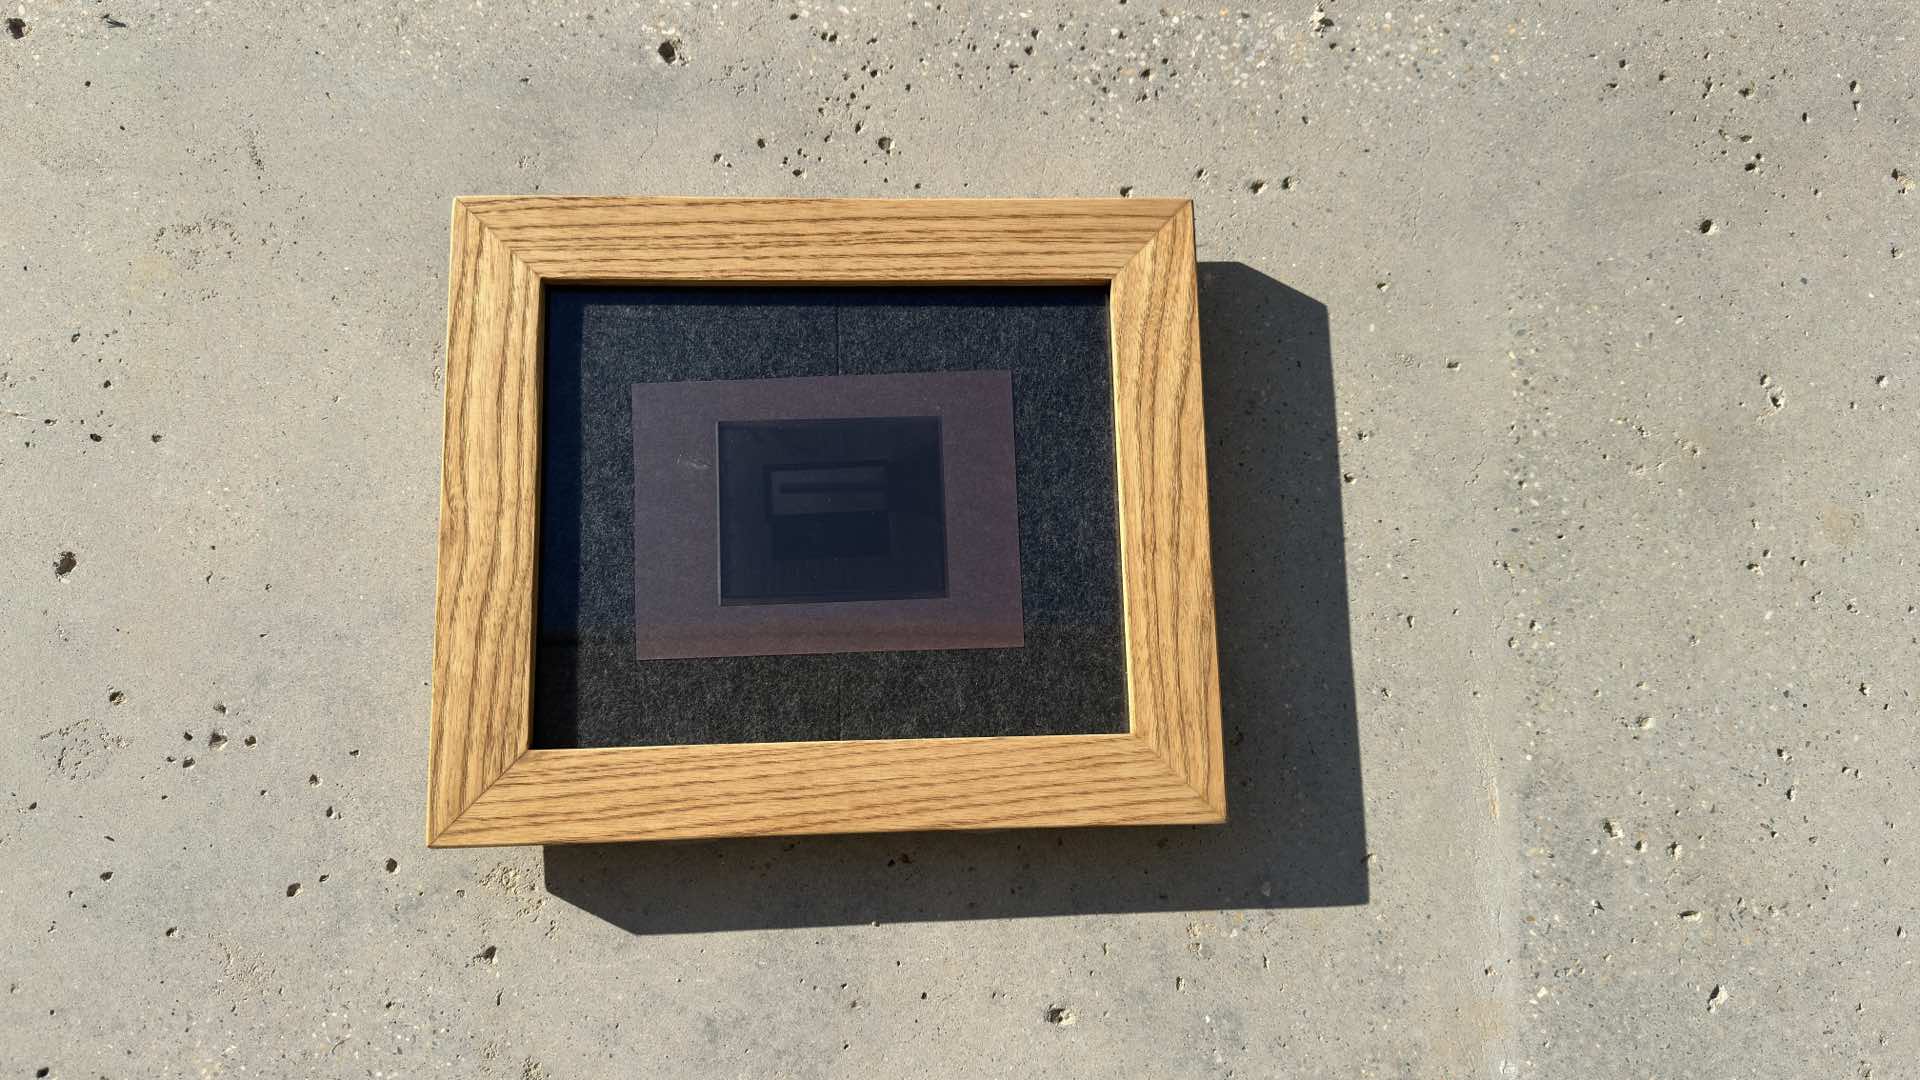
Once you’ve settled on your paper choice, the rest of this project is very straightforward. Simply sandwich a sheet of construction paper and your negative together inside your contact printing frame and place everything in direct sunlight. Make sure your placement is located away from foot traffic areas. Why? The proper exposure could take from 2-4 days worth of sunlight. The easiest way to evaluate the timing for the finished exposure is comparing the faded construction paper color against a sheet of unexposed paper. When the paper has been bleached to a light grey color, your exposure is complete.
Please note: Oh, and in case you’re wondering, a modern, properly processed negative will not be affected by this prolonged sunlight exposure.
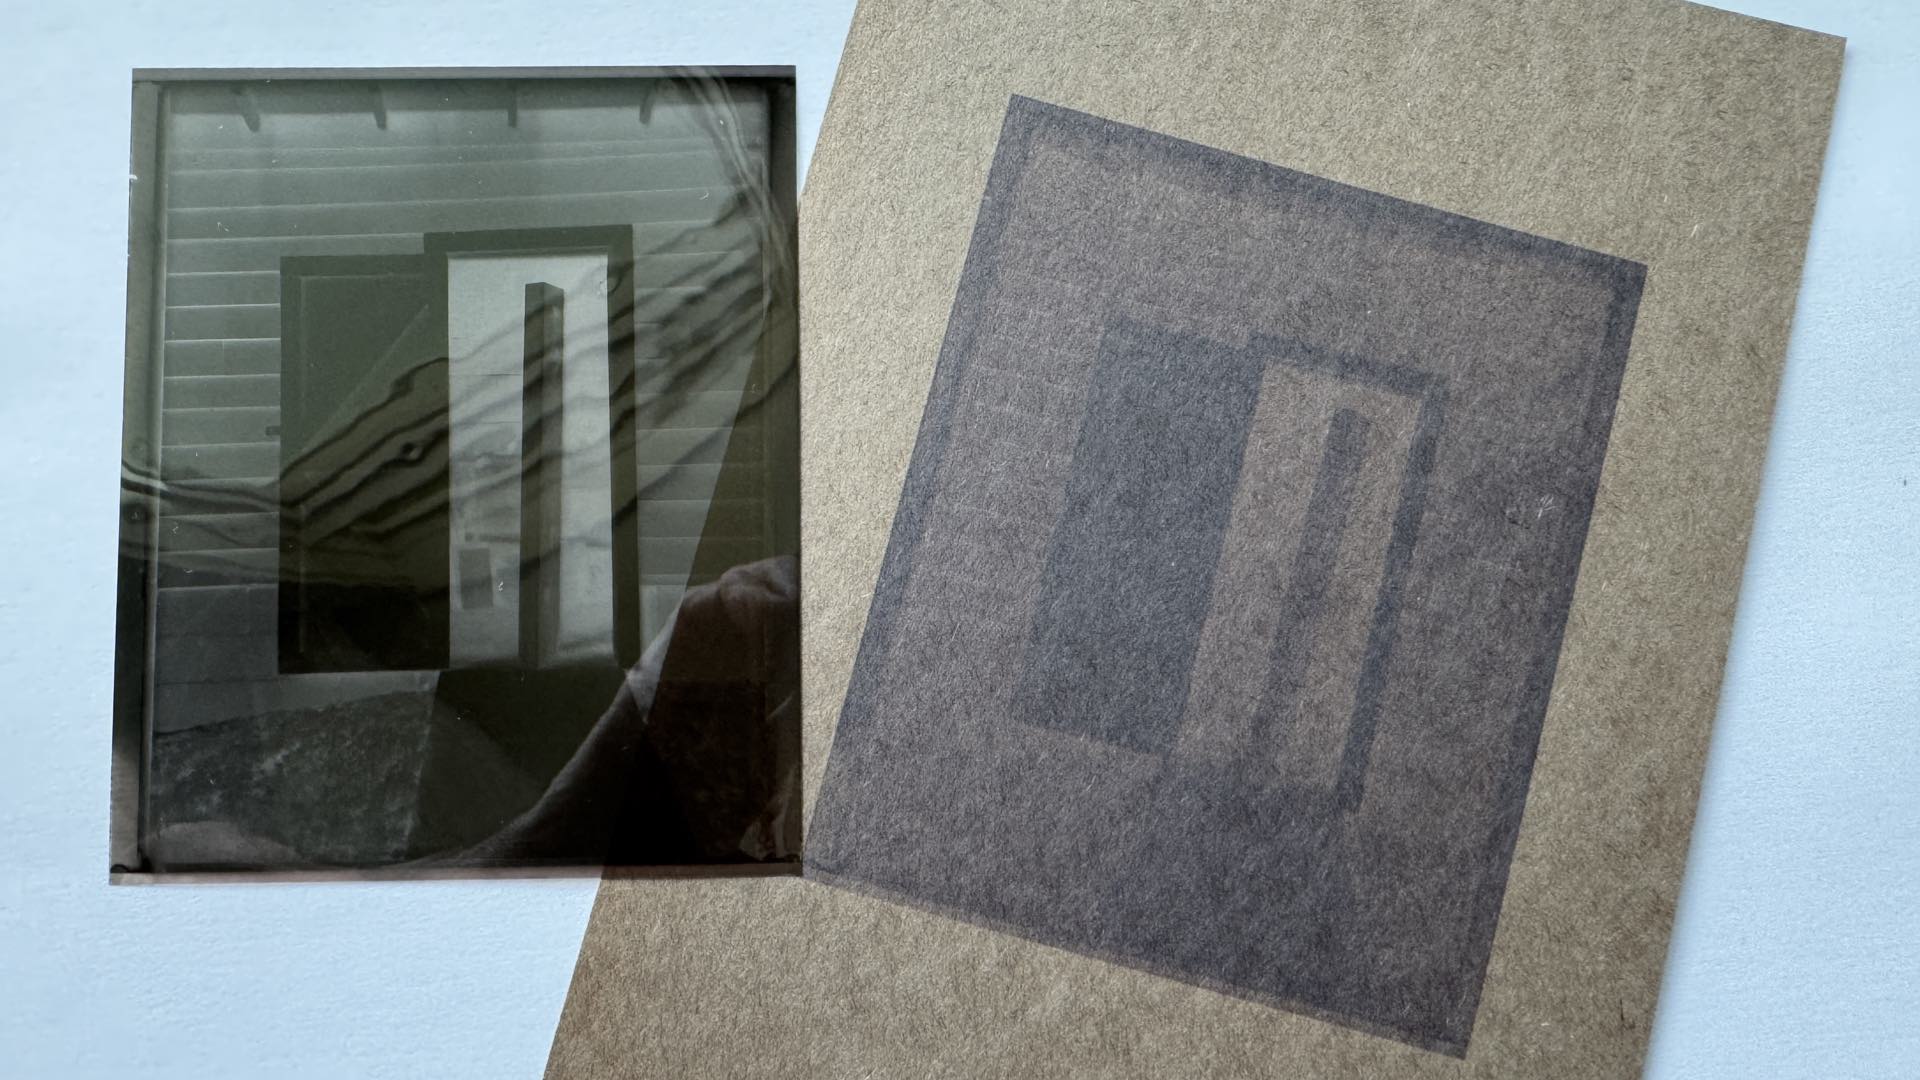
Remember your final print will be a negative, just like your original negative. Comparing these two negatives to each other should show you that the paper print has blended the image into the fibrous texture of the underlying paper. Appearing that the image is actually embedded within the fibers of the paper generates a tactile experience that is unlike anything you’ve ever seen in photography and forms the wondrous beauty of this creative project. When you obtain a successful construction paper print, give yourself an A+ and go to the head of the class because you just graduated from 3rd grade art class.
Enjoy.

David Prochnow
Our resident “how-to” project editor, David Prochnow, lives on the Gulf Coast of the United States in Ocean Springs, Mississippi. He brings his expertise at making our photography projects accessible to everyone, from a lengthy stint acting as the Contributing How-To Editor with Popular Science magazine. While you don’t have to actually build each of his projects, reading about these adventures will contribute to your continued overall appreciation of do-it-yourself photography. A collection of David’s best Popular Science projects can be found in the book, “The Big Book of Hacks,” Edited by Doug Cantor.


Join the Discussion
DIYP Comment Policy
Be nice, be on-topic, no personal information or flames.