


Use This Lightroom Masking Trick to Instantly Bring Focus to Your Subject
Oct 15, 2025
Anzalna Siddiqui
A psychology major in her third year of Bachelor’s, Anzalna Siddiqui has endless curiosity for the human mind and a deep love for storytelling – both through words and visuals. Though she hasn’t taken up photography as a profession, her Instagram is where her passion finds its home. In addition to this, she’s a travel enthusiast who never travels without her camera because every place has a story waiting to be captured.
Share:
The reality is that even a great photo can seem dull if you haven’t effectively set your subject apart from the background during editing. This is a fundamental concept in photography, and it can genuinely change the way your image is perceived.
Many photographers might advise you to lower the background exposure or enhance the subject’s clarity. However, that method can often appear too harsh and artificial. In his video, Christian Möhrle of the Phlog Photography offers a more effective approach: using the Lightroom masking trick in conjunction with thoughtful adjustments to tone and texture. It’s a simple trick that can lead to stunning results.
Kickstart Your Edit: Noise Reduction and Global Tones
Before diving into advanced Lightroom masking tricks, it’s essential to start from scratch. Christian begins with a raw file that has noticeable noise, shot at a high ISO of 12,800.
First, go to the Detail panel and turn on Lightroom’s AI Denoise feature. This tool works wonders and is one of the best updates in Lightroom for quickly achieving a clear and crisp image.
After reducing the noise, switch to the Basic panel to adjust your overall contrast. Keep an eye on the histogram. Christian recommends boosting the highlights and slightly lowering the shadows. This choice can add visual impact and make the subject stand out.
Then, focus on the darker areas. You want them to look rich, not muddy. Slightly increase the blacks, which softens and brightens the tones in the shadows, ideal for a photograph with a deliberately moody background.
Warming Up the Scene: Mastering Your Color Balance
Once you’ve adjusted the basic tones, the next significant issue you may encounter is an incorrect white balance. In the tutorial image, there was an annoying blue tint, which often occurs in photos taken in natural light, especially when aiming for a golden-hour vibe.
To correct this, move the Temperature slider to the right. This will warm up the image and reduce that unwanted blue tint, giving it a richer, golden appearance. Christian also spots an intense green hue that’s too much for the scene, so they adjust the Tint slider. This makes the golden colors pop more and minimizes the greenish background.
Next, you’ll want to make some overall texture changes before getting to the primary technique. Increase the Texture slider for sharpness, and boost Dehaze to enhance contrast.
He recommends lowering the Clarity slider. Reducing clarity gives the whole image a softer look, which is a smart trick. Why? Because later on, you’ll sharpen your subject a lot. By softening the image now, the subject will stand out even more in the final picture. It’s all about creating contrast.
The Secret Weapon: Lightroom Masking Trick for Strategic Separation
Here’s the main technique for separating subjects: the Lightroom masking trick.
The concept is simple, but its effectiveness lies in how it is applied. You’ll use masks to darken the dark areas and brighten the light ones, keeping your subject clear in the center.
To get started, open the masking panel. Since the line in the background is mostly straight, a linear gradient works excellently for this task. You’ll apply this gradient to the darker background area.
This linear gradient will cover your subject. You need to exclude your subject from this effect. Go to the option that says “Subtract from the mask,” then choose “Select Subject.” This is where AI tools excel, enabling a precise mask that only affects the background while preserving your subject unchanged.
Darkening the Background Like a Pro
Once you’ve created your background mask, you’ll see the effects immediately. Just lower the Exposure slider. Your background becomes darker, which helps your subject stand out more clearly. But let’s refine it for even better results.
For this mask, increase the contrast and reduce the shadows. Lowering the shadows deepens the dark areas, giving them more richness. Christian also slightly boosts the whites, which is a key step. This keeps the bright particles (like dust or water) in the background visible, preventing the image from appearing too flat and dark.
To achieve that nice, blurred background effect, decrease the Texture slider to soften it. A soft background naturally draws the viewer’s attention to your subject.
He recommends enhancing the effect by adding multiple masks of different sizes. Create a second, smaller linear gradient for the background, subtract your subject again, and lower the exposure in this smaller area. This makes the top part of the image darker, improving the fading effect and creating a smooth gradient. Finally, add a third, even smaller linear gradient to finish the transition from light to dark. This approach transforms a basic technique into something special. It’s the careful layering that genuinely enhances the image.
Boosting the Foreground: A Quick Brightness Kick
Now let’s focus on brightening the foreground. Start by creating a new linear gradient to cover the fuzzy foreground, ensuring it avoids the main subject. This time, you’ll move the gradient in the opposite direction. Increase the Exposure to make this area brighter.
He also suggests raising the Blacks in this area. You might wonder why you’d do this in a bright spot. The reason is that it helps brighten the overall area while reducing some yellow tones, preventing an unnatural color in the foreground.
To make the foreground appear softer, lower the Texture slider to its lowest setting. This will give it a creamy, smooth look, similar to a high-end lens set to a wide aperture. After these adjustments, the focus should now be entirely on the subject.
The Grand Finale: Color Grading and Sharpening
Your subject is isolated, but you’re not finished yet. It’s time to add the finishing touches to your main subject and color scheme.
First, let’s focus on the subject itself. Use Select Subject to create a new mask. Christian recommends adjusting the white balance by slightly raising the Temperature and lowering the Tint. You can also increase the saturation slightly to enhance the natural colors of the subject.
Next, create another Select Subject mask for a more detailed adjustment. Refine it using the Intersect mask with a radial gradient to target just the head and beak. Why this focus? The head is too dark, so increasing the Exposure in this area will brighten it up and make the subject’s face stand out. These small details can turn a good photo into a great one.
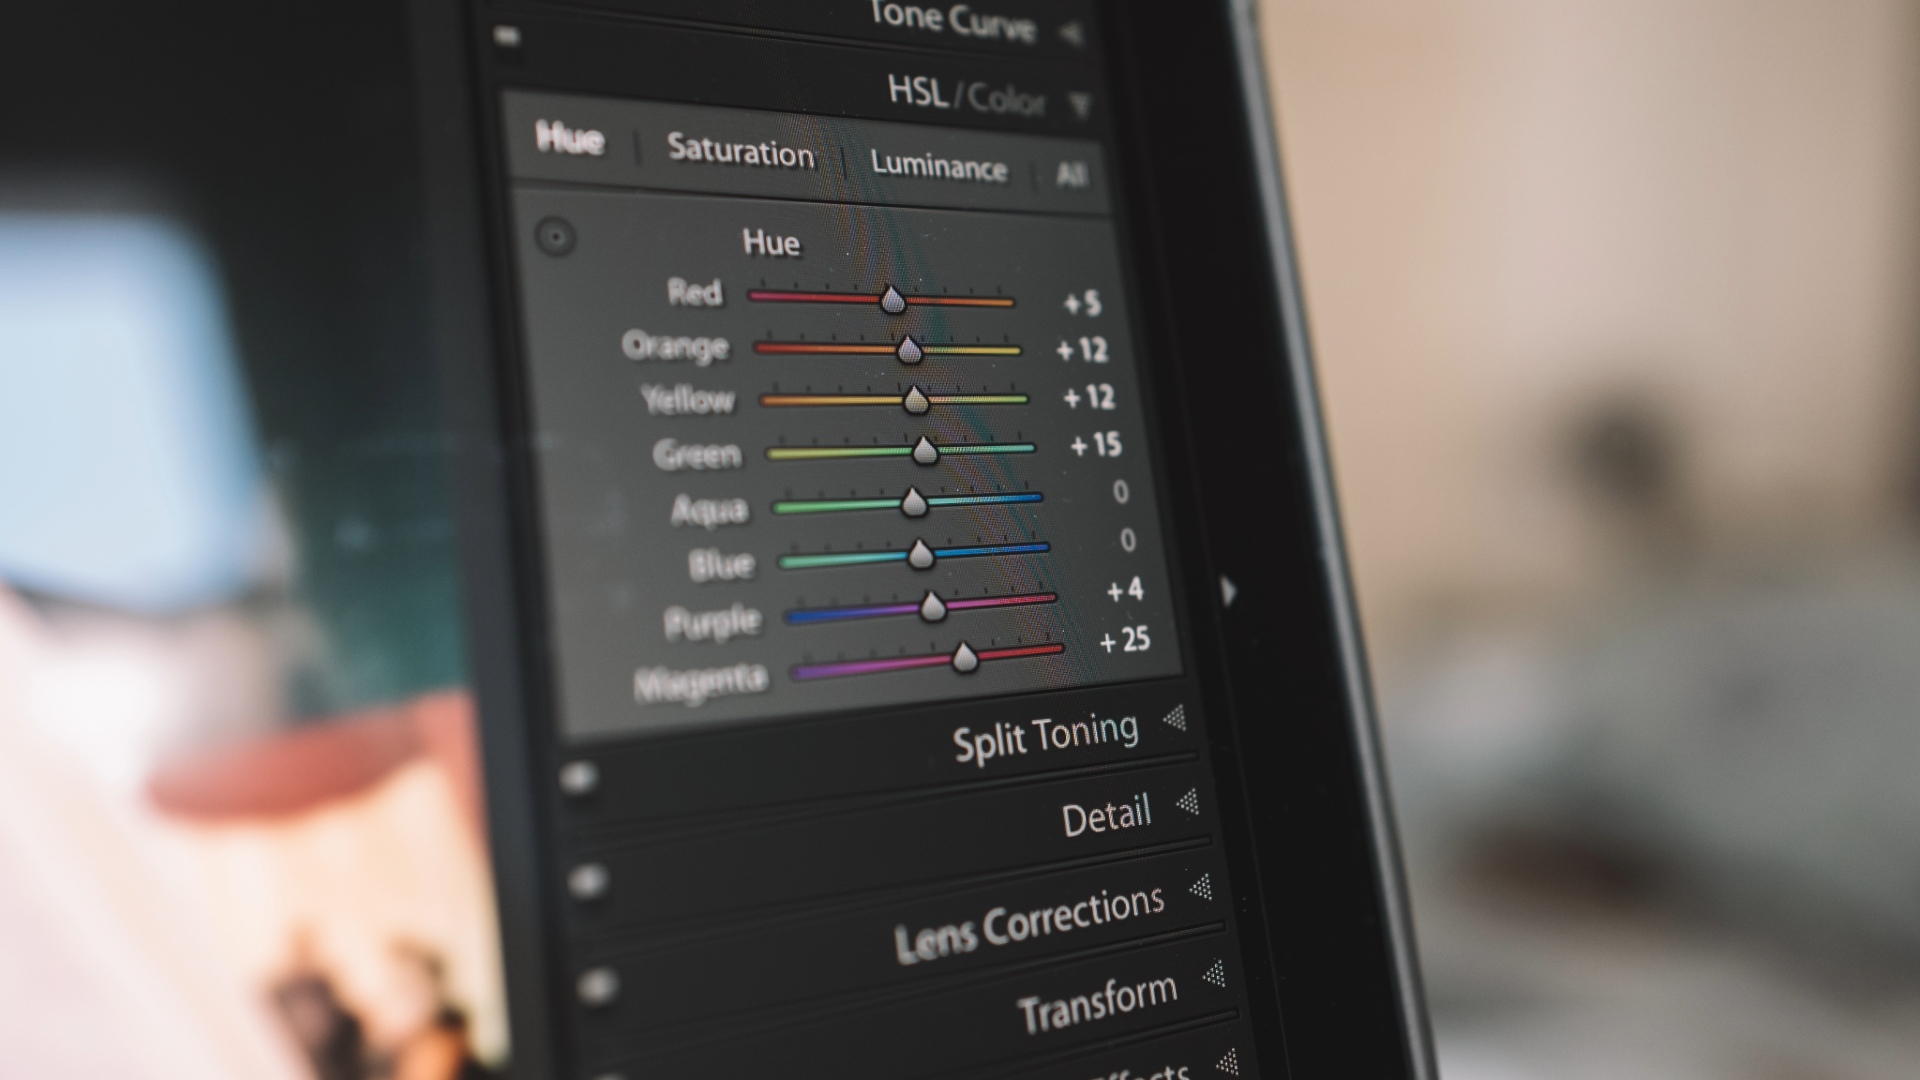
Now, let’s move on to Color Grading. Go to the Color Mixer (HSL). Under Saturation, boost the green and yellow tones for a more vibrant background and foreground. Then, under Hue, increase the Green Hue for a more natural green and lower the Yellow Hue to give the foreground a nice orange tone. A slight tweak to the Red Hue can help address any unwanted magenta in the beak.
In the Color Grading section, Christian uses the Highlights only, choosing a warm golden hue in the yellow range and adding some saturation. This really enhances the warm, inviting feel of the image. For the final color adjustment, in the Calibration tab, he suggests lowering the Blue Primary Hue and increasing its Saturation.
[Related Reading: Adobe makes masking in Lightroom easier than ever with new AI tools]
Pinpoint Sharpening for Maximum Impact
Your final step is in the Details panel for sharpening. Do you remember when you lowered the global clarity? Now, let’s focus on your subject.
Start by reducing the radius while boosting the details. It’s crucial to limit the sharpening effect to just your subject. To do this, hold the Alt key (Option on Mac) and adjust the Masking slider. The white areas indicate where sharpening will apply, and you want that white to cover only your subject.
Once your masking looks good, you can safely raise the sharpening amount, knowing it will only affect your subject, not the background noise. Your image is now transformed, making your subject the main attraction. Christian suggests trying this linear gradient trick and Lightroom masking trick in your next edit. Remember, guiding the viewer’s eye is less about one big adjustment and more about careful, layered tweaks. Go out there and make your subjects stand out.
[Use THIS TRICK to bring MORE FOCUS on Your Subject (Lightroom Tutorial) I Christian Möhrle – The Phlog Photography; Image credits: Envato]

Anzalna Siddiqui
A psychology major in her third year of Bachelor’s, Anzalna Siddiqui has endless curiosity for the human mind and a deep love for storytelling – both through words and visuals. Though she hasn’t taken up photography as a profession, her Instagram is where her passion finds its home. In addition to this, she’s a travel enthusiast who never travels without her camera because every place has a story waiting to be captured.
Related Posts
 Use this simple trick to instantly improve your smartphone vlogs and selfie videos
 Quick Tip: Use Color Range Masking to quickly make precise selections in Lightroom
 The Intersect tool in Lightroom: the ‘secret’ masking tool you definitely need to start using
 This new Lightroom plugin lets you instantly upload to Instagram from your desktop
Join the Discussion
DIYP Comment Policy
Be nice, be on-topic, no personal information or flames.