


8-Bit vs 10-Bit Editing: When Bit Depth Actually Matters
Jan 11, 2026
Darlene Lleno
Darlene Lleno brings a unique perspective to DIY Photography as someone who grew up surrounded by camera gear but chose words over lenses. With five years of writing experience, she specializes in photography content that’s both technically informed and genuinely passionate. Growing up with a photographer twin brother meant camera talk was everyday conversation in her household. While he mastered capturing moments, Darlene discovered she preferred being the subject and the storyteller behind the scenes. As a travel enthusiast and mother of two, she understands the importance of preserving life’s precious moments. When not exploring new destinations or writing for DIY Photography, you’ll find her reading or tending to her garden. Her approach to photography writing is refreshingly authentic, she may not be behind the camera, but she knows exactly what it takes to help others capture the shots that matter most.
Share:

8-bit vs 10-bit editing confuses a lot of people starting out with video. The difference shows up big time when you start pushing your footage in post. You might not see it right away during capture. But open up your editing software and the truth comes out fast.
Think of bit depth like the color crayons you had as a kid. An 8-bit file gives you the basic 64-pack. A 10-bit file is more like the fancy 256-pack with all the weird names. More colors mean smoother transitions and better flexibility when you tweak things.
What Bit Depth Actually Means
Bit depth controls how many color shades your camera records. The math gets technical but the practical effect is simple. More bits equal more color data to work with during editing.
The Numbers That Matter
An 8-bit image captures 256 shades per color channel. Your camera records red, green, and blue separately. Multiply those together and you get about 16.7 million possible colors.
10-bit footage jumps to 1,024 shades per channel. That creates roughly 1.07 billion color combinations. The difference between millions and billions matters way more than you’d think.
Most professional cameras can shoot 12-bit or 14-bit RAW files. These preserve maximum detail for serious post work. The files get huge though. You’ll need serious storage space.
How Cameras Handle the Data
Your typical consumer camera defaults to 8-bit video. The sensor actually captures more information than that. But the processor compresses everything down to save space.
Modern mirrorless cameras often include 10-bit recording modes. The Nikon Z6 III and Sony A7S III both shoot 10-bit internally. You usually need to dig into your camera settings to turn it on.
Some cameras use log profiles to squeeze more range into those bits. Log recording flattens your image temporarily. This preserves detail in bright and dark areas for later adjustments.

Where 8-Bit Falls Apart
The limits of 8-bit footage appear pretty quick in post. Small tweaks often expose the format’s weak spots. Everything might look fine on your camera screen. Then you open the files and problems start showing up.
Banding Problems in Gradients
Smooth sky gradients turn into visible steps in 8-bit footage. You see distinct bands instead of gradual color shifts. Blue skies are the worst offenders for this issue.
Wedding videographers deal with this constantly. Soft lighting setups create gentle falloffs from light to shadow. The 8-bit format can’t handle those subtle transitions smoothly.
Portrait work shows similar issues with certain light modifiers. The gradual light pattern creates bands that shouldn’t be there. You waste time in post trying to fix these artifacts.
Shadow Recovery Issues
Lifting shadows in 8-bit footage reveals blocky, weird looking areas. The format throws away too much shadow detail during compression. What looks salvageable in your preview falls apart at full size.
Photographers working with harsh light hit this wall all the time. You want to recover dark foregrounds while keeping bright backgrounds intact. The 8-bit format forces you to compromise.
Log footage helps a bit by spreading those 256 values wider. But you still hit the ceiling faster than with 10-bit files.
Color Grading Gets Limited Fast
Heavy color shifts destroy 8-bit footage quality. Moving an entire scene from daylight to warm tones creates gaps. Your software fills in missing values but the results look muddy.
Color correction workflows with multiple adjustment layers make this worse. Each layer removes more information. Your fifth round of tweaks reveals artifacts you didn’t see at first.
Commercial projects need specific brand colors. You need precise control over every hue. The 8-bit format rounds off your adjustments too much.

When 10-Bit Makes a Real Difference
The extra data in 10-bit files gives you serious breathing room. Professional work demands this flexibility. Your clients expect polished results no matter what.
Here’s where you’ll actually notice the upgrade:
- Smooth gradients everywhere: Sky footage maintains beautiful transitions without banding
- Better exposure recovery: You can push shadows and highlights multiple stops without breaking things
- Real color grading freedom: Heavy grades don’t fall apart after a few adjustment layers
- Cleaner green screen work: Edge feathering and spill correction stay smooth
- Professional log workflows: You actually have data to work with when grading flat footage
Wedding photography often involves bright windows behind indoor subjects. The 10-bit format preserves detail in both areas at once.
Product photography benefits from the extra highlight headroom. Shiny objects hold texture instead of blowing out to pure white. Your clients see actual detail in reflective surfaces.
Cinematic looks require extensive color manipulation. You need to shift overall tones and adjust specific ranges. The 10-bit format handles these changes without quality loss.
Storage and Processing Reality
More data means bigger files. This affects your entire workflow from start to finish. You need to plan for these practical considerations.
Storage Space Needs
10-bit files run about 25-30% larger than 8-bit footage. A full day of shooting fills cards noticeably faster. Wedding videographers with dual cameras face double the storage costs.
Astrophotography projects generate massive data sets. Stacking hundreds of images requires terabytes of space. The difference multiplies quickly across large sequences.
Cloud backup costs escalate with 10-bit workflows. Services charge by stored data volume. Your monthly bills reflect those bigger file sizes.
Computer Power Requirements
Editing software works harder with 10-bit footage. Your computer needs more RAM to handle the extra data. Preview rendering takes longer and affects your editing pace.
Real-time playback becomes tough on older systems. You might need proxy workflows to keep things smooth. The video production process slows down if your hardware can’t keep up.
Color grading in DaVinci Resolve taxes your GPU hard with 10-bit files. Complex effects can bring powerful workstations to their knees. Budget for capable hardware if you commit to 10-bit.

Picking the Right Format
Not every project needs 10-bit recording. Smart format choices save time and storage while keeping quality high. Your shooting conditions and final delivery guide these decisions.
When 8-Bit Works Fine
Social media content rarely needs 10-bit overhead. Platform compression destroys most of that extra data anyway. Instagram and TikTok videos look identical either way.
Quick turnaround projects benefit from faster 8-bit workflows. Same-day edits can’t afford the extra processing time. Wedding highlight reels for next-day delivery work fine in 8-bit.
Interview footage with controlled lighting needs less flexibility. You already nailed your exposure and color temperature. The minimal post work doesn’t stress 8-bit limits.
Run and gun documentary work often defaults to 8-bit for practical reasons. You need maximum recording time on limited storage. Some shots won’t make final cuts anyway.
Projects That Need 10-Bit
Commercial work demands maximum quality and flexibility. Clients expect perfect color matching and polished grades. The 10-bit format provides necessary headroom for demanding standards.
Music videos with creative color treatments need that extra data. Your artistic vision requires heavy grading without quality loss. The format supports your choices instead of limiting them.
Landscape photography with dramatic skies benefits enormously from 10-bit capture. Sunrise and sunset work maintains smooth gradients through heavy adjustments. Your prints show no banding artifacts.
Product photography for major brands requires 10-bit precision. Color accuracy matters more than convenience. The extra data ensures products look exactly right everywhere.
Understanding Video Codecs
The recording codec affects quality as much as bit depth itself. Different compression schemes preserve information differently. This matters for your final results.
Compression Types Explained
H.264 and H.265 codecs compress data heavily regardless of bit depth. These formats throw away information to achieve smaller files. You lose quality during recording that bit depth can’t recover.
ProRes and DNxHD formats maintain more image quality through gentler compression. These professional codecs preserve 10-bit recording benefits. Your files stay larger but editing quality improves dramatically.
RAW video recording captures maximum sensor information. Cameras like the Blackmagic Pocket Cinema Camera 4K offer 12-bit RAW options. The workflow gets complex but flexibility increases too.
Finding the Right Balance
Choosing the right codec balances quality against practical concerns. Professional productions might shoot ProRes 422 HQ for optimal performance. The larger files justify themselves through easier editing.
Hybrid shooters face format decisions constantly when switching modes. Some cameras limit 10-bit recording to specific codecs or frame rates. You sacrifice slow motion for better bit depth sometimes.
Archival considerations factor into format choices. Will you revisit this footage in five years? Long term projects justify robust recording formats despite storage costs.
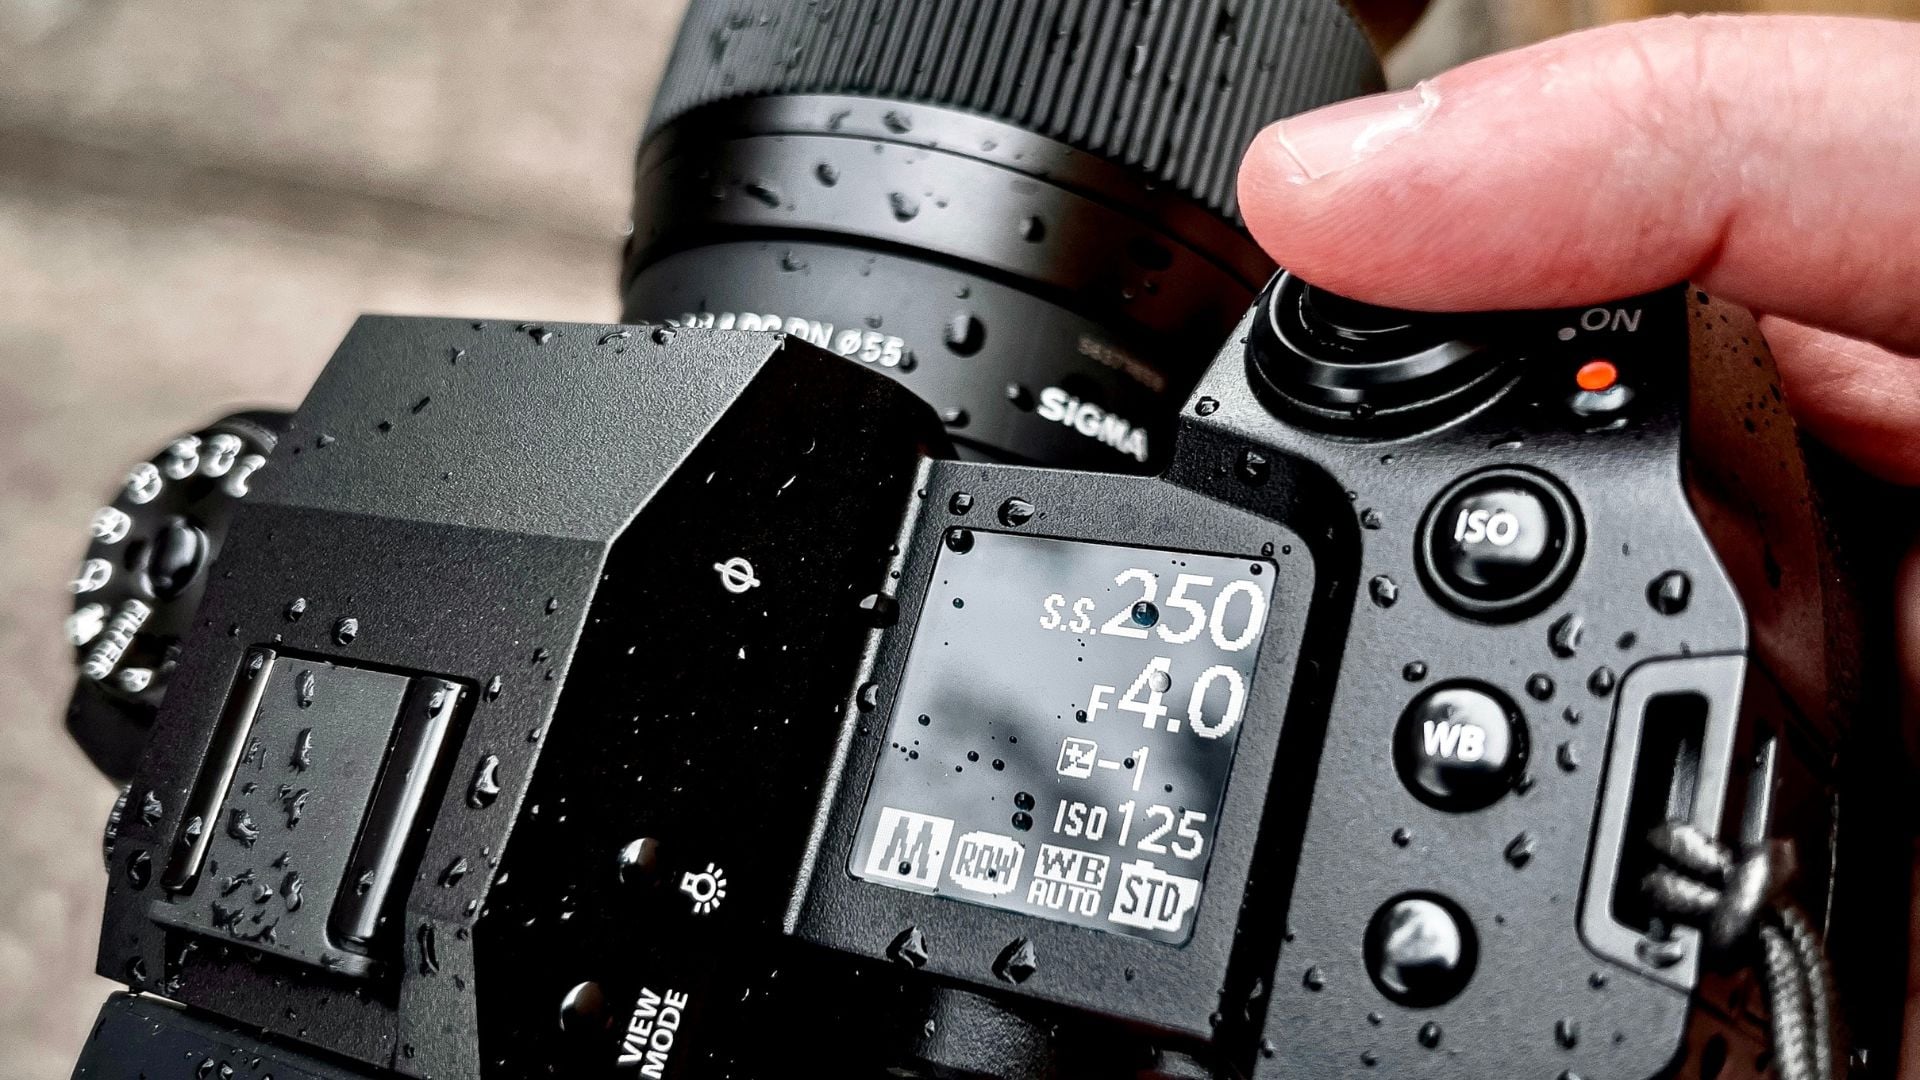
Setting Up Your Camera
Most cameras hide bit depth options in sub-menus. Finding these settings requires menu diving. Understanding your camera’s specific implementation prevents surprises during shoots.
Finding the Settings
Canon EOS R cameras bury 10-bit options under video quality menus. You need to enable Canon Log first, then select the right codec. The camera restricts certain resolution and frame rate combinations.
Sony cameras typically label this as Color Space or Color Depth. Their implementation varies between models. Some A7 series cameras only offer 10-bit through HDMI output.
Nikon Z cameras provide clearer labeling for bit depth choices. The video menu shows explicit 8-bit or 10-bit options. Some models only offer 10-bit with specific formats.
Important Limitations
Heat becomes serious with 10-bit internal recording. The increased processing generates more heat. Many cameras impose recording time limits to prevent damage.
Some cameras downsample sensor resolution when recording 10-bit video. You get 10-bit color but lose some sharpness. Read your specs carefully to avoid disappointment.
Card speed requirements jump with 10-bit formats. Your V30 cards might not work anymore. Budget for V60 or V90 rated cards for reliable recording.
Real Production Examples
Seeing how professionals use different bit depths clarifies when each makes sense. These examples come from working photographers solving real problems.
Wedding Video Approach
A wedding videographer shoots ceremony coverage in 10-bit for grading flexibility. Church lighting with bright windows demands extra dynamic range. Reception footage drops to 8-bit since lighting stays consistent.
Highlight reel delivery happens in 8-bit regardless of source material. The final product goes to YouTube and Instagram anyway. Master files stay 10-bit for potential recuts years later.
Drone footage stays 8-bit for practical reasons. Flight time limits and storage constraints outweigh quality concerns. Ground level beauty shots justify the 10-bit overhead.
Commercial Product Work
Product videographers record everything in 10-bit ProRes for flexibility. Brands request color tweaks weeks after initial delivery. The 10-bit files survive multiple revision rounds without breaking.
Background replacement work requires clean edges and flexible keying. The 10-bit footage provides cleaner mattes with less edge fringing. Composite shots look natural instead of obviously fake.
Multiple deliverables in different color spaces benefit from 10-bit sources. You need versions for web, broadcast, and cinema distribution. Starting with maximum data ensures everything meets specs.
Documentary Filming
Documentary crews split their approach based on conditions. Interviews under controlled lighting use 8-bit to maximize storage capacity. You’re shooting hours of material for minutes of final cut.
B-roll with challenging light transitions jumps to 10-bit. Sunrise sequences and mixed lighting need extra grading latitude. The selected moments justify the storage overhead.
Archival footage stays 10-bit when possible. Future producers might want to regrade material differently. The quality investment pays off across multiple productions.
Making Your Choice
Your specific circumstances should guide format choices more than general advice. Consider your delivery needs, storage capabilities, and editing hardware.
Ask yourself these questions:
- How much color grading will this project involve?
- What’s your final delivery format and platform?
- Do you have storage and processing power for larger files?
- Will you revisit this footage later for different projects?
- Can your current workflow handle the extra data efficiently?
Many professionals switch between formats based on scene requirements. Master shots and hero footage get 10-bit treatment. Coverage and alternative angles stay 8-bit for efficiency.
Dual camera setups often record different bit depths simultaneously. Your A-camera captures 10-bit for maximum flexibility. The B-camera runs 8-bit to extend recording time.
Testing your specific workflow reveals which approach works best. Shoot the same scene in both formats. Push them through your typical post process. Let your eyes and delivery needs guide the decision.
Choosing What Works for You: 8-Bit vs 10-Bit
8-bit vs 10-bit editing comes down to matching format capabilities with project requirements. Understanding when that extra data matters saves you from quality compromises. Your workflow should serve your creative vision.
Most people benefit from learning both workflows. Some projects justify the storage and processing overhead. Others work perfectly well in 8-bit. Making informed choices for each situation produces better results.
The technology keeps improving storage capacity and processing power. Today’s concerns about file sizes become tomorrow’s non-issues. But the math of bit depth stays constant. More data always provides more flexibility during post, whether you need it or not.

Darlene Lleno
Darlene Lleno brings a unique perspective to DIY Photography as someone who grew up surrounded by camera gear but chose words over lenses. With five years of writing experience, she specializes in photography content that’s both technically informed and genuinely passionate. Growing up with a photographer twin brother meant camera talk was everyday conversation in her household. While he mastered capturing moments, Darlene discovered she preferred being the subject and the storyteller behind the scenes. As a travel enthusiast and mother of two, she understands the importance of preserving life’s precious moments. When not exploring new destinations or writing for DIY Photography, you’ll find her reading or tending to her garden. Her approach to photography writing is refreshingly authentic, she may not be behind the camera, but she knows exactly what it takes to help others capture the shots that matter most.


Join the Discussion
DIYP Comment Policy
Be nice, be on-topic, no personal information or flames.