How to soften skin with a single click in Lightroom
Jun 26, 2020
Share:

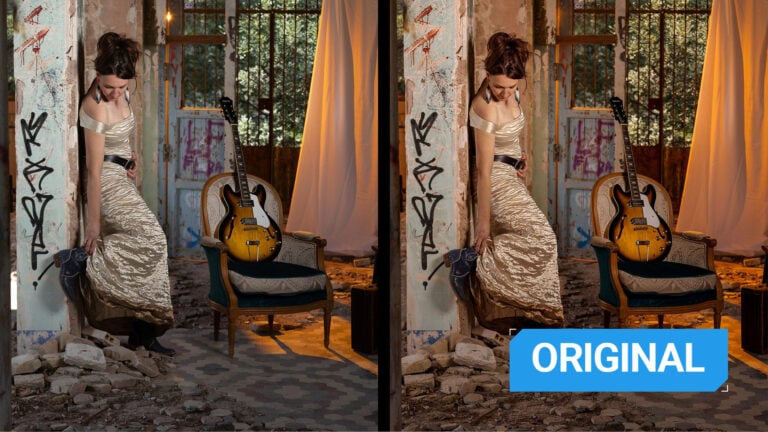
Editing photos in Lightroom is my favorite, other than shooting them. It’s fast and convenient, and I try to do as much as I can here so oftentimes I don’t even have to use Photoshop. In this video, Anthony Morganti has a treat for all portrait photographers and retouchers who need a quick way to soften skin. In Lightroom, you can do it pretty much with one click, and Anthony will show you how.
When you open the image in Lightroom, go to Brush tool and click on Effects to get a drop-down menu of Brush presets. From there, you can select either Soften Skin or Soften Skin (Lite). The second option is more subtle and Anthony says that he prefers it. But for the sake of demonstration, he used Soften Skin, which is more prominent and obvious.
You don’t have to adjust any of the sliders you’ll see below. Just make sure that the Auto Mask option within the Brush tool is selected and that Flow and Density are at 100.
Now you’ll need to make the image smaller so that the brush’s inner circle completely covers the skin you want to affect. You can do this in the Navigator panel. Then, scroll to enlarge your brush so it covers all the skin you want to soften, and just click. And that’s pretty much it.
From here, you can make some more adjustments. You can go to Range Mask and select Color, then click on the subject’s face and this will refine the mask further. Hit O on your keyboard to see the mask overlay, and you can adjust it with a slider.
Personally, I think that Photoshop gives you much more control and you can make skin editing perfect. However, if you’re in a search for a “quick fix,” I think that this Lightroom solution works pretty well. Just make sure not to overdo it.
[1-CLICK Skin Softening in LIGHTROOM CLASSIC | Anthony Morganty]
Dunja Đuđić
Dunja Djudjic is a multi-talented artist based in Novi Sad, Serbia. With 15 years of experience as a photographer, she specializes in capturing the beauty of nature, travel, concerts, and fine art. In addition to her photography, Dunja also expresses her creativity through writing, embroidery, and jewelry making.


Join the Discussion
DIYP Comment Policy
Be nice, be on-topic, no personal information or flames.
One response to “How to soften skin with a single click in Lightroom”
We Just Not Made a Product-We Made a Style Statement for you. Perfect addition for your wardrobe! Shop high quality Leather Jackets & Leather Bags. We provide 14 days Money Back Guarantee. Shop with confidence.