


DIY

DIY Astrophotography: Capture the Night Sky on a Budget
Jun 25, 2025
Soumyadeep Mukherjee
Astrophotography feels magical. But it often seems expensive and technical. That doesn’t have to be true. With smart DIY methods, you can capture the stars…
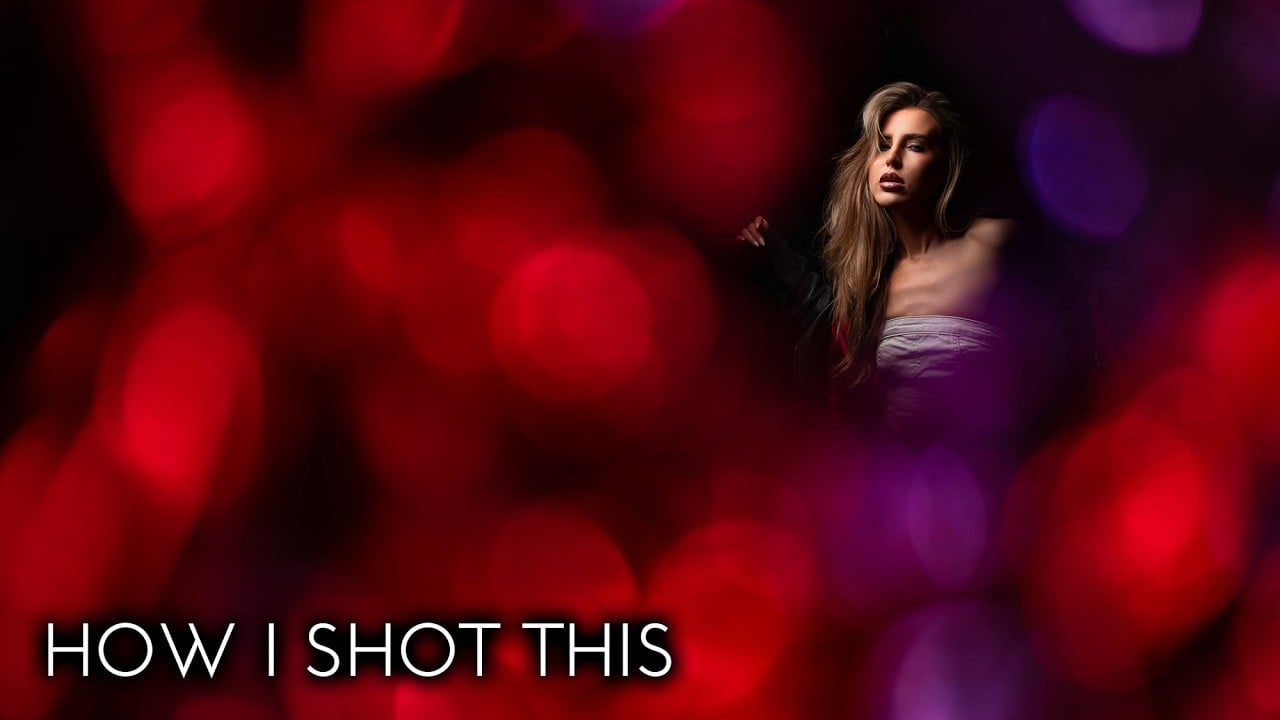
Try this Cheap and Easy DIY trick to create magical bokeh portraits
Jun 23, 2025
Alex Baker
Great portraits don’t always require a perfect location or expensive equipment. Sometimes, all you need is a little creativity and some basic DIY gear to…

DIY Photography Backdrops and Studio Setups You Can Make at Home
Jun 13, 2025
Dunja Đuđić Kalinin
DIY Photography Backdrops and Studio Setups If you’ve ever tried setting up a photo shoot at home, you know the struggle: limited space, tight budget,…

DIY Camera Accessories: 10 Genius Builds to Boost Your Photography Game
Jun 12, 2025
Dunja Đuđić Kalinin
If you’re looking to enhance your photography kit without draining your wallet, DIY camera accessories are the perfect solution. After all, that’s what probably brought…

DIY Portrait Photography: A Complete Guide to Stunning Portraits on a Budget
Jun 12, 2025
Alex Baker
You don’t need a fancy studio or expensive equipment to take beautiful portraits. With a little creativity, everyday household items, and some simple techniques, you…

Make a Handmade Color Inside Your Digital Camera without Look-Up Tables (LUTs)
Jun 9, 2025
David Prochnow
Are you looking for an edge in color photography that hasn’t been seen before? Maybe using this new color to add a marketing advantage to…

How to Make a DIY Softbox: A Guide for Photographers
Jun 1, 2025
Dunja Đuđić Kalinin
There are many creative and budget-friendly ways to learn how to make DIY softbox lighting for your home studio. Not only are softboxes among the…

DIY Photography Lighting: Light Modifiers and Tricks to Make at Home
May 26, 2025
Dunja Đuđić Kalinin
Photography is all about light, be it natural or artificial. And when we speak of artificial lighting, you’re in full control there, with softboxes, reflectors,…

Making Photographs from Your Coffee Shop Drink: It’s a “Matcha” Made in Heaven
May 25, 2025
David Prochnow
A new wave is sweeping over the hallowed grounds of the modern coffee shop. And it’s a green wave. This newfangled interloper is an organic…

A Radical Way to Develop 35mm Film Using NO Equipment and NO Darkroom
May 25, 2025
David Prochnow
Inside Steve Anchell’s The Darkroom Cookbook, 3rd Edition (Focal Press; Elsevier, Inc., Oxford, United Kingdom; 2008), which, by the way, should be a “must buy”…