


A Light Bat Is Making A Stamp All Over The World (+ Tutorial)
Jun 4, 2012
Udi Tirosh
Udi Tirosh is an entrepreneur, photography inventor, journalist, educator, and writer based in Israel. With over 25 years of experience in the photo-video industry, Udi has built and sold several photography-related brands. Udi has a double degree in mass media communications and computer science.
Share:
Photographer and light painting extraordinaire TigTab (who makes beautiful light stencil images) sent a light bat flying all over the word.

Well, actually, it is a bat light stencil (similar to the stencil tigtab made a tutorial for in the past, only this one is collapsible – see new tutorial after the jump).
The bat stencil will travel some 50,000 miles and visit 28 light painters in what I think is the biggest light painting chain letter in the history of man.

The bat, friendly named TAD started his travel in Australia almost 2 years ago and is still wondering the world. If you wanna follow the bat around (or join in on some of the next traveling stencils, check out the Light Stencil Central flickr group. (Or check the F-light of the Night flickr group to see the original bat travels)
And now, how to make a fordable light box tutorial (the stencil instructions can be found here)
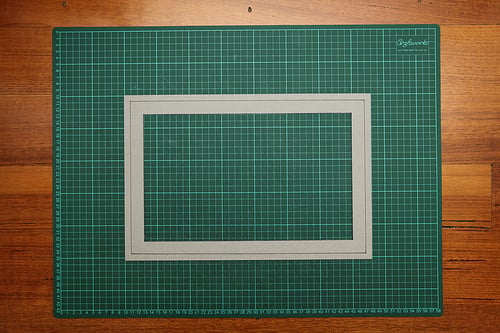
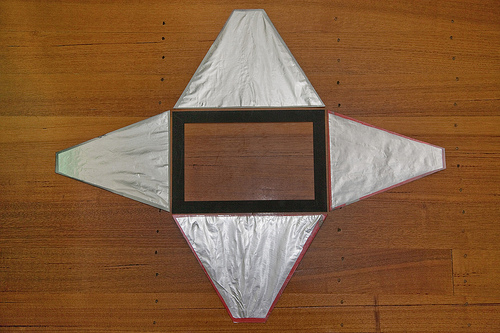
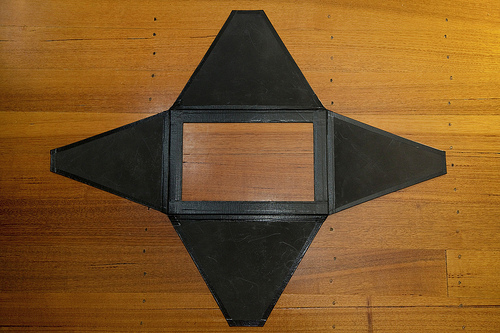
Cut the external frame
The markup within this cutout is the stencil size that will fit onto the front of the light box. I usually allow 2cm inside, and 1cm outside from where the stencil will sit.
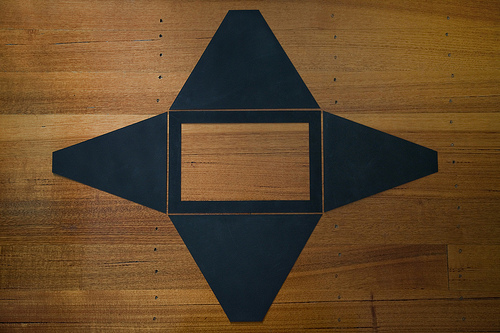
Side Panels
- To cut the top and bottom panels – cut another solid square of cardboard which is the same size as the front window panel.
- Mark off centre point.
- Using the centre measurement, mark off the back of the box for the width of your flash unit.
- Now draw a line from outer corner (which attaches to the front window), to the side point at the back (where your opening will be for the flash unit).
- Note the measurement of this length.
- Now to cut the side panels – same measurement as the side of the front window panel.
- Its length is the measurement that you noted 2 steps back
- Mark off centre point.
- Using the centre measurement, mark off the back of the box to the side measurement of your flash unit.
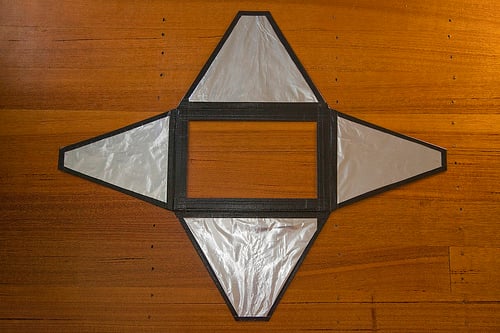
Back of side panels
- Using some alofoil (the type that you cook with) cut out 4 pieces that are slightly smaller than your cardboard cutouts.
- Over top of this use some clear contact (this is the kind that you cover books with which is sticky on one side) to seal each piece of alofoil to the back of each cardboard cutout.
Sealing each of the side panels
- Using cloth tape seal each of the four side panels.
- Now seal the front window panel
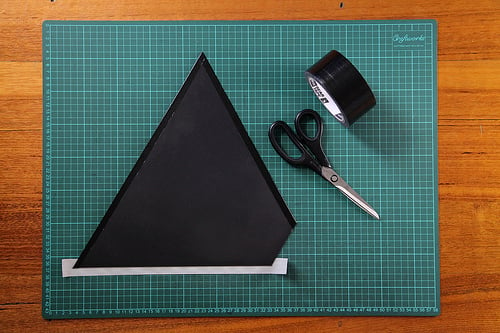
Your pieces will now look like this:
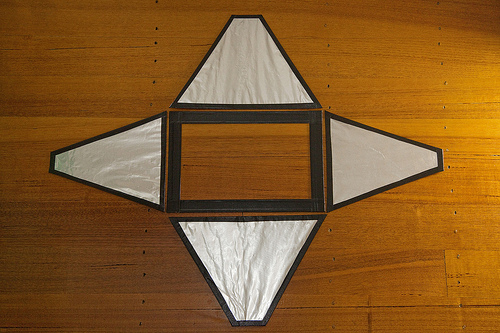
Putting it together
- Leaving a few millimetres between front window panel, and side pieces – run a length of tape down each of the 4 sides.
- Now turn over the box and do this again on the other side.
- Trim off excess tape.

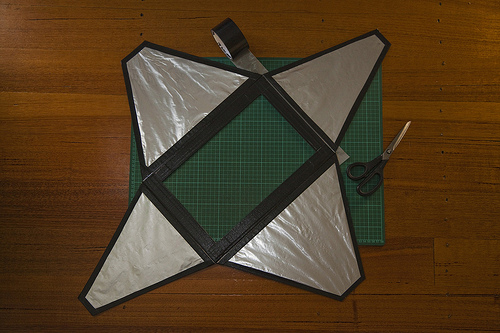
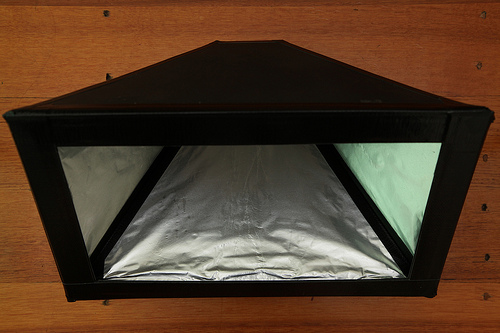
Your light box will now look like this:
Outside:
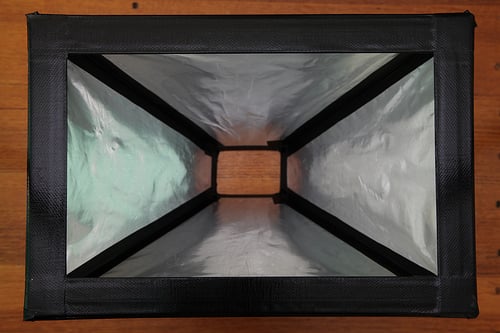
Inside:
You now have a light box that will fold flat.
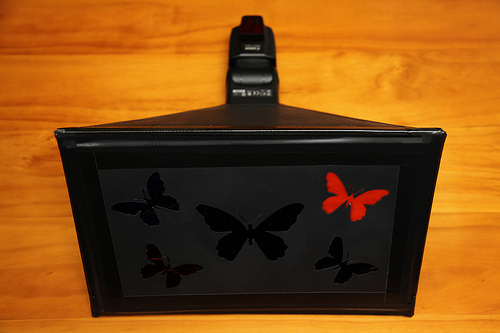
Final product
When you are ready to use, all you need to do is tape the sides together. Use a tape that will peel off easily (I use electrical tape).
Now, here is where you can alter the design to your needs. A handle, or velcroe can be added to assist in holding the box, or to keep the flash in place securely. Lips can be added to the front window of the box, which will assist with changing stencil designs quickly.

Now attach your stencil to the front, and insert your flash unit into the back.
You are ready to go!

About The Author
Tigtab is a light painting artists from Melbourne, Australia. She created wonderful light paintings which she shares on her flickr stream.

Udi Tirosh
Udi Tirosh is an entrepreneur, photography inventor, journalist, educator, and writer based in Israel. With over 25 years of experience in the photo-video industry, Udi has built and sold several photography-related brands. Udi has a double degree in mass media communications and computer science.
Related Posts
 How to retouch perfect natural looking skin using the clone stamp tool
 U.S. Post must pay $3.5 million for using wrong Lady Liberty photo on a stamp
 Scientists develop stamp sized ultrasound patches that create images of your internal organs
 Build A Pro Quality Light Source With This Awesome DIY LED Light Panel Tutorial
Join the Discussion
DIYP Comment Policy
Be nice, be on-topic, no personal information or flames.