






















Reload, Reuse, Recycle, Repeat: Make a “Disposable” Camera into a Reusable Camera
Feb 19, 2026
David Prochnow
Our resident “how-to” project editor, David Prochnow, lives on the Gulf Coast of the United States in Ocean Springs, Mississippi. He brings his expertise at making our photography projects accessible to everyone, from a lengthy stint acting as the Contributing How-To Editor with Popular Science magazine. While you don’t have to actually build each of his projects, reading about these adventures will contribute to your continued overall appreciation of do-it-yourself photography. A collection of David’s best Popular Science projects can be found in the book, “The Big Book of Hacks,” Edited by Doug Cantor.
Share:

Yes, of course, low-cost reloadable film cameras are readily available, but an even LESS expensive film camera solution is just as commonplace. And it’s hiding in plain sight. Expired or past expiration date, non-reloadable film cameras are ridiculously inexpensive, sometimes rivaling the cost of a roll of film. While they are commonly referred to as one-use, single-use, or disposable cameras, they can, in fact, be easily reloaded with film…over and over, again.
Case in point, a typical reloadable film camera, the Lomography Simple Use Camera costs $24.90. Conversely, a disposable film camera, the Kodak Professional Tri-X 400 Single Use Camera costs $14.95 and an expired “past date special” camera costs $9.99. No matter the brand, almost all disposable cameras feature the film pre-wound onto the “take-up” spool, while the film advance wheel moves the film back into the 35mm cartridge. This is a clever technique to ensure that the film lab can open the camera in daylight, extract the cartridge, and begin the film development process. Sweet!
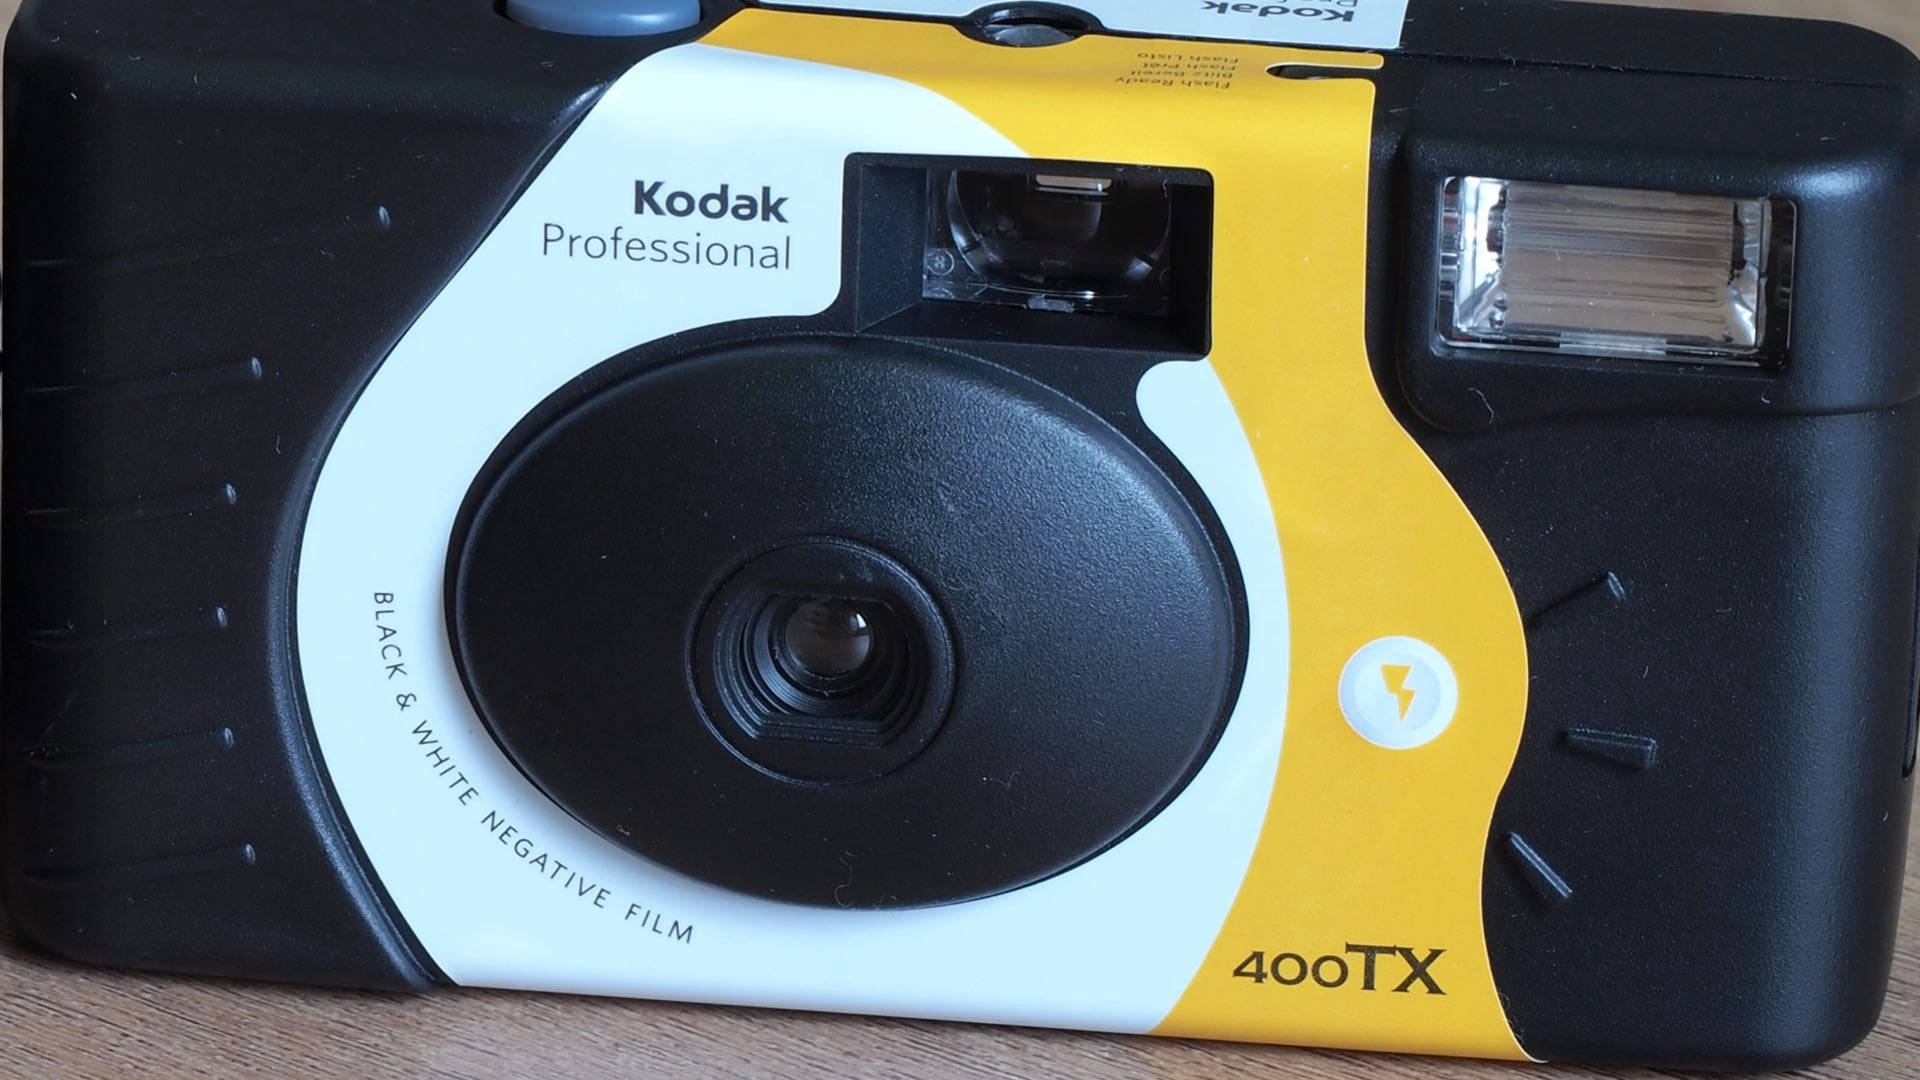
Whether you elect to expose the outdated film is up to you. Regardless, you can easily advance the film, cover the lens, and trigger the shutter release to move the film into the cartridge for subsequent removal and exposure in another camera.
Once the film has been (re)wound into the disposable camera’s cartridge, it’s time to open up the camera. You will need two tools for this project. A small, thin flat-head screwdriver and a camera changing bag. Alternatively, you can use a darkroom or a room that can be made light tight.
Let’s crack open this oyster and and reveal its reusability.
Forced to Be Reused Forever
Before you begin, you should obtain a replacement roll of 35mm film. Any brand and stock will do with two teensy caveats.
First and foremost, your selected roll of film can’t exceed 24-exposures in length. The disposable camera’s take-up stool, for example, is unable to accommodate 36-exposure rolls of film.
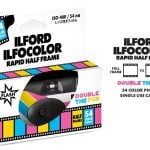
The second precaution for film selection is to “try” to match your replacement roll’s ISO or film speed with the film ISO used in the original disposable camera. This is a loose requirement that can handle some leeway. For example, an Ilford Ifocolor ISO 400 disposable camera could accept a roll of ISO 200 film. On the other hand, reloading ISO 50 film into this camera will result in underexposure.
Educated with those two caveats, it’s time to open and reload your disposable camera. In light of slight differences in disposable camera packaging, you might have to modify your opening procedure. Typically, however, you will begin with the removal of the camera’s back sticker.
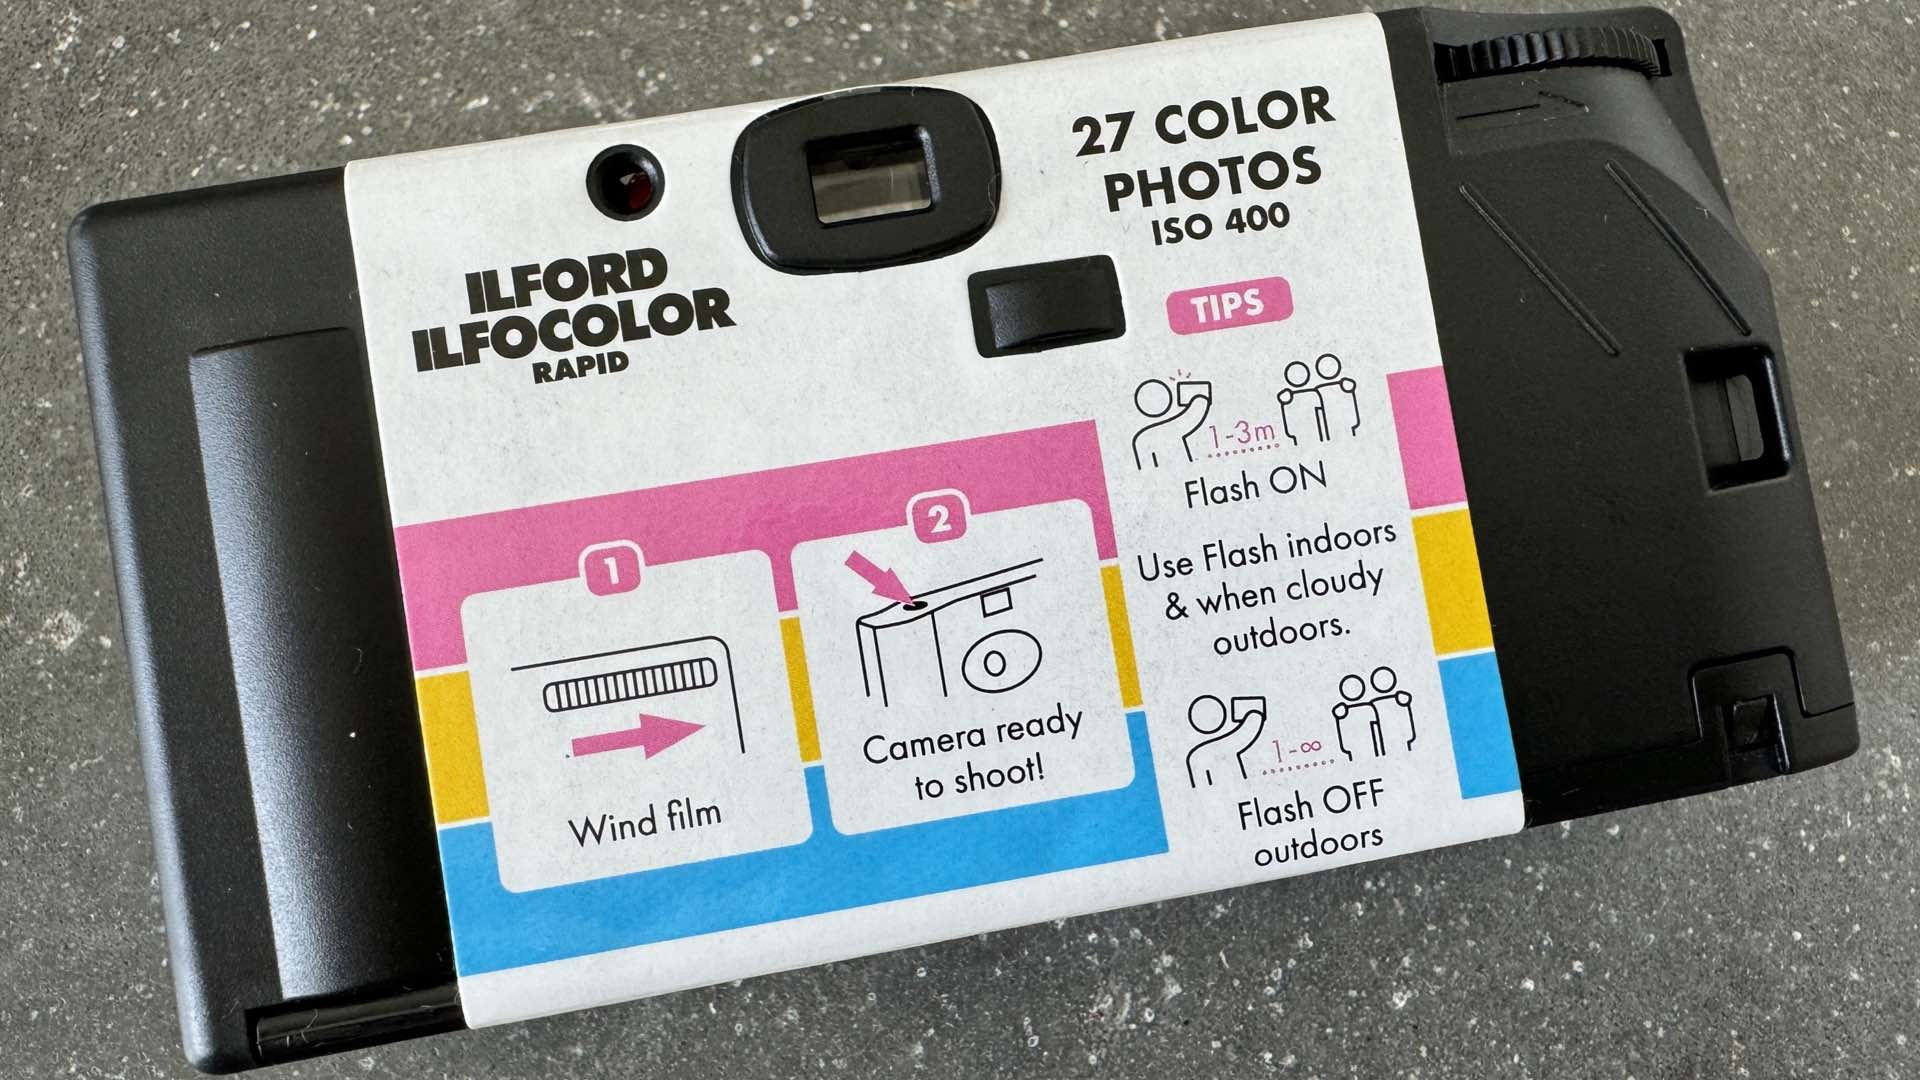
These stickers have a low adhesion coefficient and can be removed with a gentle and gradual pull. Now armed with your trusty screwdriver, pry loose the bottom battery plate cover and remove the battery. You can optionally reinstall the battery (or, replace it with a new battery) at the conclusion of reloading your camera. This battery is only used for energizing the built-in flash.
Look around the perimeter of the camera body for four pry slots. These slots feature peg clips that grip the adjoining plastic body shells together. Very gently pry these clips apart with your screwdriver. Be careful, the cheap plastic can be easily broken/damaged.
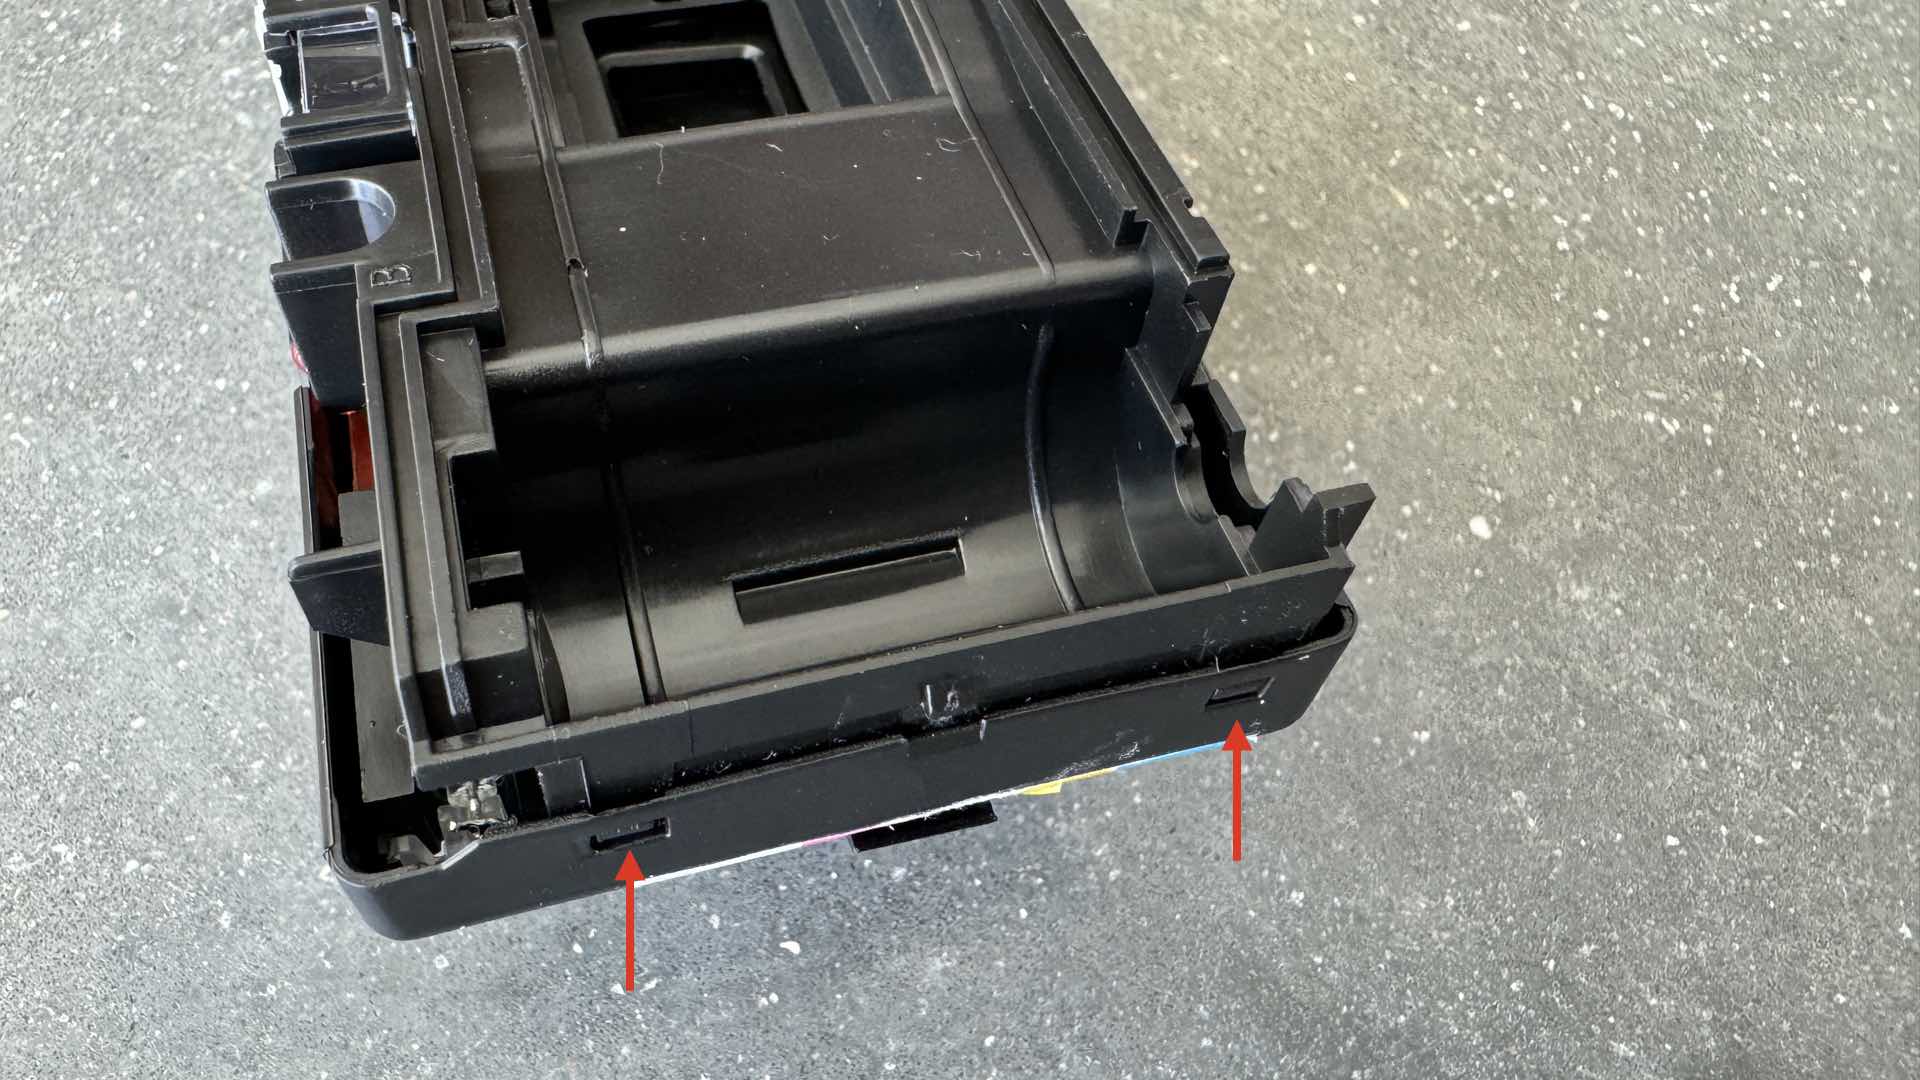
When a gap forms between the plastic shells, slip your fingers inside the camera and slowly wiggle it apart. Yes, it works, but you need to watch for the large disc protrusion underneath the film cartridge. This stubborn piece of plastic usually stays attached to the camera’s rear shell. It acts as a key for aligning the shells together. A little twist should help to separate the shells.
At last, pay dirt! Remove the original roll of film. Notice the slot in the camera’s take-up spool. This slot is where the new roll of film’s leader must be inserted prior to winding the entire 24-exposure length of new film onto the spool.
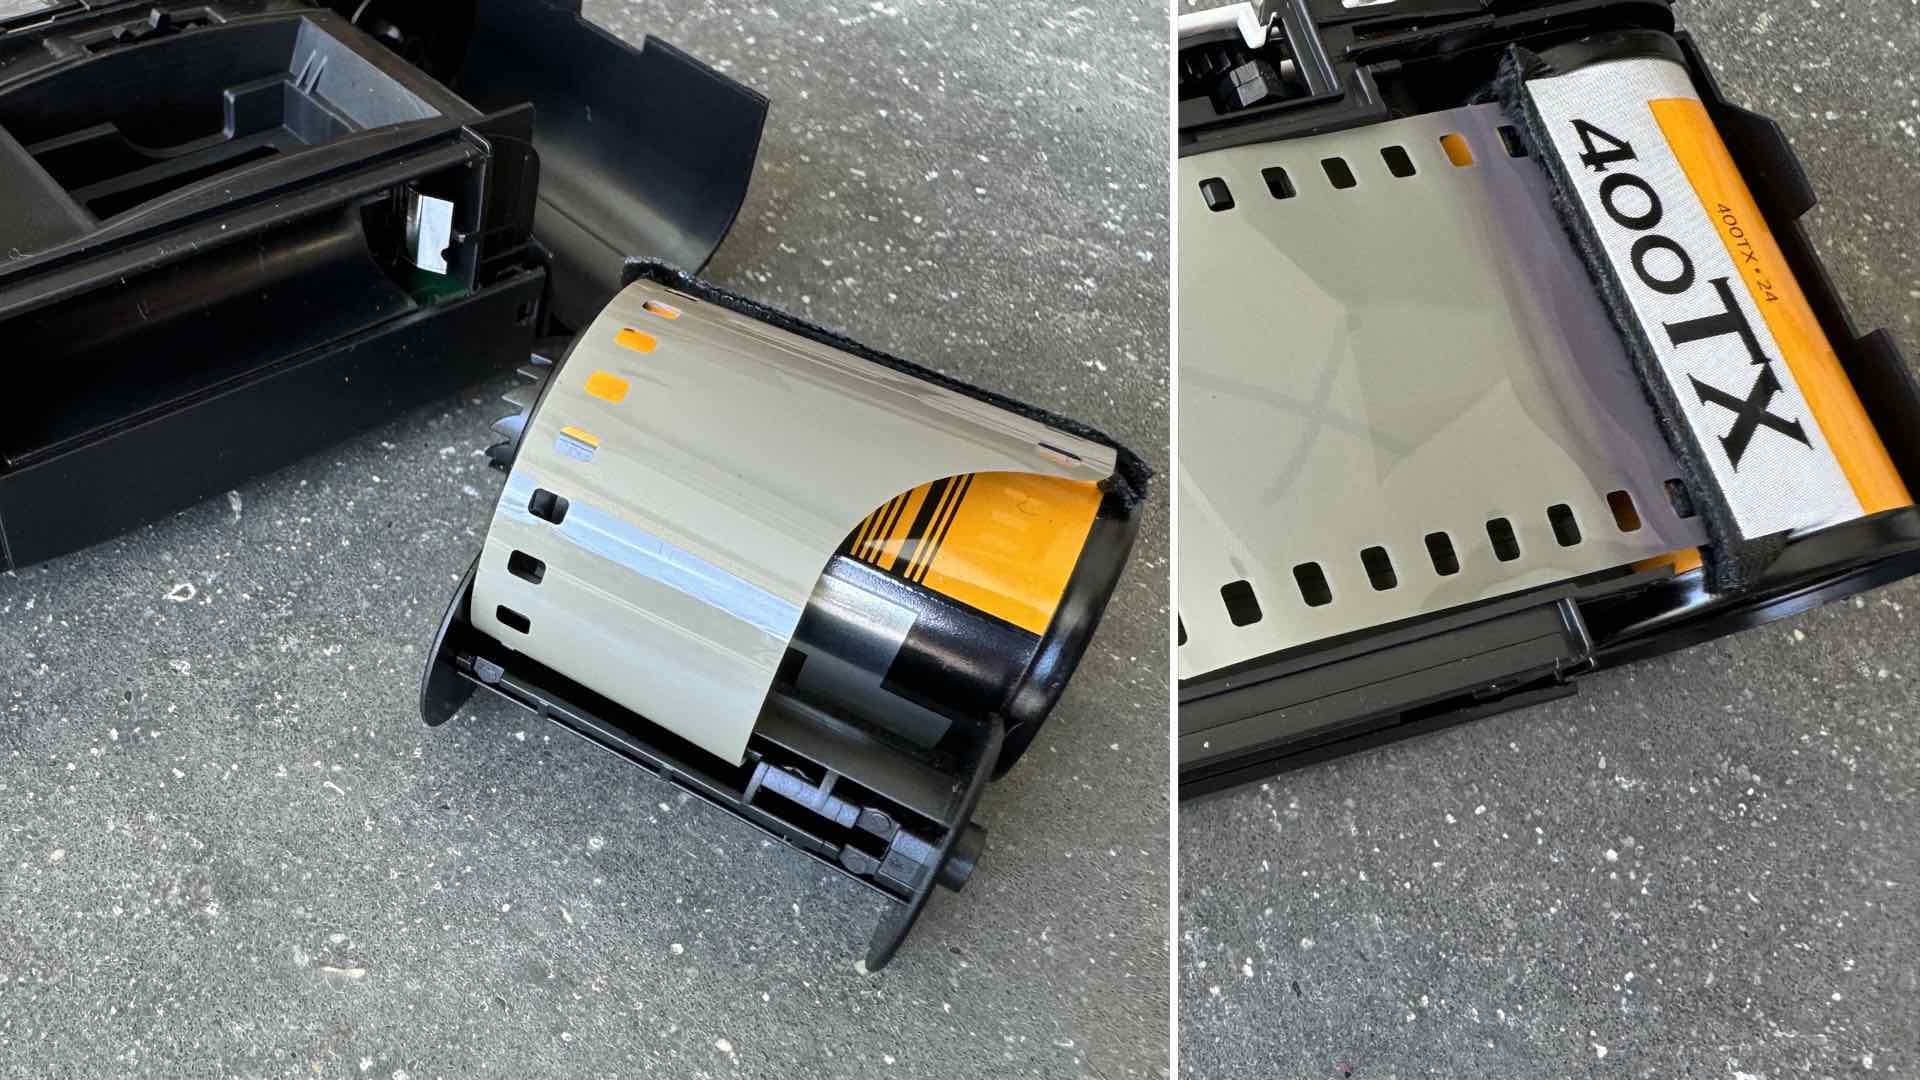
Before reloading the disposable camera, move the toothed film sprocket wheel and fire the shutter release to advance the film counter back to 25. This will allow you one expendable exposure prior to photographing with your newly (re)loaded 24-exposure roll of film.
Nimble Fingers Make Darkroom Work Easy
Either slip both camera shells, the take-up spool, and the new roll of film into the changing bag or gather these pieces inside a darkroom. In daylight, get a feel for the procedure of rolling the film onto the take-up spool then zip up the bag (or, turn off the lights) and begin.
When you’ve rolled all of the film and reached the end of the film roll, carefully slide both the cartridge and the take-up spool into the camera’s front shell. You should verify your installation with your fingers by ensuring that the teeth of the film sprocket wheel have engaged the film’s sprocket edge.
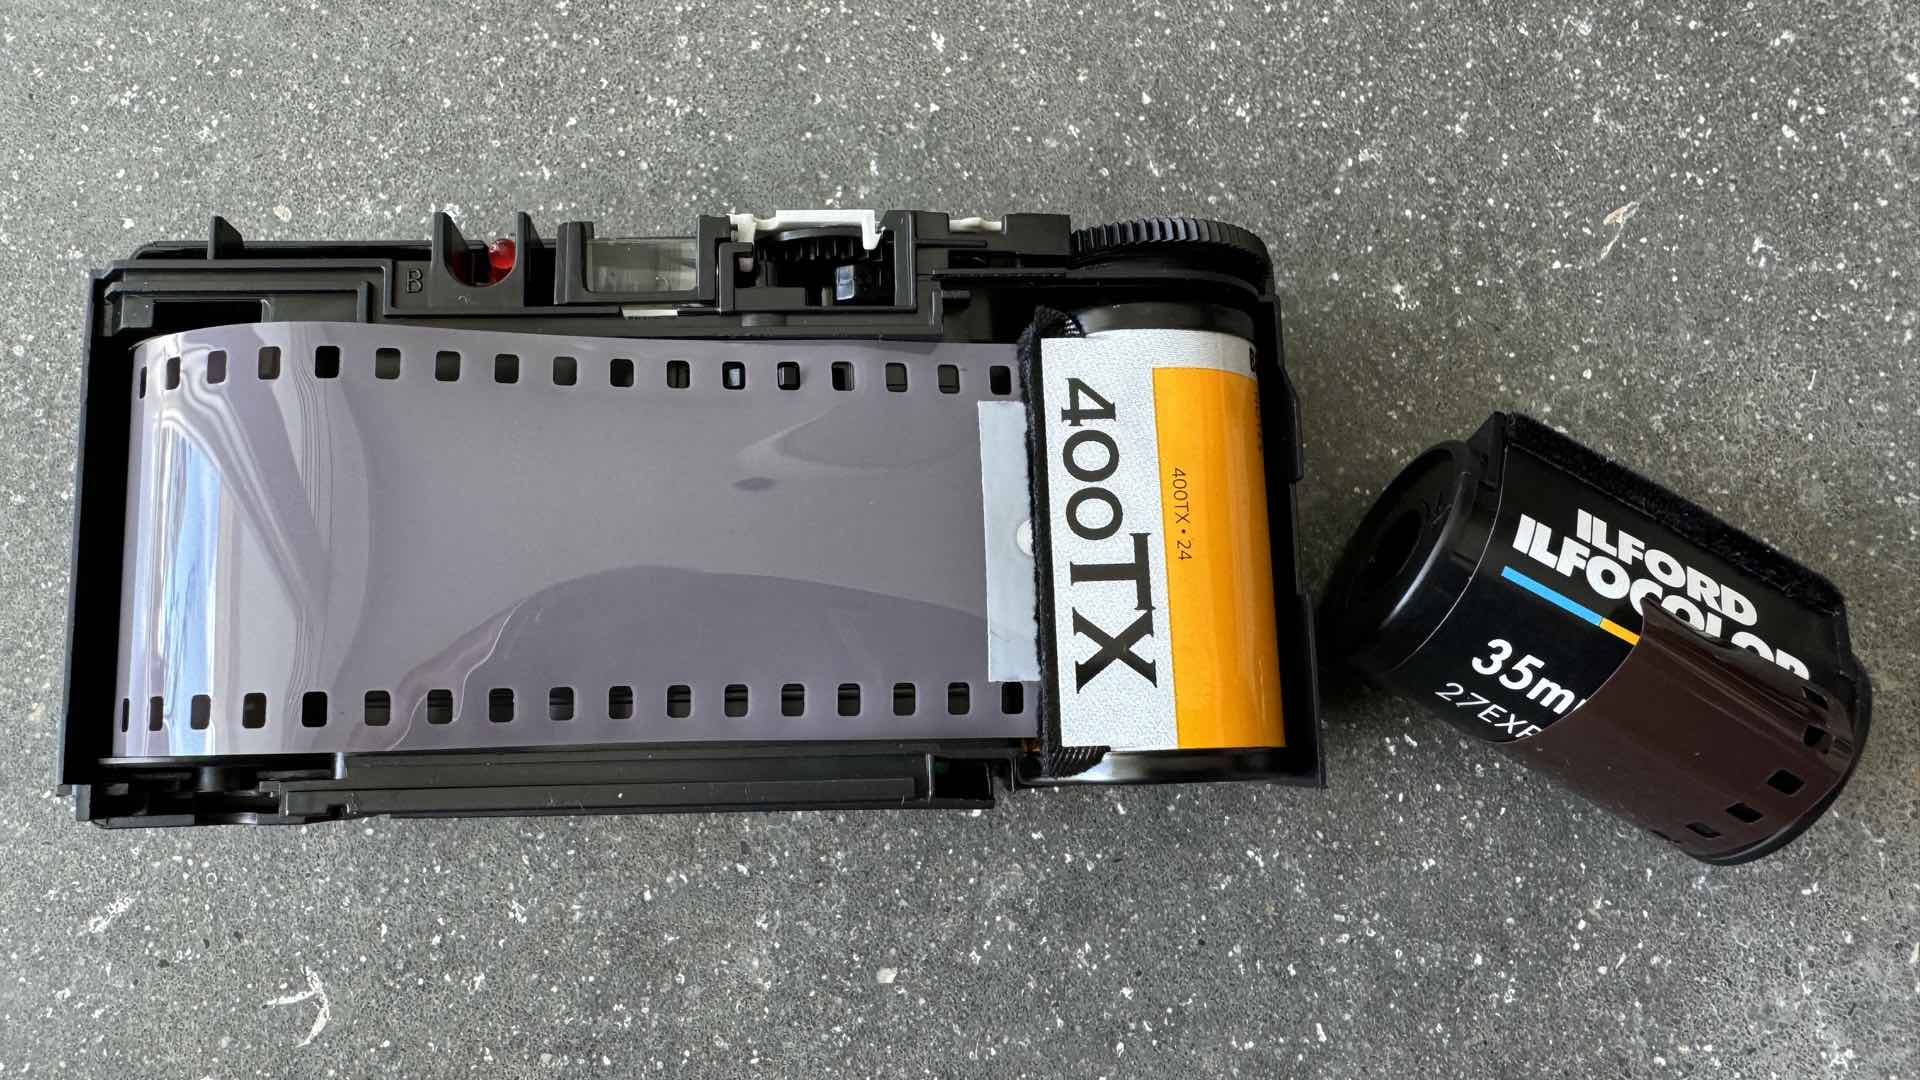
Locate the camera’s rear shell and line up the front shell. Feel for that large disc and slide it under the film cartridge then snap the shells together. The fit should be smooth with perfect alignment all around the camera’s edge and sides.
When you’re confident with the “feel” of your reloading job, remove the camera from the bag (or, step out of the darkroom) and inspect that all of the seams are tight and snapped together.
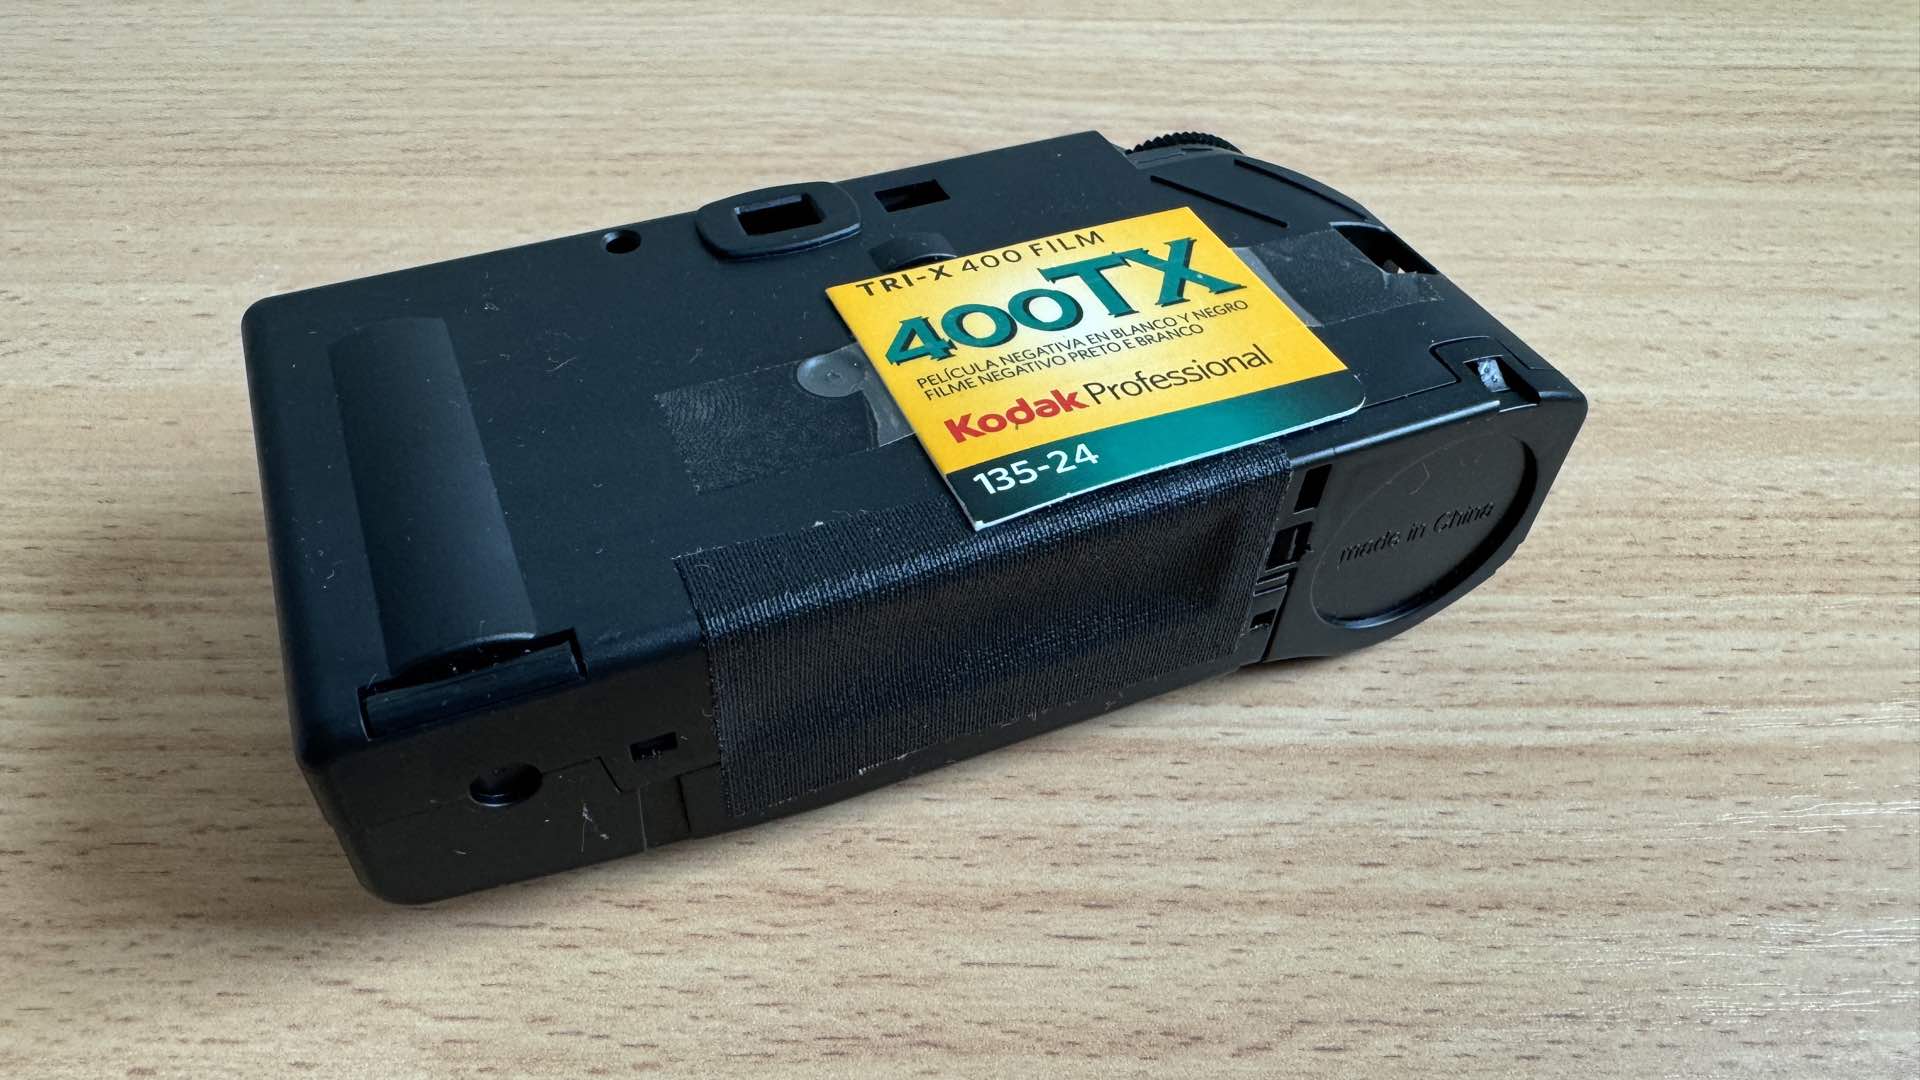
Congratulations, you’ve just reloaded a disposable camera. Please realize, that this procedure has a limited life expectancy before the plastic clips break and the camera becomes unusable. At that point, you can salvage the lens and flash system for use in another project.
Enjoy.
See more from DIYPhotography.net on Google
Add DIYPhotography.net as a trusted source. This makes
our stories more likely to appear in your Google Search results.
 Add as a preferred source on Google

David Prochnow
Our resident “how-to” project editor, David Prochnow, lives on the Gulf Coast of the United States in Ocean Springs, Mississippi. He brings his expertise at making our photography projects accessible to everyone, from a lengthy stint acting as the Contributing How-To Editor with Popular Science magazine. While you don’t have to actually build each of his projects, reading about these adventures will contribute to your continued overall appreciation of do-it-yourself photography. A collection of David’s best Popular Science projects can be found in the book, “The Big Book of Hacks,” Edited by Doug Cantor.


Join the Discussion
DIYP Comment Policy
Be nice, be on-topic, no personal information or flames.
One response to “Reload, Reuse, Recycle, Repeat: Make a “Disposable” Camera into a Reusable Camera”
What a timing, Dave – I was planning to take my disposable camera to have vacation photos developed. I might reuse it after this lol!