


How to Build a Portable DIY V-Flat for Under $100
Feb 12, 2026
Darlene Lleno
Darlene Lleno brings a unique perspective to DIY Photography as someone who grew up surrounded by camera gear but chose words over lenses. With five years of writing experience, she specializes in photography content that’s both technically informed and genuinely passionate. Growing up with a photographer twin brother meant camera talk was everyday conversation in her household. While he mastered capturing moments, Darlene discovered she preferred being the subject and the storyteller behind the scenes. As a travel enthusiast and mother of two, she understands the importance of preserving life’s precious moments. When not exploring new destinations or writing for DIY Photography, you’ll find her reading or tending to her garden. Her approach to photography writing is refreshingly authentic, she may not be behind the camera, but she knows exactly what it takes to help others capture the shots that matter most.
Share:
Video Source: https://www.youtube.com/watch?v=hqeV3OYKWfU
Building a portable DIY V-flat gives you professional light control without the hassle of transporting full-size 4×8-foot panels. Standard V-flats are bulky and difficult to move between locations, but this collapsible version folds up and fits easily in your car. The entire project costs under $100 and creates a functional 4×7-foot V-flat perfect for photography and video work.
Why Build a Portable V-Flat
Traditional V-flats are fantastic for controlling light in the studio. They bounce light, block spill, and create negative fill when needed. The problem is their size. A standard V-flat with 4×8-foot panels doesn’t fit in most vehicles and becomes a transportation nightmare for location shoots.
A portable DIY V-flat solves this problem by using smaller foam core panels connected with hinges. The accordion-fold design lets you collapse the entire unit for transport, then expand it on location. You get the same lighting control benefits as full-size V-flats with much better portability.
Materials for Your DIY V-Flat
Order these materials online or find them at local stores:
- 10 foam core panels (22″ x 28″ each) – comes in boxes of 5
- 6 rolls of hockey tape (1 inch wide)
- Self-adhesive velcro strips (hook and loop)
The foam core panels are available from Amazon and art supply stores. Hockey tape is the secret ingredient that most Americans don’t know about, but Canadians use extensively. This tape has superior tension and grip compared to gaffer tape or duct tape, keeping your panels flat and preventing warping from moisture and humidity.
Why Hockey Tape Matters
Hockey tape makes your DIY V-flat last significantly longer than other taping methods. The tape’s tension keeps boards flat and maintains their shape over time. Foam core panels taped with regular gaffer tape or duct tape tend to bend and warp, but hockey tape prevents this deterioration.
The tape sticks incredibly well to foam core. You’ll notice when opening a package of hockey tape rolls how firmly they stick together. This same adhesive strength keeps your DIY V-flat panels protected and stable through repeated folding and unfolding.
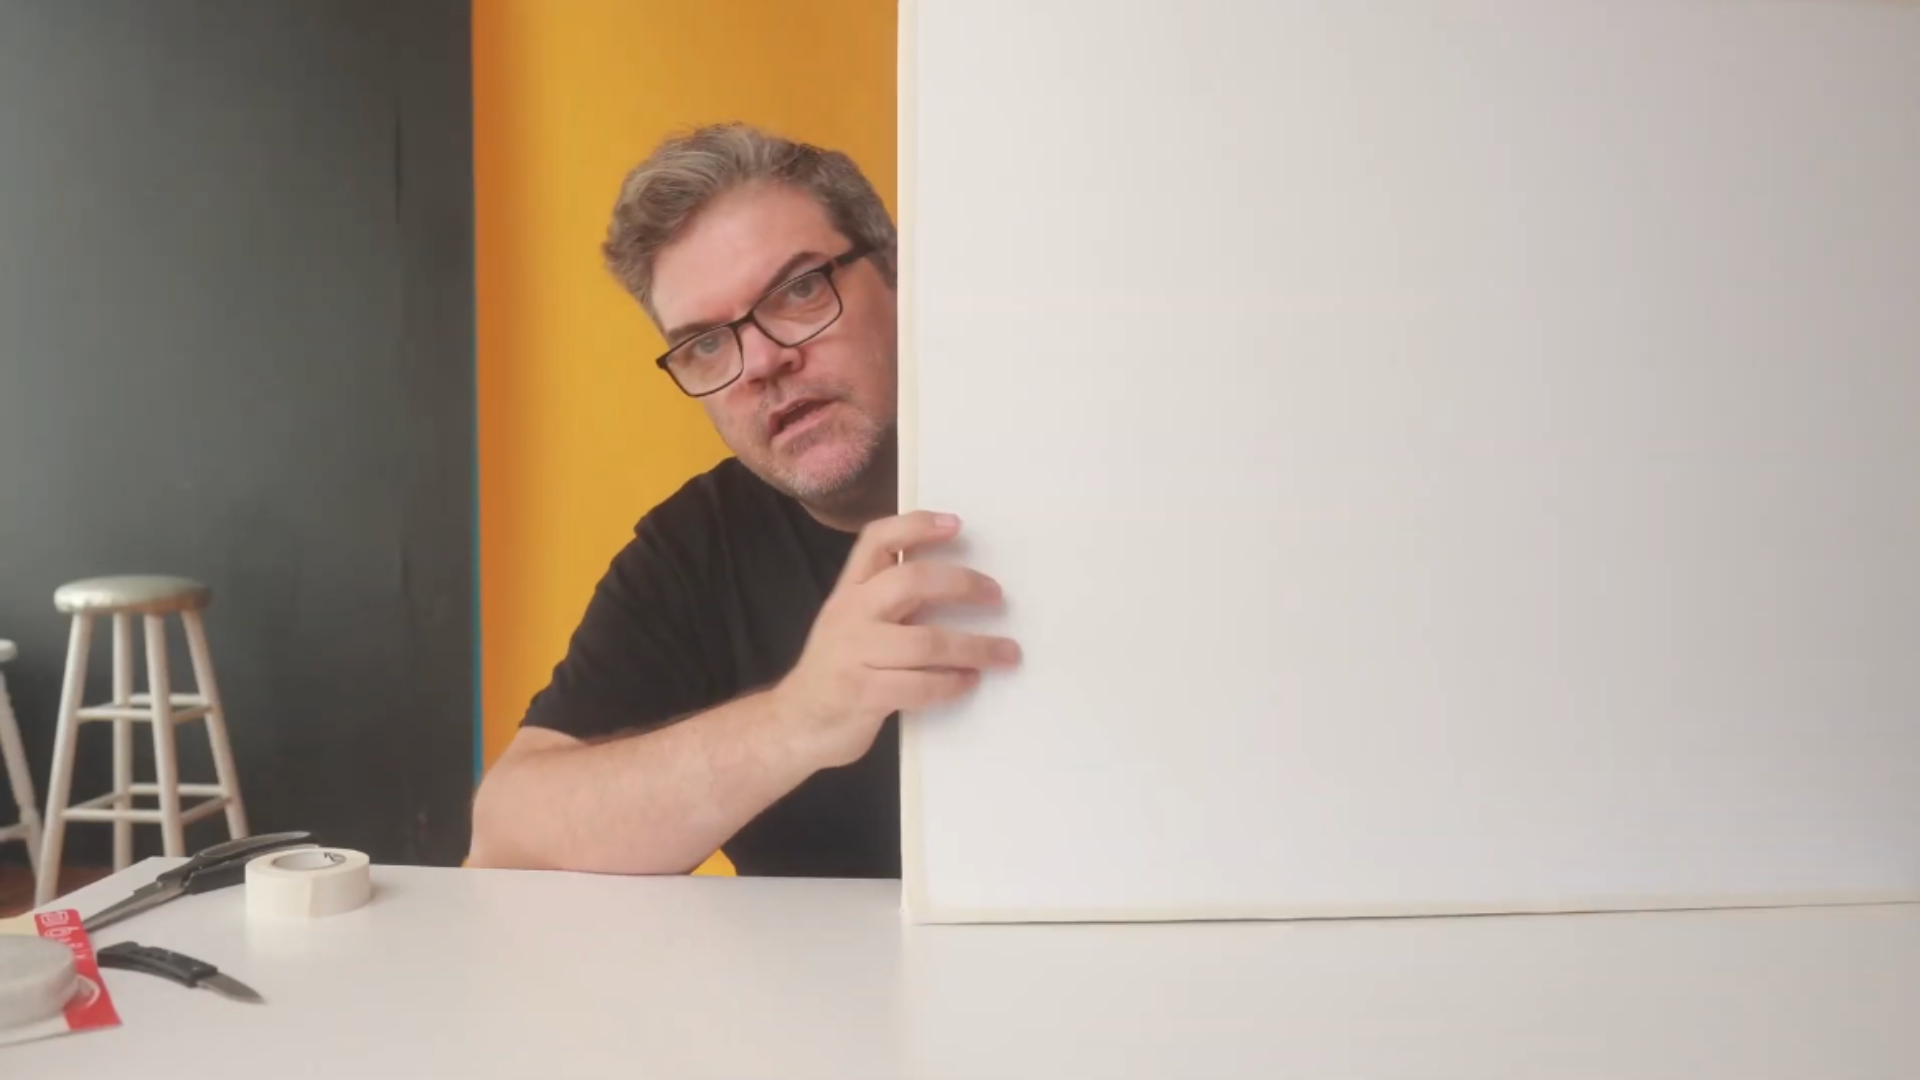
Step 1: Tape All Panel Edges
Start by separating your hockey tape rolls. They stick together firmly, so pry them apart carefully. Taping every edge of every panel is the longest part of this project, taking approximately 5 minutes per board.
Cut a strip of hockey tape slightly longer than the panel edge. Place the tape along the edge with half extending beyond the foam core. Fold the tape over in the center so it wraps around the edge. Press firmly to adhere the tape to both sides of the panel.
Work your way around the entire panel, taping all four edges. This edge protection prevents damage and keeps the foam core from delaminating. Trim any excess tape from the corners for a clean finish.
Repeat this process for all six panels. Budget about 30 minutes to tape all edges on all panels. This step is crucial for your DIY V-flat durability, so don’t skip it.
Video Source: https://www.youtube.com/watch?v=hqeV3OYKWfU
Step 2: Create the First Hinge
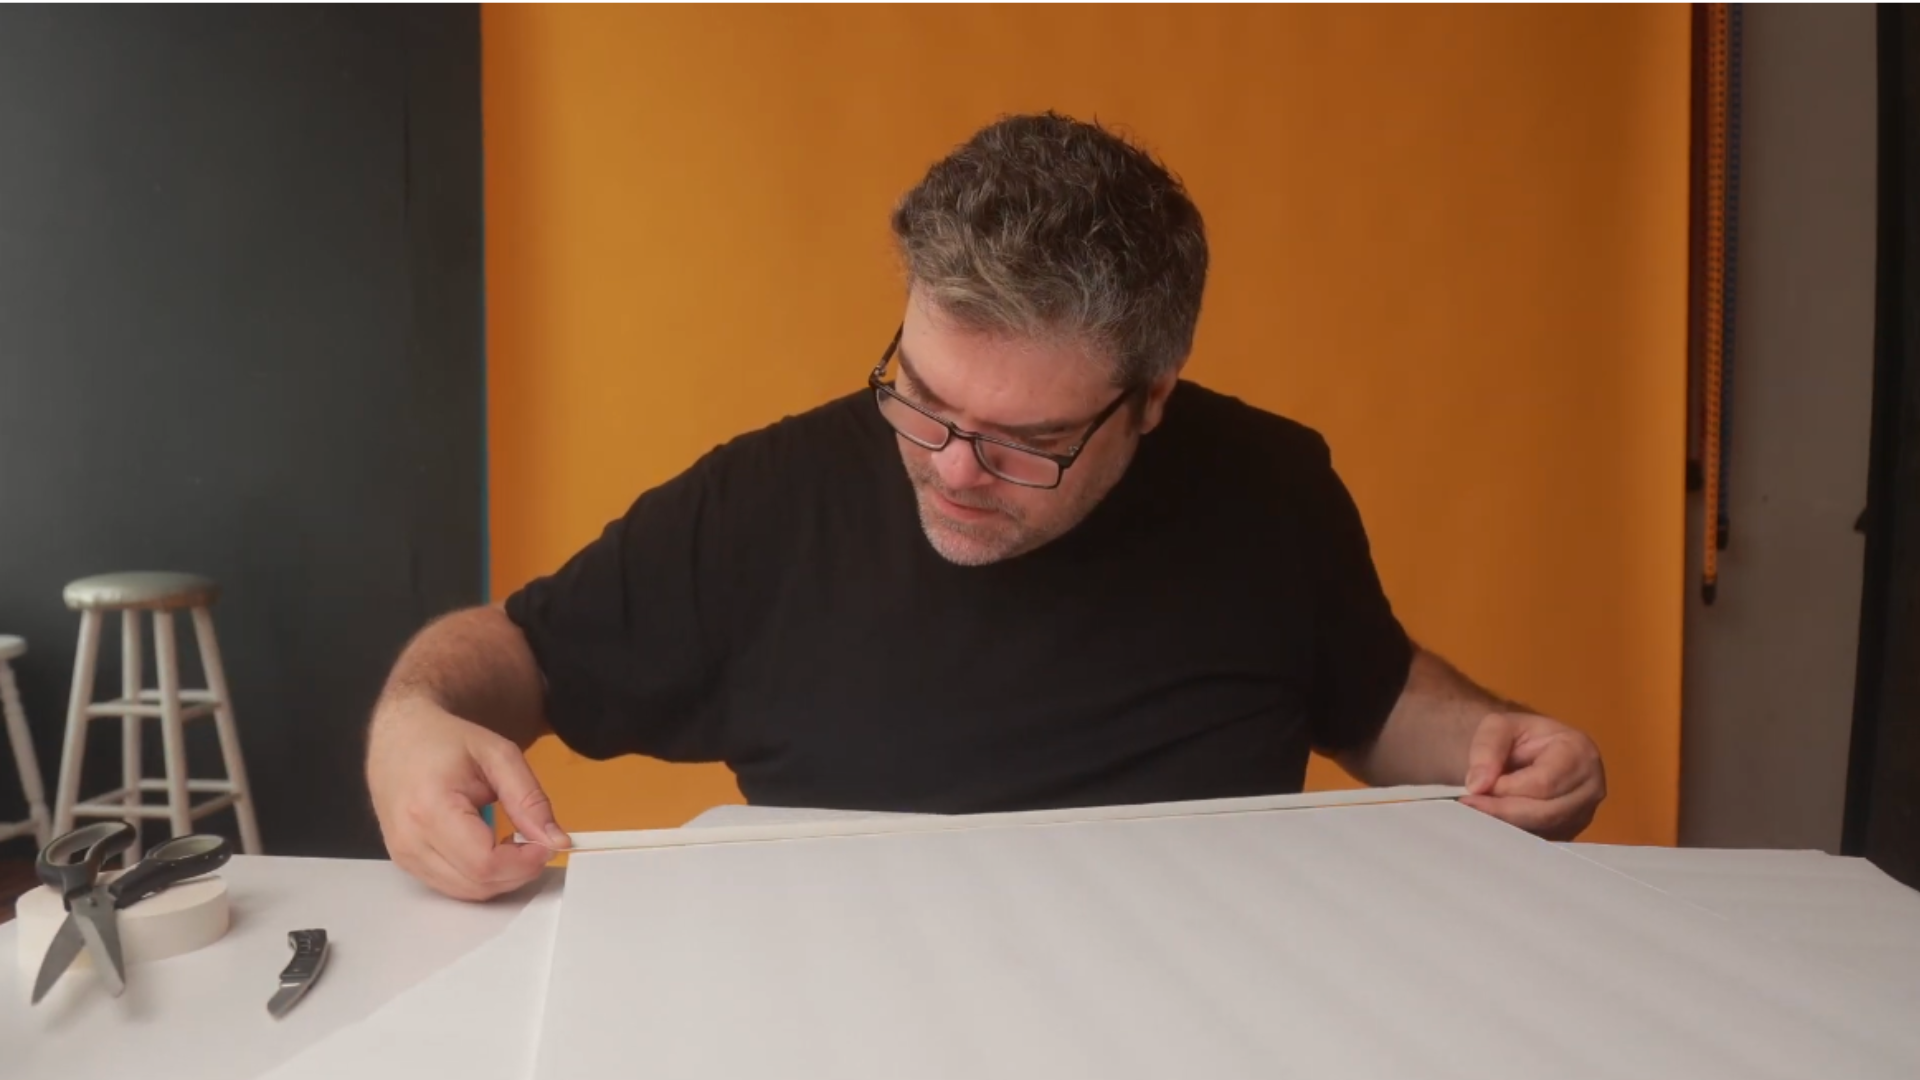
Once all panel edges are taped, start connecting panels with hinges. Take two panels and lay them side by side with edges touching. Apply hockey tape along the seam on the outside edge where the two panels meet.
Run the tape from one end to the other, creating a smooth connection. Trim excess tape at both ends. This creates the outer edge of your hinge. Flip the panels over so they’re lying flat with the taped side down.
Now apply another strip of hockey tape along the inside seam. Press the tape down into the gap between panels. Fold any excess tape over the edges. You now have a working hinge that allows the two panels to fold against each other.
Step 3: Add Additional Panels
Take your hinged pair and add a third panel. This time, create the hinge on the opposite side from your first hinge. Place the third panel next to the second panel, apply tape to the outer edge, flip it over, and tape the inner seam.
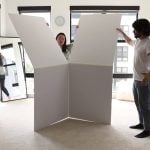
Add a fourth panel using the same alternating hinge method. The hinges alternate between opening outward and opening inward, creating an accordion fold pattern. This allows your DIY V-flat to collapse compactly.
Continue adding panels until you’ve connected all six. Your completed unit will be approximately 4 feet tall by 7 feet wide when fully extended. The accordion design lets it fold down to a fraction of that size for transport.
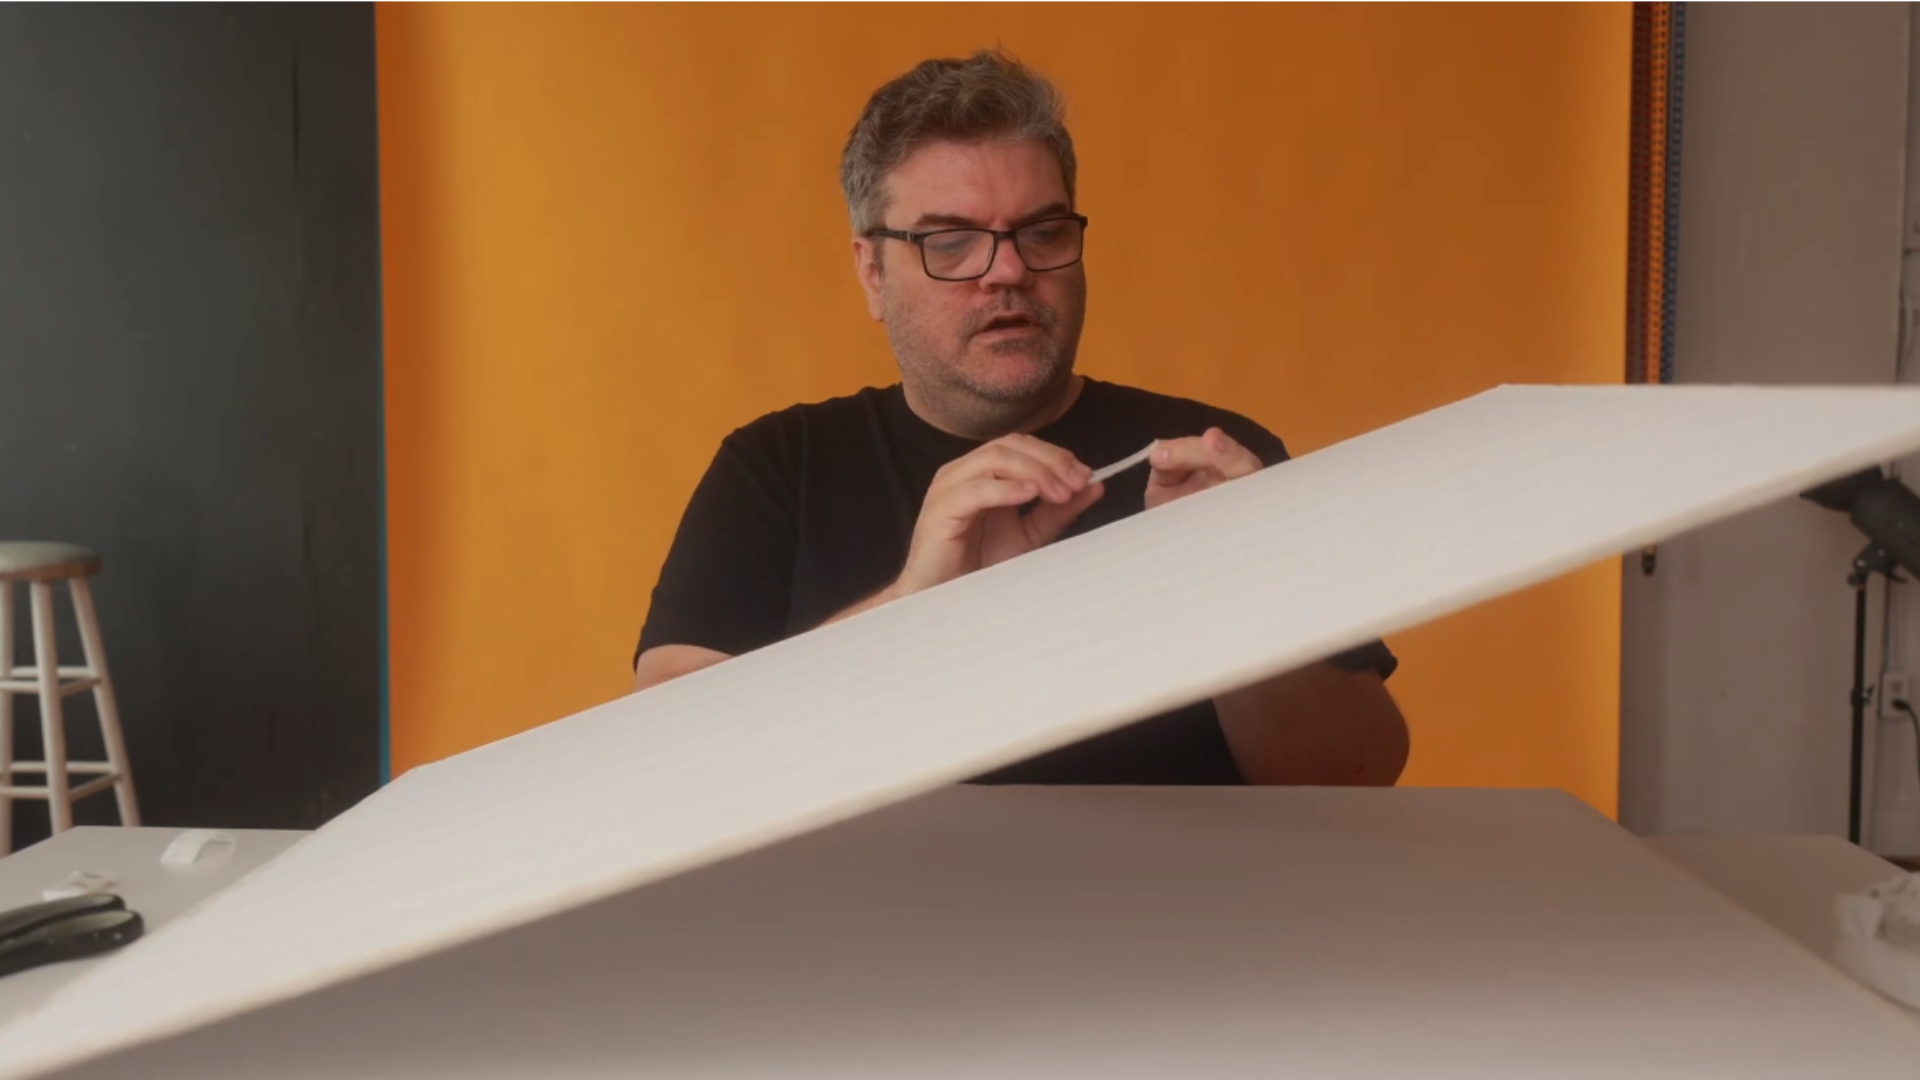
Step 4: Add Velcro Closures
Cut strips of self-adhesive Velcro into manageable pieces. You don’t need large amounts – small strips work fine for holding your DIY V-flat together when folded.
Peel the backing from the hook side of the velcro and place it along one edge of an outer panel. Position it near the edge, but not wrapping around onto the board surface. Apply it along the tape edge for best results.
Place the corresponding loop side of the Velcro on the opposite outer panel. Position these strips so they meet when you fold the panels together. The Velcro should hold the DIY V-flat closed when collapsed for transport.
The strategic placement means the Velcro not only connects sister panels but also adheres to adjacent panels when folded. This creates multiple connection points that keep everything secure during transport.
Video Source: https://www.youtube.com/watch?v=hqeV3OYKWfU
Step 5: Test the Fold
Fold your completed DIY V-flat accordion-style. The panels should collapse down smoothly with hinges alternating direction. When fully folded, the unit becomes compact enough to fit in most car trunks or back seats.
The Velcro strips should connect and hold the folded unit together. Test the security by lifting the folded V-flat. If it stays together, your velcro placement is correct. If panels want to unfold, add additional velcro strips at problem points.
Using Your Portable DIY V-Flat
Set up your DIY V-flat by unfolding it completely and positioning it in a V-shape. Use it as a bounce surface for soft lighting, place it behind subjects to block light spill, or position it for negative fill to add contrast.
The white foam core surface works perfectly for bouncing light without a color cast. For portrait photography, position the V-flat near your subject to wrap light around them. For product photography, use it to control reflections and create clean backgrounds.
The 4×7-foot size handles most photography situations while remaining transportable. For larger setups, build multiple units and position them together. The modular design means you can create exactly the configuration you need.
Cost Breakdown
Here’s what you’ll spend on your DIY V-flat:
- 10 foam core panels (2 boxes of 5): $30-40
- 6 rolls of hockey tape: $30-40
- Velcro strips: $10-15
Total cost: $70-95, well under $100. Compare this to commercial V-flats that cost $150-300 and don’t fold for transport. You’re getting superior portability at a fraction of the price.
Maintenance and Care
Store your DIY V-flat in a dry location when not in use. The hockey tape protects edges from moisture, but prolonged exposure to humidity can still affect the foam core. Keep it away from extreme temperatures that might warp the panels.
Check the Velcro periodically and replace strips if they lose adhesion. The hockey tape should last for years with normal use. If edges start to lift, simply apply fresh tape over the problem areas.
Transport your folded DIY V-flat carefully to avoid crushing the foam core. While the hockey tape adds significant protection, the panels can still be damaged by heavy objects. Store it flat in your vehicle rather than wedging it between other equipment.
Building Multiple V-Flats
Consider building one white DIY V-flat and one black version. White panels bounce and reflect light for fill lighting, while black panels absorb light for negative fill and background control. Having both options expands your lighting possibilities.
You can also experiment with different panel sizes. Smaller panels create a more compact folded unit, while larger panels (if you can find them) give you more coverage when expanded. The construction process remains identical regardless of panel dimensions.
Tips for Best Results
Work on a clean, flat surface when building your DIY V-flat. This ensures panels stay aligned when creating hinges. Take your time with the hockey tape application since rushed work leads to uneven edges and weak hinges.
When applying Velcro, test the fold before committing to permanent placement. You can reposition Velcro strips if needed, but it’s easier to get placement right the first time. Consider marking Velcro positions with a pencil before removing the adhesive backing.
Practice folding and unfolding your completed DIY V-flat several times. You’ll develop a rhythm that makes setup and breakdown quick and easy. The more familiar you become with the folding pattern, the faster you can deploy your V-flat on location.
Professional Results, DIY Budget
Building a portable DIY V-flat for under $100 gives you professional studio lighting control that travels easily. The accordion fold design means you can shoot on location with the same light shaping tools you use in the studio. Hockey tape ensures your investment lasts for years, while the modular construction adapts to different shooting scenarios. This project takes about an hour from start to finish, with most time spent taping panel edges. The result is a versatile lighting tool that fits in your car, sets up in seconds, and performs just as well as V-flats costing three times as much. Whether you’re shooting portraits, products, or video content, your portable DIY V-flat gives you the light control professionals demand without the transportation headaches.

Darlene Lleno
Darlene Lleno brings a unique perspective to DIY Photography as someone who grew up surrounded by camera gear but chose words over lenses. With five years of writing experience, she specializes in photography content that’s both technically informed and genuinely passionate. Growing up with a photographer twin brother meant camera talk was everyday conversation in her household. While he mastered capturing moments, Darlene discovered she preferred being the subject and the storyteller behind the scenes. As a travel enthusiast and mother of two, she understands the importance of preserving life’s precious moments. When not exploring new destinations or writing for DIY Photography, you’ll find her reading or tending to her garden. Her approach to photography writing is refreshingly authentic, she may not be behind the camera, but she knows exactly what it takes to help others capture the shots that matter most.


Join the Discussion
DIYP Comment Policy
Be nice, be on-topic, no personal information or flames.
One response to “How to Build a Portable DIY V-Flat for Under $100”
Here’s the actual working link to the video, which is actually easier to understand than these instructions. https://youtu.be/hqeV3OYKWfU?si=MbQKMvssmq_psEJt