

















What Does F-Stop Mean in Simple Terms
Dec 23, 2025
Darlene Lleno
Darlene Lleno brings a unique perspective to DIY Photography as someone who grew up surrounded by camera gear but chose words over lenses. With five years of writing experience, she specializes in photography content that’s both technically informed and genuinely passionate. Growing up with a photographer twin brother meant camera talk was everyday conversation in her household. While he mastered capturing moments, Darlene discovered she preferred being the subject and the storyteller behind the scenes. As a travel enthusiast and mother of two, she understands the importance of preserving life’s precious moments. When not exploring new destinations or writing for DIY Photography, you’ll find her reading or tending to her garden. Her approach to photography writing is refreshingly authentic, she may not be behind the camera, but she knows exactly what it takes to help others capture the shots that matter most.
Share:

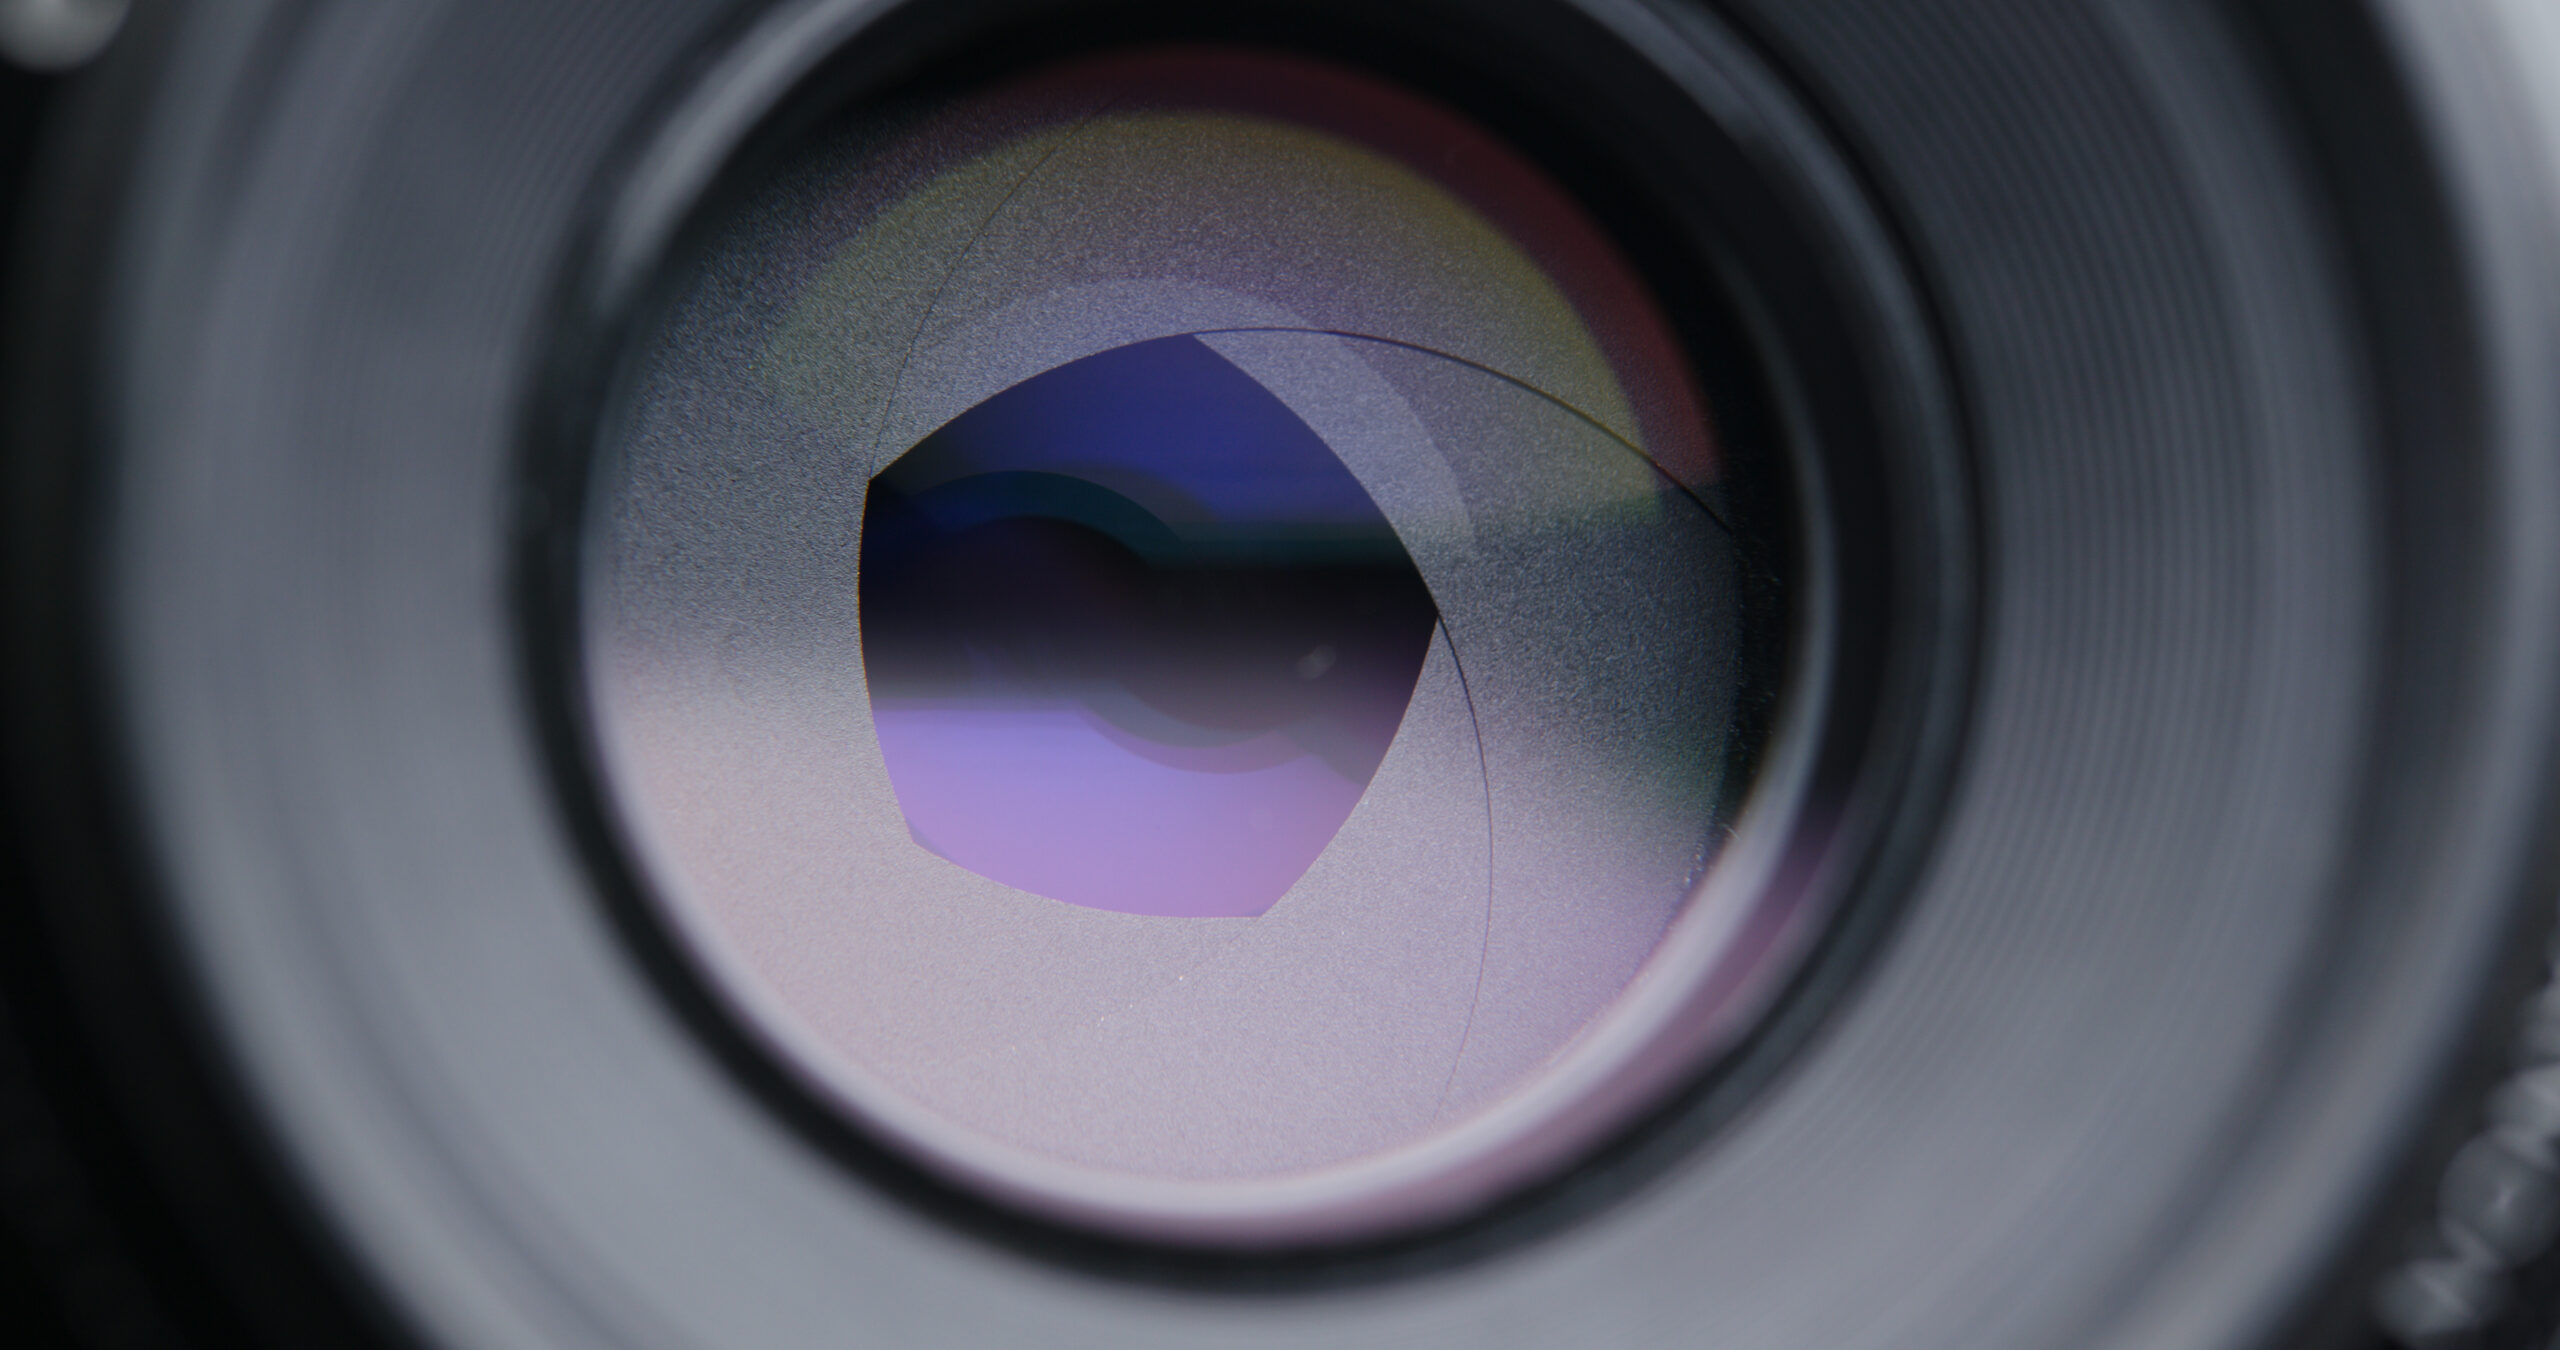
F-stop explained starts with one simple fact about your camera. Your lens has an opening that controls how much light reaches the sensor. This opening is the aperture, and f-stop numbers describe its size.
The numbers seem backward at first. Lower numbers mean bigger openings. Higher numbers mean smaller openings. Once you grasp this basic concept, camera control becomes much simpler.
How F-Stop Affects Your Images
F-stop explained means understanding three key effects on your photos. It controls light entering your camera, background blur, and overall sharpness. Each f-stop choice creates different results.
Light and Exposure Control
Each f-stop number represents a specific opening size. Wide apertures like f/1.4 let in massive amounts of light. Narrow apertures like f/16 restrict light flow significantly.
The system works on predictable patterns. Moving from f/2.8 to f/4 cuts the light in half. Going from f/4 to f/2.8 doubles the light. This helps you adjust exposure quickly in changing conditions.
Low light demands wider apertures for proper brightness. Concert photographers shoot at f/1.4 or f/2.8 regularly. This captures performances without harsh flash lighting.
Creating Background Blur
F-stop directly controls depth of field in your photos. Lower numbers create a shallow depth of field. Backgrounds blur while subjects stay sharp.
Portrait photographers love f/1.4 through f/2.8 for subject separation. The person stays crisp while backgrounds melt into smooth bokeh. This instantly adds professional quality to photos.
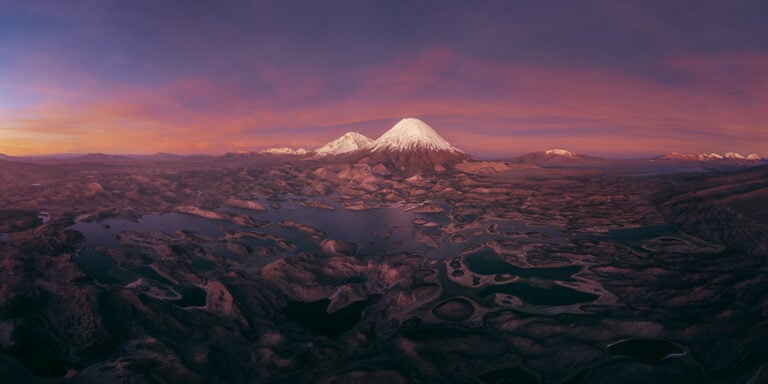
Higher numbers keep more in focus from front to back. Landscape photographers typically use f/8 through f/16. This ensures sharpness from nearby rocks to distant mountains.
Sharpness Sweet Spots
Every lens performs best at certain apertures. Most lenses deliver maximum sharpness around f/8 to f/11. This middle range balances edge clarity with center sharpness.
Wide open apertures sacrifice some edge sharpness for light gathering. Narrow apertures past f/16 create diffraction that softens images. Understanding these tradeoffs helps you pick ideal settings.
Working With the Exposure Triangle
F-stop explained requires understanding its relationship with other exposure controls. Shutter speed and ISO work together with aperture. Changing one means adjusting others to maintain proper brightness.
Balancing Your Settings
Opening from f/5.6 to f/2.8 quadruples incoming light. You need faster shutter speeds or lower ISO to compensate. This balance becomes automatic with practice.
Outdoor photographers often pick f-stop first based on depth needs. Then they adjust the shutter speed for available light. High ISO allows narrow apertures in dim conditions.
Modern cameras handle high ISO much better than older models. You can shoot at f/11 indoors when necessary. Noise reduction technology has improved dramatically over recent years.

Creative Flexibility
The exposure triangle offers endless creative possibilities. Fast shutters freeze action but need wide apertures in average light. Slow shutters create motion blur but require narrow apertures outdoors.
Bright sunlight creates challenges for portrait work. You want f/2.8 for background blur, but conditions are too bright. Shutter speeds of 1/4000 compensate for wide apertures effectively.
F-Stop Settings for Different Situations
Different ranges serve specific photography needs. Understanding these helps you choose settings faster in real shooting situations.
Wide Apertures: f/1.4 to f/2.8
These settings work best in low light conditions. Wedding photographers rely on them for reception shots without flash. The wide opening captures maximum available light.
Shallow depth at these apertures creates dramatic portrait photography effects. Eyes stay sharp while everything else gradually blurs. This draws the viewer’s attention exactly where you want it.
Street photography at night benefits from f/1.8 or f/2. You capture ambient light and natural moments authentically. Flash often destroys the mood in these situations.
Middle Range: f/4 to f/5.6
This range handles general photography well for most situations. Depth gives decent separation without extreme blur. Sharpness improves compared to shooting wide open.
Travel photographers stay in this range for varied subjects. It works for architecture, people, and street scenes equally. Image quality stays consistently high throughout.
Group photos need f/4 or f/5.6 minimum for sharpness. Too wide puts people at different distances out of focus. Too narrow requires excessive lighting.
Sweet Spot: f/8 to f/11
Most lenses deliver peak performance here for overall quality. Landscape photographers rely on these apertures constantly. Front-to-back sharpness makes the scenery spectacular.
Product photography uses these settings to showcase details clearly. Everything from near to far stays crisp and defined. Buyers appreciate seeing exactly what they’ll receive.
Macro photography gets tricky even at f/11. Only thin slices stay sharp at close distances. Photographers often stack multiple shots for complete sharpness.

Maximum Depth: f/16 to f/22
Narrow apertures maximize front-to-back sharpness when needed. Architectural photographers use them for interior shots. Every detail stays clear from the furniture to the windows.
Star photography sometimes needs f/16 for starburst effects. Streetlights and headlights develop distinct rays at narrow apertures. This creates appealing visual interest.
Diffraction becomes noticeable past f/16 in most lenses. Overall, images soften slightly at extreme settings. Only use f/22 when absolutely necessary for depth.
Real World Shooting Scenarios
Practical photography requires quick decisions about aperture settings. These common situations show which f-stops work best.
Portrait Sessions
Individual portraits work beautifully at f/2.8 for blurred backgrounds. Subjects stand out against smooth bokeh naturally. Eyes remain the sharp focal point viewers notice first.
Couple portraits need f/4 or f/5.6 for both people to be sharp. F/2.8 risks one person going soft if staggered. This tighter aperture ensures both faces stay clear.
Environmental portraits showing location context need f/8 minimum. Backgrounds should be recognizable but not distracting. This creates context while maintaining subject emphasis.
Landscape Work
F/8 delivers excellent sharpness for most landscape situations. This captures detail from foreground through background effectively. Mountain scenes and seascapes look stunning at this setting.
F/11 helps when very close foreground elements need sharpness. Rocks and flowers right at your feet demand extra focus range. Watch for diffraction on smaller sensors, though.
Golden hour light sometimes forces wider apertures to maintain speed. F/5.6 might be necessary for reasonable shutter speeds. Softer light creates a beautiful mood even without maximum sharpness.
Event Coverage
Indoor events demand f/2.8 or wider for available light shooting. Ceremonies and receptions rarely provide enough light for narrow apertures. Flash helps, but destroys the natural ambient feel.
External flash off-camera allows f/4 for better depth. Extra light permits slightly narrower apertures for group sharpness. This ensures more people stay clear in group moments.
Dance floor shots often work at f/1.8 with slow sync flash. Wide apertures capture colorful background lighting while flash freezes dancers. This creates dynamic energy in the final images.
Understanding the F-Stop Scale
The f-stop scale follows specific mathematical patterns you should know. Each full stop doubles or halves the incoming light. Modern cameras offer third-stop increments for fine control.
The Standard Progression
Traditional full stops go: f/1.4, f/2, f/2.8, f/4, f/5.6, f/8, f/11, f/16, f/22. Each number represents half the light of the previous one. This geometric progression maintains consistent exposure changes.
According to Cambridge in Colour, understanding these stops helps predict how changes affect photos. The mathematical relationship applies regardless of equipment brand.
Lens Limitations
Not all lenses offer the complete f-stop range available. Consumer zooms often max out at f/3.5 or f/4. Professional primes can reach f/1.4 or even f/1.2.
Zoom lenses frequently have variable maximum apertures across focal lengths. An 18-55mm might be f/3.5 at 18mm, but only f/5.6 at 55mm. This affects flexibility at different zoom positions.
Common Aperture Mistakes
Photographers make predictable f-stop errors when learning. Recognizing these helps you avoid similar frustration.
Always Shooting Wide Open
Many beginners assume f/1.4 always looks best for everything. They shoot at the widest aperture constantly. This creates problems with sharpness and missed focus regularly.
Critical focus becomes much harder at f/1.4 settings. Slight misfocus puts the subject’s eyes soft immediately. Stopping down to f/2.8 gives more forgiveness with good blur.
Group shots fail completely at wide apertures for obvious reasons. People at different distances can’t all stay sharp together. F/5.6 or narrower prevents this common problem.
Ignoring Diffraction Effects
Some photographers assume f/22 always maximizes sharpness for landscapes. They stop down excessively without testing results. Diffraction actually reduces image quality at extreme apertures.
Test your specific lens to find where diffraction becomes visible. Most lenses show softening past f/16 in normal use. Stay at f/11 or f/13 for best overall results.
Macro work requires a careful balance between depth and diffraction. You need focus range but can’t afford excessive softness. F/11 often represents the best compromise for close-ups.
Forgetting Shutter Speed
Focusing only on the f-stop while ignoring the shutter speed causes blur. Opening to f/1.4 helps with light, but doesn’t eliminate shake. You still need an adequate shutter speed for sharp handheld photos.
The reciprocal rule suggests minimum speeds based on focal length. A 50mm lens needs at least 1/50 second handheld. Wider apertures don’t change this fundamental requirement.
Image stabilization helps, but has definite limits you should know. You can gain two or three stops of stability. Don’t push beyond what your hands can reasonably manage.
Practical F-Stop Guidelines
Here’s how to choose apertures for specific photography types. These guidelines work for the most common shooting situations.
Portrait Photography:
- Solo portraits: f/1.8 to f/2.8 for beautiful background separation
- Couples: f/4 to f/5.6 to keep both people sharp
- Groups: f/8 minimum to ensure everyone stays in focus
- Environmental: f/5.6 to f/8 for context with subject emphasis
Landscape Photography:
- General scenes: f/8 for excellent overall sharpness
- Close foreground: f/11 for extended depth of field
- Sunrise/sunset: f/5.6 to f/8 for faster shutter speeds
- Stars and night: f/2.8 to f/4 for light gathering
Street Photography:
- Daytime: f/5.6 to f/8 for zone focusing flexibility
- Low light: f/2.8 or wider for ambient light capture
- Candid moments: f/4 to f/5.6 for quick shooting
- Night scenes: f/1.8 to f/2.8 with higher ISO
What to Remember About F-Stop
F-stop explained ultimately helps you make better creative decisions. Your vision determines which setting serves each situation best.
Start by identifying what matters most for your shot right now. Background blur suggests wide apertures. Maximum sharpness throughout means middle apertures. Extreme depth requires narrow settings.
Consider technical limitations affecting your choices next. Available light might force wider apertures than ideal. The desired shutter speed could limit aperture options. Sensor size affects depth of field at different f-stops.
Practice with your specific gear reveals important patterns. Each lens performs differently across its aperture range. Some shine wide open while others need stopping down. Learn your equipment’s capabilities through regular testing.
The numbers become intuitive with consistent experience. You’ll instinctively reach for f/2.8 for portraits automatically. Understanding f-stop explained transforms technical knowledge into a creative instinct.
Photography Life offers additional technical details about calculations and physics. Practical application matters more than mathematical formulas for most photographers.
Experiment with different f-stops in identical scenes regularly. Compare results to see exactly how aperture affects images. This hands-on learning beats reading theory every single time.
See more from DIYPhotography.net on Google
Add DIYPhotography.net as a trusted source. This makes
our stories more likely to appear in your Google Search results.
 Add as a preferred source on Google

Darlene Lleno
Darlene Lleno brings a unique perspective to DIY Photography as someone who grew up surrounded by camera gear but chose words over lenses. With five years of writing experience, she specializes in photography content that’s both technically informed and genuinely passionate. Growing up with a photographer twin brother meant camera talk was everyday conversation in her household. While he mastered capturing moments, Darlene discovered she preferred being the subject and the storyteller behind the scenes. As a travel enthusiast and mother of two, she understands the importance of preserving life’s precious moments. When not exploring new destinations or writing for DIY Photography, you’ll find her reading or tending to her garden. Her approach to photography writing is refreshingly authentic, she may not be behind the camera, but she knows exactly what it takes to help others capture the shots that matter most.



Join the Discussion
DIYP Comment Policy
Be nice, be on-topic, no personal information or flames.
2 responses to “What Does F-Stop Mean in Simple Terms”
I really appreciate articles like this as a 59 year young aspiring photographer and filmmaker.
Thank you, for the tutorial. My wife found it to be a challenge when I explained it to her. Your post helped.