


Photography Lighting Basics: Complete Beginner’s Guide to Light
Nov 6, 2025
Darlene Lleno
Darlene Lleno brings a unique perspective to DIY Photography as someone who grew up surrounded by camera gear but chose words over lenses. With five years of writing experience, she specializes in photography content that’s both technically informed and genuinely passionate. Growing up with a photographer twin brother meant camera talk was everyday conversation in her household. While he mastered capturing moments, Darlene discovered she preferred being the subject and the storyteller behind the scenes. As a travel enthusiast and mother of two, she understands the importance of preserving life’s precious moments. When not exploring new destinations or writing for DIY Photography, you’ll find her reading or tending to her garden. Her approach to photography writing is refreshingly authentic, she may not be behind the camera, but she knows exactly what it takes to help others capture the shots that matter most.
Share:
Photography lighting basics are the foundation of every great shot you’ll take. The word photography literally means “drawing with light.” So understanding how to work with light transforms your photos from snapshots into compelling images. Most beginners think buying better gear will improve their work. But learning to control light makes a bigger difference than any camera upgrade.
Light does more than just illuminate your subject. It creates mood, adds depth, reveals texture, and guides the viewer’s eye. Every professional photographer started by mastering these fundamentals. The good news? You can learn them too, and you probably have the tools already.
How Natural Light Works in Photography
Photography lighting basics start with the most accessible source: the sun. Natural light changes throughout the day, offering different qualities and colors. Early morning light casts a cool, blue tone. Midday sun produces harsh shadows and bright highlights. Late afternoon brings warm, golden tones that photographers love.
You can shape natural light without spending money on equipment. Move your subject around the scene. Change your shooting position based on where the light falls. Wait for clouds to diffuse harsh sunlight naturally. These simple adjustments cost nothing but make a huge impact.
Window light works beautifully for indoor photography sessions. Position your subject near a large window. The soft, directional light flatters skin tones and creates gentle shadows. North-facing windows provide consistent light throughout the day. South-facing windows offer stronger, more dramatic light that changes as the sun moves.
Using Diffusers to Soften Harsh Sunlight
Direct sunlight creates problems for photographers trying to capture great images. Harsh shadows fall across faces and ruin portraits. Bright highlights blow out detail in your photos. Your subject squints uncomfortably at the camera. A diffuser solves these issues by spreading the light more evenly.
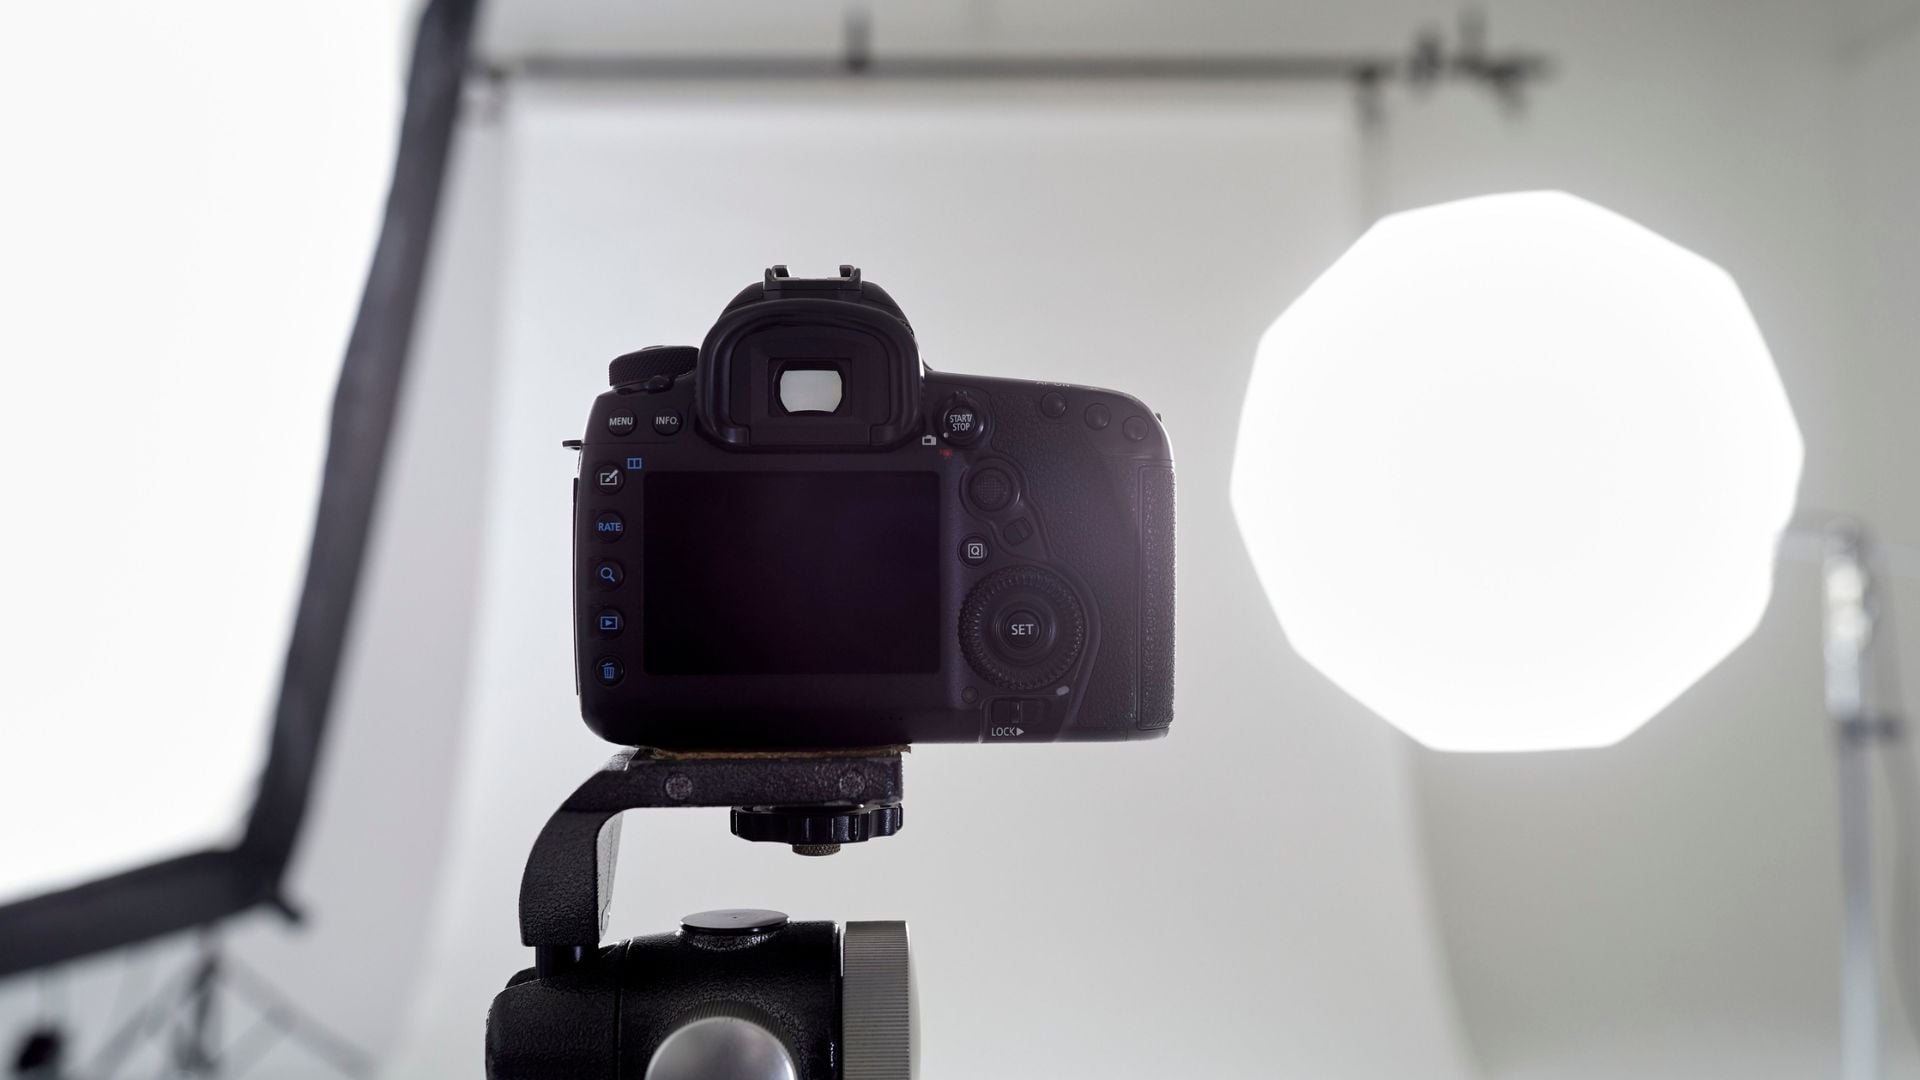
Think of a diffuser as a lightweight curtain between the sun and your subject. It reduces intensity without blocking all the light completely. You maintain that bright, daylight look while getting rid of harsh shadows. For portrait photography, translucent umbrellas or popup disks work well. For smaller subjects, even a white sheet does the job.
Position the diffuser between your light source and subject carefully. The closer the diffuser sits to your subject, the softer your light becomes. A larger diffuser creates even softer results that flatter your subject.
Reflectors Fill In Shadows Naturally
Reflectors bounce existing light back onto your subject without adding equipment. They fill in dark shadows without adding new light sources. White reflectors produce soft, natural-looking fill light for portraits. Silver reflectors create brighter, more dramatic fill effects. Gold reflectors add warmth to the bounced light.
You don’t need fancy equipment to use reflection effectively. White walls work perfectly for bouncing light indoors. Foam core boards from the craft store work great. Even a large piece of white posterboard does the job. Position the reflector opposite your main light source. Angle it to bounce light into the shadows on your subject.
Light metering becomes simpler when you understand how reflectors affect exposure. The reflected light adds about one to two stops of brightness. This reduces contrast in your scene significantly. It makes exposure easier to manage for beginners.
Photography Lighting Basics with Flash
Flash photography opens up creative possibilities that natural light alone can’t provide. You control the direction, intensity, and quality of light completely. Flash freezes motion that would blur in low light situations. It lets you shoot in any location at any time of day.
Modern flash units offer two main control modes for photographers. TTL mode automatically calculates the right amount of light for your scene. Manual mode gives you complete control over flash power output. Most photographers start with TTL to learn the basics. Then they switch to manual for consistent results across shoots.
Choosing Your First Flash Unit
Your camera’s built-in flash produces terrible light in most situations you’ll encounter. The light comes from directly above the lens position. This creates unflattering shadows under the nose and chin. Invest in an external flash that you can move off the camera.
Look for a flash with both TTL and manual modes available. Remote triggering capability lets you place the flash anywhere in your scene. Quick recycling time means you won’t miss shots waiting for recharge. The Godox TT685 series provides everything beginners need to start. Radio triggering works reliably in most shooting conditions.
Taking Flash Off Camera Changes Everything
On-camera flash looks flat and boring in your final images. The light comes from the same angle as your lens. Shadows fall directly behind your subject against the background. Moving the flash off-camera transforms your lighting instantly and dramatically.
A simple flash cable costs less than $20 at most retailers. Wireless triggers offer more flexibility but cost more money. Start with whatever fits your budget right now. Even moving the flash just a few feet to the side creates dimension.
Off-camera flash lets you experiment with different lighting angles freely. Side lighting reveals texture and creates mood in portraits. Backlighting produces rim light that separates your subject from the background.
Essential Light Modifiers Every Photographer Should Know
Raw flash produces harsh light similar to direct midday sunlight. Light modifiers shape and soften that harsh light into something beautiful. Understanding these tools takes your photography lighting basics knowledge to the next level.
Diffusers Create Soft, Flattering Light
Flash diffusers work just like diffusers for natural light sources. They spread the light over a larger area evenly. This creates softer shadows and more gradual transitions between light and dark. The larger your diffuser relative to your subject, the softer your light.
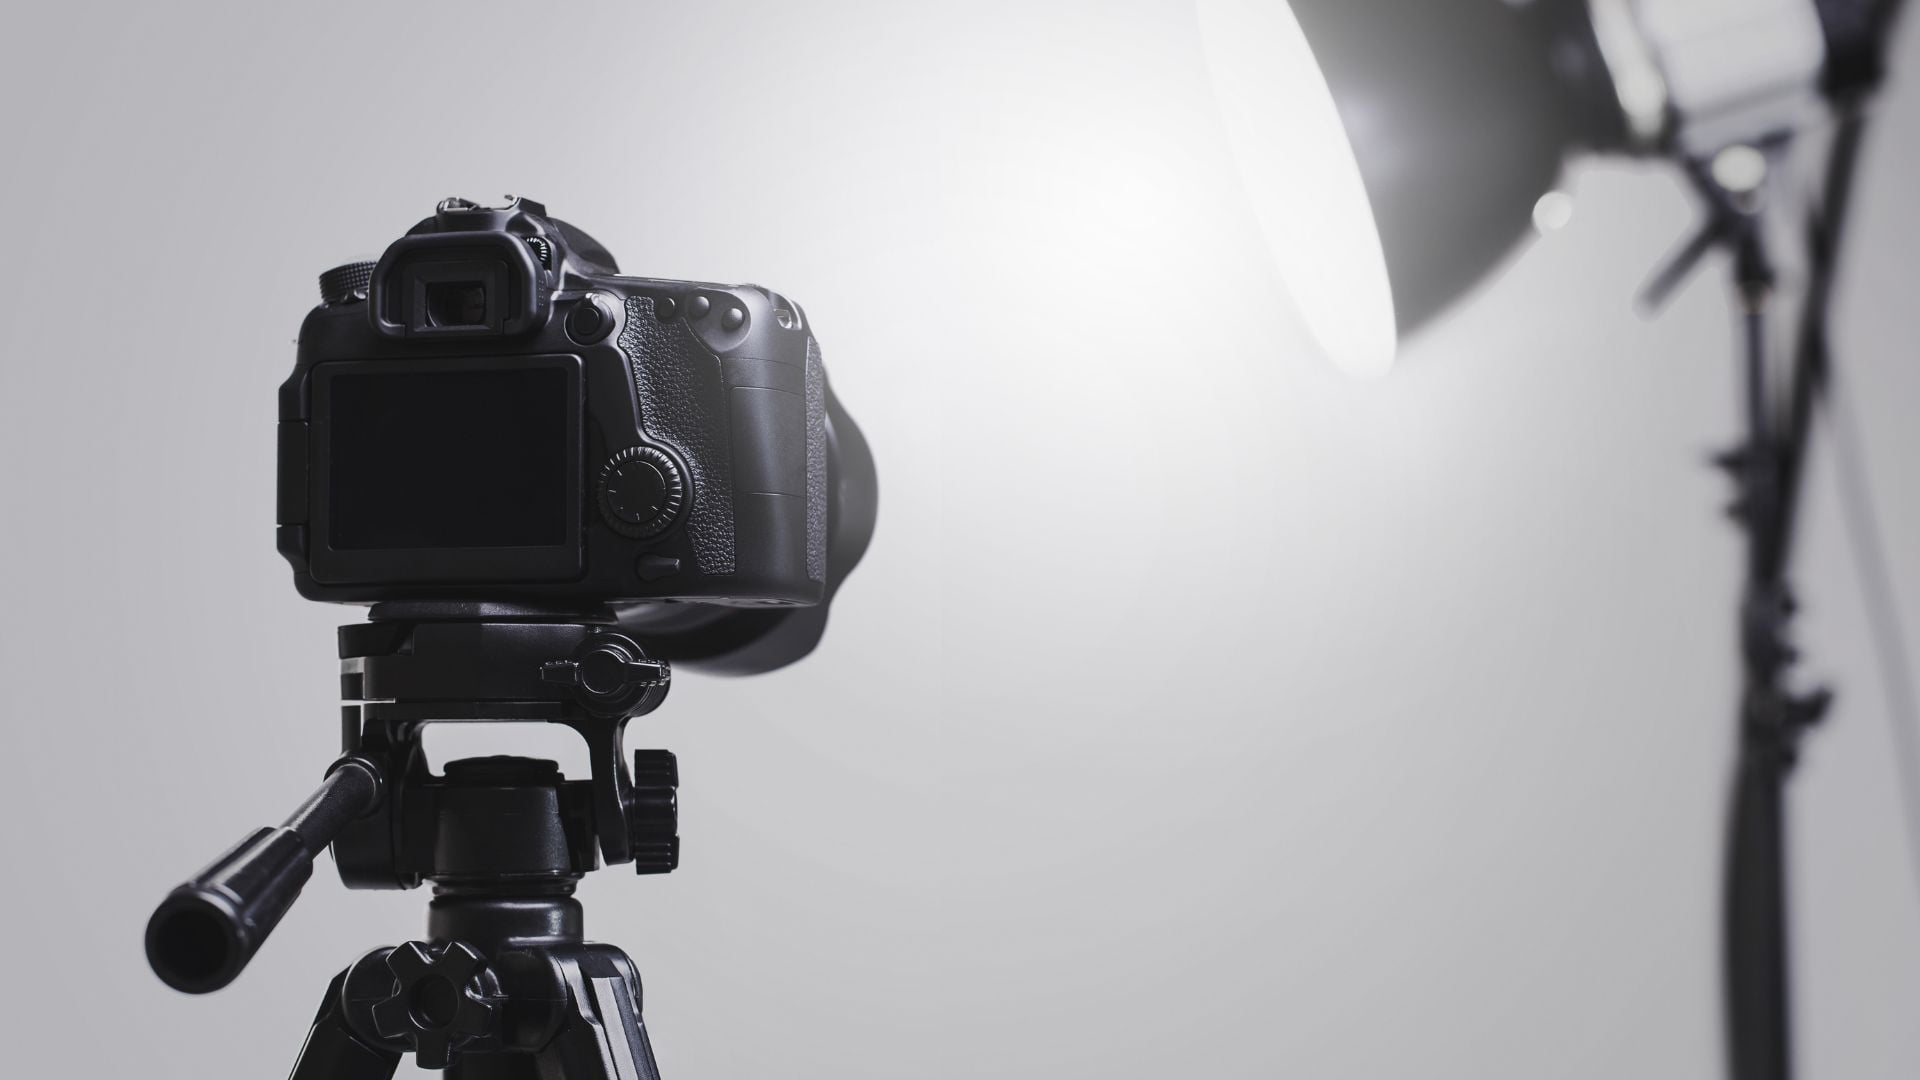
Softboxes attach directly to your flash for easy setup. They provide a large, even light source perfect for portraits. Umbrellas offer similar results but take up more space when shooting. DIY flash diffusers can be made from household materials on a budget.
Position matters as much as the modifier itself for results. Place your diffused flash close to your subject for best effects. This maximizes the softening effect on shadows and highlights.
Reflectors Work with Flash Too
Bouncing flash off a reflector creates beautiful, soft light instantly. Point your flash at a white wall or ceiling nearby. The large reflective surface becomes your light source effectively. This technique works brilliantly for indoor event photography situations.
Umbrellas designed for flash photography come in two types mainly. Shoot-through umbrellas work like diffusers for your flash. Reflective umbrellas bounce the flash back at your subject directly. You’ll need to increase your flash power when bouncing light off surfaces. Some power gets absorbed by the reflecting surface material.
Color Temperature Affects Your Photos
Different light sources produce different colors that affect your images. Our eyes adjust automatically throughout the day. But cameras need help to render colors accurately. Sunlight looks neutral at noon but golden at sunset. Flash produces cooler light than tungsten bulbs emit.
Color temperature gets measured in Kelvin for photography purposes. Lower numbers appear warm and orange in tone. Higher numbers look cool and blue instead. Direct sunlight measures around 5500K at midday. Tungsten bulbs run about 3200K typically.
Mixing different light sources creates problems for photographers. Your camera can only correct for one color temperature at once. Gels solve this problem quickly and effectively for photographers. These colored filters attach to your flash head easily. Creative lighting effects also use color gels to add interest.
Light Direction Creates Different Effects
Where you place your light source matters more than equipment. The angle between your light, subject, and camera determines shadow placement. This shapes how viewers perceive your subject emotionally.
Here’s how different light positions change your images:
- Front Lighting places light directly in front of your subject. It eliminates most shadows from the scene entirely. This works well for product photography where you want features visible. Position your light slightly above the camera to prevent unflattering shadows.
- Side Lighting positions your light source 90 degrees to your subject. Half the subject sits in light while the other half falls into shadow. This creates strong contrast and reveals texture beautifully in images. Dramatic portraits often use side lighting for emotional mood and depth.
- Backlighting places the light source behind your subject creatively. This creates a bright outline around edges called rim light. It separates subjects from backgrounds beautifully in final images. Add front fill light to balance the exposure properly.
Hard Light vs Soft Light in Photography
Light quality describes how shadows transition from light to dark areas. Hard light creates sharp shadow edges with high contrast. Soft light produces gradual transitions between tones instead. Neither quality is better as each serves different creative purposes.
Hard Light Creates Drama
Small light sources relative to your subject produce hard light naturally. Direct sunlight creates hard light during midday hours. A bare flash produces hard light without modifiers attached. The shadows have defined edges and highlights can blow out.
Hard light works well for high-contrast, dramatic images with impact. Fashion photographers use hard light for edgy looks regularly. Street photographers embrace the hard shadows from midday sun. Control hard light by managing contrast carefully in your scene. Exposure becomes trickier with hard light because of extreme brightness range.

Soft Light Flatters Subjects
Large light sources create soft light naturally without effort. Overcast days produce beautiful soft light automatically outdoors. Large softboxes create soft light for indoor work effectively. The shadows transition gradually from light to dark areas.
Soft light flatters most subjects you’ll photograph throughout your career. Skin looks smooth and products show detail without harsh reflections. The lower contrast makes exposure easier to manage consistently.
Create softer light by making your light source appear larger. Move a diffuser closer to your subject for better results. Use a bigger modifier when shooting portraits or products. Bounce light off a large surface like walls or ceilings.
Common Photography Lighting Mistakes to Avoid
Beginners make predictable mistakes when learning photography lighting basics initially. Recognizing these problems helps you avoid them in your work. Most lighting issues have simple solutions once you understand the cause.
Using On-Camera Flash Without Modification
Built-in camera flash produces terrible light every single time. External flash mounted on the camera looks barely better overall. The light comes from too close to the lens position. Shadows fall directly behind subjects against the background.
Take the flash off the camera to fix this problem. Even a simple flash cable lets you hold the flash at arm’s length. This tiny change dramatically improves your lighting instantly. Add a diffuser and your flash photography transforms completely.
Ignoring the Background
Beginners focus only on lighting their subject in front. The background ends up too dark or too bright. Distracting elements pull attention away from the subject unintentionally.
Consider the entire frame when placing lights in your setup. Add a separate light for the background if your budget allows. Use flags to block light from areas you want dark. Check the whole composition before shooting your images.
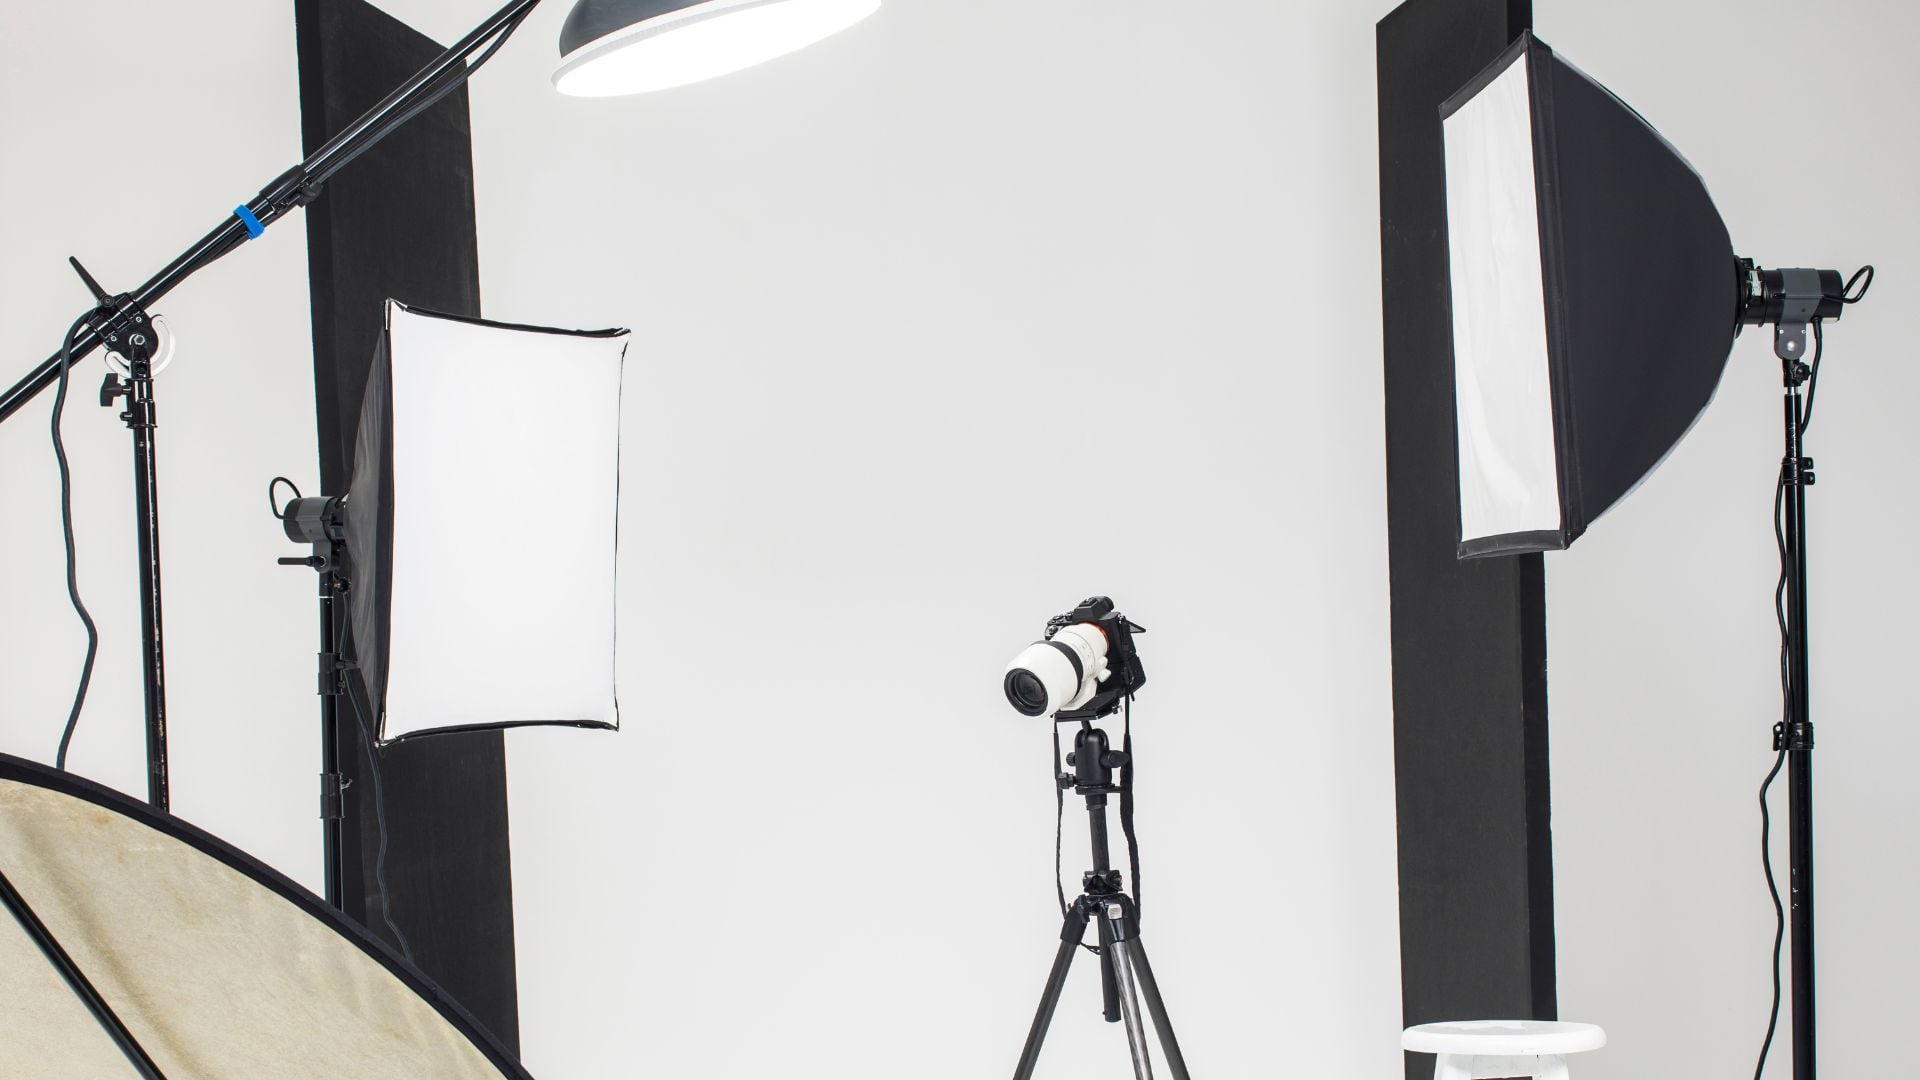
Building Your First Lighting Kit
Starting with photography lighting basics doesn’t require expensive equipment initially. Smart purchases at each stage build a versatile kit. Focus on versatility over specialization at first when buying gear.
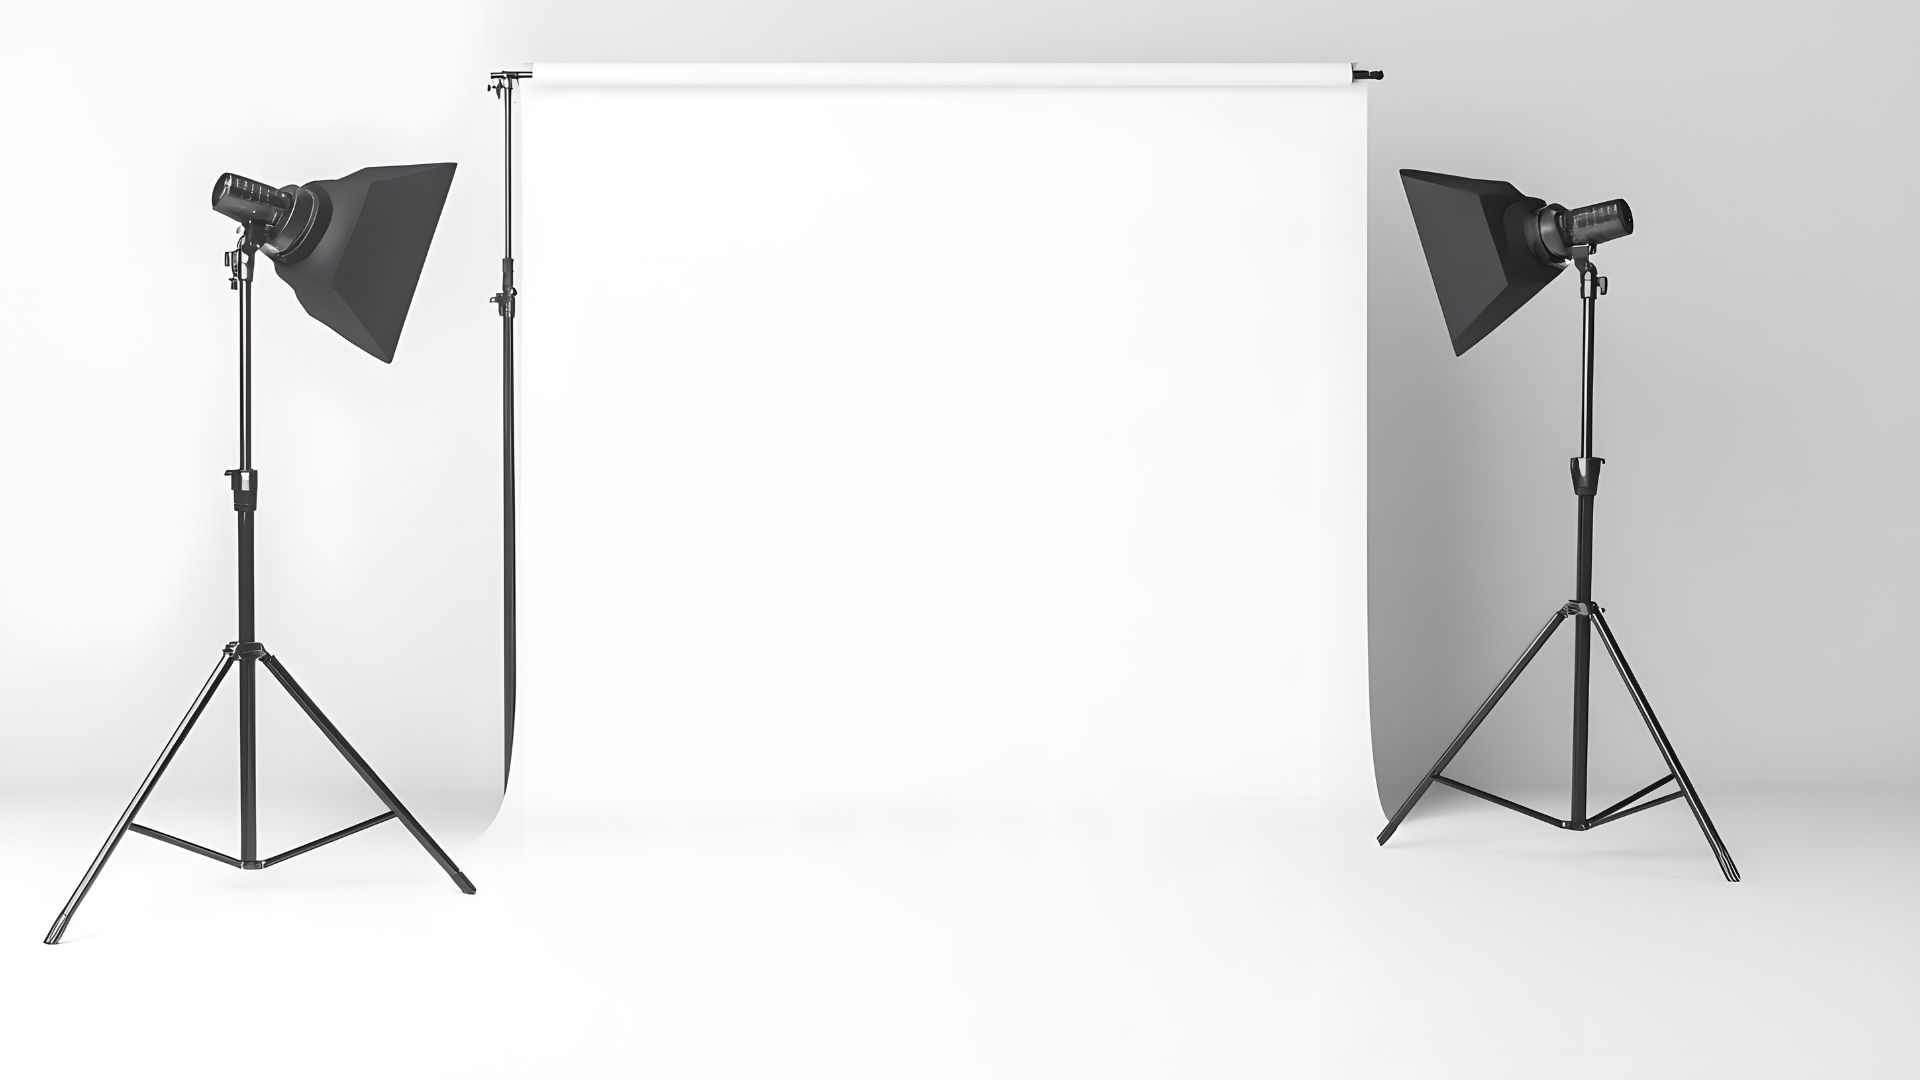
Start with a single flash and a way to trigger it. Add a basic diffuser like a shoot-through umbrella for softness. Include a white reflector for filling shadows naturally. This minimal kit lets you create professional-looking light for most subjects.
Your second phase should add more control options to your setup. A second flash enables multi-light setups that look more professional. Different sized diffusers handle different subject sizes better in practice. Gels add creative color options to your toolkit affordably.
Photography Lighting Practice Exercises
Reading about lighting helps you understand concepts and theory. Doing the work teaches you faster and builds real skills. These exercises develop your understanding progressively when completed in order.
Set up a simple still life with one light source only. Take photos with the light at different positions around your subject. Study how shadows change with each position you try. Notice how texture appears and disappears based on light angle.
Photograph a person using only window light at different times. Try morning, noon, and late afternoon to see differences. Position your subject at different distances from the window opening. Add a reflector on the shadow side to see improvement.
Transform Your Photos with Photography Lighting Basics
Photography lighting basics provide a strong foundation for growth as a photographer. Mastering them takes practice and experimentation over time consistently. Every photo you take teaches something new about light behavior.
Study photos you admire and analyze the lighting carefully. Where was the main light positioned in the shot? How many lights did the photographer use in the setup? What modifiers created that specific look you like?
Set aside time each week for lighting experiments and testing. Understanding light makes a bigger impact than any gear upgrade. Try techniques that push you outside your comfort zone regularly.
Check out other detailed tutorials on specific lighting setups currently. Work through these systematically and master one setup before moving forward. Building skills methodically creates a stronger foundation than jumping between techniques.
Remember that photography lighting basics never stop being relevant to your work. Professional photographers still use these fundamental principles every single day.
The difference lies in how quickly they recognize problems and fix them. That speed comes only through experience and consistent practice. Start now, practice regularly, and watch your photography transform.

Darlene Lleno
Darlene Lleno brings a unique perspective to DIY Photography as someone who grew up surrounded by camera gear but chose words over lenses. With five years of writing experience, she specializes in photography content that’s both technically informed and genuinely passionate. Growing up with a photographer twin brother meant camera talk was everyday conversation in her household. While he mastered capturing moments, Darlene discovered she preferred being the subject and the storyteller behind the scenes. As a travel enthusiast and mother of two, she understands the importance of preserving life’s precious moments. When not exploring new destinations or writing for DIY Photography, you’ll find her reading or tending to her garden. Her approach to photography writing is refreshingly authentic, she may not be behind the camera, but she knows exactly what it takes to help others capture the shots that matter most.


Join the Discussion
DIYP Comment Policy
Be nice, be on-topic, no personal information or flames.