


Flower Power: A DIY Instax Camera
Aug 9, 2025
David Prochnow
Our resident “how-to” project editor, David Prochnow, lives on the Gulf Coast of the United States in Ocean Springs, Mississippi. He brings his expertise at making our photography projects accessible to everyone, from a lengthy stint acting as the Contributing How-To Editor with Popular Science magazine. While you don’t have to actually build each of his projects, reading about these adventures will contribute to your continued overall appreciation of do-it-yourself photography. A collection of David’s best Popular Science projects can be found in the book, “The Big Book of Hacks,” Edited by Doug Cantor.
Share:

Imagine an Instax printer with neither batteries nor a WiFi connection. Huh? How’s that even possible? That’s exactly the purpose behind the Printoss from Takara Tomy. Dubbed an “Eco Toy” (i.e., lacking batteries and onboard electronics), this oddly shaped, folding plastic contraption enables you to expose Instax film with photographs that are stored on your smartphone.
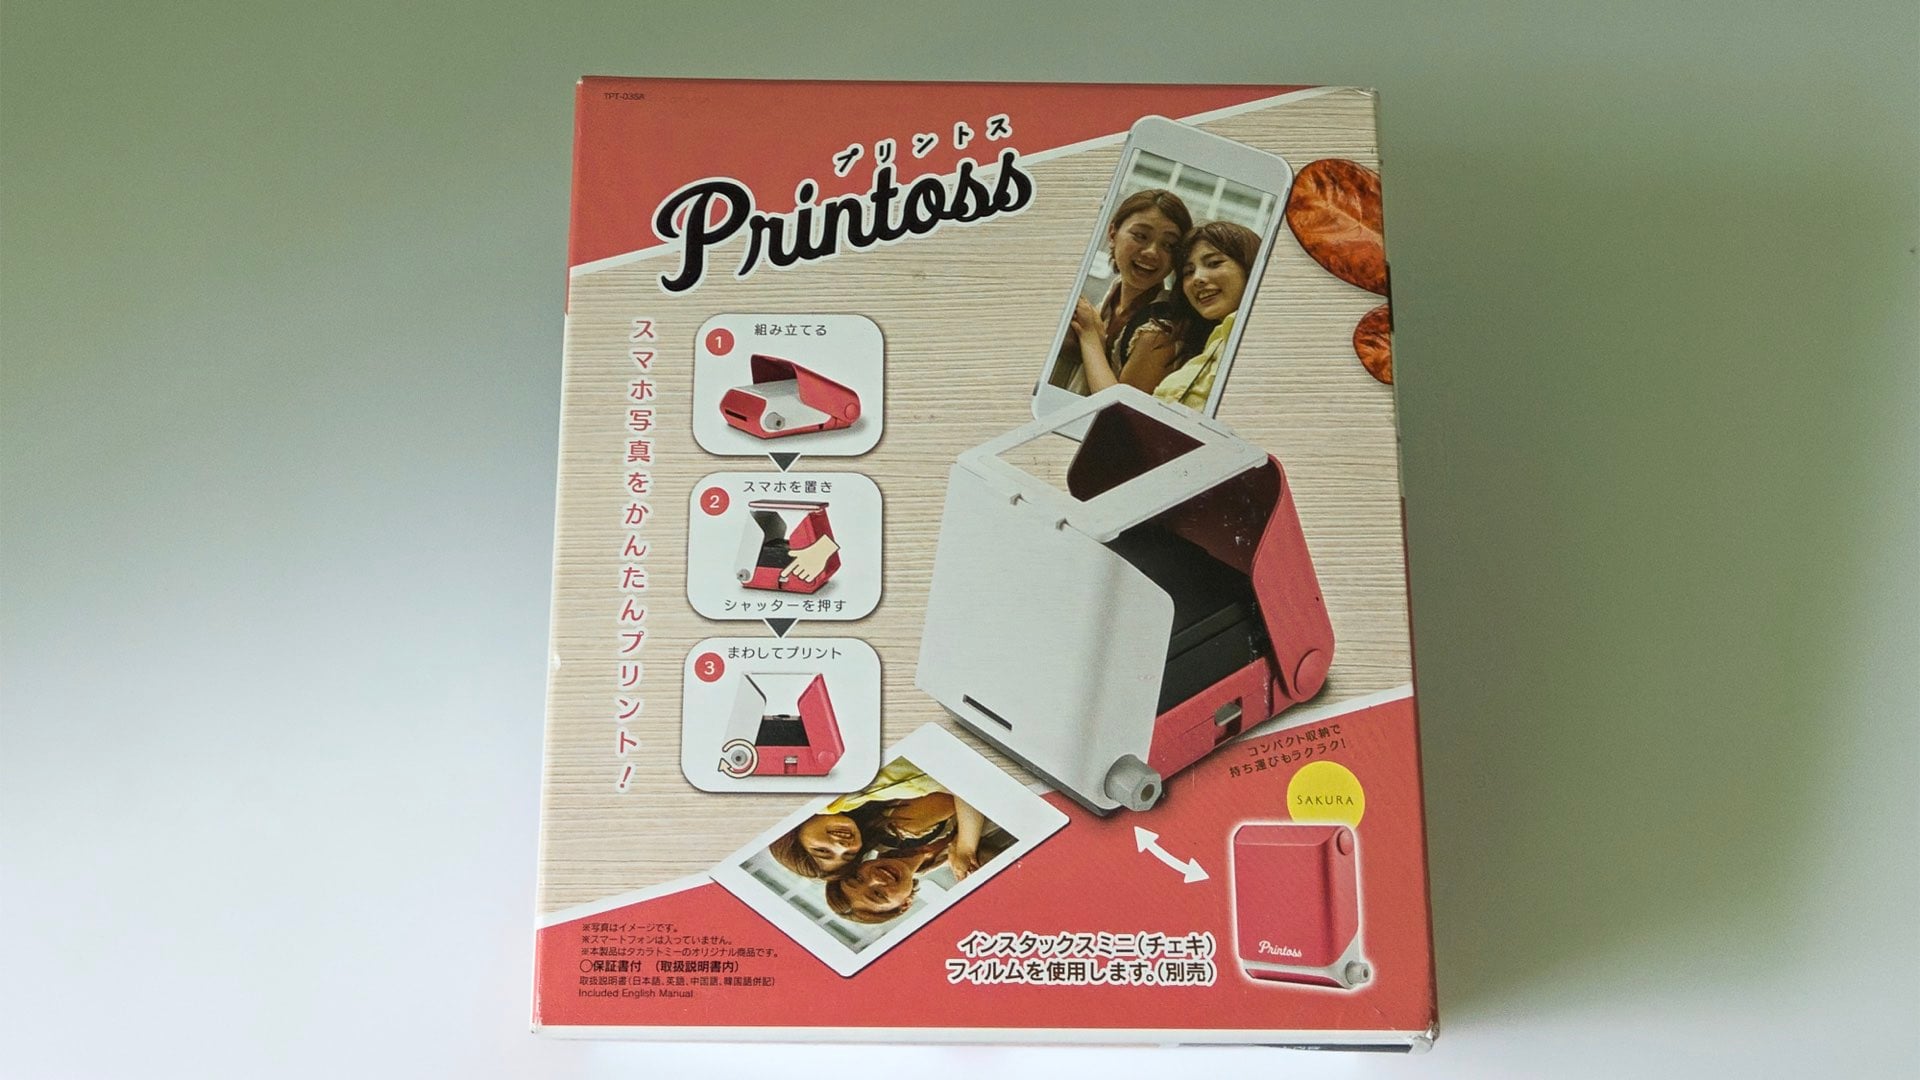
Just find a photograph that you want to print in your smartphone gallery, crank the phone’s screen up to maximum brightness, lay the phone on top of the Printoss’ frame, and press the shutter release. Once you’ve clicked the shutter on the Printoss, the film is manually ejected and developed via a hand-operated turn knob. This is a clever concept that also hides a DIY Instax camera inside its plastic exterior.
Priced at $29.99, the Printoss is the least expensive Instax camera on the market. Looking beyond its smartphone photograph printing capability, there lurks inside the pink plastic an exotic instant camera that can be converted into a “regular” camera. Naturally, the declaration of a “regular” camera comes with a couple of caveats: first, there’s only one shutter speed (e.g., approximately 1/50 of a second) and no aperture. Secondly, and this might be a deal breaker for some photographers, the focus distance for the DIY Instax camera is 2 1/2 inches. Finally, there’s no viewfinder. So, just a couple of minor annoyances, but if you’re feeling adventuresome, here’s how to convert a Printoss into a DIY Instax camera.
DIY for the Masses and It’s Pink, Too
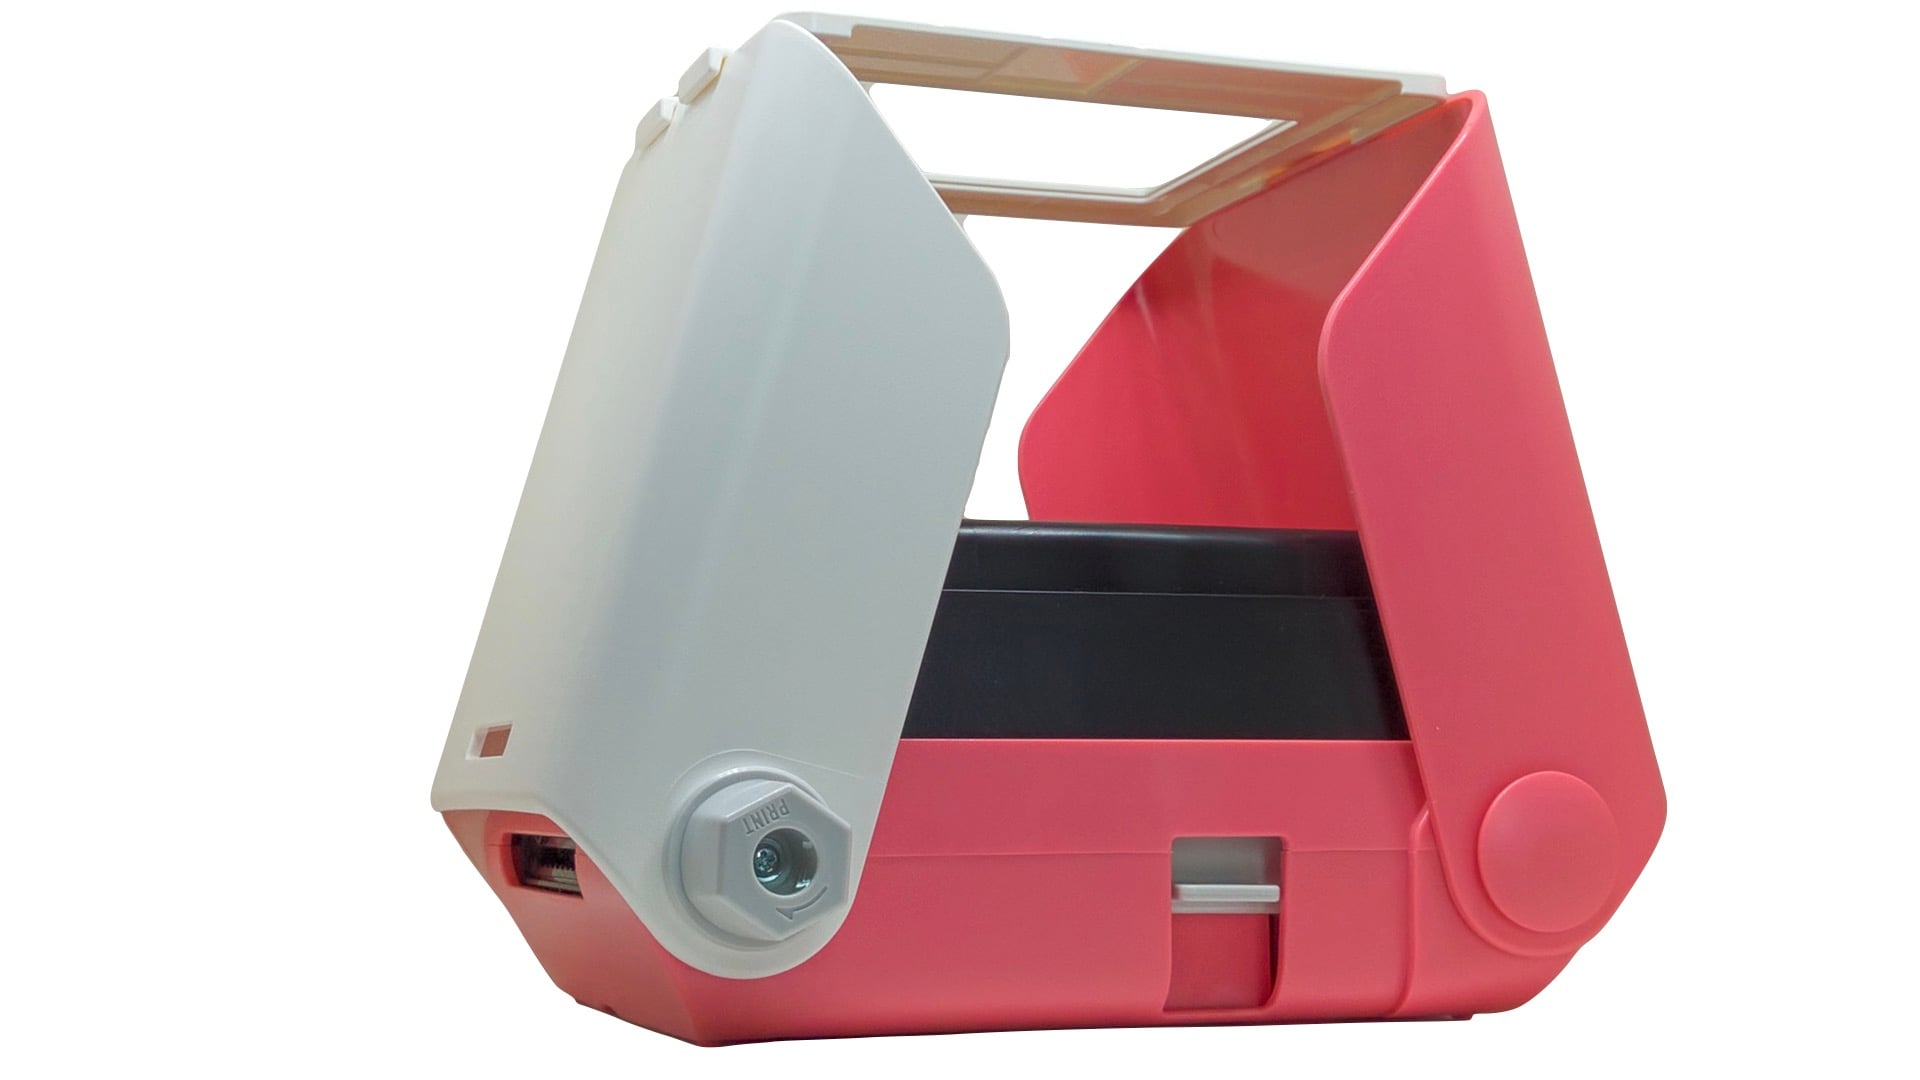
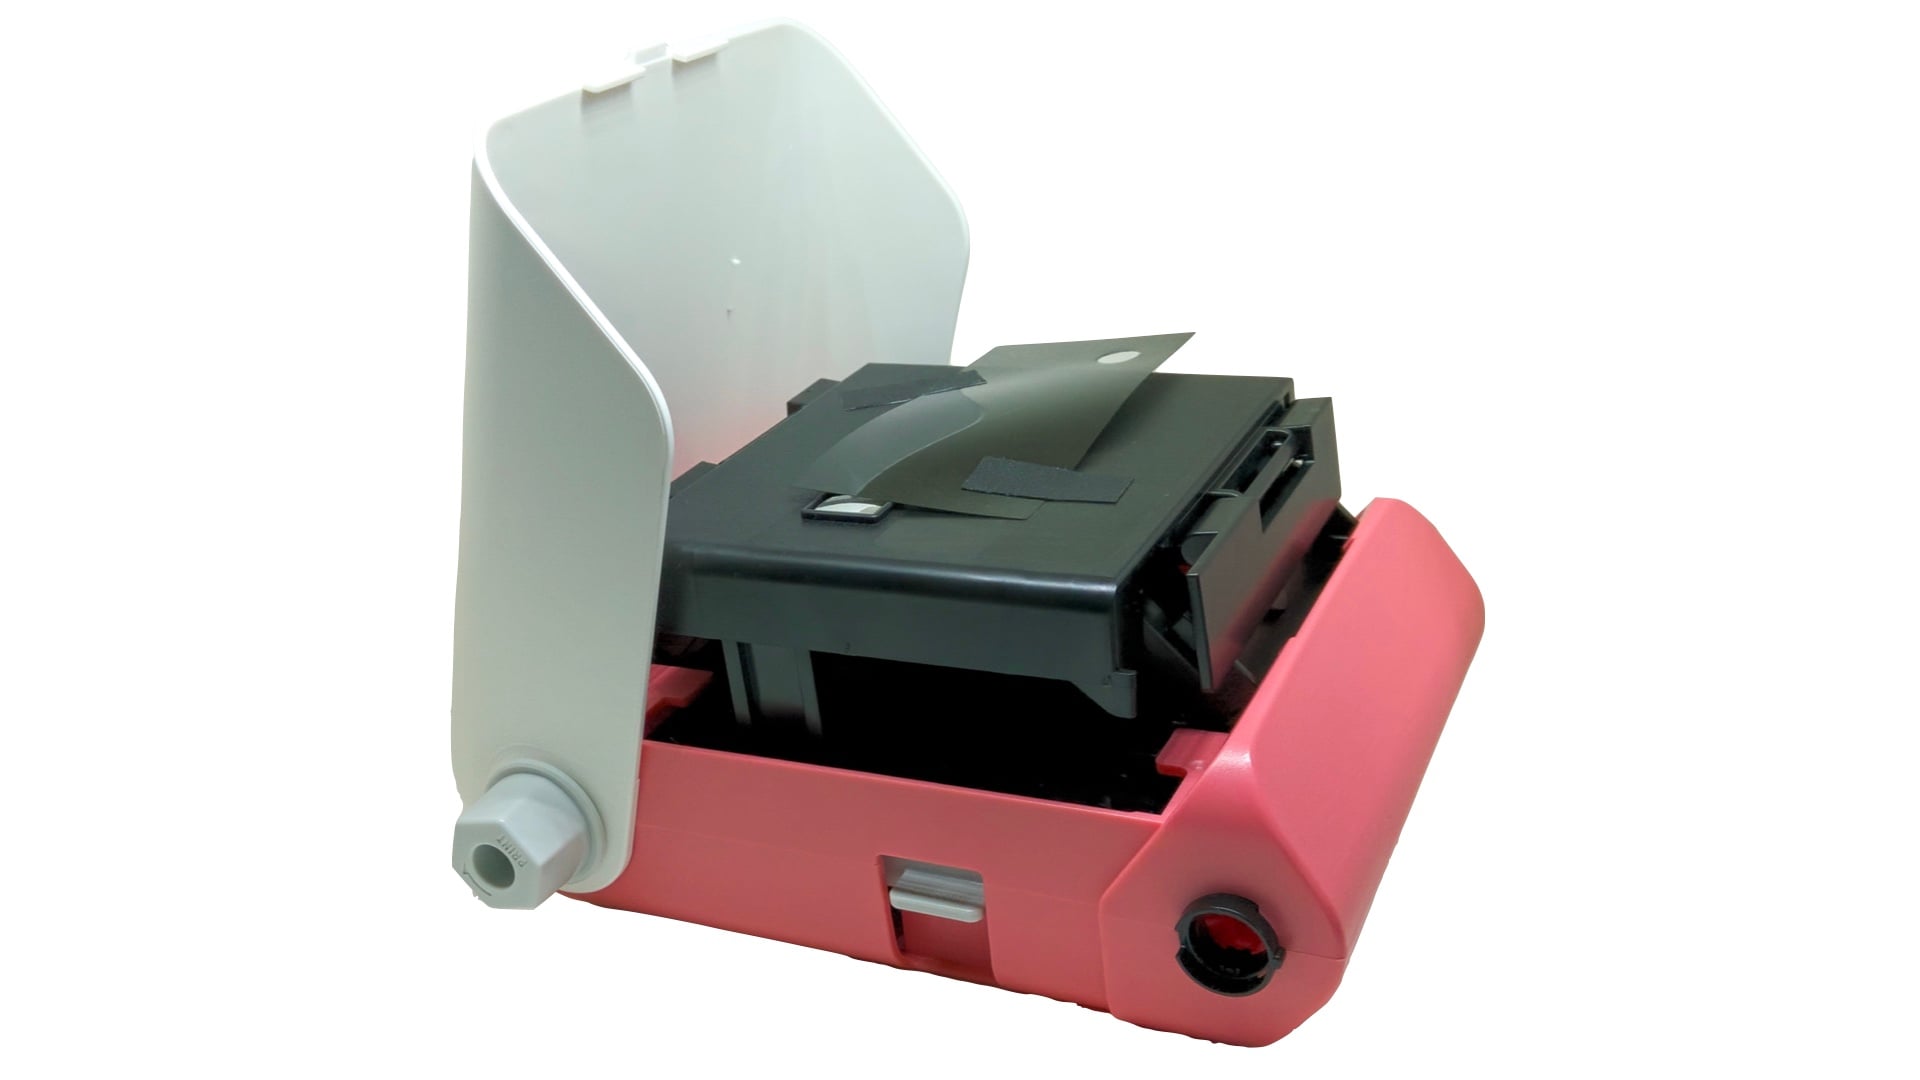
This is a DIY camera project that absolutely anyone can build. Begin this project, by opening the Printoss and bringing the two large frame supports (one white and one pink) upright. Remove the cream colored smartphone support frame and set it aside. Release the two black retaining clips and let the camera board spring up into its exposing position.
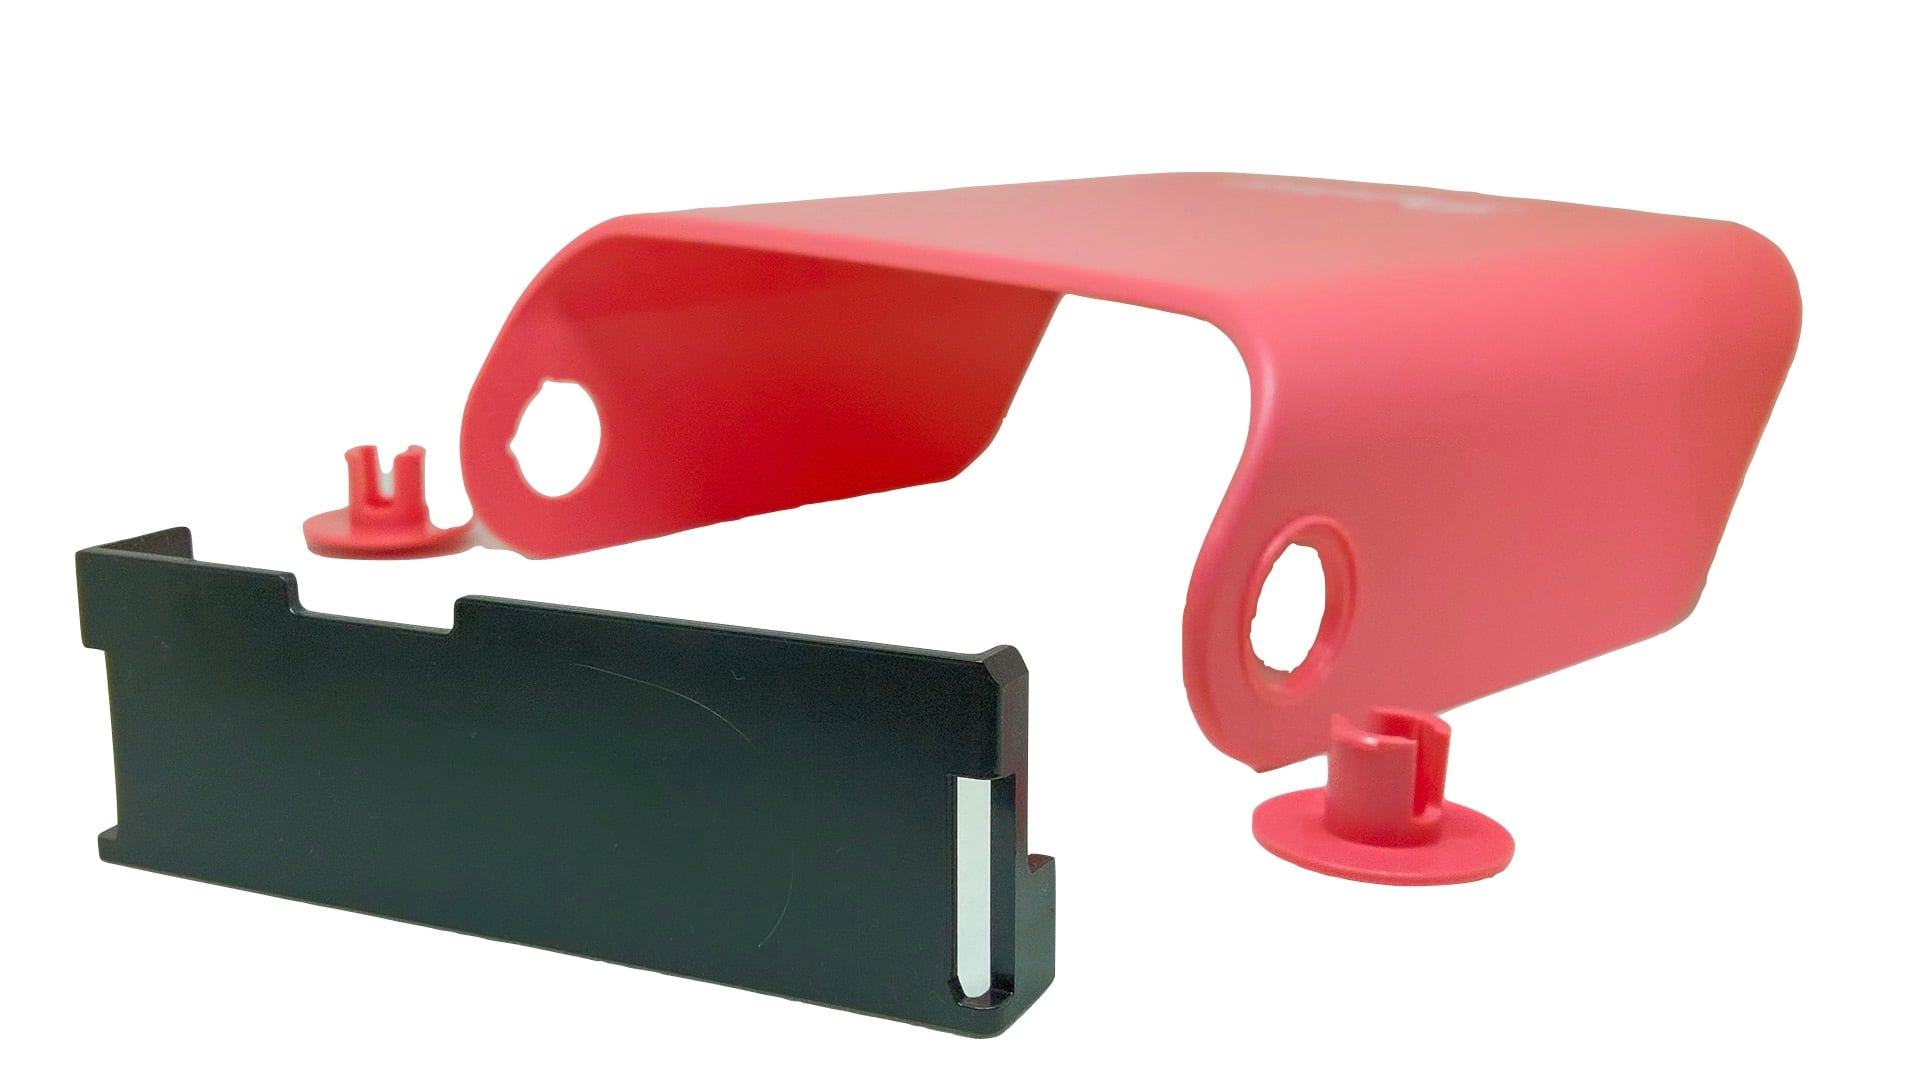
Inside the frame surrounding the camera board is a long, black shutter release lock clip. This clip prevents the shutter from being accidentally triggered while the Printoss is collapsed. Slightly bend this clip and remove it.
Turn the Printoss so that the large pink frame support is facing you. Grab each of the pink plastic hinge plugs and pull them off. You can now remove the pink support by slightly bending it and disengaging each of its hinge points. Congratulations; you’ve just “built” your DIY Instax camera!
Before you load your first pack of Instax film, familiarize yourself with the operation of this crazy, wild DIY camera. Your greatest challenge will be learning how to successfully gauge the 2 1/2-inch focus distance. Thankfully, the remaining white frame support can be used as a rudimentary distance scale.
For example, when you’re ready to take a closeup photograph, move the DIY camera closer and closer until the frame support is touching your subject. Then swing the support backwards, out of the way, and click the shutter. You can now turn the ejection knob for cranking the film out of the camera. Once you’ve got this technique mastered you’re ready to begin capturing Instax closeups.
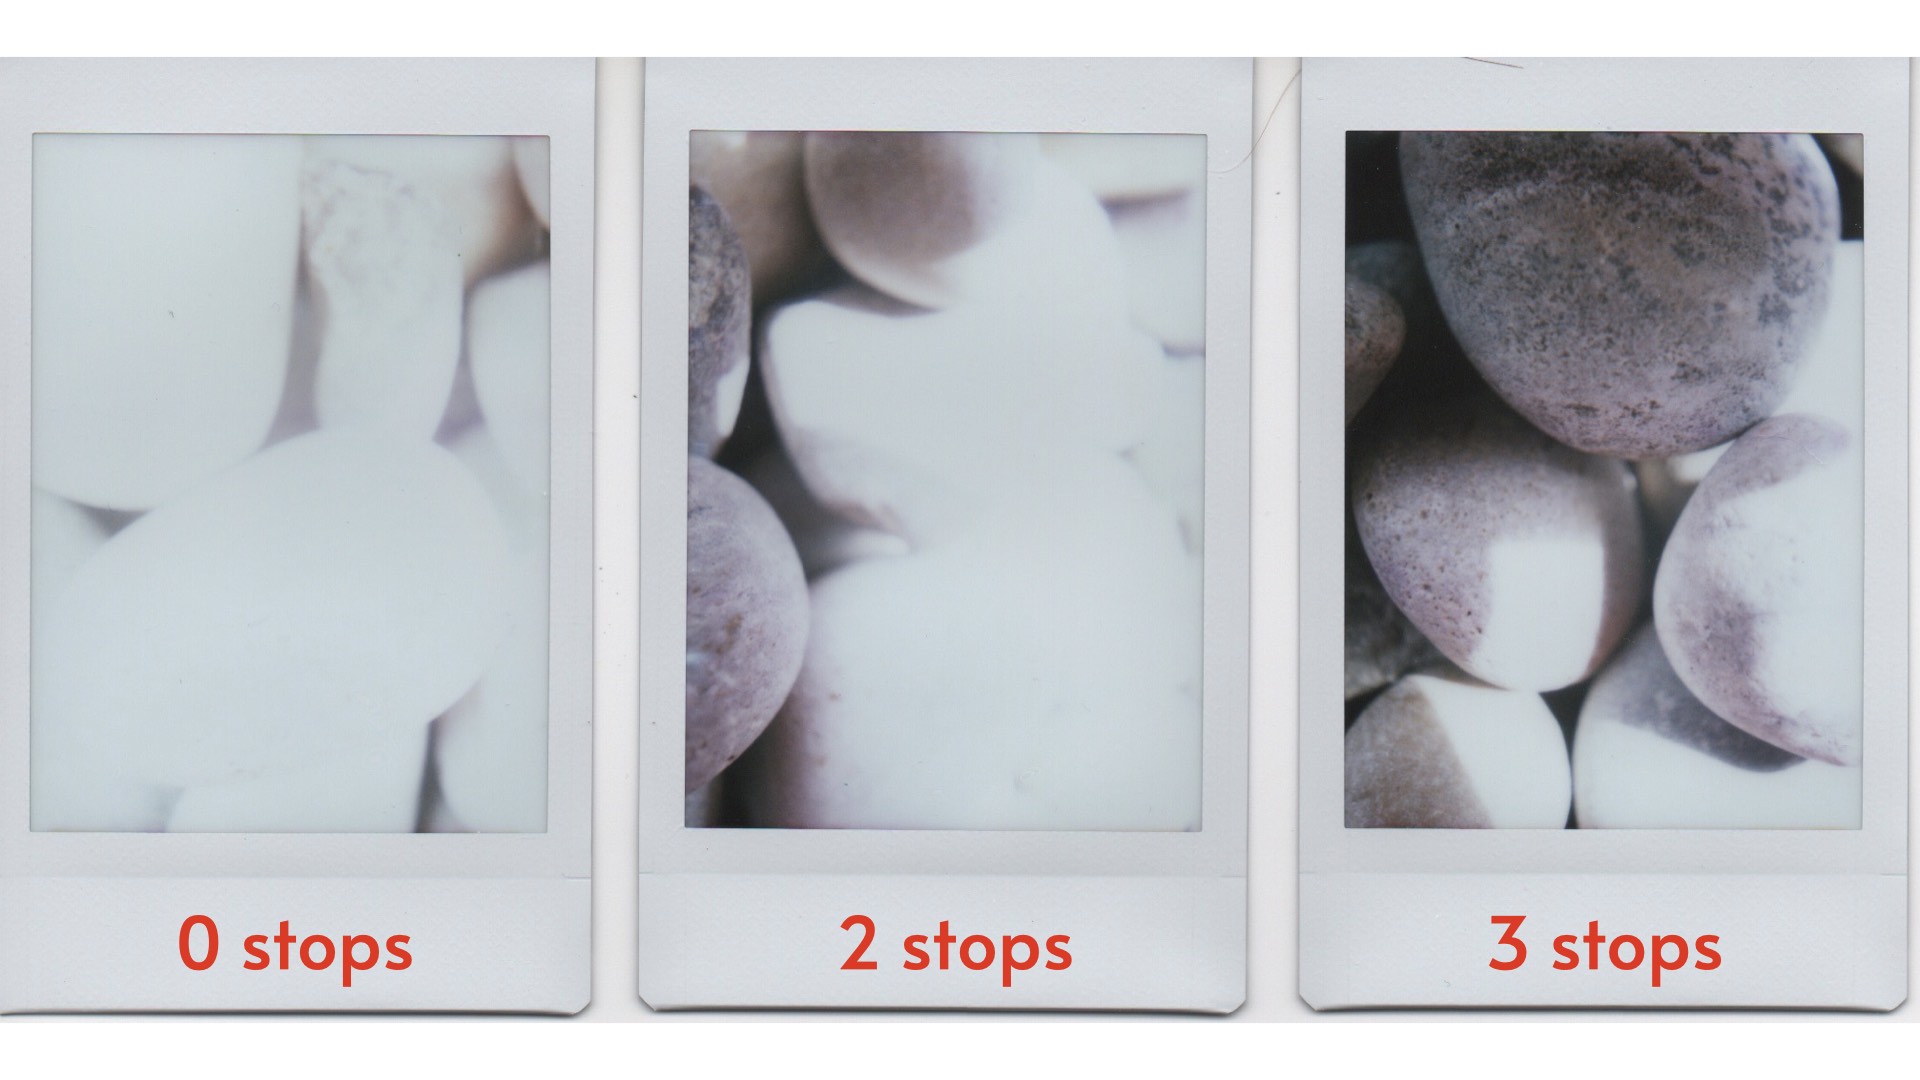
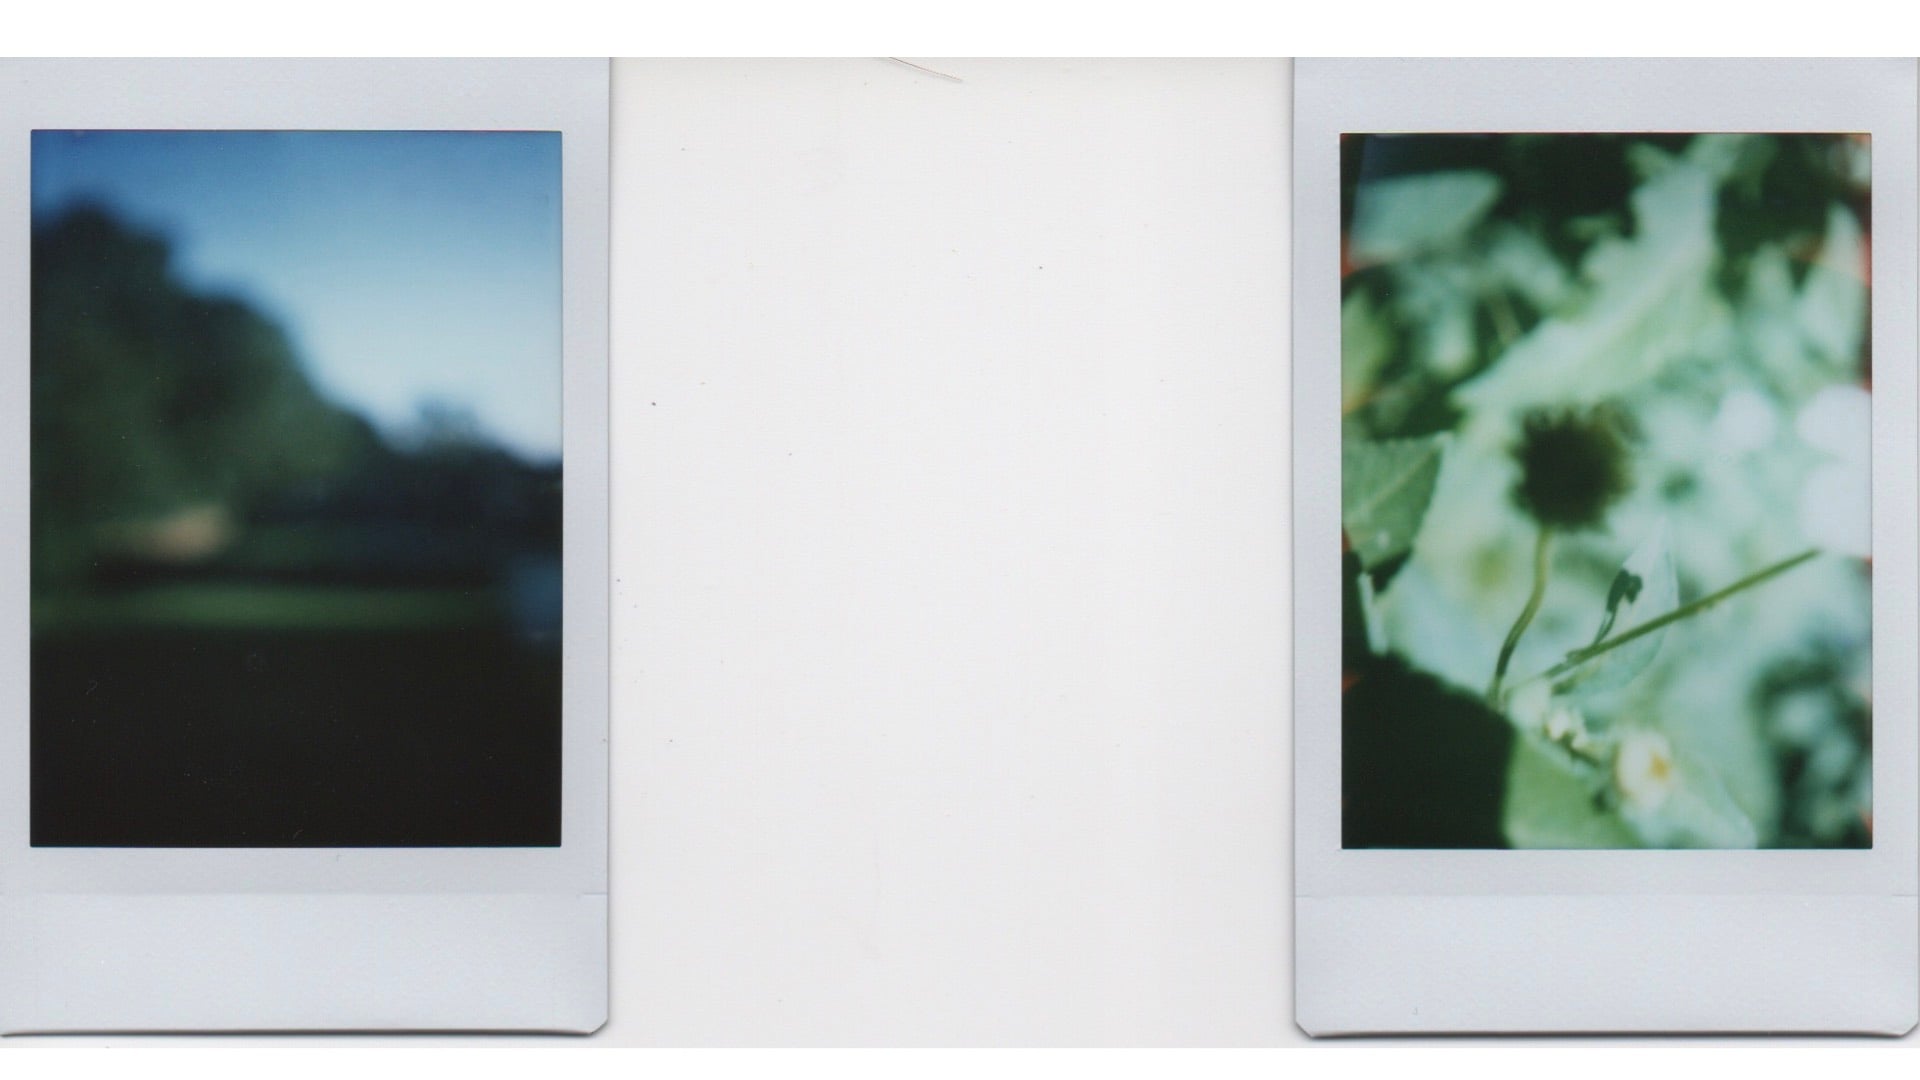
Here are a couple of pointers for helping you achieve picture perfect results. First, lacking an aperture, light inside this camera is impossible to control. Therefore, you can tape neutral density (ND) gel filters over the lens for controlling the light. In bright sunlight, a three-stop ND filter will give you good exposure results. You can find these filters inside the Cinegel swatch book from Rosco. Next, be careful not to cast shadows on your subject with the Printoss frame support. Finally, try experimenting and ignore the rigid close-focus distance requirement and take photographs of distant subjects. The results can produce some lovely serene scenes.
Enjoy.

David Prochnow
Our resident “how-to” project editor, David Prochnow, lives on the Gulf Coast of the United States in Ocean Springs, Mississippi. He brings his expertise at making our photography projects accessible to everyone, from a lengthy stint acting as the Contributing How-To Editor with Popular Science magazine. While you don’t have to actually build each of his projects, reading about these adventures will contribute to your continued overall appreciation of do-it-yourself photography. A collection of David’s best Popular Science projects can be found in the book, “The Big Book of Hacks,” Edited by Doug Cantor.


Join the Discussion
DIYP Comment Policy
Be nice, be on-topic, no personal information or flames.