


editing

Is it time we disclosed image edits with universal symbols?
Oct 1, 2019
Dunja Đuđić Kalinin
I believe that most of us edit our images to a certain extent. But if you’re a photojournalist, the amount of editing you can apply…

Five editing tools every photographer should know
Oct 1, 2019
Dunja Đuđić Kalinin
No matter which editing program you use, there are plenty of helpful tutorials that will help you improve your knowledge about them. But there are…
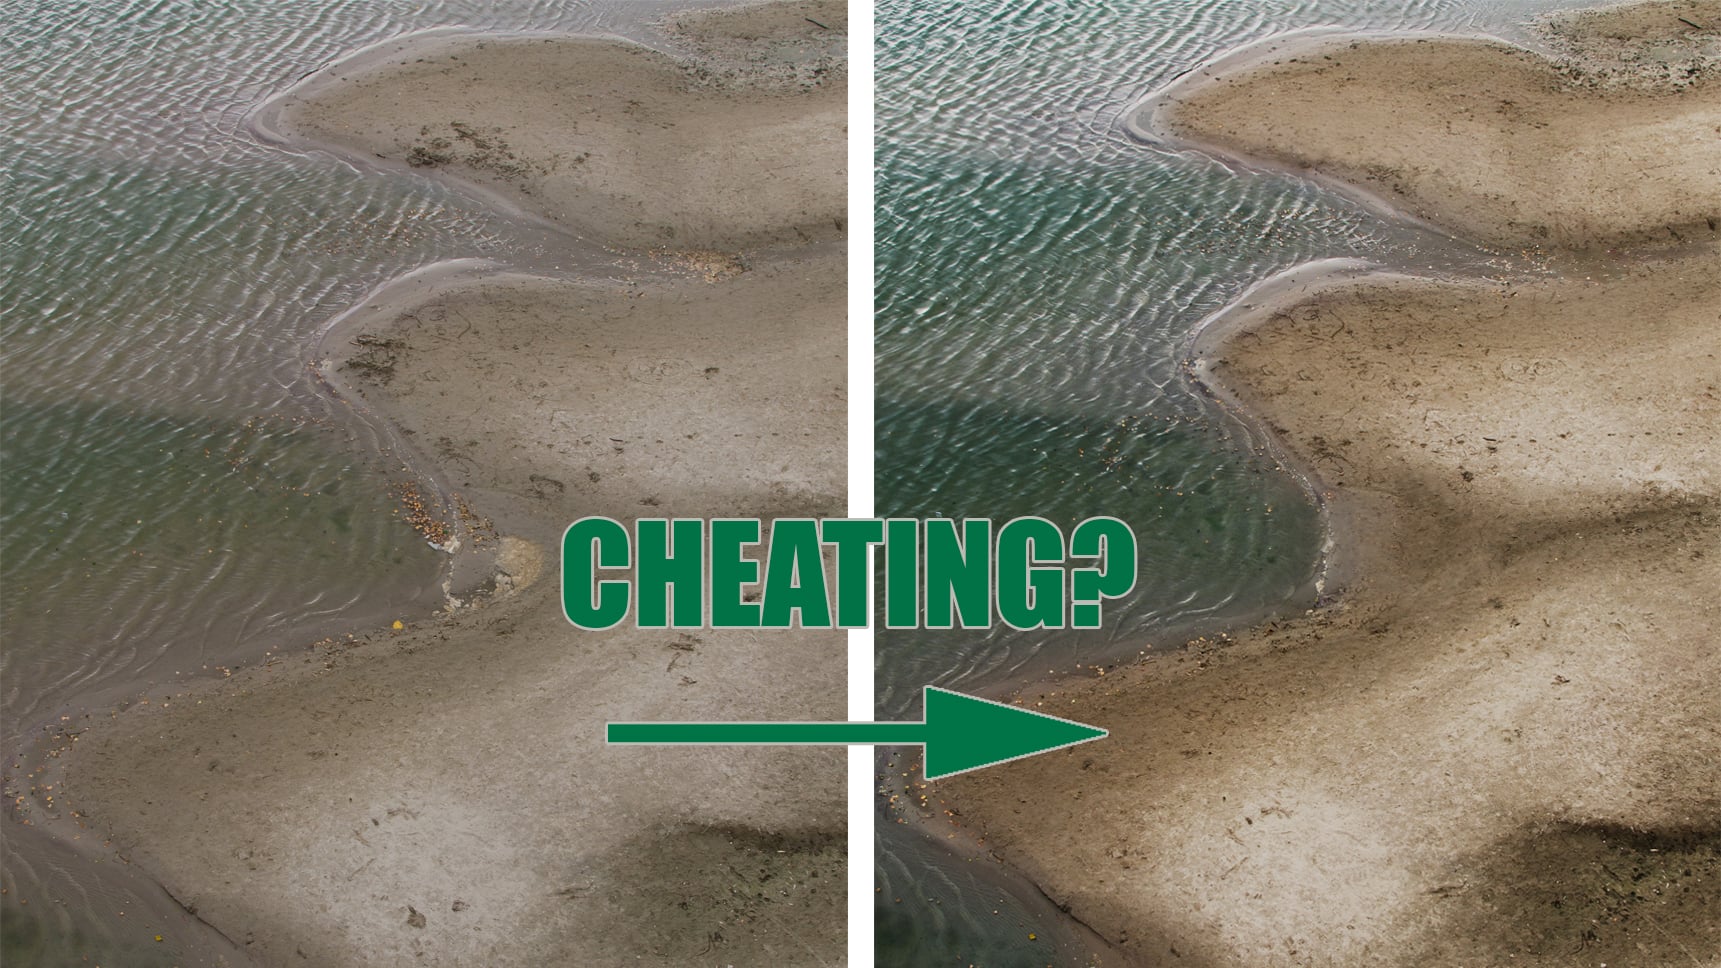
Does retouching photos mean that you’re cheating?
Sep 5, 2019
Dunja Đuđić Kalinin
Some photographers love spending hours in Photoshop, turning their photos into digital art. Others enhance their photos and remove mistakes and distractions. But there are…

The powerful new AI Structure tool in upcoming Luminar 4 adds texture and detail only where your photos need it
Aug 28, 2019
Dunja Đuđić Kalinin
Luminar 4 is set to be released this fall, and Skylum is gradually revealing all the exciting features it’s going to offer. After showing off…
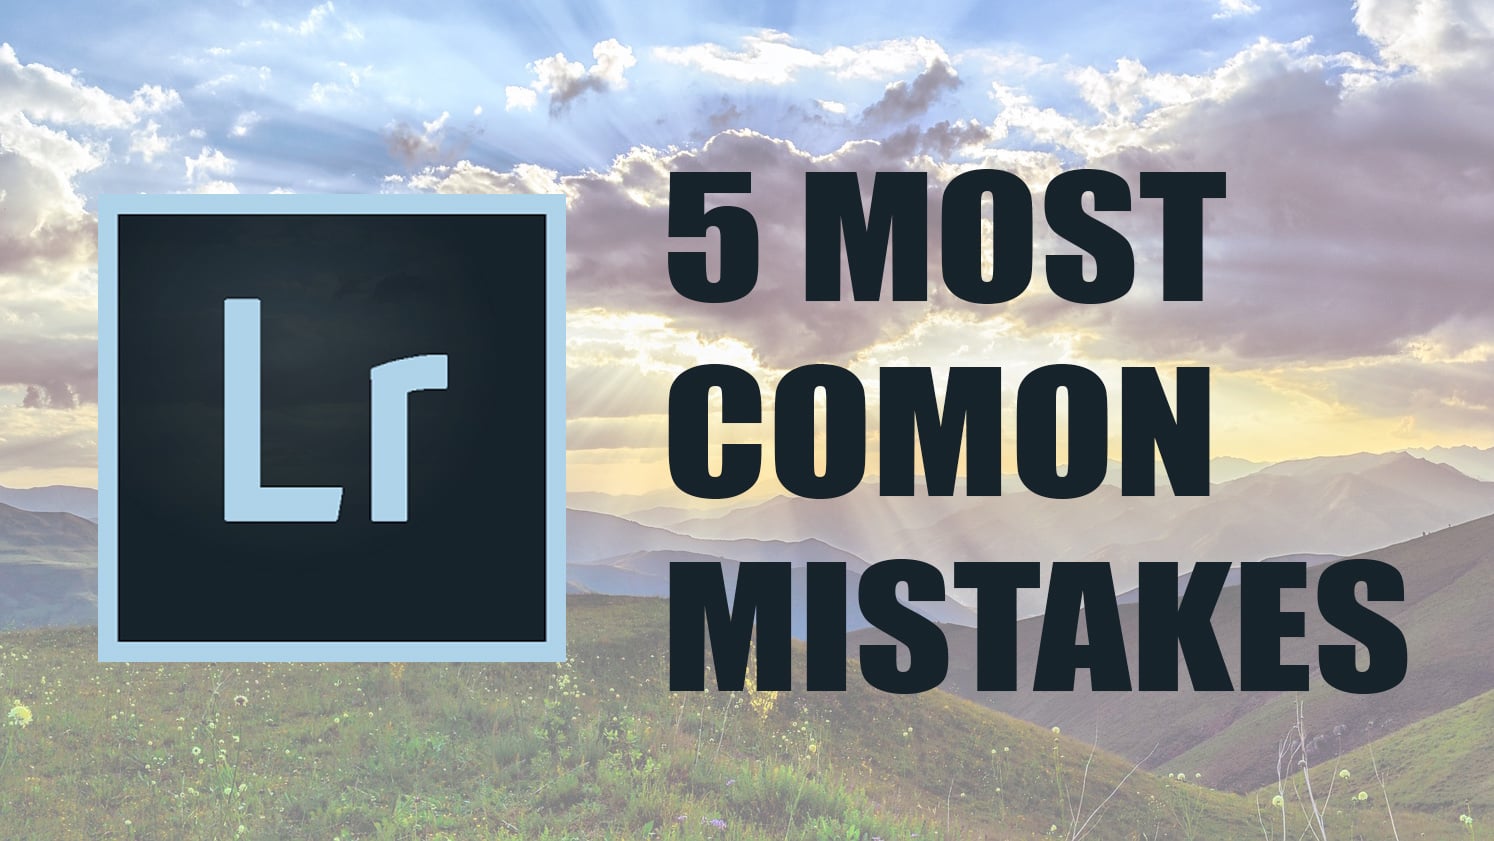
These are five biggest mistakes landscape photographers make in Lightroom
Jul 31, 2019
Dunja Đuđić Kalinin
We all make mistakes (and learn from them), and we’ll make so many different ones on our learning path. But some mistakes are more common…
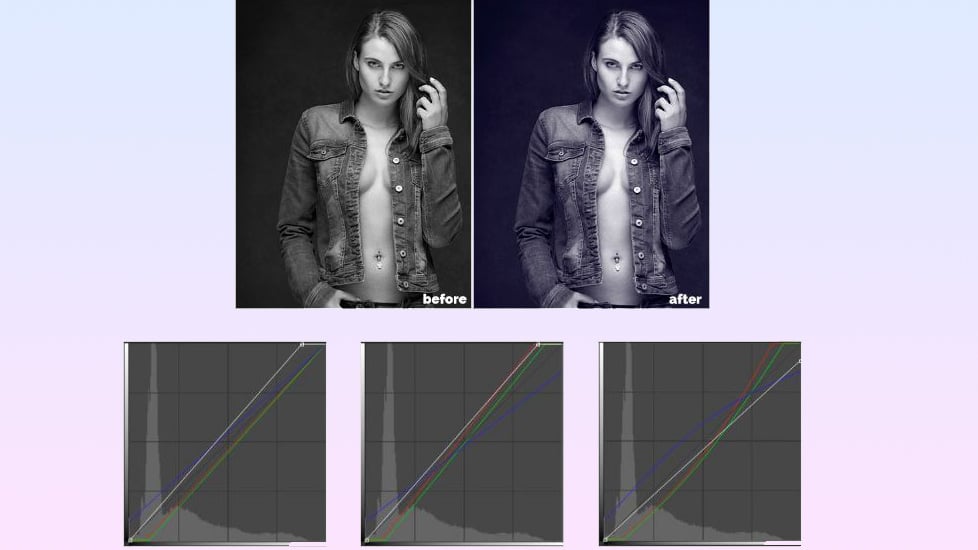
You think you know Curves? This quiz will tell you how well you understand them
Jul 24, 2019
Dunja Đuđić Kalinin
Curves are one of the most powerful and versatile tools in Photoshop. They can even replace several other tools since you can use them for split…

Skylum’s Luminar 4 is coming with automatic AI-powered sky replacement
Jul 23, 2019
Dunja Đuđić Kalinin
Skylum has just announced the release of Luminar 4, which will feature the first automatic AI Sky Replacement tool. The company is focusing more and…
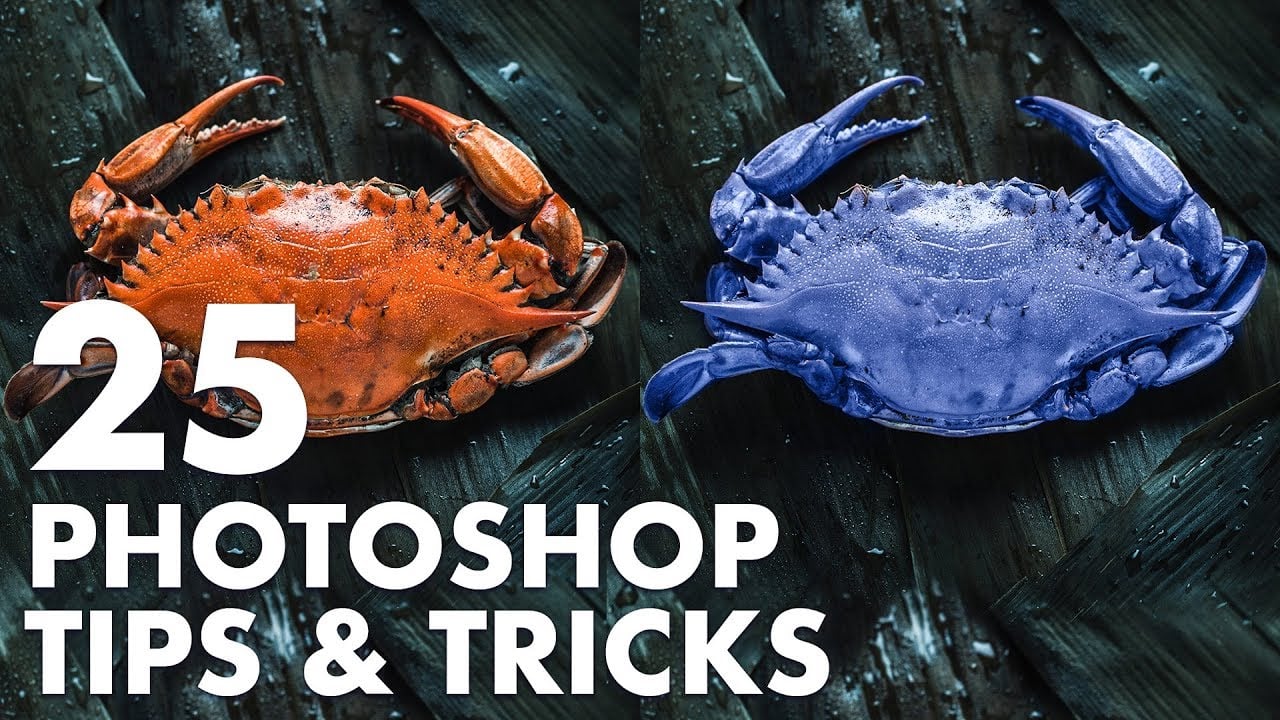
25 Photoshop tips and tricks every photographer should know
Jul 8, 2019
Dunja Đuđić Kalinin
Photoshop is full of tricks and shortcuts. If you ask me, this is one of its beauties, as there’s always something new to discover that…
This free app uses AI to automatically edit your videos for social media
Jun 26, 2019
Dunja Đuđić Kalinin
Filmmakers, would you trust a smartphone app to edit videos for you? This is exactly what TRASH App can do. It’s an app that can…

Two simple ways to copy the color grade from one image to another
May 15, 2019
Dunja Đuđić Kalinin
Color grading is a great way to change the mood of your images, and there is more than one way to do it. But other…