
























Oh, snap: make a wired remote switch for your Canon camera, no soldering required – just plug and click
Oct 20, 2024
David Prochnow
Our resident “how-to” project editor, David Prochnow, lives on the Gulf Coast of the United States in Ocean Springs, Mississippi. He brings his expertise at making our photography projects accessible to everyone, from a lengthy stint acting as the Contributing How-To Editor with Popular Science magazine. While you don’t have to actually build each of his projects, reading about these adventures will contribute to your continued overall appreciation of do-it-yourself photography. A collection of David’s best Popular Science projects can be found in the book, “The Big Book of Hacks,” Edited by Doug Cantor.
Share:

The days when shutter release buttons had a threaded socket for receiving a cable release are long gone. Until the advent of the self-timer, whether pneumatic or mechanical, the cable release was the de facto accessory for enabling vibration-free exposures.
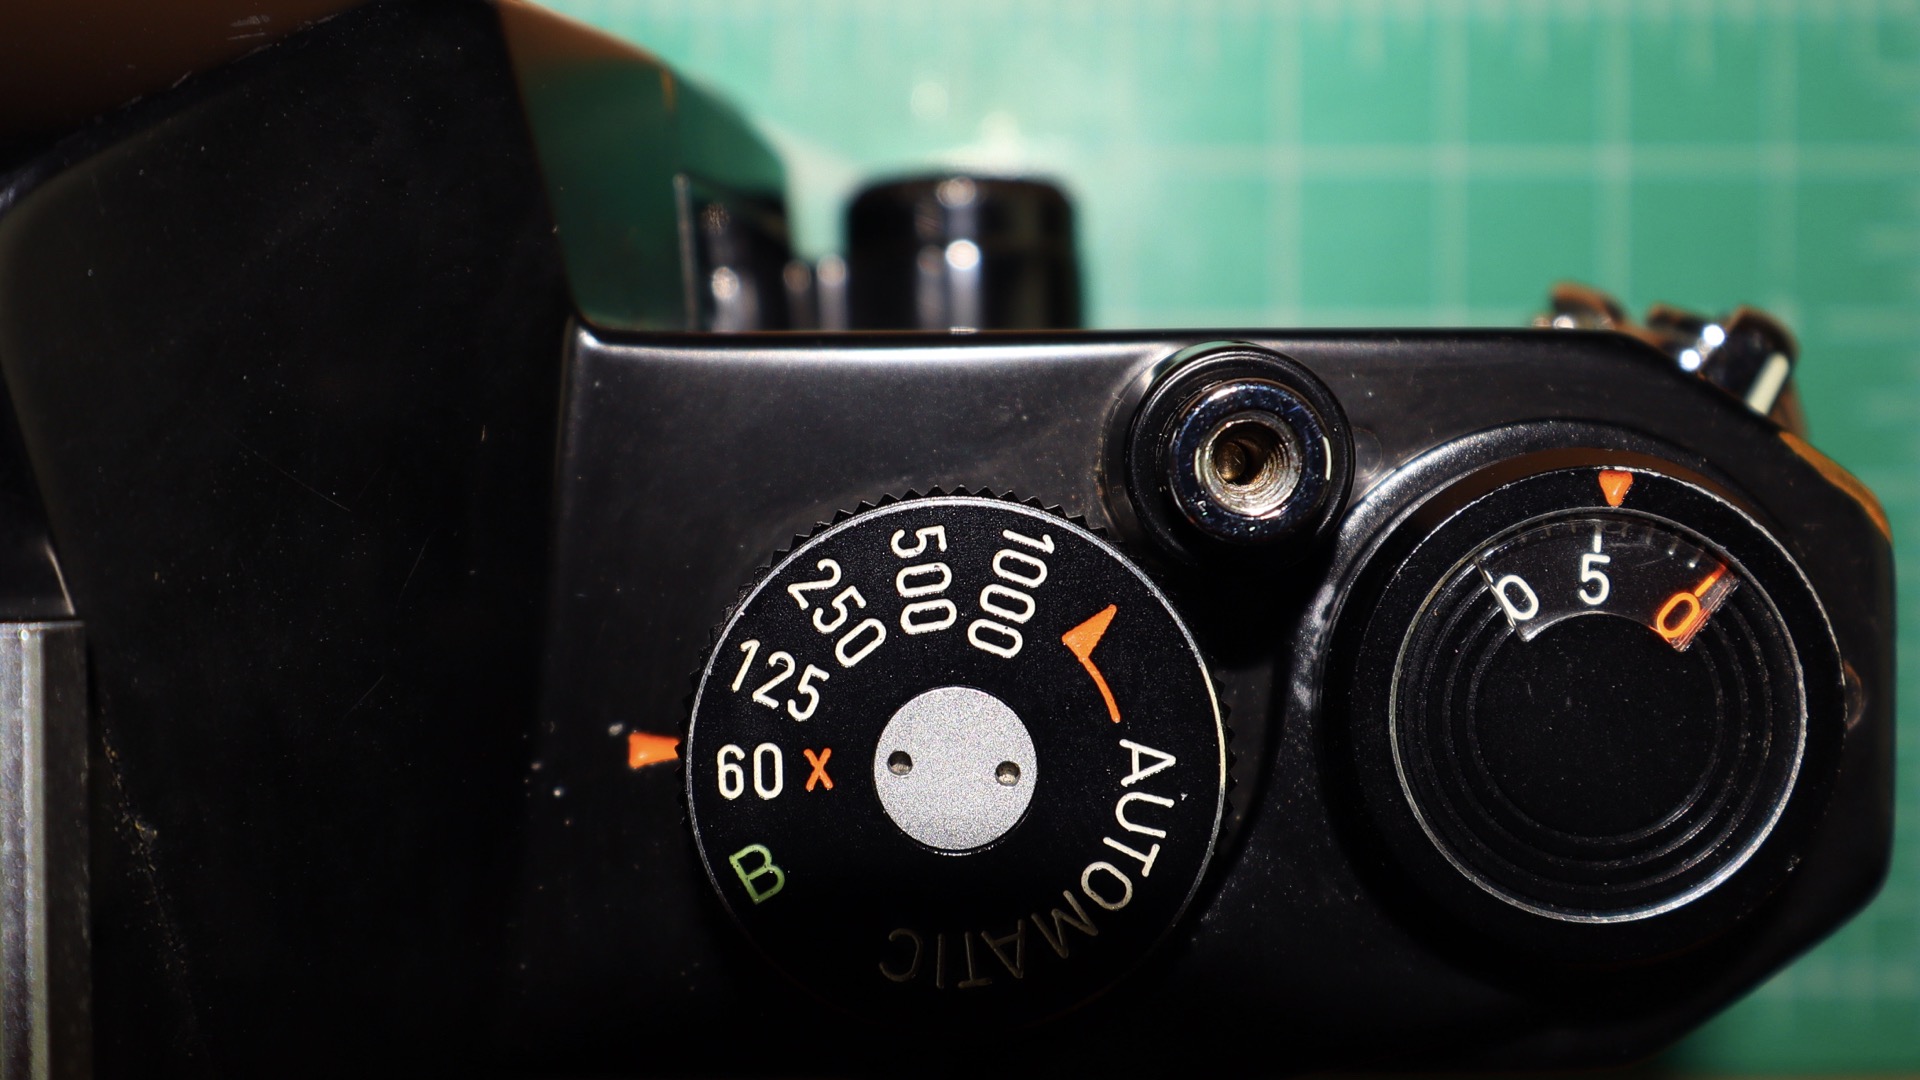
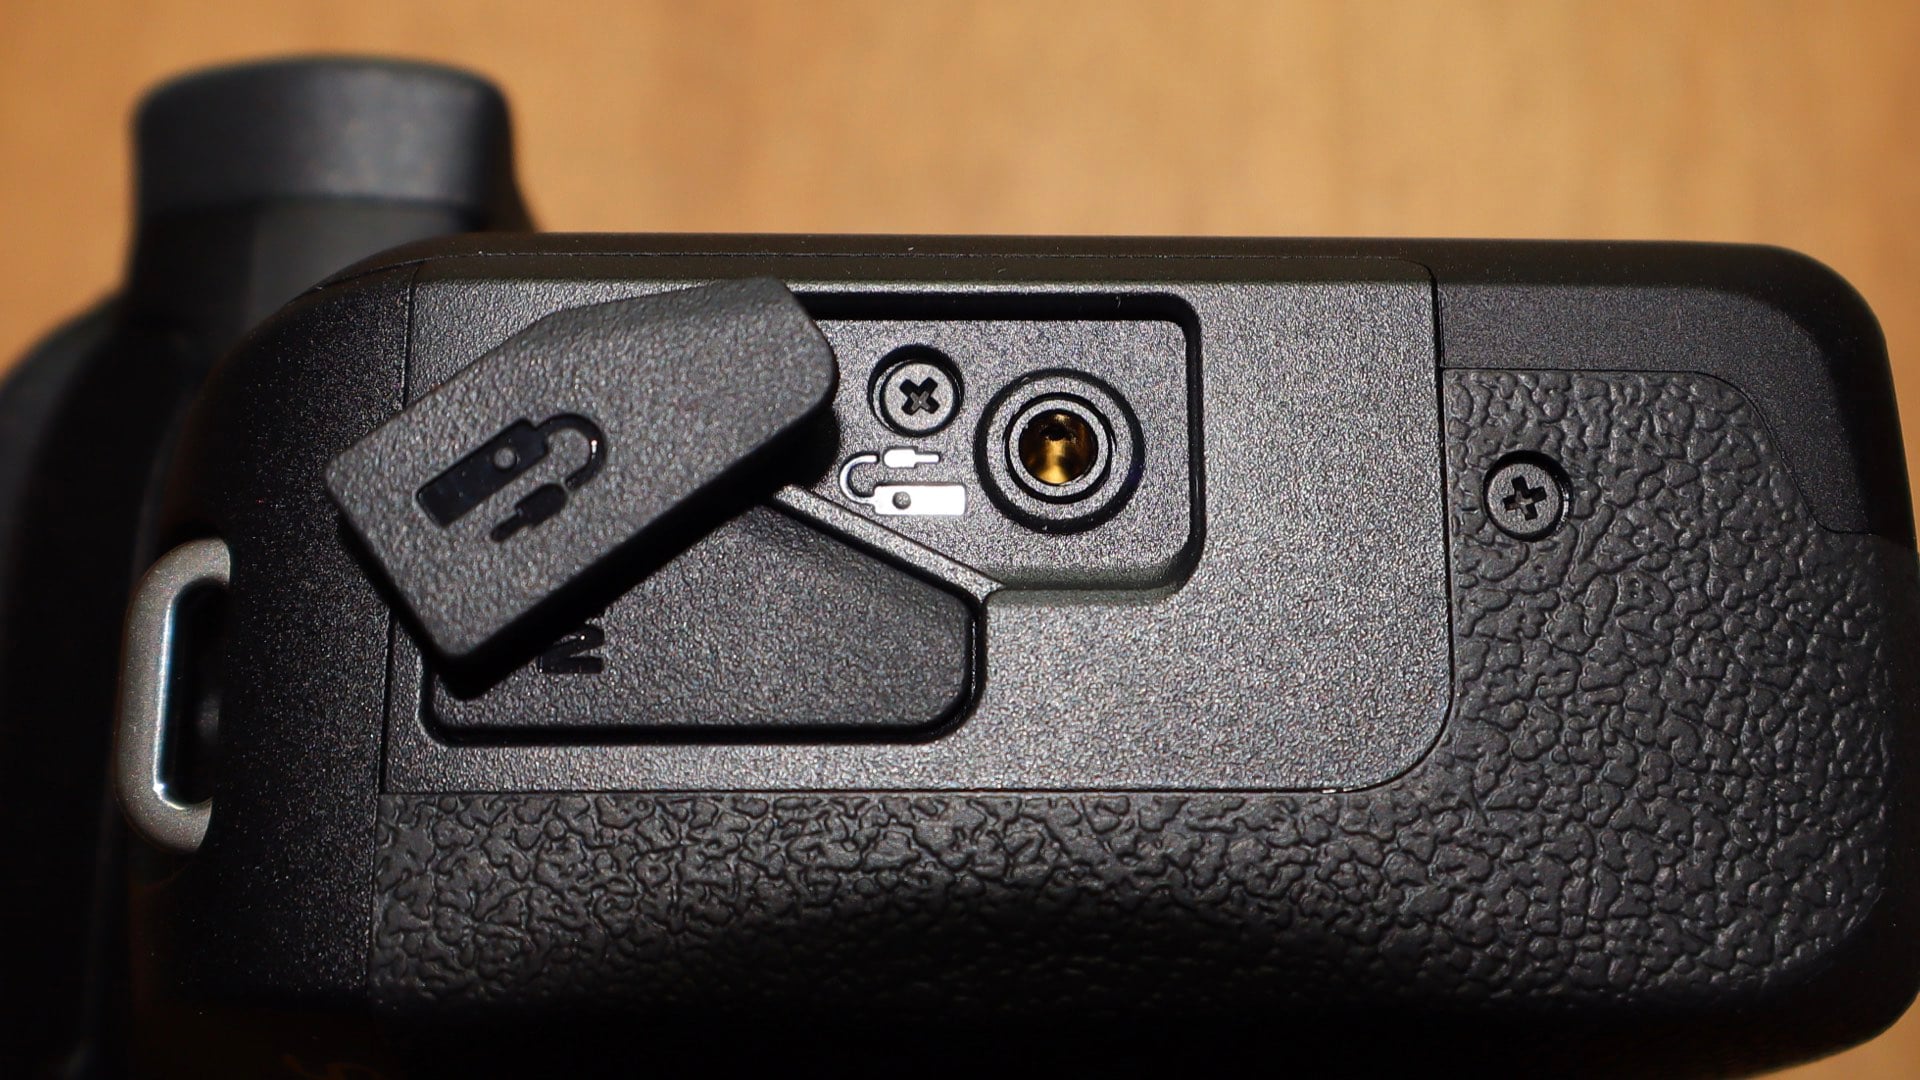
Today, from Bluetooth® to smartphones, these surrogate shutter releases rein supreme. Dedicated cable release aficionados shouldn’t fret, however, as the former threaded shutter release socket has now been replaced by the 2.5mm jack.
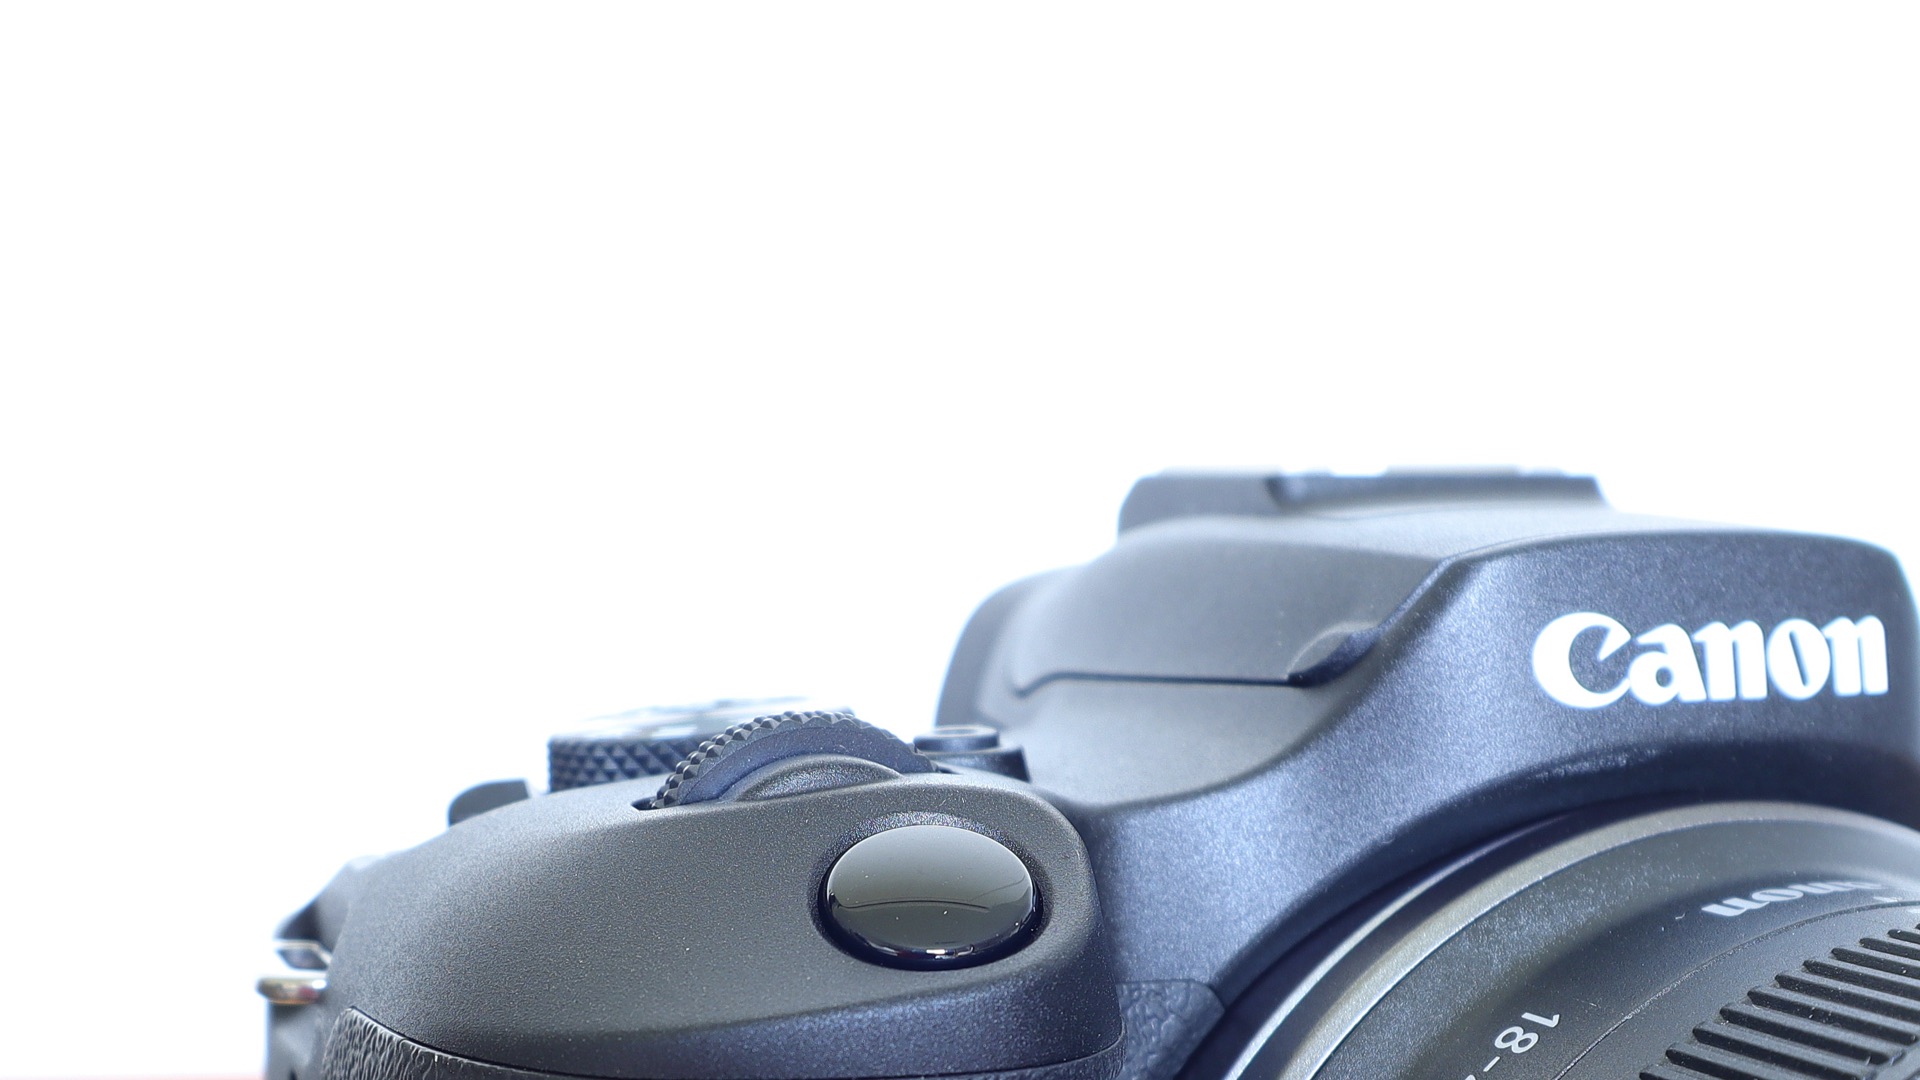
Serving as a receiver for the modern incarnation of the cable release, now dubbed the remote switch, this jack enables electrically controlled, vibration-free exposures, but at a cost. That cost is generally around $20 – $30 for a brand new Canon remote switch–Remote Switch RS-60E3. Yikes! That’s way too much money for such a trivial design. Trivial, you ask? Yes, the remote switch is nothing more than a trigger that shorts or connects a ring on the plug to the circuit’s ground. Gee, that sounds so easy. Yes, it is, and here’s how to do it without a degree in electrical engineering.
You will need two very simple components to enable remote switching on your digital camera:
[Please note: this project only works for Canon cameras. Other digital cameras have a different triggering procedure. Although untested, this project “might” work on digital Pentax cameras, too. Absolutely no guarantee or promise of success with Pentax cameras, however, is made by this article.]
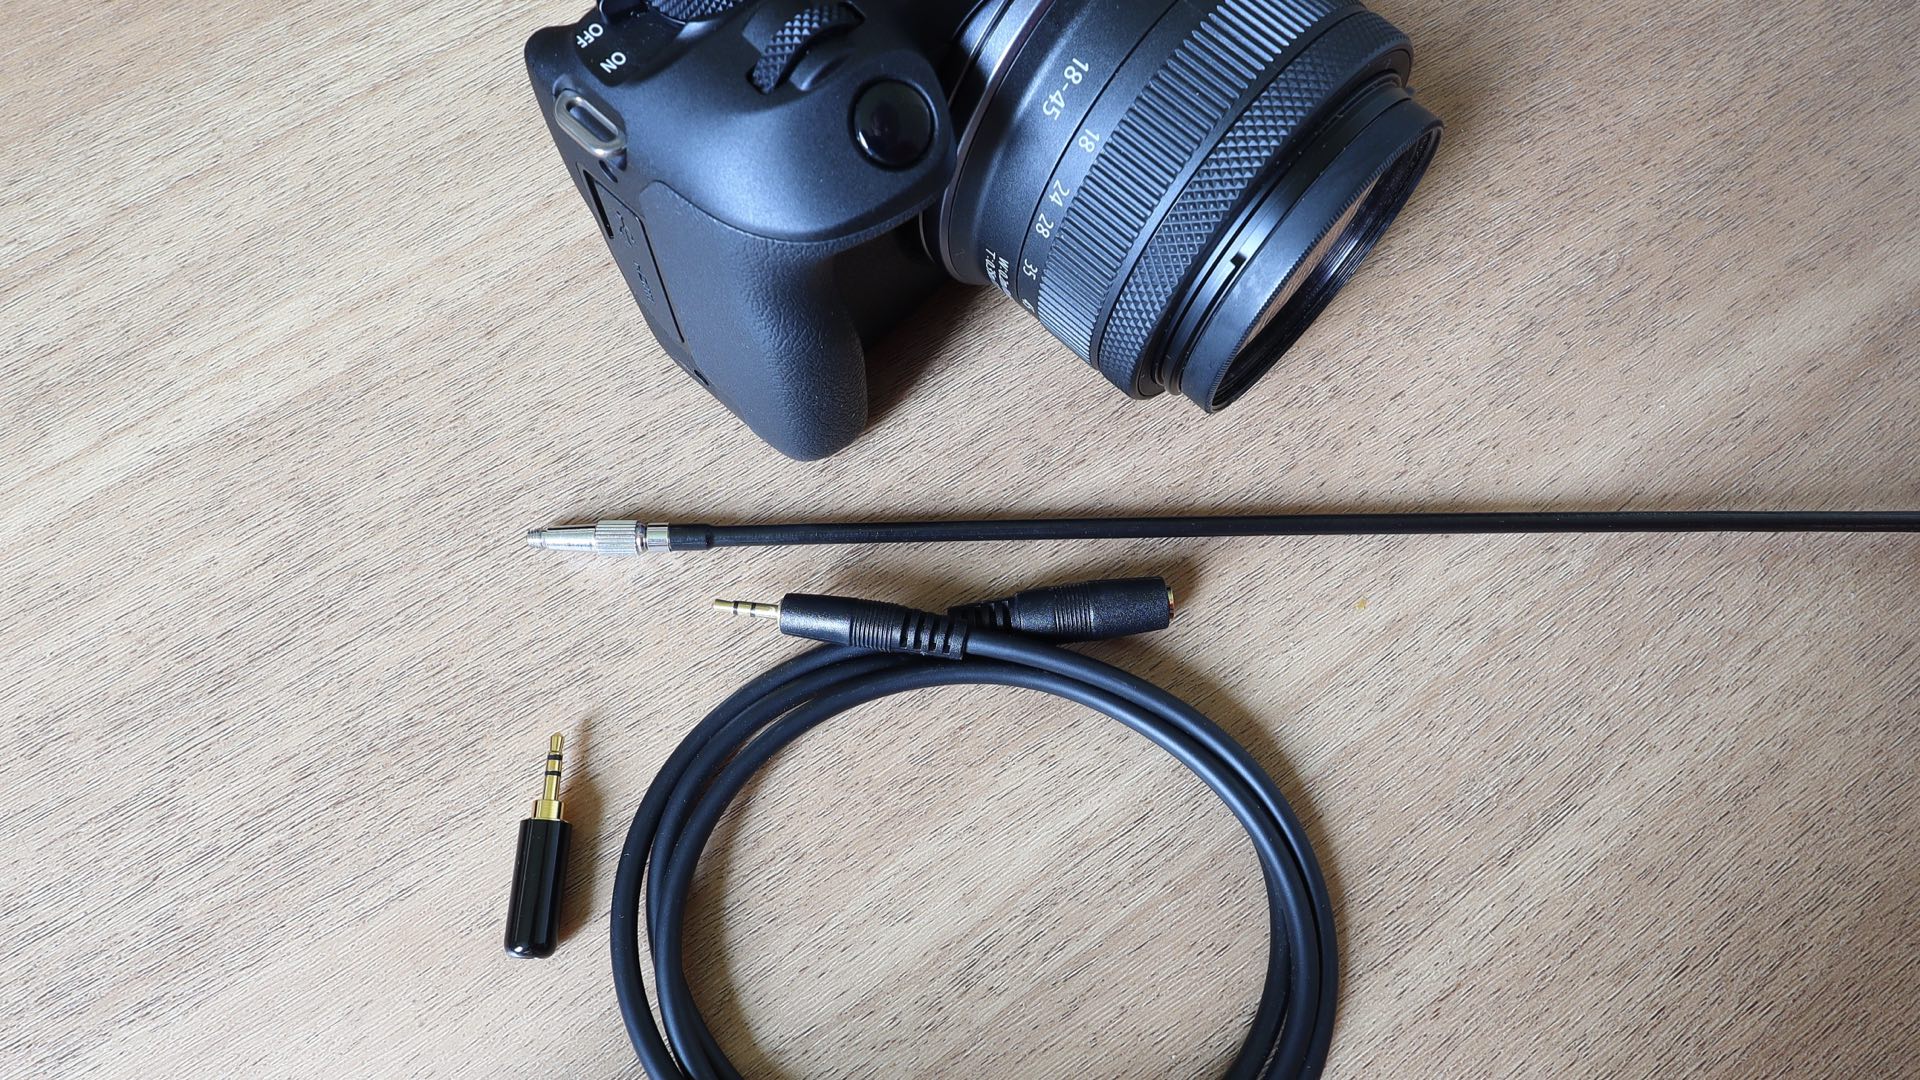
- a 2.5mm stereo extension cable with a jack and plug (commonly called “male-to-female”) $7.99 for two cables
- one 2.5mm audio stereo DIY solderable plug $7.99 for two plugs
This is a simple two-step project.

1. Unscrew the cover and connect the long, lower prong of the 2.5mm solderable plug to the small nub at the center of the plug. A simple bending and folding contact will work. You just need to make a good, solid physical connection between the prong and the nub. Reattach the cover.
2. Plug the extension cable into your camera, prepare to take a photograph, and insert the previously prepared 2.5mm solderable plug into the cable’s jack. CLICK!
You are now a bonafide camera hardware hacker. Please take a bow.
It might be prudent to make some 2.5mm solderable plug triggers for carrying in your various camera bags. Furthermore, if you should notice that your trigger fails to work or the shutter fires intermittently, check the physical connection inside the 2.5mm solderable plug. You might need to reinforce/strengthen the contact with some pliers. In the end, your properly constructed remote switch will become a simple plug-and-click accessory.
Enjoy.
See more from DIYPhotography.net on Google
Add DIYPhotography.net as a trusted source. This makes
our stories more likely to appear in your Google Search results.
 Add as a preferred source on Google

David Prochnow
Our resident “how-to” project editor, David Prochnow, lives on the Gulf Coast of the United States in Ocean Springs, Mississippi. He brings his expertise at making our photography projects accessible to everyone, from a lengthy stint acting as the Contributing How-To Editor with Popular Science magazine. While you don’t have to actually build each of his projects, reading about these adventures will contribute to your continued overall appreciation of do-it-yourself photography. A collection of David’s best Popular Science projects can be found in the book, “The Big Book of Hacks,” Edited by Doug Cantor.
Related Posts
 No card reader required – The X-Driver is a CFexpress card with a built-in Type-C USB plug
 Capture One for iPad now supports both wired and wireless tethered shooting
 Canon’s new SPAD sensor shoots high quality colour images using 1/10th the light required by a CMOS sensor
 Enable any 35mm Camera to Take True Panoramic Photographs (No Mask or PC Required)
Join the Discussion
DIYP Comment Policy
Be nice, be on-topic, no personal information or flames.
One response to “Oh, snap: make a wired remote switch for your Canon camera, no soldering required – just plug and click”
Or for half the price, just go to eBay and order a release.