


Turn a $7 Broken Lens into a Working Lens in Less Than 5 Minutes
Jun 10, 2026
David Prochnow
Our resident “how-to” project editor, David Prochnow, lives on the Gulf Coast of the United States in Ocean Springs, Mississippi. He brings his expertise at making our photography projects accessible to everyone, from a lengthy stint acting as the Contributing How-To Editor with Popular Science magazine. While you don’t have to actually build each of his projects, reading about these adventures will contribute to your continued overall appreciation of do-it-yourself photography. A collection of David’s best Popular Science projects can be found in the book, “The Big Book of Hacks,” Edited by Doug Cantor.
Share:
Nothing is more gratifying to a photographer than nabbing a piece of photographic equipment from a local thrift store. Walking out with a treasure that was priced way too low for the product’s merits is like winning the lottery…but without all of those losing ticket purchases.
Just picking up and examining this bargain is enough to warrant heart palpitations, furtive looks, and a mad dash to the checkout cashier. Once you’ve returned to your studio, however, and examined your “diamond in the rough,” you realize that now the real work begins.
Case in point, that incredible $7 lens that was casually marked by the store management as “not working.” But you know better. This castoff lens is, in reality, as good as new. It just takes some “adjustments” to get it working, again…sorta.
[Related Reading: Recycling Project – A Broken Glass To A Fisheye Lens]
What’s Old is Now, Almost New, Again
Whoa, there pardner. Before you plunk down your cash for that “broken” lens, please verify a couple of things about the condition of this thrift store steal.
First, and foremost, ensure that the optics/glass of the lens are clear and free of defects, oil, fungus, mold, and other forms of internal detritus. If any of these problems exist, don’t buy this lens.
Remember, in order for this lens to be a true bargain, it should only require a 5 minute fix not an extensive restoration operation.
Satisfied that the lens “looks” OK, pinch yourself, and make your purchase. Now it’s just a matter of making the lens “play nice” with your camera.
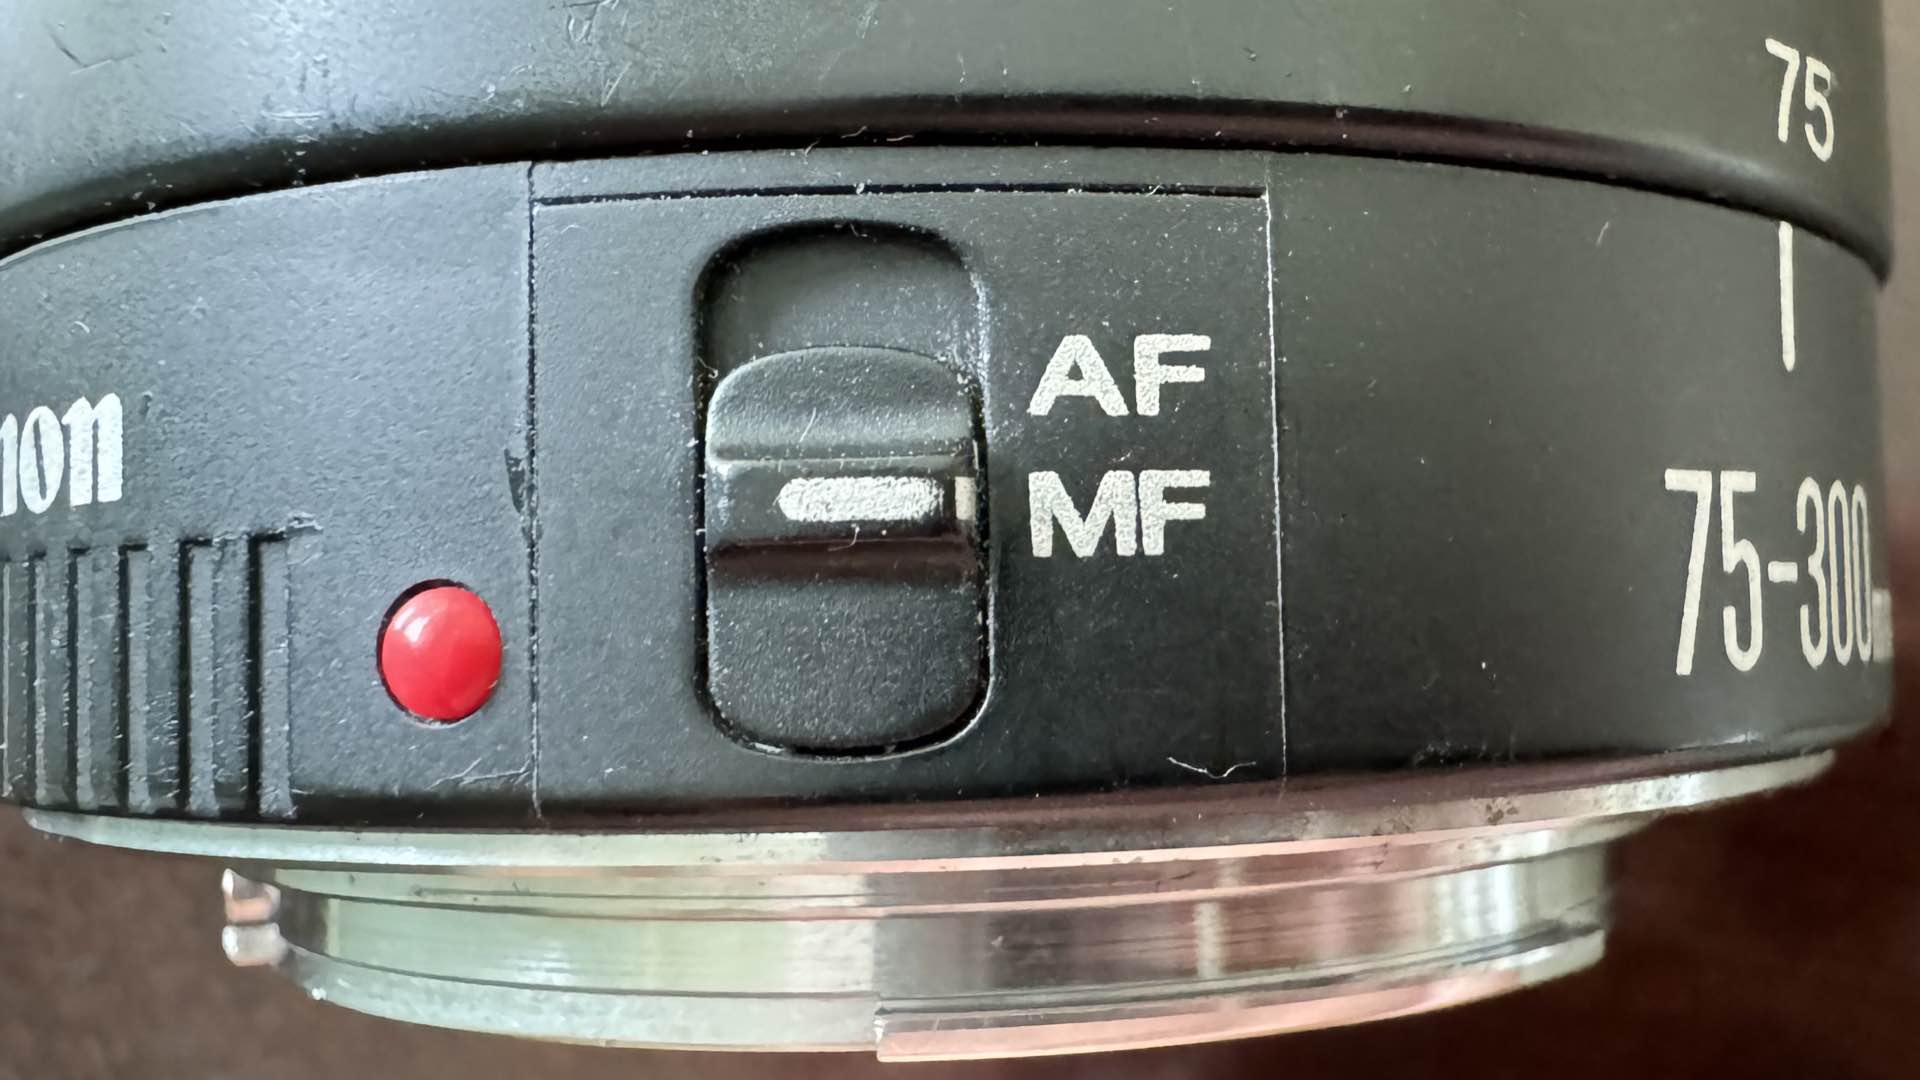
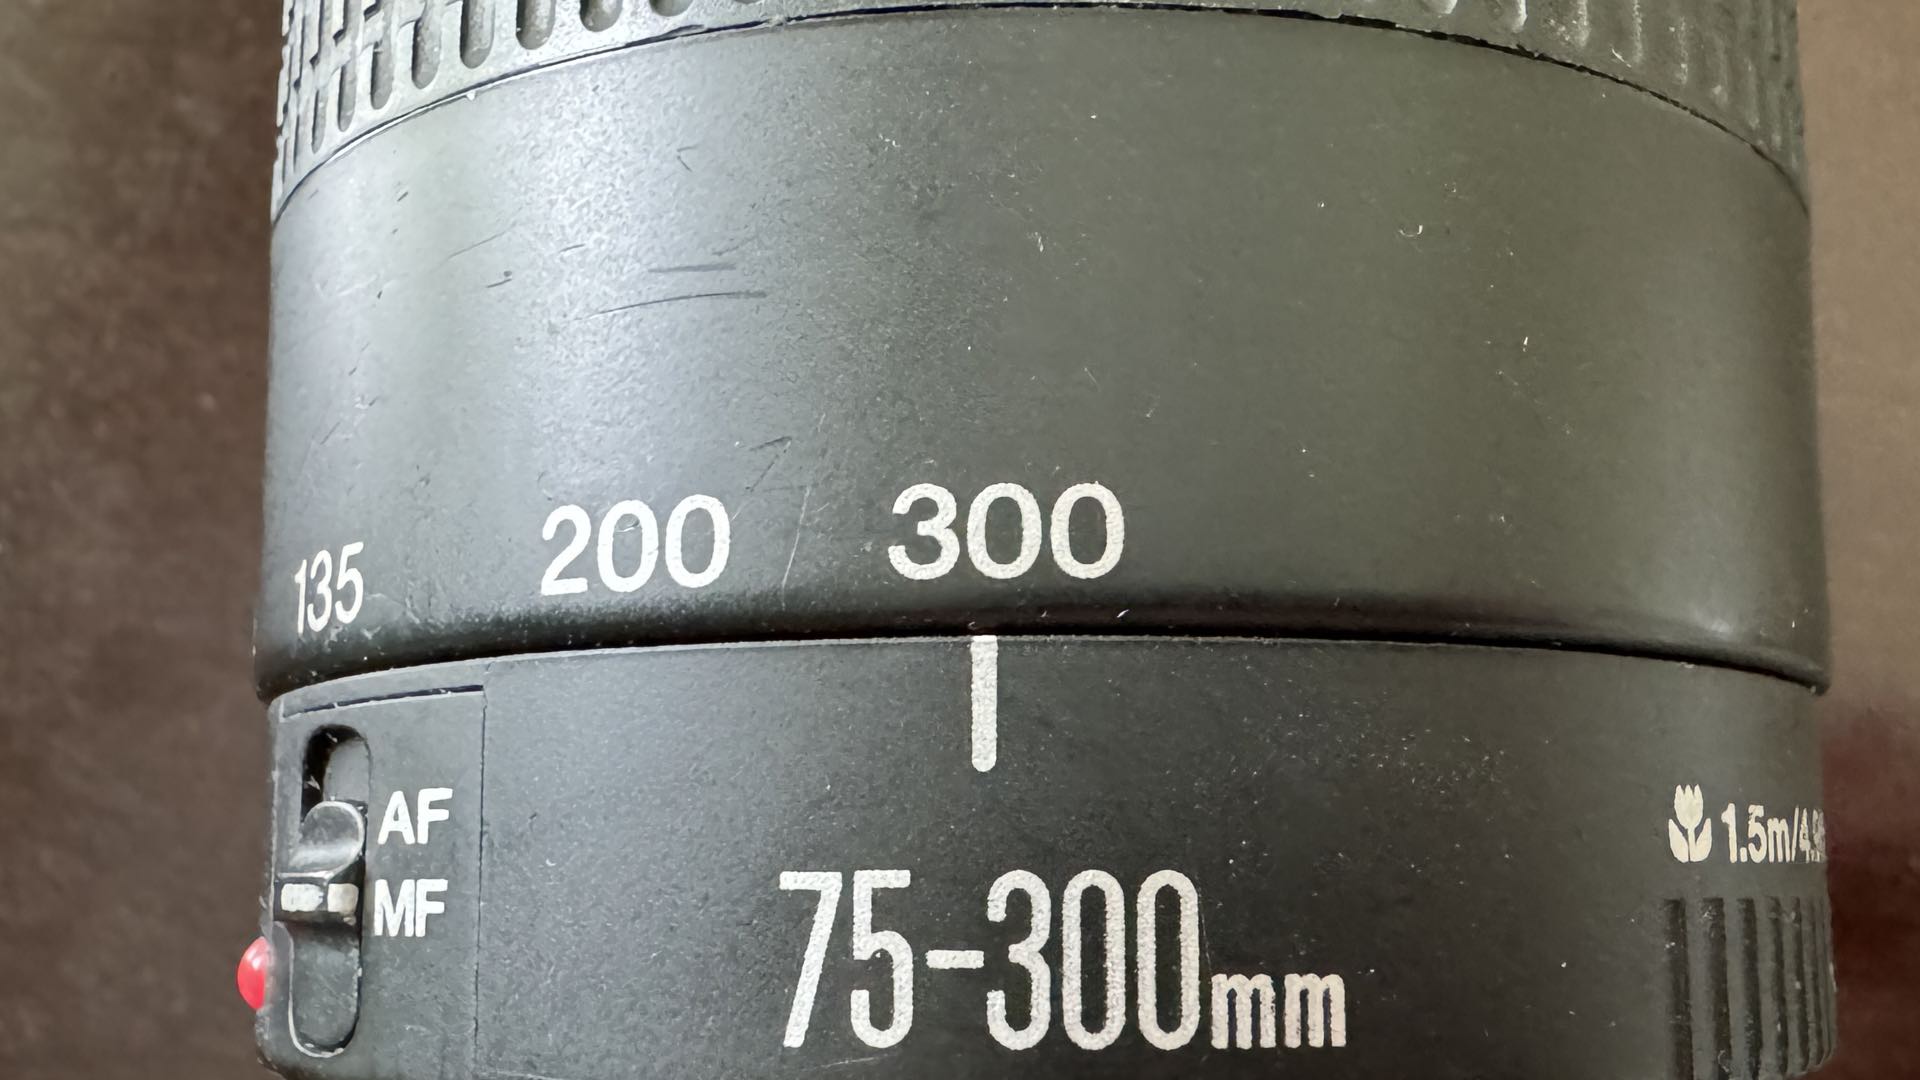
Forget about any of the internal electronics functioning properly. Recall that the thrift store labeled this lens as “not working.” Therefore, turn off any lens stabilization and autofocus switches. Likewise, ignore the diaphragm and shoot the lens wide-open at its maximum aperture.
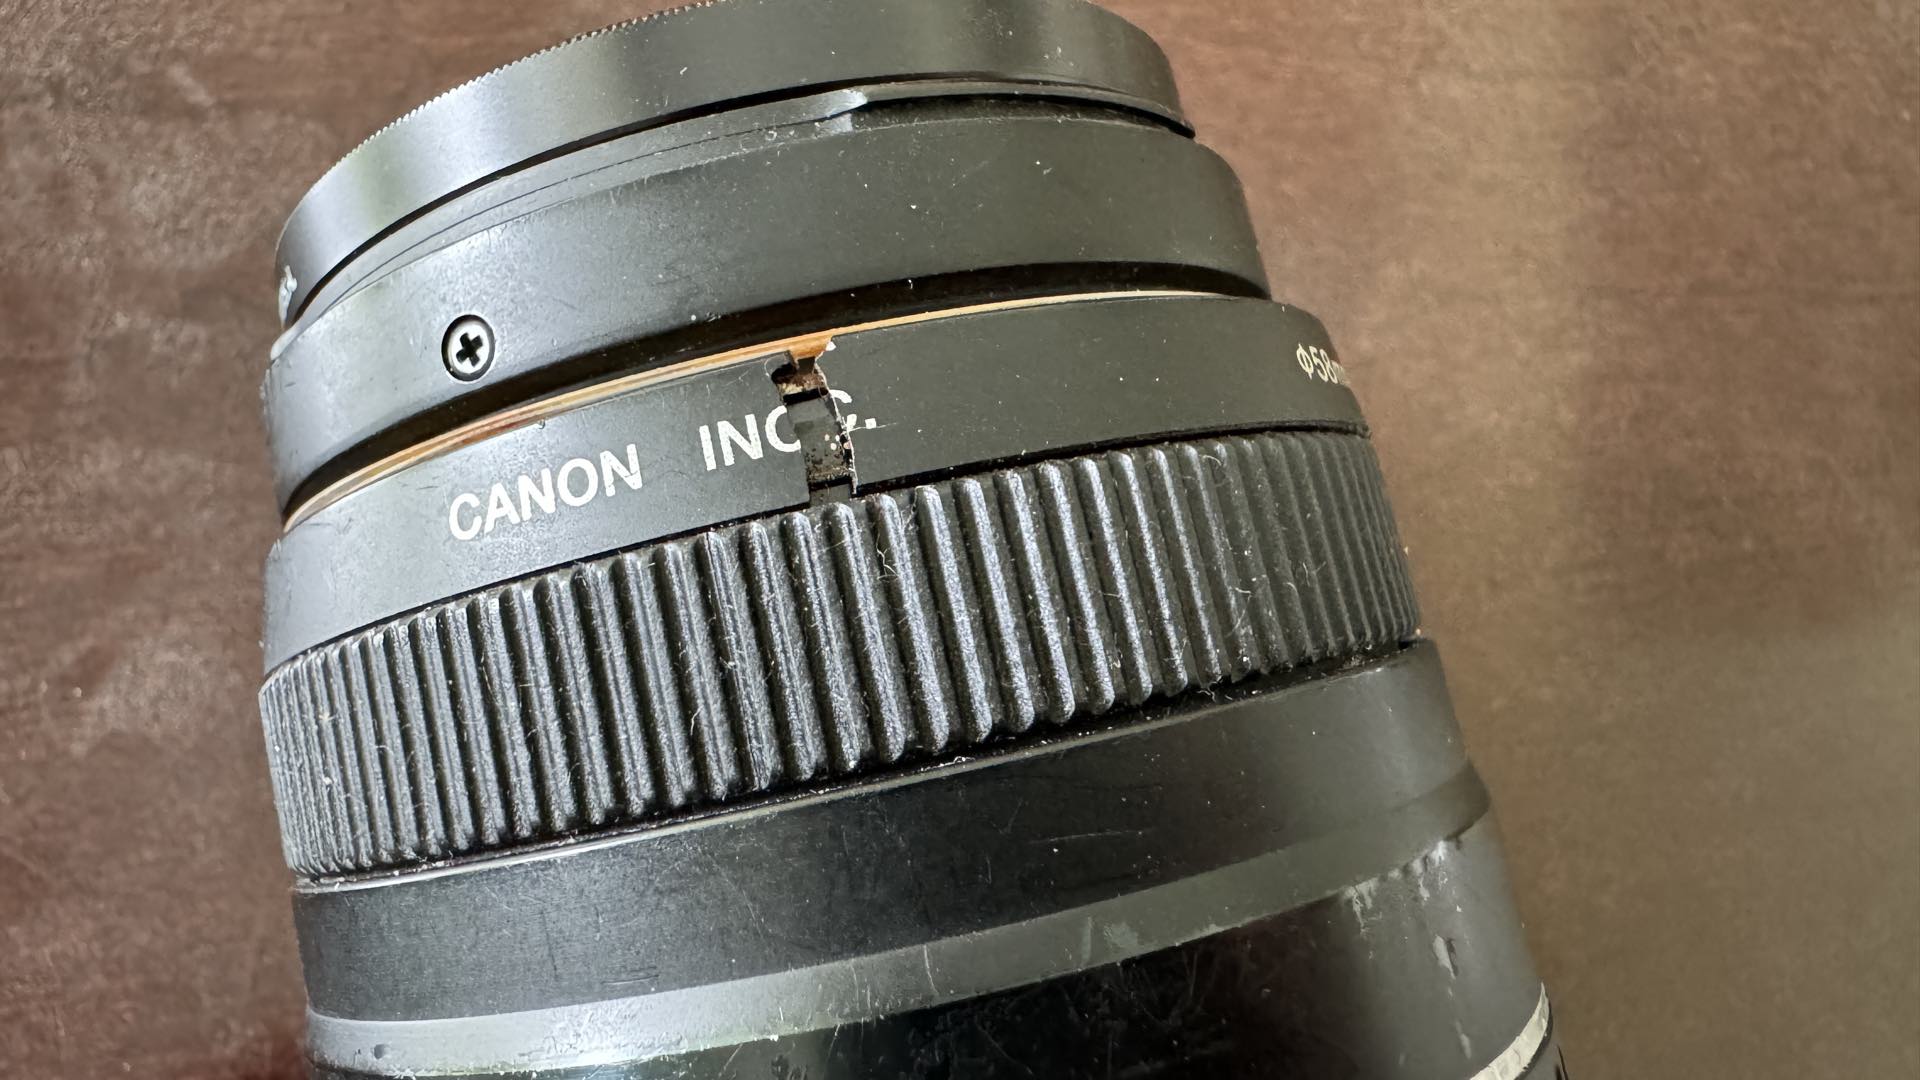
Finally, carefully inspect all lens-to-camera contacts on the lens mount. Make sure they are shiny, free of defects, and, most importantly, not shorted to each other. Any observed faults with these contacts must be corrected prior to mounting on the camera.
The most common problem that you’ll find with these contacts is a filthy layer of grim coating one or more of the copper pads. A gentle scrap with a toothpick should do the trick of removing this goo from the lens mount.

You’re now ready to take some test photographs with your thrift store steal. While the camera will probably be unable to read/register the lens, using a manual shutter release coupled with no aperture adjustment will be your standard mode of operation.


Fingers crossed…your test photographs might be surprisingly good. In fact, in less than 5 minutes you’ve just added a new lens to your arsenal. Not a bad return for a $7 investment.
Enjoy.

David Prochnow
Our resident “how-to” project editor, David Prochnow, lives on the Gulf Coast of the United States in Ocean Springs, Mississippi. He brings his expertise at making our photography projects accessible to everyone, from a lengthy stint acting as the Contributing How-To Editor with Popular Science magazine. While you don’t have to actually build each of his projects, reading about these adventures will contribute to your continued overall appreciation of do-it-yourself photography. A collection of David’s best Popular Science projects can be found in the book, “The Big Book of Hacks,” Edited by Doug Cantor.


Join the Discussion
DIYP Comment Policy
Be nice, be on-topic, no personal information or flames.