


What Gear to Use for Camera Protection in Heavy Rain and Snow?
Aug 22, 2025
Darlene Lleno
Darlene Lleno brings a unique perspective to DIY Photography as someone who grew up surrounded by camera gear but chose words over lenses. With five years of writing experience, she specializes in photography content that’s both technically informed and genuinely passionate. Growing up with a photographer twin brother meant camera talk was everyday conversation in her household. While he mastered capturing moments, Darlene discovered she preferred being the subject and the storyteller behind the scenes. As a travel enthusiast and mother of two, she understands the importance of preserving life’s precious moments. When not exploring new destinations or writing for DIY Photography, you’ll find her reading or tending to her garden. Her approach to photography writing is refreshingly authentic, she may not be behind the camera, but she knows exactly what it takes to help others capture the shots that matter most.
Share:
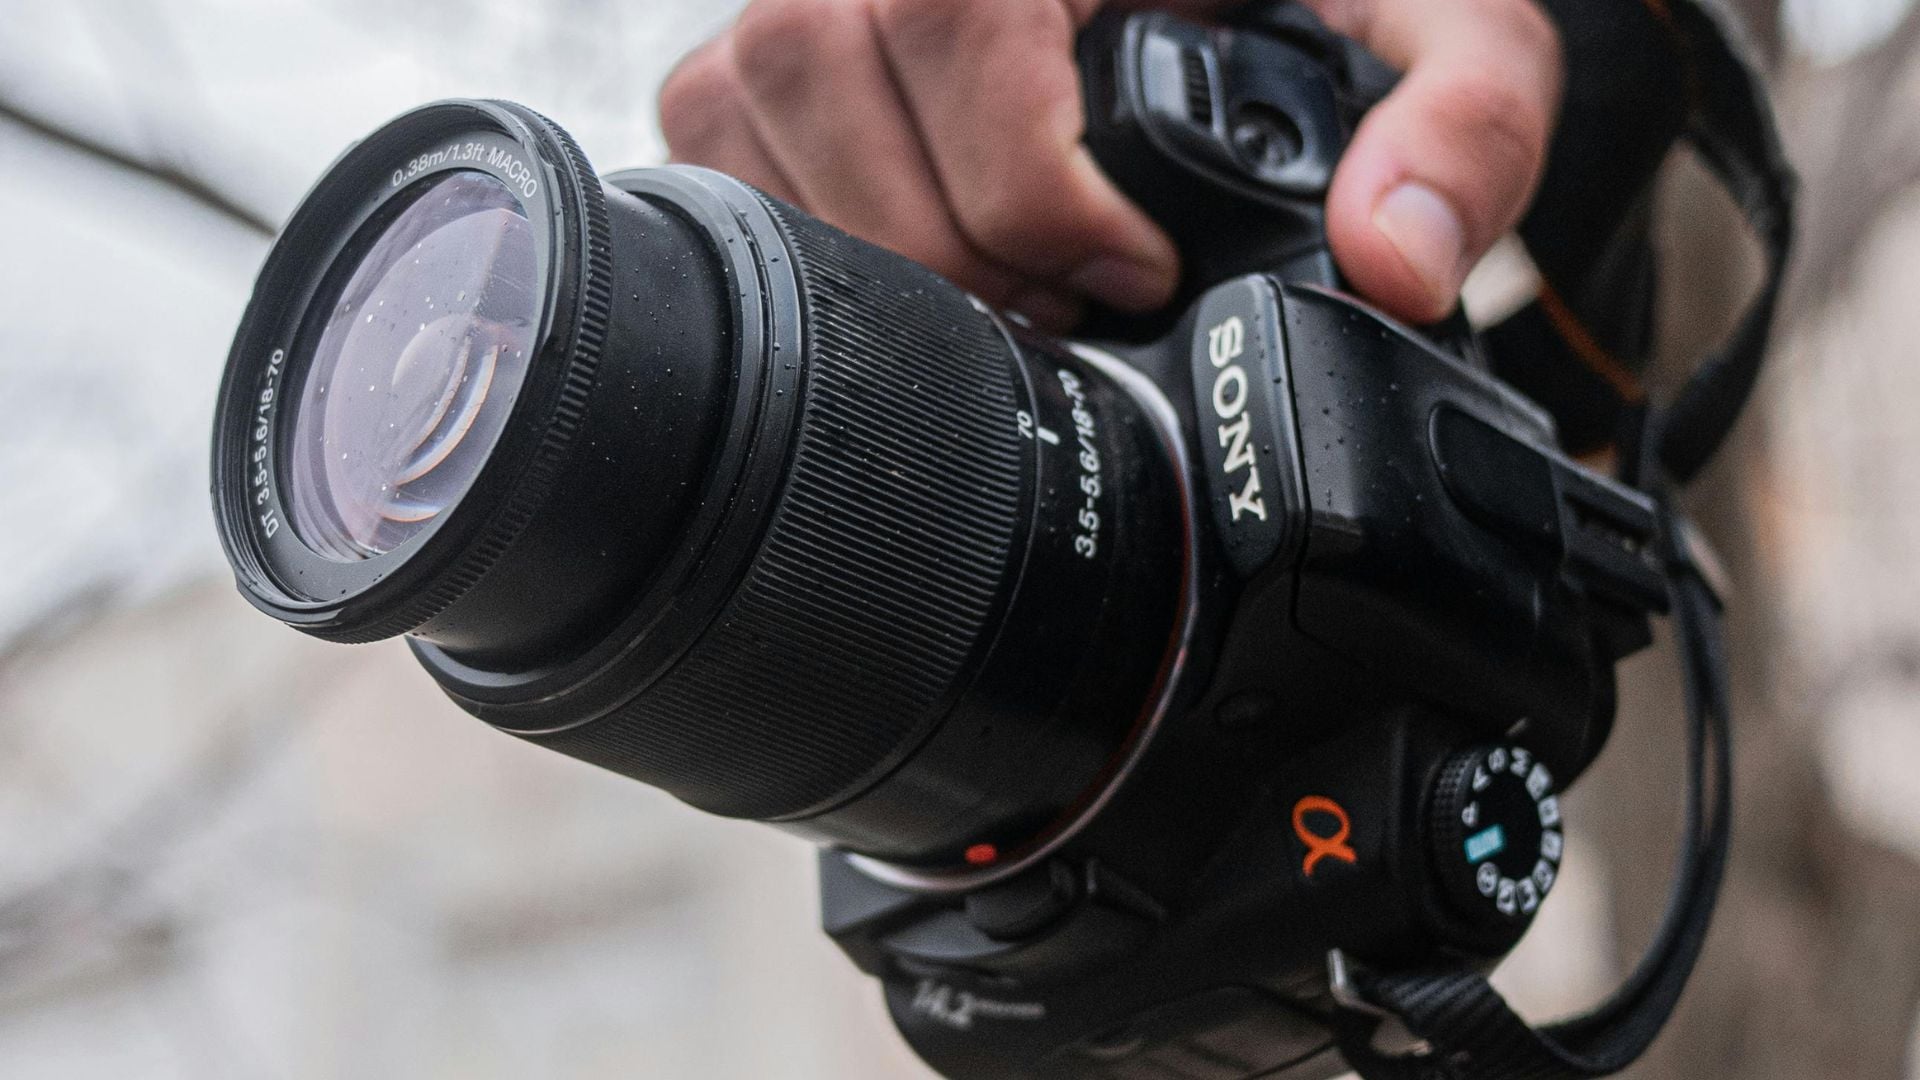
Camera protection becomes super important when you’re dealing with heavy rain and snow. Sure, modern cameras are pretty tough, but even the best weather-sealed bodies need some extra help when the weather gets nasty. Having the right protective gear can be the difference between nailing that perfect shot and going home with a broken camera.
Rain Covers That Actually Work
A good rain cover is basically your camera’s raincoat. These things wrap around your camera and lens to keep all the water out while you keep shooting. You’d be surprised how well they work.
The Think Tank Photo Hydrophobia series is probably the gold standard here. These covers aren’t cheap, but they’re built like tanks. They’ve got three layers of waterproof material and sealed seams everywhere.
What’s really cool about them is they come in different sizes for whatever camera and lens combo you’re using. Plus, they have these clear windows so you can still see your camera settings.
If you’re not ready to drop serious cash, the Altura Professional Rain Cover is a solid budget option.It’s not as fancy as the expensive stuff, but it’ll keep your gear dry when you need it to.
Another option that’s getting popular is the Peak Design Shell. It’s made specifically for people using Peak Design’s clip system. You can slip it on and off really quickly, which is handy when the weather keeps changing.
DIY Camera Protection Solutions
Sometimes you get caught in bad weather without proper gear. The good news is you can protect your gear from rain and snow for less than $1 using stuff you probably already have.
Grab a plastic shopping bag and some rubber bands. Cover your whole camera with the bag, then use the rubber bands to secure it around your lens.
Cut a small hole for your lens to poke through. It’s not pretty, but it keeps your gear dry. This quick DIY rain cover technique has saved many photographers in emergency situations.
For something a bit more refined, clear zip-lock bags work great for emergency protection. Just make sure you can still reach your camera controls through the plastic. Some photographers even use shower caps from hotels as emergency rainy day shooting gear.
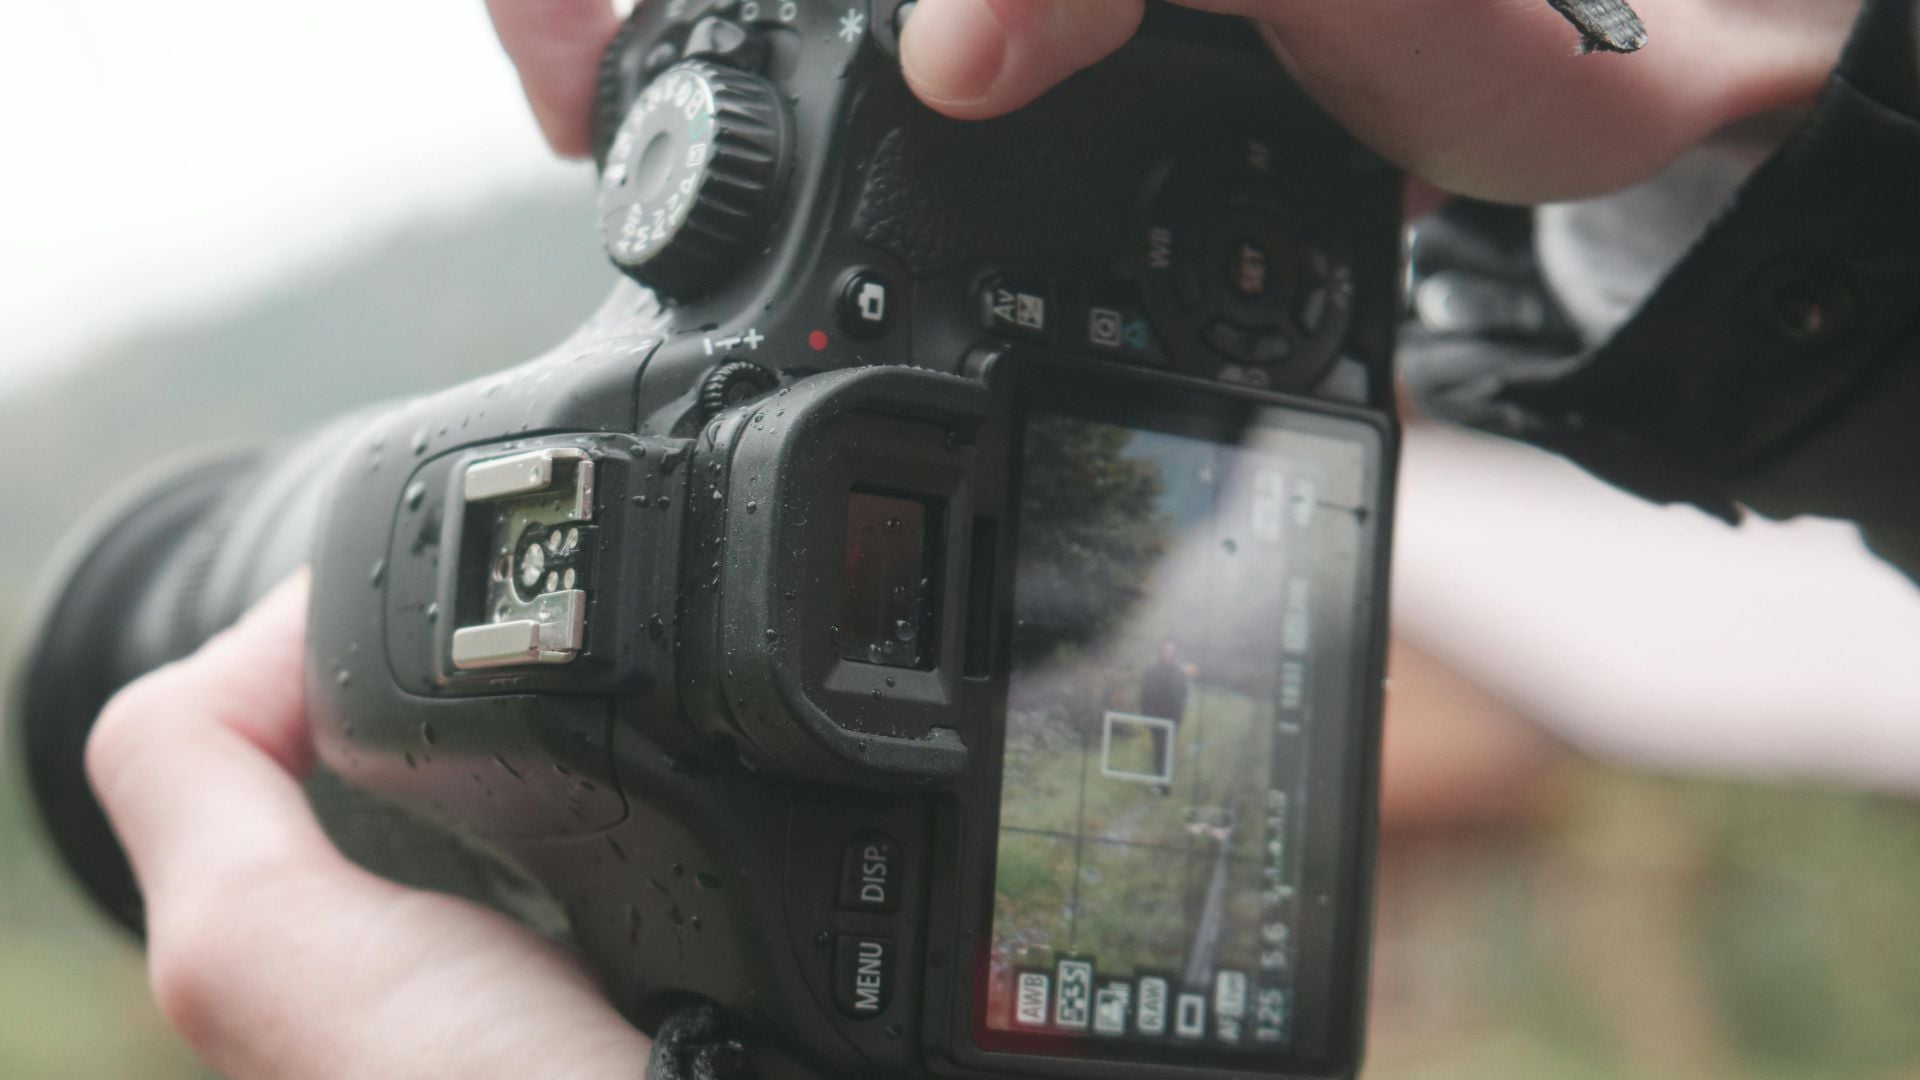
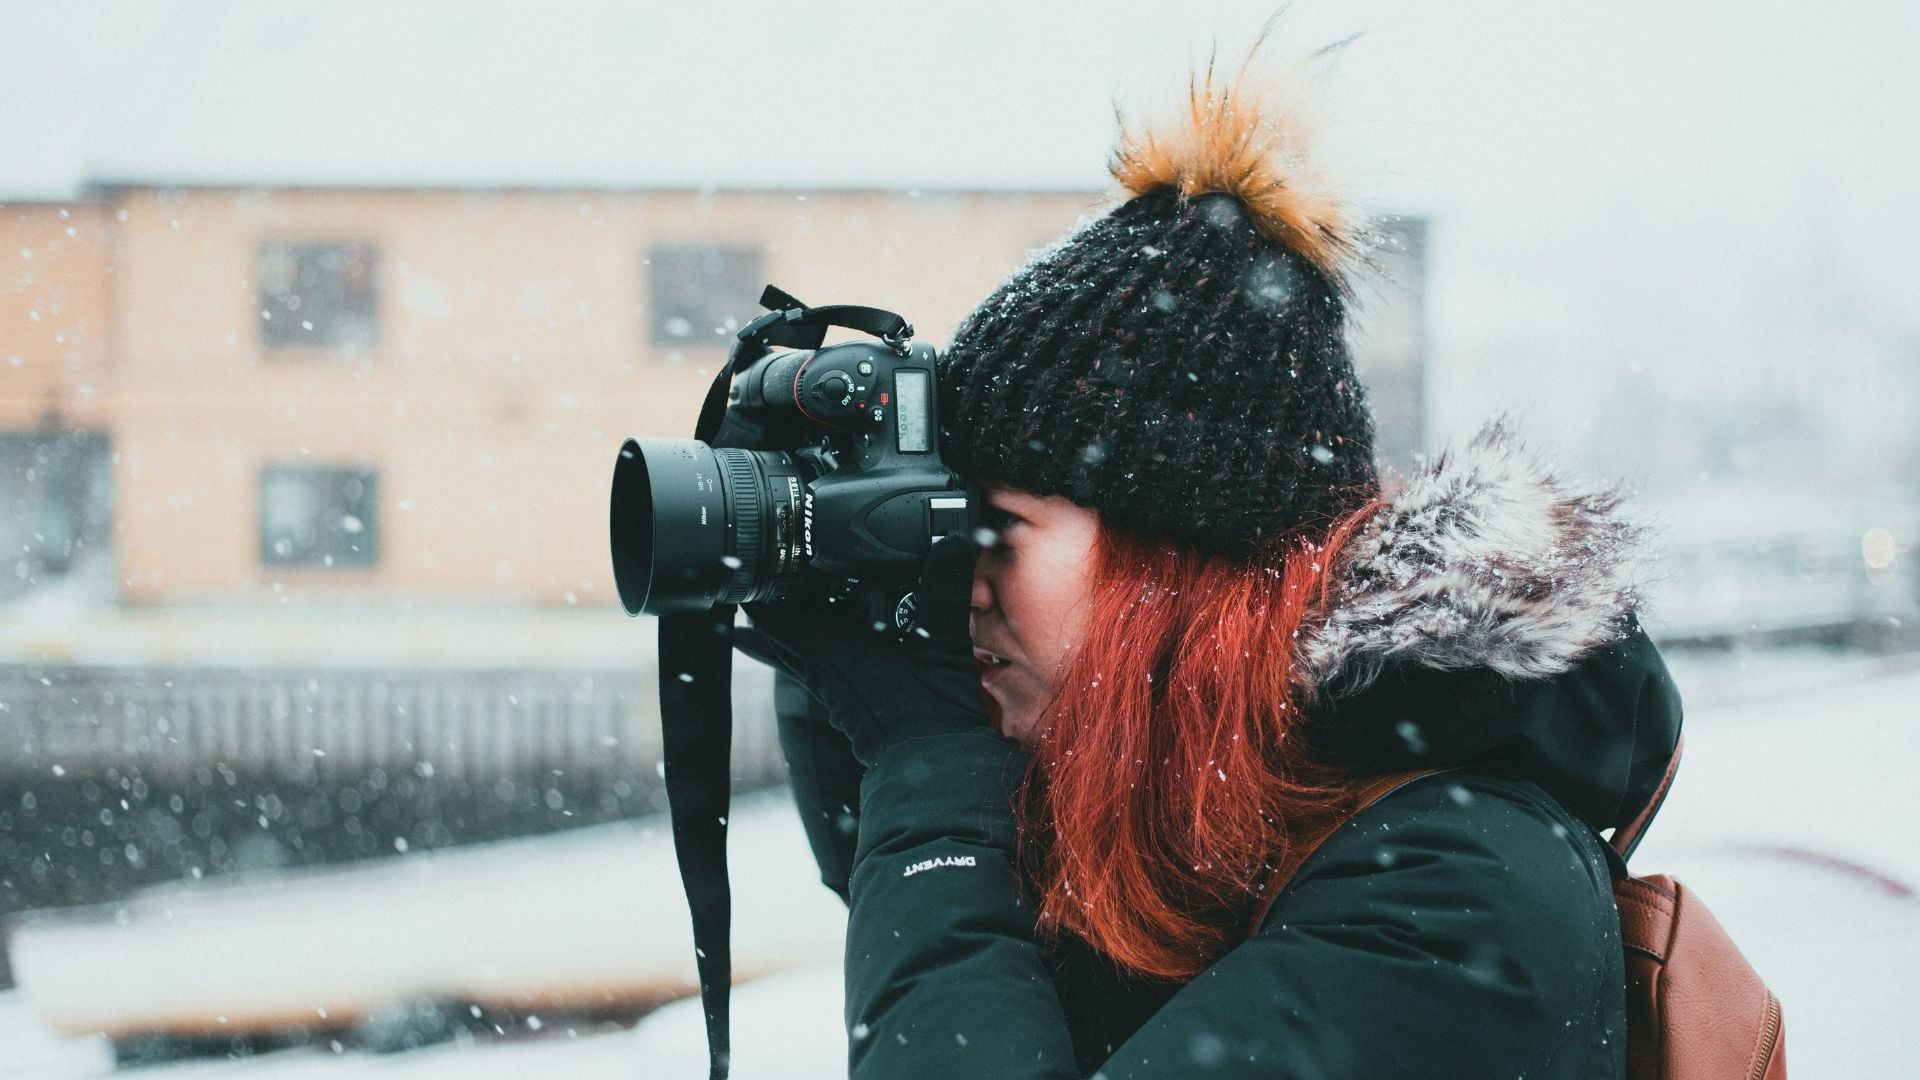
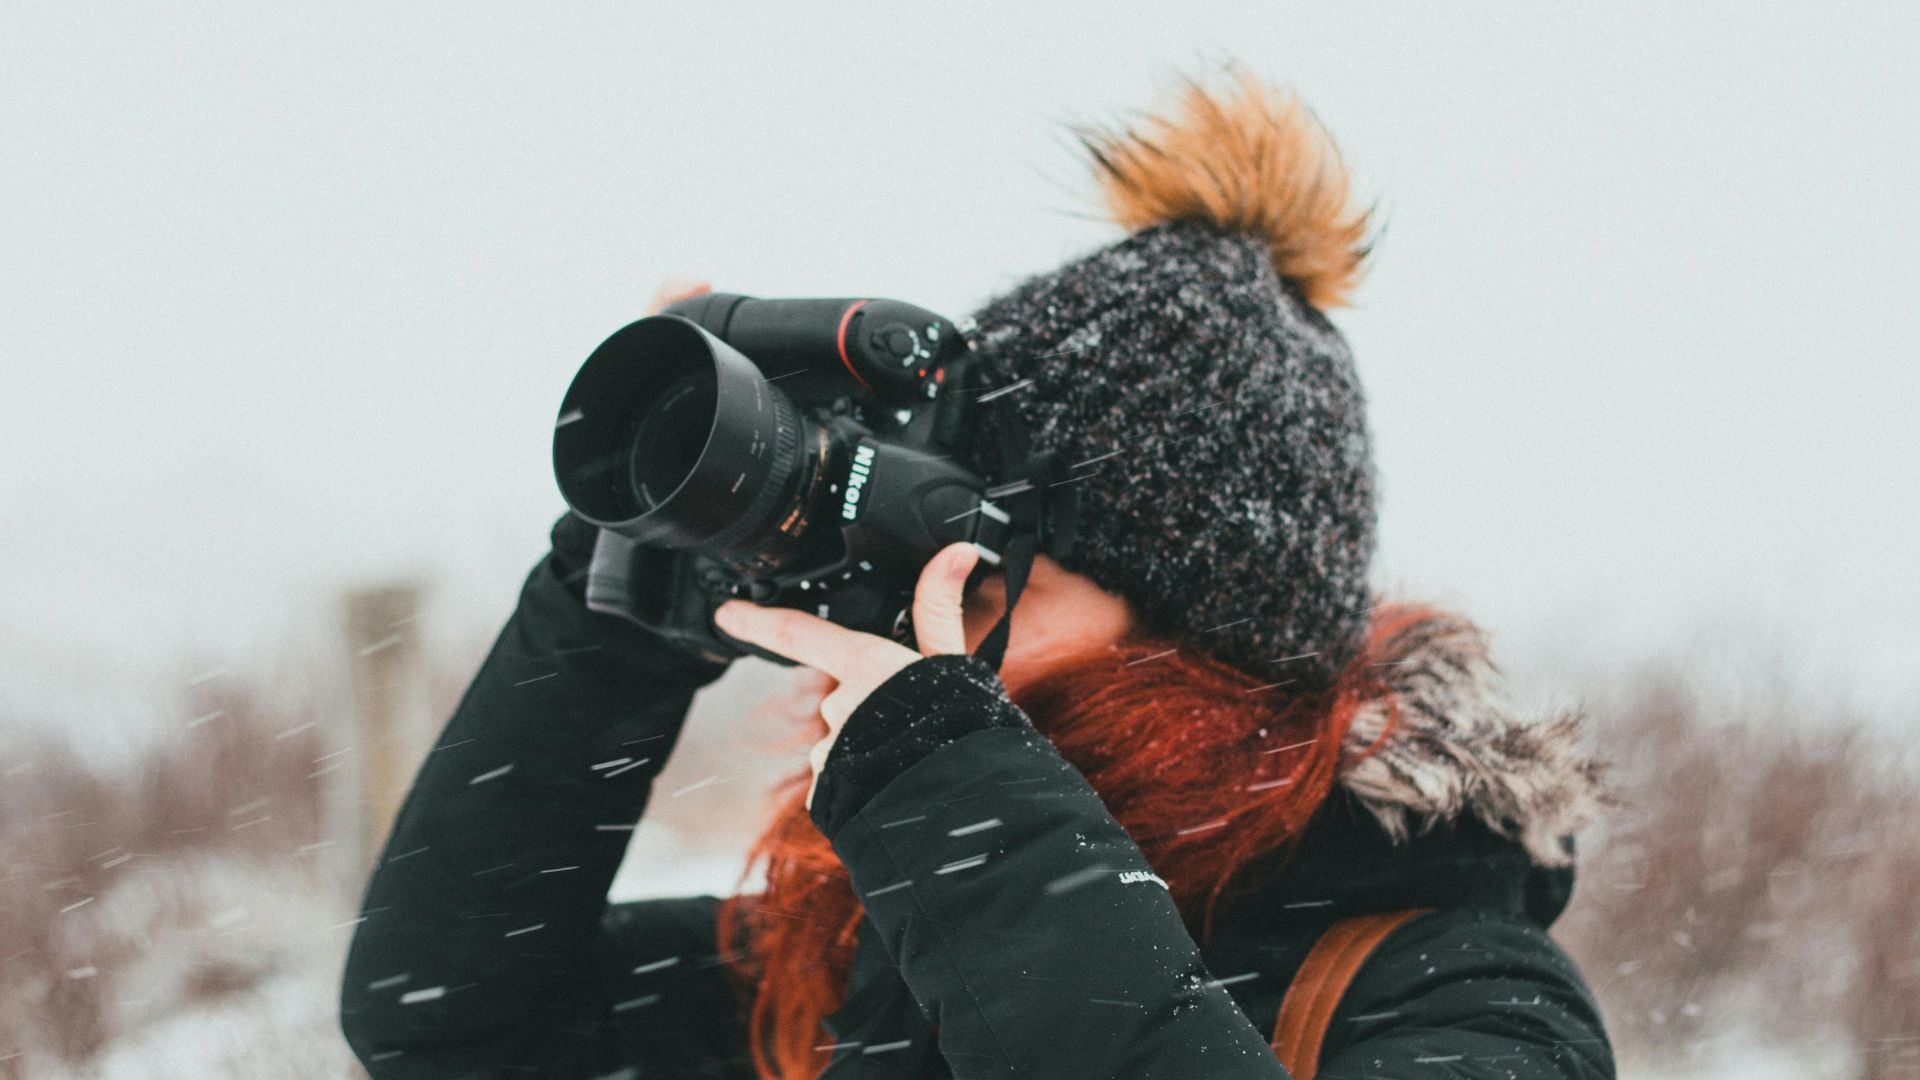
Dealing with Snow and Cold Weather
Snow creates its own set of problems. The biggest thing you need to watch out for is called “cold soaking.” This happens when your camera gets as cold as the air outside, which kills your battery super fast and can mess up the camera’s electronics.
Digital cameras make their own heat when they’re running, so they usually stay warm enough while you’re actually taking pictures. The trick is keeping them warm between shots. Stick your camera in an insulated bag or use hand warmers when you’re not shooting.
Keep a small paintbrush in your kit too. When snow starts building up on your lens, you can brush it off before it freezes solid. Trust me, frozen snow spots on your lens are not fun to deal with.
Understanding Weather Sealing vs Additional Protection
Even if your camera boasts weather sealing, don’t assume it’s bulletproof. Camera weather sealing protects against light moisture and dust, but heavy rain and snow can overwhelm these seals. Professional photographers treat weather sealing as a backup system, not the primary protection method.
The combination of weather-sealed cameras with additional protection provides the best results. Your camera’s built-in protection handles minor moisture while rain covers deal with serious weather.
Photography Gloves and Hand Protection
Your hands are part of your gear too. Cold weather photography gloves are designed to let you operate camera controls while keeping your hands warm. Many have flip-back fingertips for precise control access.
The Pgytech Pro and Master gloves even feature built-in heating systems powered by rechargeable batteries. According to outdoor gear experts, these specialized gloves can make the difference between getting the shot and giving up due to numb fingers.
Keeping Your Batteries Alive in the Cold
Cold weather murders camera batteries. We’re talking going from 100% to dead in like 45 minutes when it’s really cold. Here’s what you need to do:
- Carry at least two spare batteries
- Keep the spares warm against your body
- Consider an external battery pack that connects with a cable
- Avoid alkaline batteries in cold weather (they’re terrible in the cold)
Some photographers actually keep their spare batteries in an inside pocket or even in their armpit to keep them warm. Yeah, it’s a bit weird, but it works.
Professional-Grade Protection Systems
If you’re serious about shooting in tough weather, the Uni LensCap offers excellent front-element protection. These aren’t your typical flimsy lens caps. Each order comes with 2 caps that fit 60-90mm diameter lenses, which covers about 99% of DSLR and mirrorless lenses out there.
What makes these caps special is their flat-top design with Impact Guard Ridge technology. They’re built with reinforced retention rings and tear-resistant materials that can handle real abuse. The universal stretch design means they fit over lenses, hoods, and even filters without any fuss.
These caps are waterproof, dustproof, and shockproof, plus you can actually wash them when they get dirty. The vivid blue color makes them super easy to spot in your bag, so you won’t lose them like those tiny black caps that seem to vanish into thin air.
The Right Camera Bag Makes a Difference
Your camera bag is part of your protection system too. Look for bags that open from the back instead of the front. When you put the bag down in snow or mud, you don’t want that stuff getting on the part that goes against your back.
A thick, well-insulated bag helps protect your gear from temperature shock. Some photographers even put their gear in sealed bags inside their camera bag for extra protection against condensation. This becomes especially important when you’re traveling with camera gear and need every piece to be protected.
Stopping Condensation Before It Starts
Here’s something that catches a lot of people off guard. The biggest danger to your gear often happens when you come back inside from the cold. Your cold camera hits the warm, humid indoor air and boom, everything fogs up with condensation.
The fix is simple but really important. Before you go inside, put your camera gear in a sealed plastic bag. Leave it sealed until everything warms up to room temperature. It might take an hour, but it’s way better than dealing with fungus growing in your lens later.
Metering and Exposure in Tough Weather
Bad weather can really mess with your camera’s metering modes. Snow scenes are the worst for this. Your camera sees all that white and thinks the scene is way brighter than it actually is, so it underexposes everything.
You’ll probably need to dial in some exposure compensation to fix this. Usually +1 or +2 stops will get your snow looking white instead of gray.
Portrait Photography in Bad Weather
When you’re doing portrait photography in challenging weather, you need to set up your protection before you start. You’ll be focused on directing your subject, not babysitting your gear.
Test everything first. Make sure you can adjust your camera settings quickly without taking off covers. If you’re comfortable and confident with your protected gear, your subjects will be more relaxed too, which means better portrait lighting.
Many photographers find that DIY portrait setups work especially well in challenging weather because the dramatic conditions add mood to the images.
Extra Gear That Makes a Real Difference
Don’t forget about lens hoods. They’re not just for reducing lens flare, they also give your front lens element some physical protection from rain and snow.
UV filters are another simple protection trick. Sure, they filter UV light, but they also act like armor for your expensive lens glass. If something gets damaged, you’d rather replace a $20 filter than a $500 lens.
For tripod users, consider getting some leg warmers or clear plastic sleeves. Metal tripod legs get painfully cold, and the sleeves keep snow and mud out of the moving parts.
Memory Cards and Small Stuff
Water can kill memory cards just as easily as cameras. Get a waterproof case for your card holder, or just use a small waterproof phone case. Some photographers keep their spare cards and batteries in these cases too.
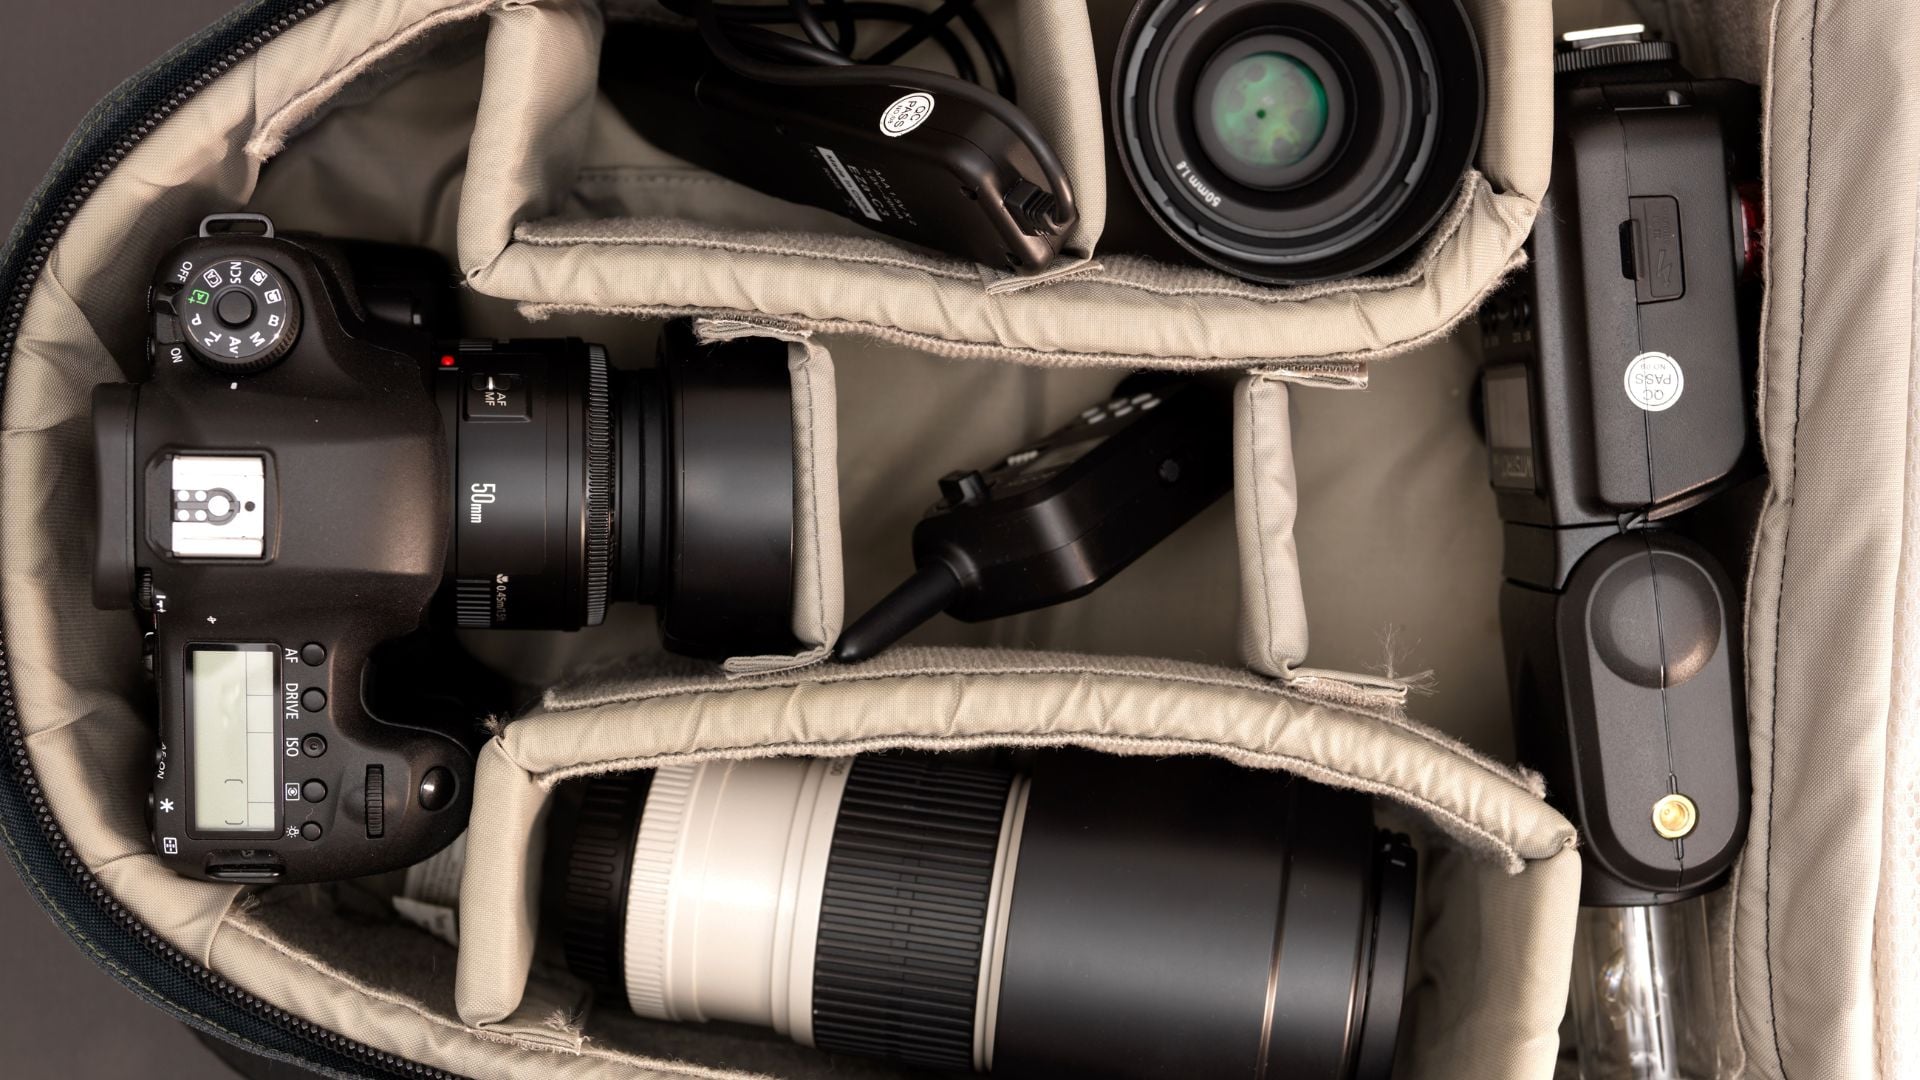
Building Your Protection Kit Over Time
You don’t need to buy everything at once. Start with a basic rain cover and some plastic bags for emergencies. Add stuff like battery warmers and specialized cases as you figure out what you actually need.
Keep a small emergency kit in your camera bag all the time. Include plastic bags, rubber bands, lens cleaning supplies, and a microfiber cloth. These simple things can save a shoot when the weather turns bad unexpectedly.
Start simple, learn what works for your style of shooting, and build from there. Your gear will last longer, and you’ll get shots that other photographers miss because they weren’t prepared for whatever Mother Nature throws at them.
Your Camera Protection Game Plan
Camera protection doesn’t have to be complicated or cost a fortune. The key is actually carrying and using the gear when conditions get tough. Whether you’re learning basic photography techniques in drizzle or landscape work in a blizzard, having the right protection keeps you shooting when everyone else heads for cover.
The photographers who get the best shots in bad weather aren’t necessarily the ones with the most expensive gear. They’re the ones who came prepared and know how to use their protection effectively. Smart photographers prepare for the worst weather and get rewarded with images that others miss because they weren’t ready for the conditions.

Darlene Lleno
Darlene Lleno brings a unique perspective to DIY Photography as someone who grew up surrounded by camera gear but chose words over lenses. With five years of writing experience, she specializes in photography content that’s both technically informed and genuinely passionate. Growing up with a photographer twin brother meant camera talk was everyday conversation in her household. While he mastered capturing moments, Darlene discovered she preferred being the subject and the storyteller behind the scenes. As a travel enthusiast and mother of two, she understands the importance of preserving life’s precious moments. When not exploring new destinations or writing for DIY Photography, you’ll find her reading or tending to her garden. Her approach to photography writing is refreshingly authentic, she may not be behind the camera, but she knows exactly what it takes to help others capture the shots that matter most.


Join the Discussion
DIYP Comment Policy
Be nice, be on-topic, no personal information or flames.