
















Use These Camera Settings to Nail Your Landscape Photos, A Beginner’s Guide
Jul 14, 2025
Alex Baker
Alex Baker is a portrait and lifestyle driven photographer based in Valencia, Spain. She works on a range of projects from commercial to fine art and has had work featured in publications such as The Daily Mail, Conde Nast Traveller and El Mundo, and has exhibited work across Europe
Share:

Modern digital cameras are an absolute dream. In many ways, they have more in common with computers than old film cameras, and it’s very easy to rely on the automatic settings. However, if you want to take maximum creative control of your camera and create beautiful landscape photographs, understanding some camera basics and manual settings will set you up for success.
Obviously, your camera settings will vary depending on the light, the scene, and what you’re trying to achieve. However, there are a few starting points to help that are applicable for most situations. Of course, like with everything photography, once you learn the rules, you can start to break them! Here’s a rough guide to help you get started.
Understanding the Basics: Aperture, Shutter Speed, and ISO
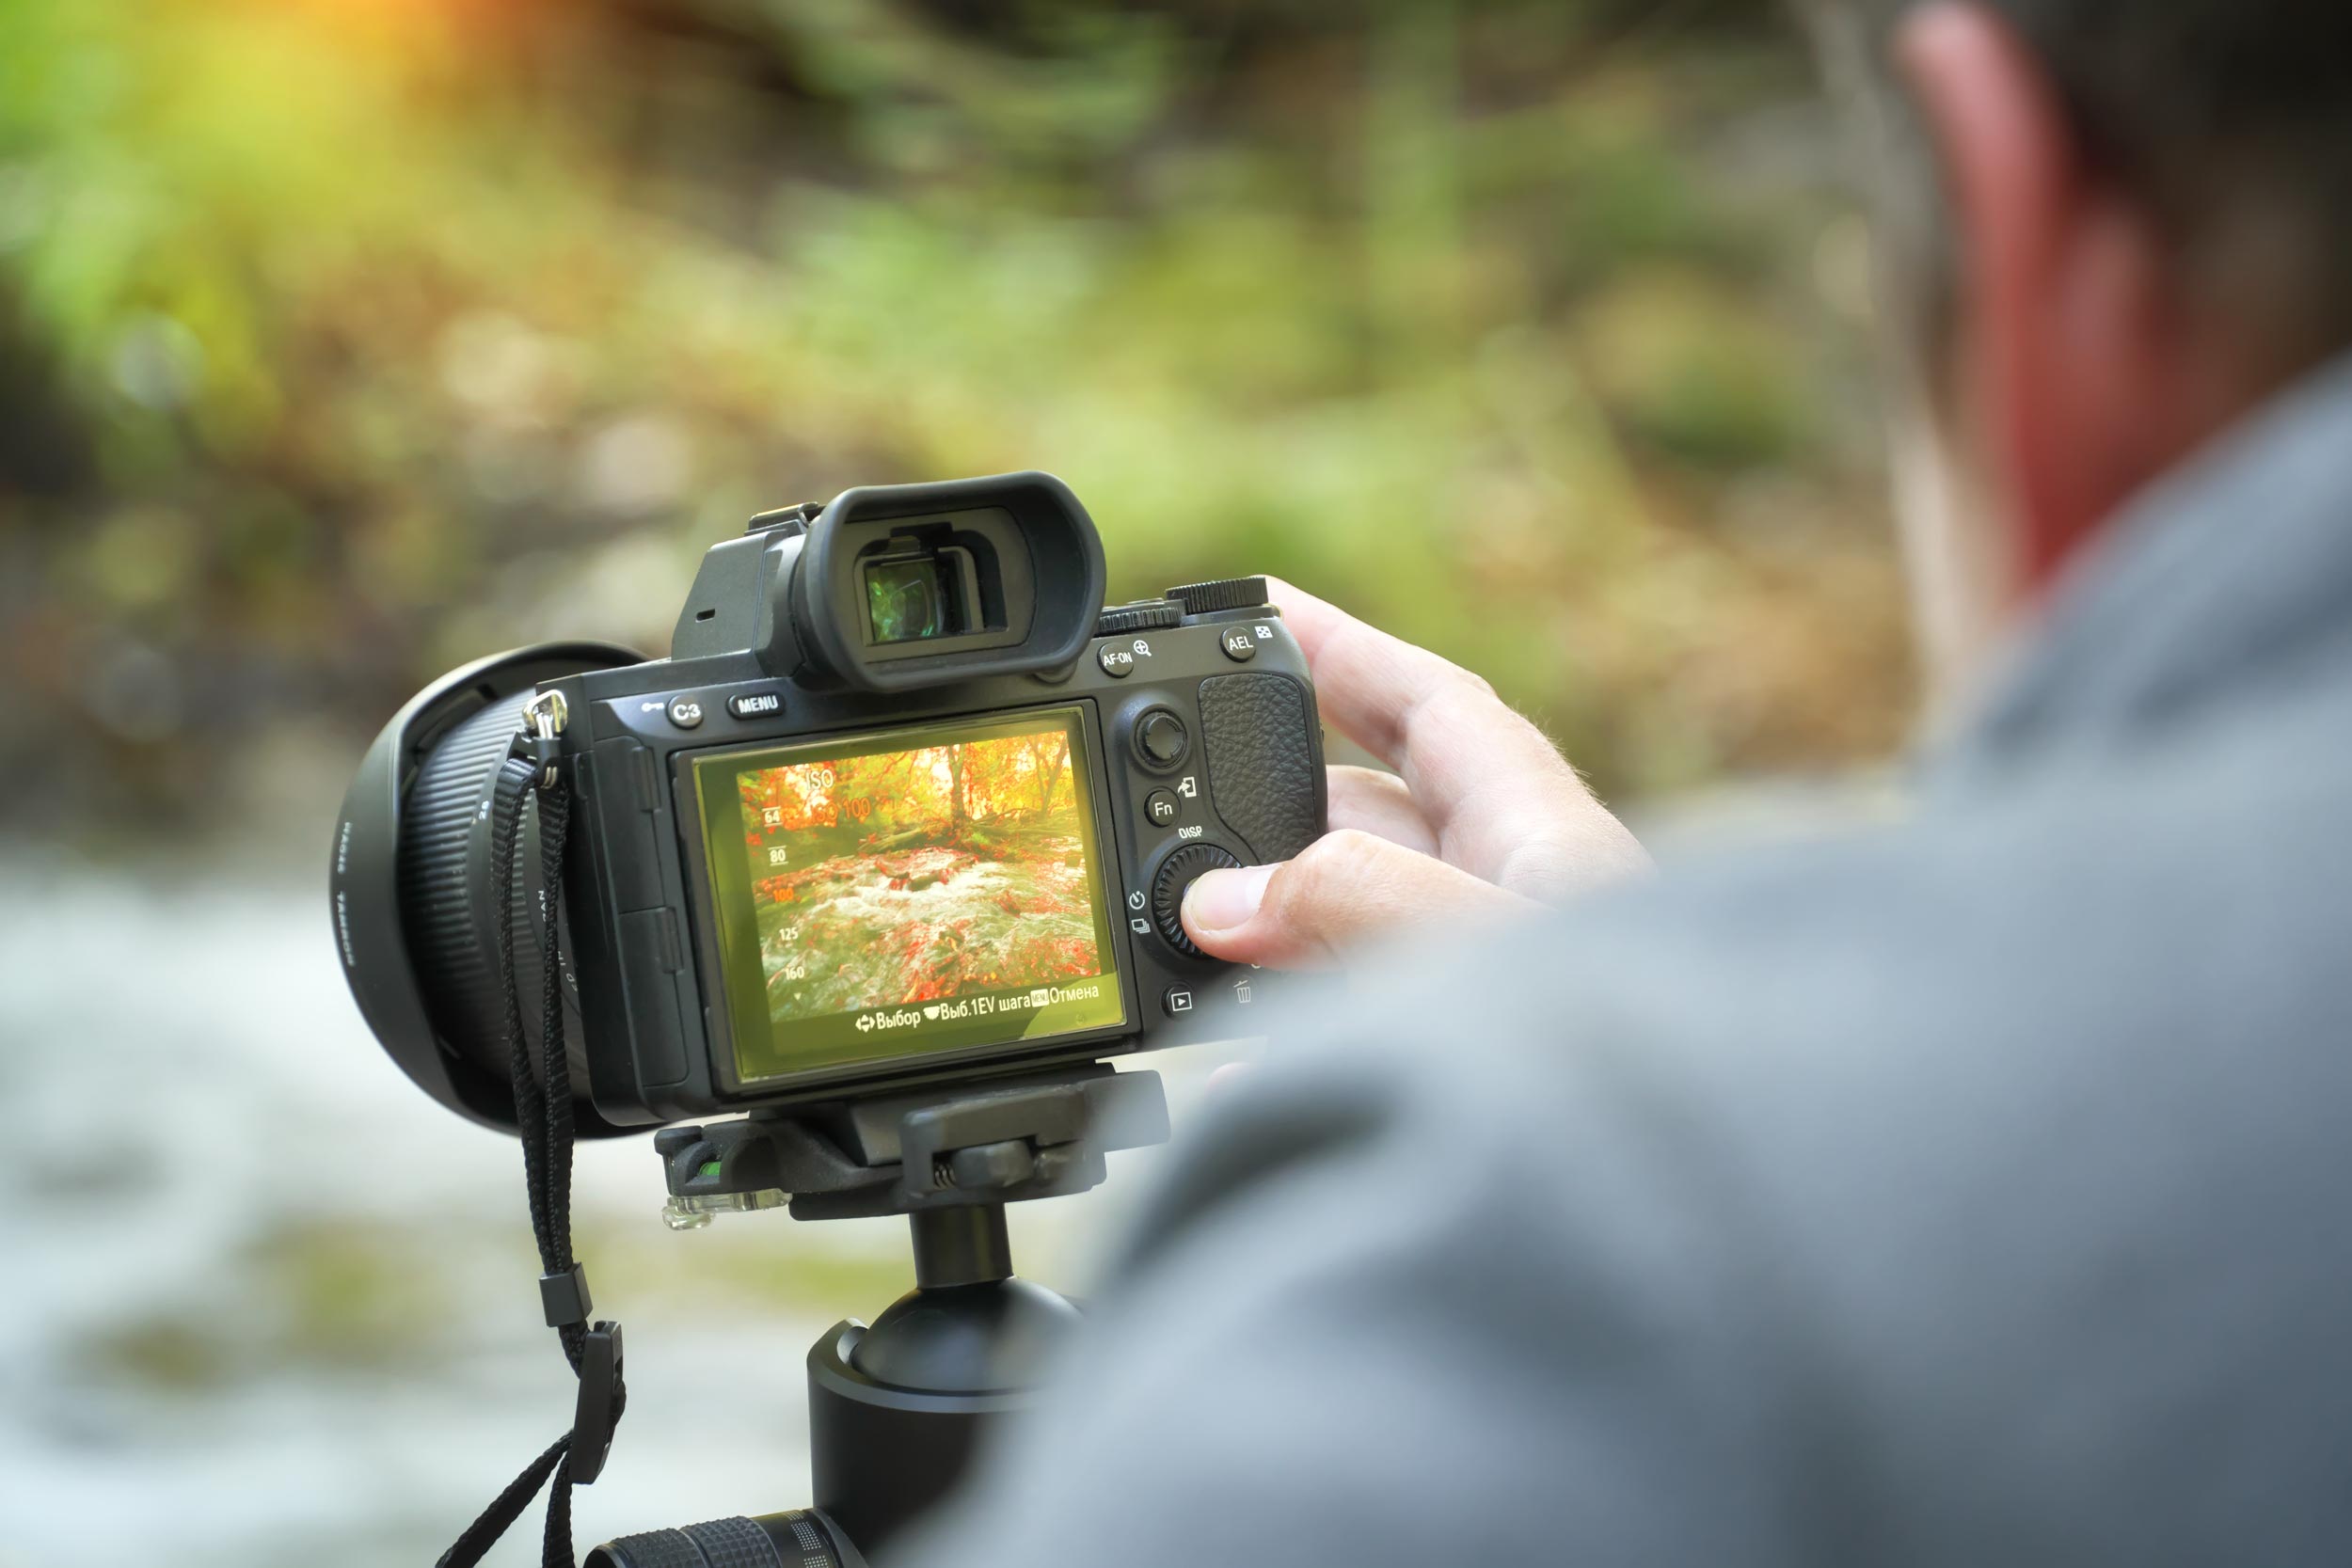
To get started on the road to shooting with more advanced settings, you need to understand the Exposure Triangle and the relationship between aperture, shutter speed and ISO and how they affect your photo. Between these three parameters, you can control the exposure or brightness of the image. However, they also affect other aspects of the image as well.
Aperture: Controlling Depth of Field
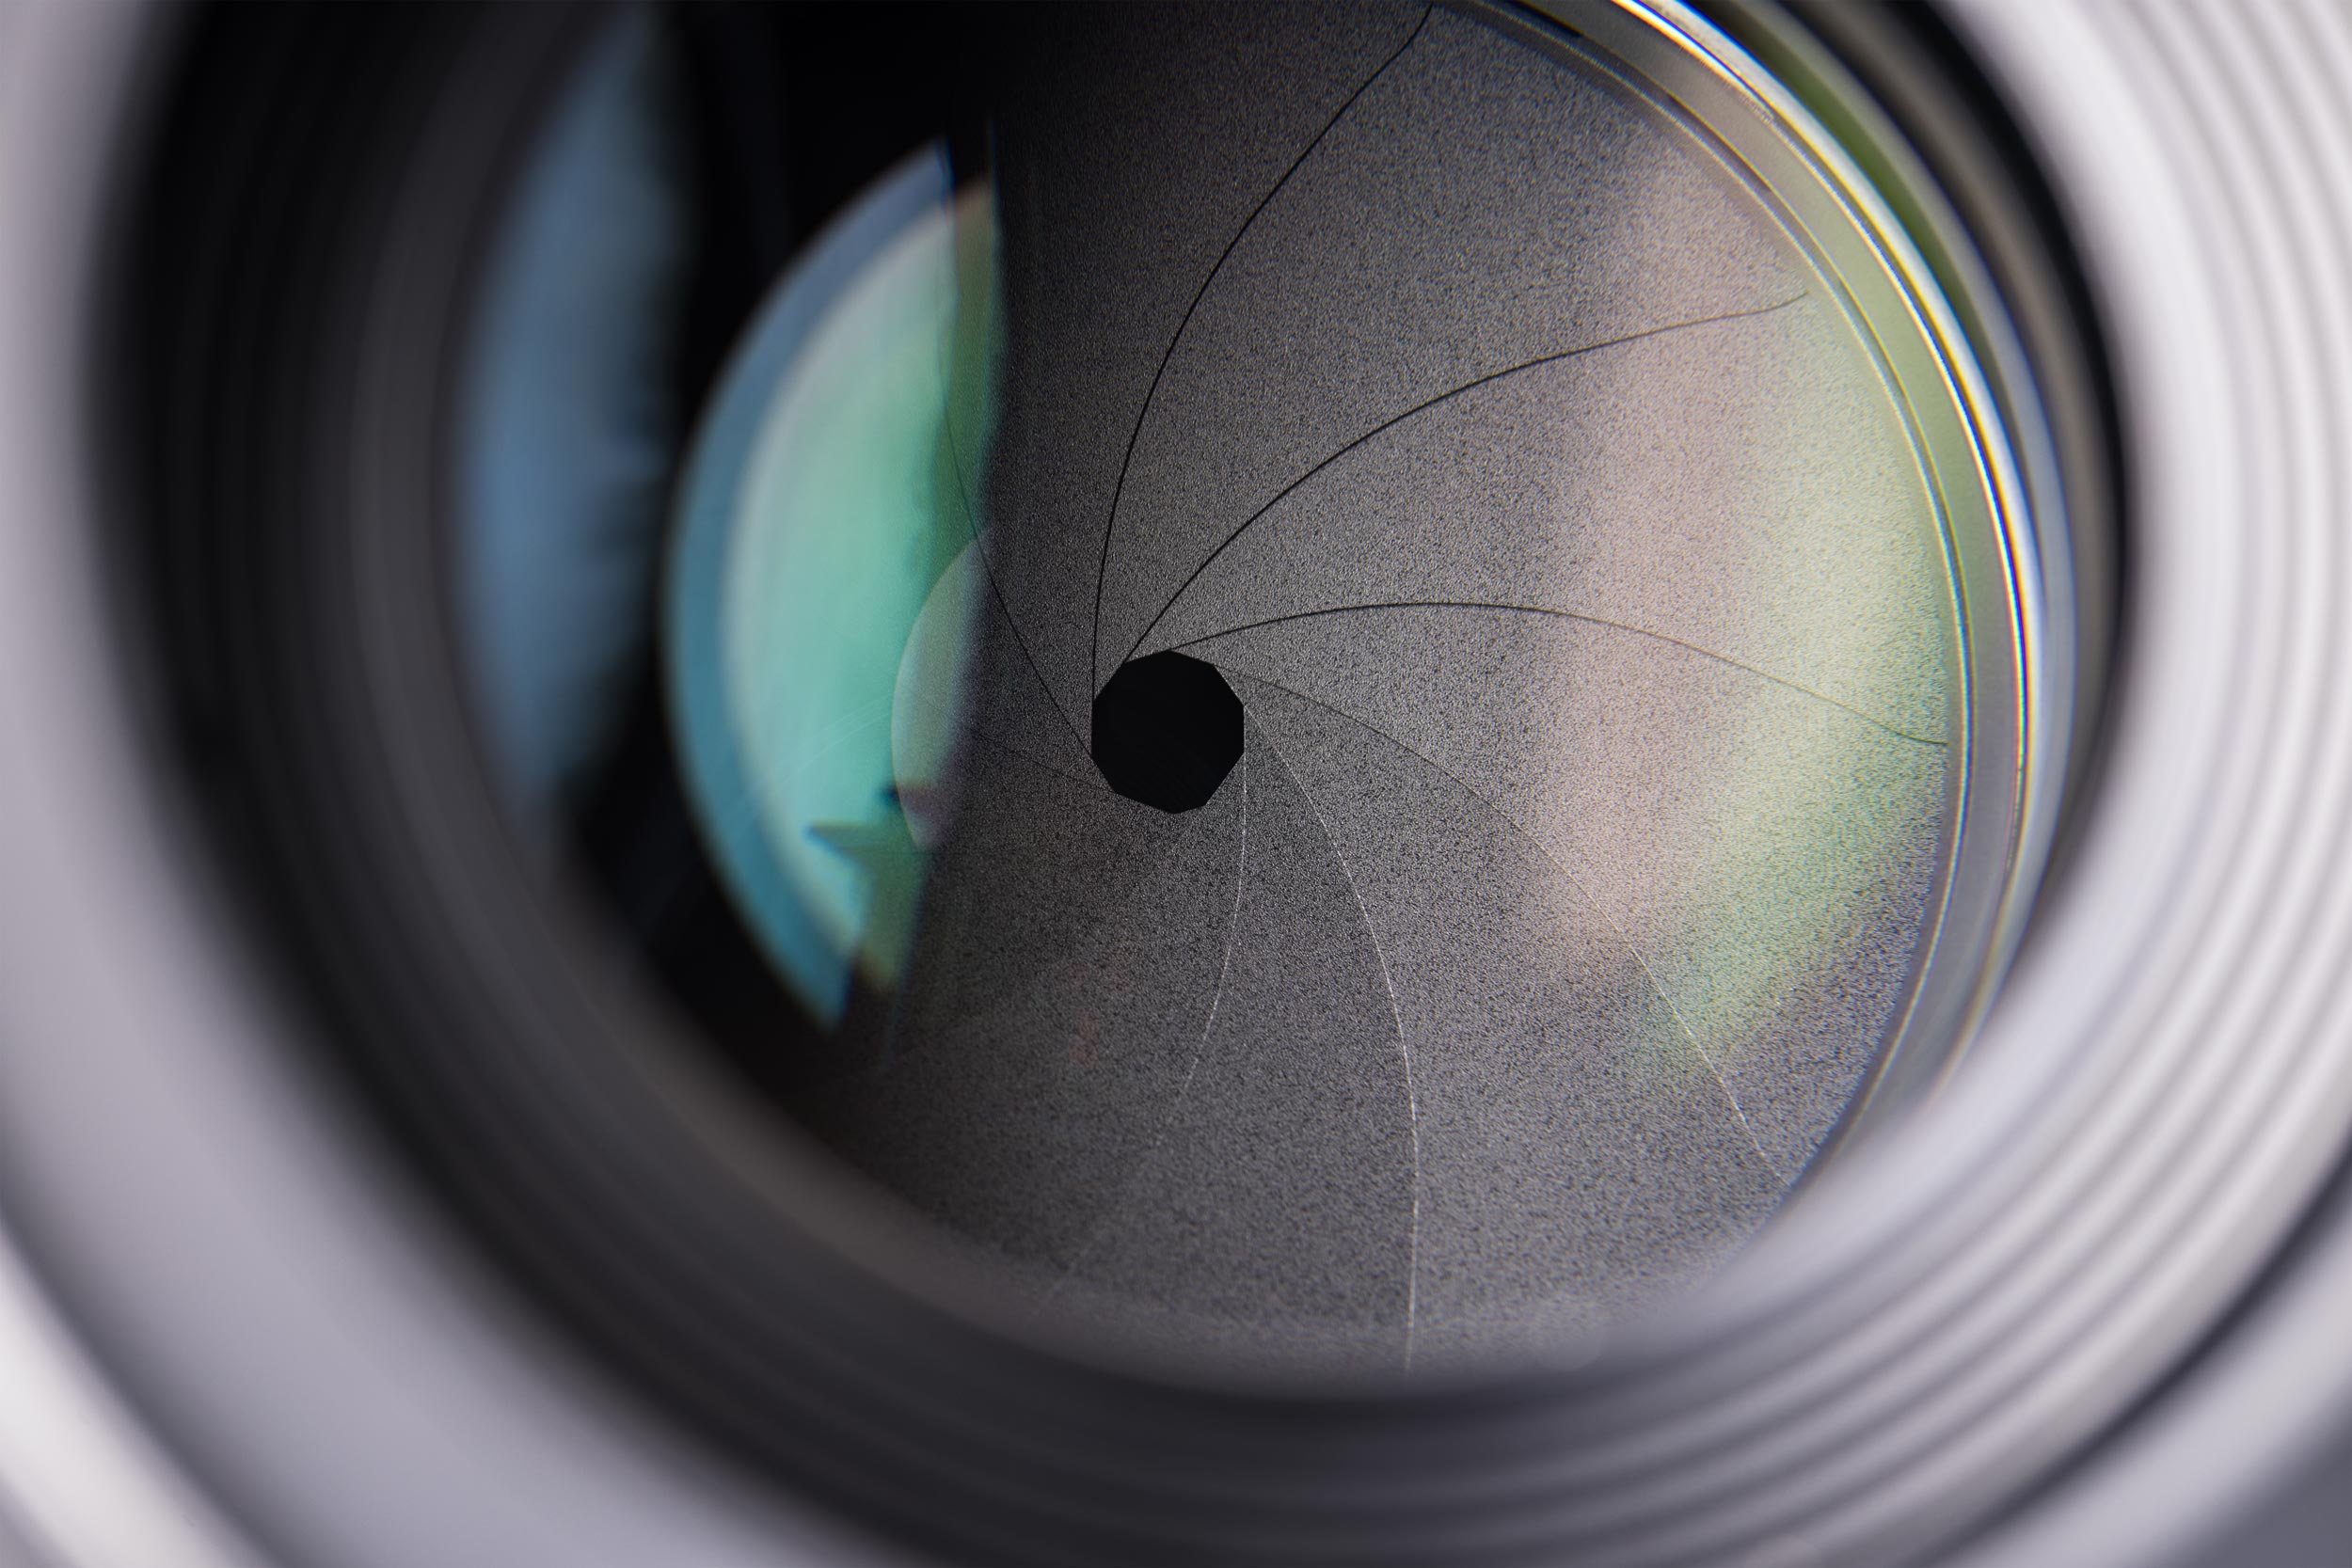
In landscape photography, you usually want everything in the scene to be in focus, from the flowers in the foreground to the mountains in the distance. That’s where aperture comes in. Landscape photographers often use aperture priority mode to lock in their desired depth of field and let the camera choose the shutter speed.
This is a great way to take advantage of a sort of ‘semi-auto’ mode on your camera. You get to make creative decisions while at the same time relying on your camera to figure out the rest.
- What it is: Aperture refers to the size of the opening in your lens. It’s measured in f-stops (like f/4, f/8, f/16).
- Why it matters: A higher f-stop number (like f/11 or f/16) means a smaller opening, which gives you greater depth of field, ie, more of your image will be sharp front to back.
- When to adjust: If you’re photographing a wide vista and want maximum detail, shoot around f/8 to f/16. Just watch out for diffraction (a slight loss of sharpness) at very high f-stops like f/22.
Shutter Speed: Freezing or Embracing Motion
While landscapes are generally still, there are often moving elements, such as waterfalls, clouds, or grass blowing in the wind. You can choose to either freeze this motion or blur it creatively using longer shutter speeds.
- What it is: Shutter speed controls how long the camera’s sensor is exposed to light.
- Why it matters: A faster shutter speed (like 1/250 or faster) freezes motion. A slower speed (1/4, 2s, 10s) can create dreamy motion blur, perfect for smooth water or soft skies.
- When to adjust: Use slower shutter speeds for long exposures and artistic effects (you’ll need a tripod). Use faster speeds in windy conditions to avoid blurry foliage or to freeze action.
- Use an ND filter: If you want to shoot long exposures but have already stopped down to f/16 at ISO 100, you may need to use an ND filter so that you don’t overexpose the image. You will also need to use a tripod.
ISO: Keeping Your Image Clean
ISO affects your camera’s sensitivity to light, and in landscape photography, you generally want the lowest ISO possible for the best image quality. That being said, don’t be afraid to push up the ISO when you have to. Modern mirrorless cameras can manage fairly high ISOs without excessive noise, and noise removal software is excellent these days. I would always pick a noisy image over a blurry one!
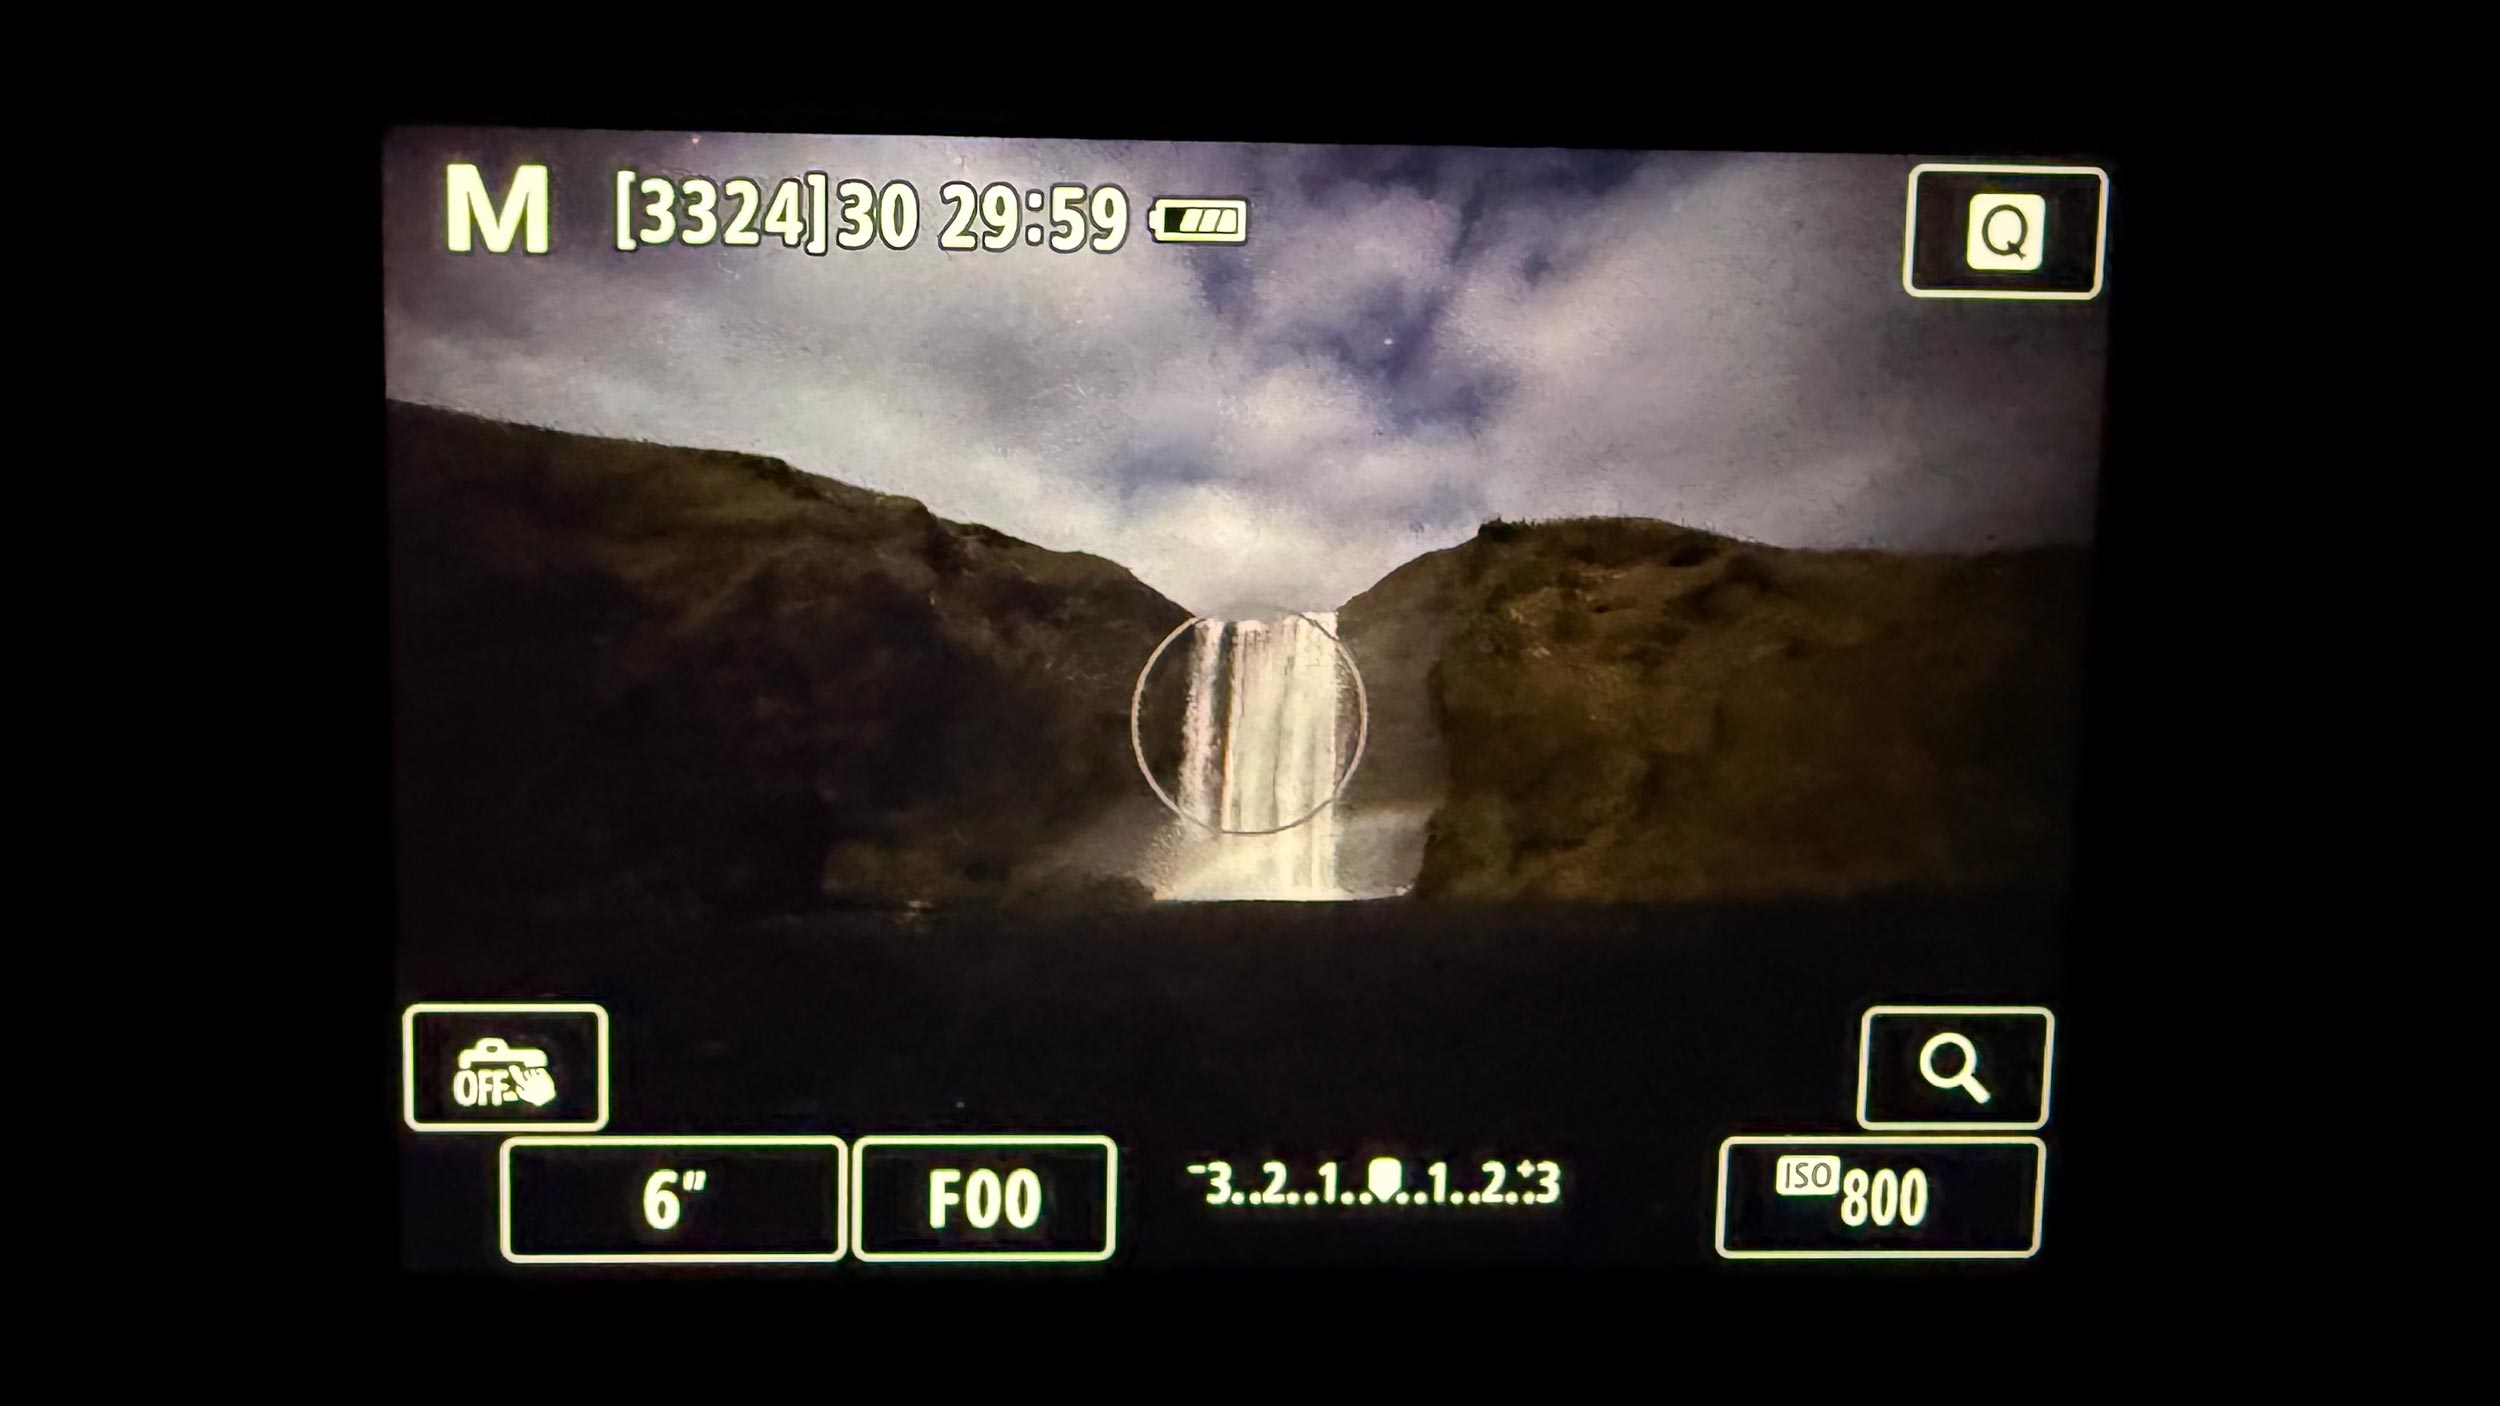
- What it is: ISO controls how sensitive your sensor is to light. Low numbers (ISO 100–200) = less sensitivity, but cleaner (less noisy) images.
- Why it matters: Higher ISO settings introduce digital noise, which can reduce detail, especially noticeable in skies, shadows, or fine textures.
- When to adjust: Use the lowest ISO whenever possible. Only raise it if you’re shooting handheld in low light and can’t slow the shutter speed without introducing blur.
Why Aperture Matters More in Landscape Photography
In landscape photography, aperture is arguably your most important setting. It controls how much of your scene is in focus from front to back. This can be surprisingly tricky when you’re photographing both foreground wildflowers and mountains in the background, for example.
Choose a Small(ish) Aperture for Maximum Sharpness
- A small aperture (which means a higher f-stop number, like f/8, f/11, or f/16) creates a deeper depth of field, so more of the scene is in focus from front to back.
- This is especially helpful when you want foreground interest (like rocks or a log) along with a sharp background (like a mountain range or lake).
- Find the Sweet Spot: Most lenses have an optimal sharpness around f/8 to f/11, sharp enough for deep focus, but not so small that image quality suffers (more on that next).
Trade-Offs: Diffraction and Low Light
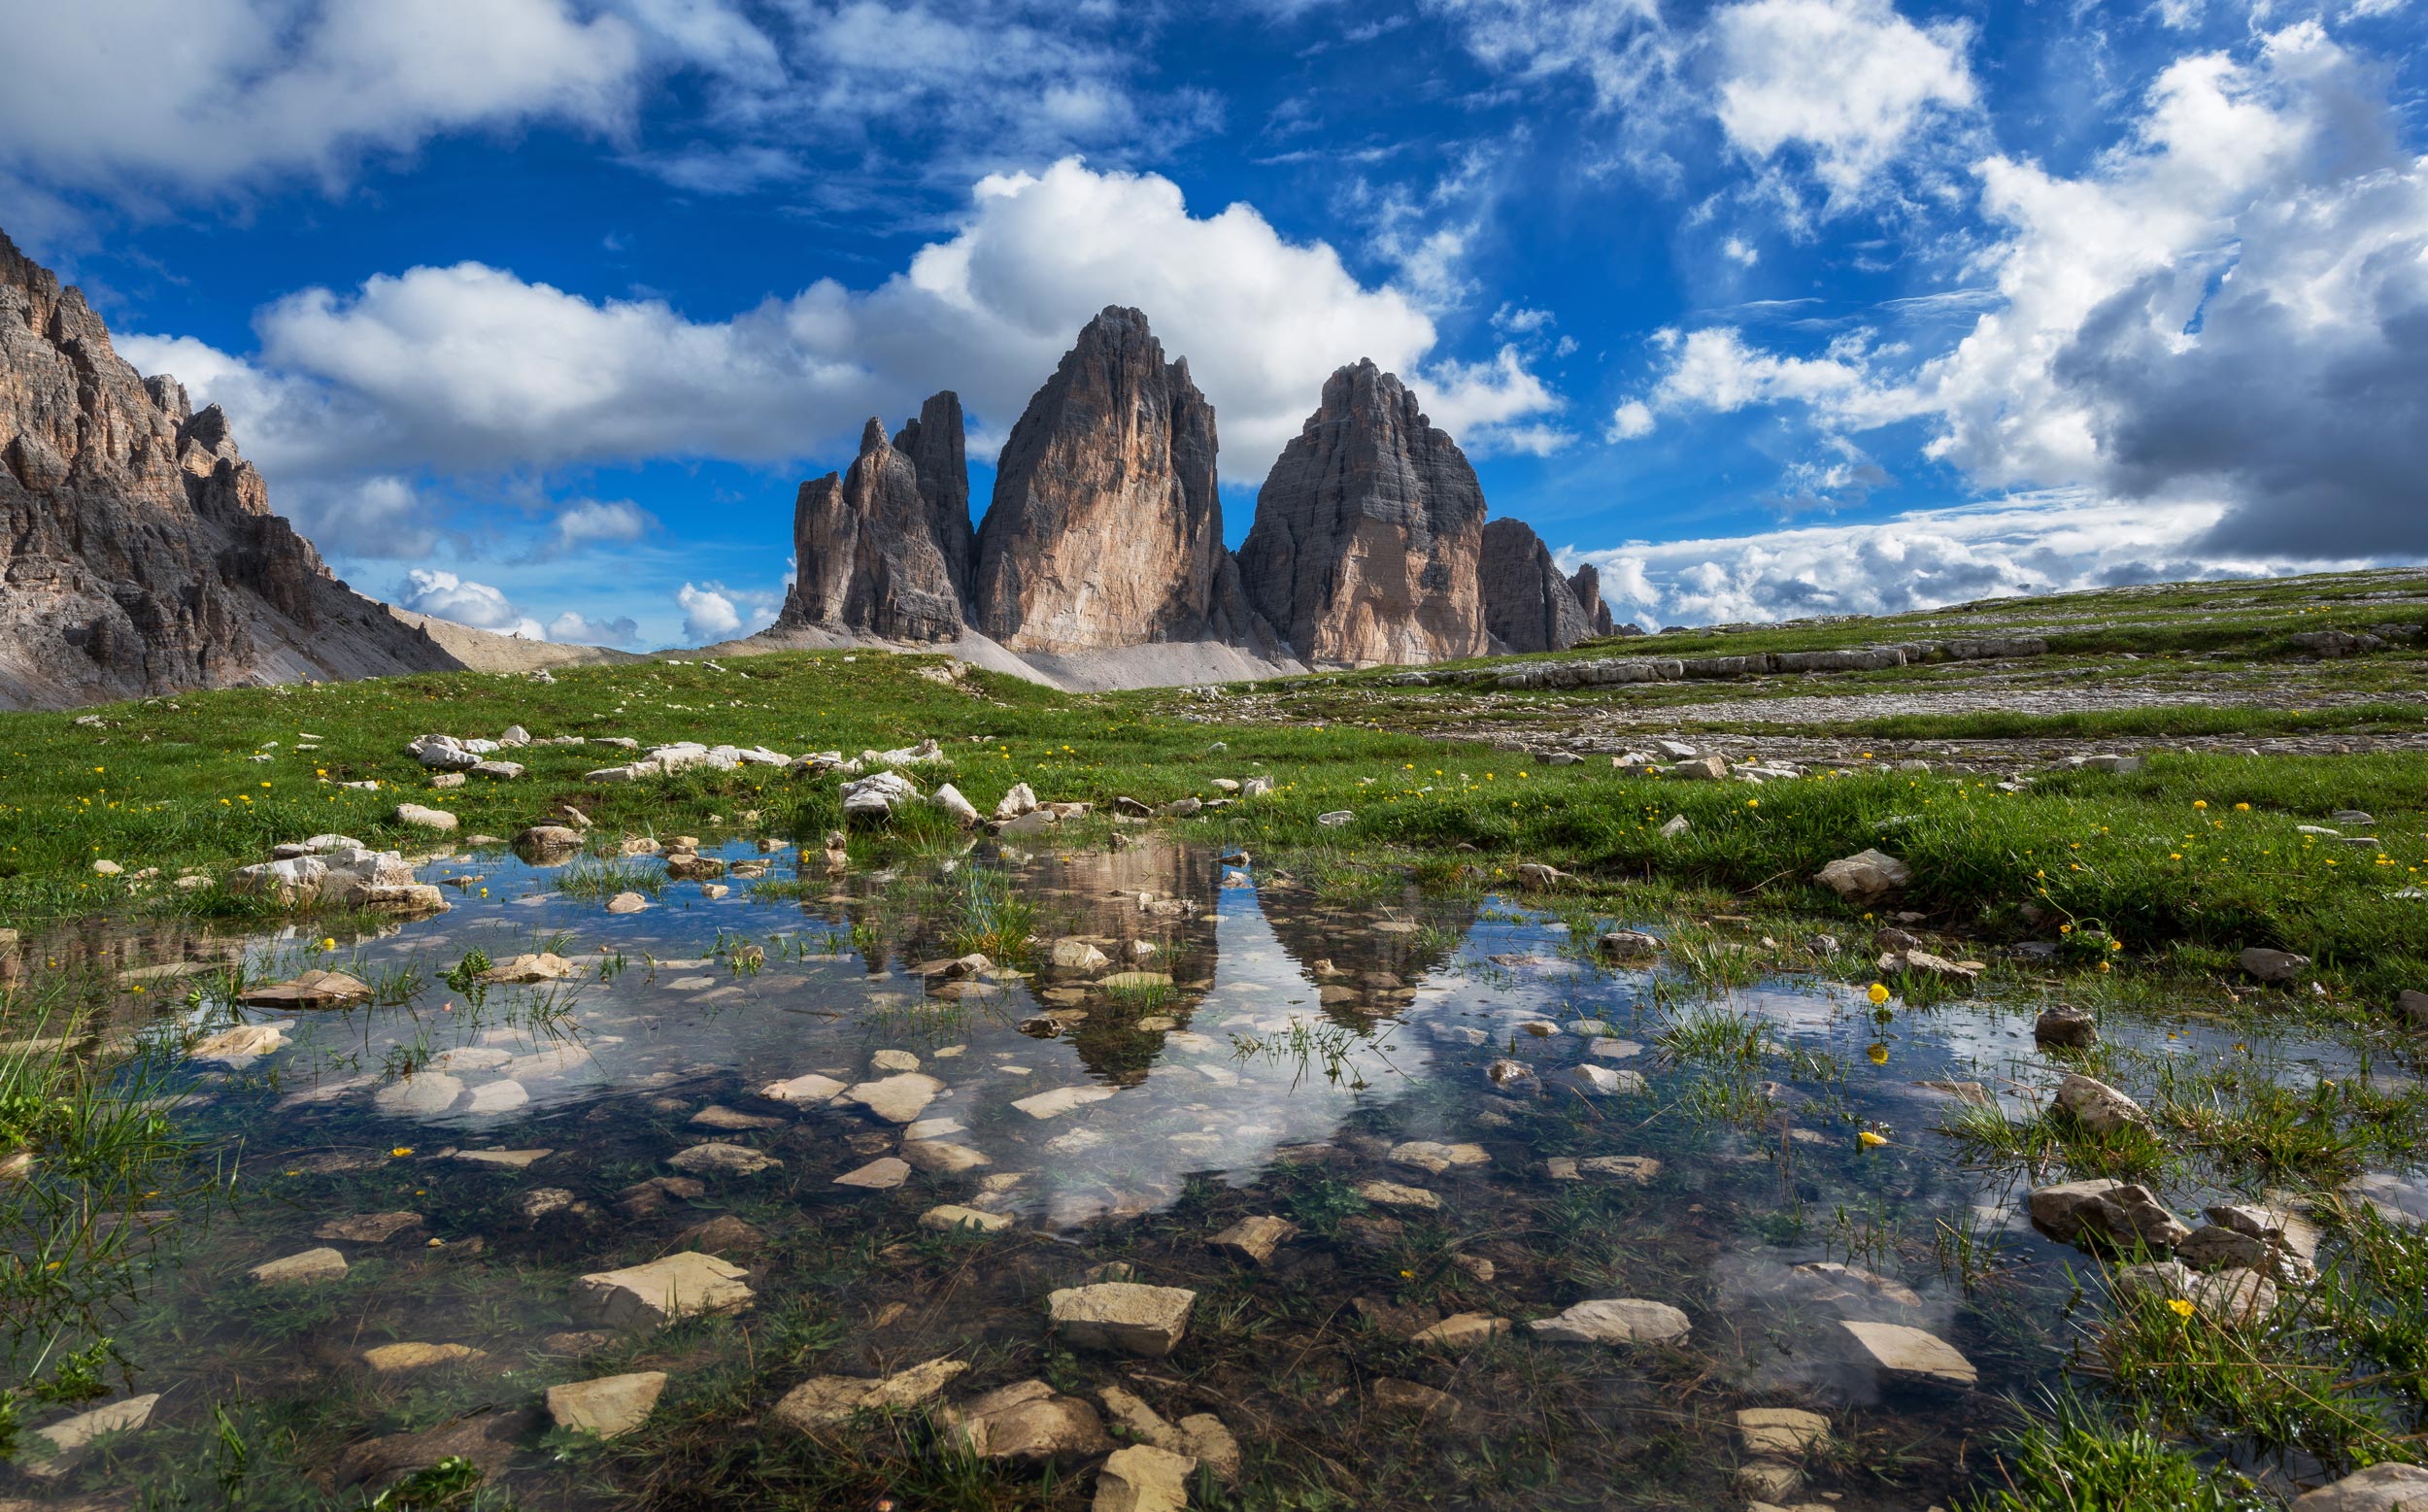
One thing you have to bear in mind if you’re looking for maximum sharpness is lens diffraction. In ultra-simplified terms, diffraction is where the light bends as it enters the lens and interferes with one another. This happens more often at smaller apertures and results in soft images.
Diffraction is, unfortunately, just a fact of life, and obviously, the more pricey the lens, the less noticeable (usually). However, there’s never zero diffraction. The sweetspot for most lenses is around two stops in from the widest aperture, usually ranging from f/5.6 up to around f/11.
Diffraction at Very Small Apertures (e.g., f/22+)
- When you stop down too far (say f/22 or smaller), your images can actually get softer, not sharper. That’s due to diffraction, a bending of light that reduces clarity.
- Use f/16 or f/22 only when absolutely necessary, for example, when you need maximum depth of field and your lens performs well at that aperture.
Low Light Limitations
- A smaller aperture lets in less light, which means you’ll either need:
- A slower shutter speed (risking motion blur if handheld), or
- A higher ISO (introducing noise), or
- A tripod (best option for sharpness and flexibility).
- This is why most landscape photographers always carry a tripod. It lets you use the aperture you want without sacrificing image quality.
Using Aperture to Control Depth of Field
Even though you often want everything in focus, sometimes a creative use of depth of field can enhance your landscape.
- Shooting at f/4 or wider can isolate a subject in the foreground by blurring out the background which can be useful in woodland or macro-style landscape shots.
- Shooting at f/8–f/11 keeps everything from a few feet in front of the camera to infinity in sharp focus.
Combine a small aperture with the right focal point (or even hyperfocal focusing) to make sure your whole image is sharp (more on that in the focus section).

When Should You Use Manual Mode Over Aperture Priority?
Aperture Priority mode is a fantastic starting point for most landscape photographers. It gives you control over your depth of field while letting the camera handle shutter speed (and ISO). But there are times when switching to full Manual mode will give you better results.
Here’s when you should consider using Manual Mode instead of Aperture Priority:
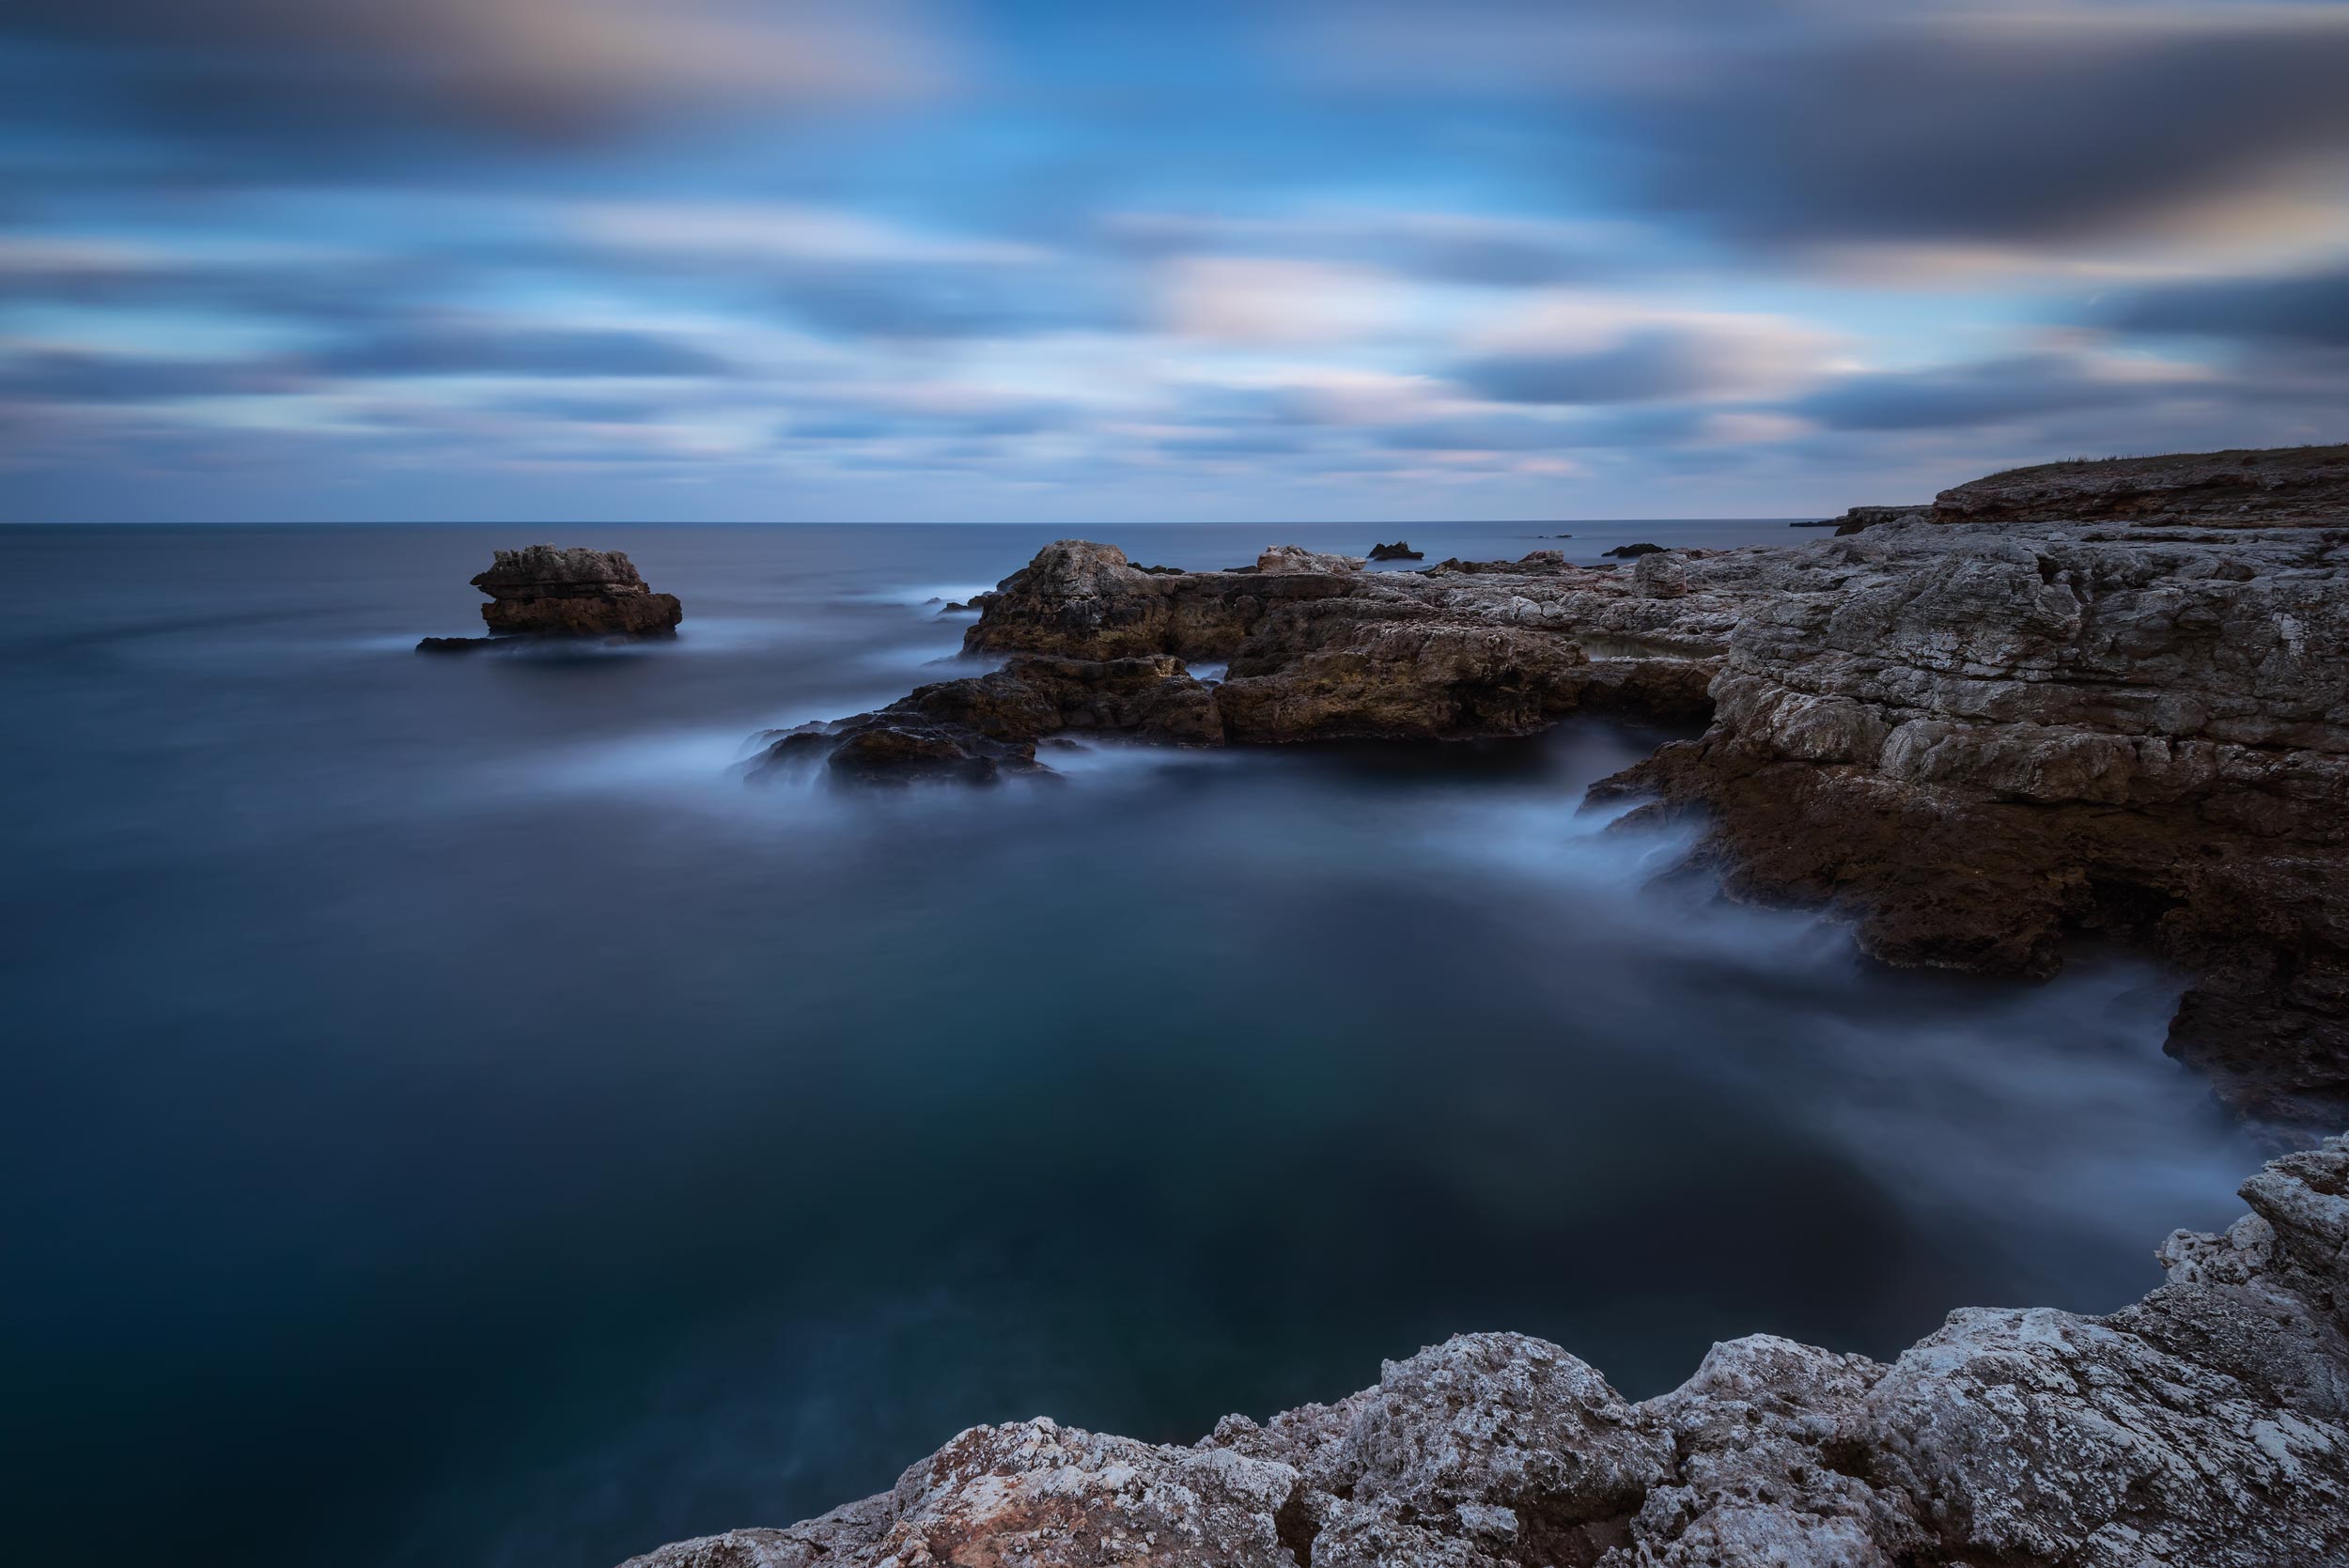
1. You’re Shooting Long Exposures
If you’re photographing moving water, clouds, light trails, or night skies, you’ll want to manually set a slow shutter speed (e.g., several seconds or minutes). Aperture Priority won’t give you that level of control, your camera will try to pick a “normal” exposure, often ruining the effect you’re going for.
Alternatively, you could use Shutter Priority mode instead, and let your camera decide the f-stop. However, then you don’t have control over the depth of field.
2. You Need Consistent Exposure Across Multiple Shots
When you’re shooting a panorama, HDR bracket, or time-lapse, even slight changes in shutter speed between frames can mess things up. Manual mode locks in all settings so that every image is identical in exposure.
3. The Camera Is Being Tricked by the Light
If your scene has very bright or very dark areas (like snow, sunsets, or backlit mountains), your camera might miscalculate exposure in Aperture Priority. Manual mode lets you override that guesswork and expose exactly how you want. For example, sunset scenes often fool the meter into underexposing the foreground. In Manual mode, you can keep the highlights under control while brightening the shadows later.
4. You’re Shooting at Night or in Very Low Light
Night photography, like astro, Milky Way, or cityscapes, almost always requires Manual mode. You’ll be working with slow shutter speeds, wide apertures, and high ISOs. The camera’s meter usually fails in near-darkness.

5. You Want Full Creative Control
Manual mode gives you the freedom to balance aperture, shutter speed, and ISO your way. It’s perfect when you have a specific look in mind, like intentional motion blur or a very specific exposure, especially when you’re shooting from a tripod and have time to experiment.
Focusing Tips: Using Hyperfocal Distance for Maximum Sharpness
Getting perfectly sharp focus from front to back is one of the hallmarks of great landscape photography. That’s where understanding hyperfocal distance comes in. It can sound intimidating but don’t worry, it’s not as tricky as it sounds.

What is Hyperfocal Distance?
Hyperfocal distance is the closest point you can focus on, where everything from half that distance to infinity still appears acceptably sharp.
Put simply: If you focus at the hyperfocal distance, your photo will have the maximum depth of field possible for your chosen aperture and lens.
This is especially useful in landscapes where you want the foreground, midground, and background to all be in focus, without having to focus stack multiple images.
Example:
Using a 24mm lens at f/11, your hyperfocal distance might be around 1.5 meters. That means if you focus about 1.5m in front of you, everything from 0.75m to infinity will appear sharp.
How to Calculate or Find Hyperfocal Distance
If you don’t fancy doing the maths in the field, there are some tools and shortcuts to help:
Apps like PhotoPills or DOFMaster
- PhotoPills even includes an AR view, so you can literally “see” where to focus in the scene.
- These apps let you plug in your camera model, focal length, and aperture, and they’ll calculate your hyperfocal distance instantly.
Printed Charts or Cheat Sheets
- You can download and print hyperfocal distance charts specific to your camera and lens setup.
- Stick one in your camera bag and you’re good to go without a phone.
The Rule of Thirds Trick (Rough Guide)
- If you’re caught without tools: Focus about one-third into the scene (from foreground to background).
- It’s not perfect, but it’s often close enough for most wide-angle shots at f/8–f/11.
Practical Tips for Focusing Landscapes
Now that you understand what hyperfocal distance is, here’s how to actually nail focus in the field:
Use Live View Zoom
- Switch to Live View mode on your LCD screen.
- Zoom in digitally (not with the lens!) and manually focus on the exact hyperfocal spot.
- This gives you far more accuracy than the viewfinder.
Use Manual Focus for Precision
- Autofocus can sometimes pick the wrong point, especially if your foreground doesn’t have clear contrast.
- Switch to manual focus and double-check with Live View to get it spot on.
Use Focus Peaking (if available)
- Some cameras offer a feature that highlights the areas in focus, which is super helpful when using manual focus.
Check Sharpness After the Shot
- Always zoom in on your shot and check that both foreground and background are sharp.
- If not, refocus slightly or consider focus stacking (covered in advanced techniques).
When Not to Use Hyperfocal Distance
- If your scene has no strong foreground, it might make more sense to just focus at infinity.
- If you’re shooting with a telephoto lens, hyperfocal distance becomes harder to manage. Focusing on your subject directly is often more reliable.
Shoot in RAW Format
It sounds obvious, but if you’re serious about landscape photography, one of the first upgrades you can make isn’t a new lens, it’s switching your camera from JPEG to RAW. It’s a small setting with a huge impact on the quality and flexibility of your images. A RAW file retains much more information than a compressed Jpeg file, allowing you to make a lot more changes in post, without losing image quality.
Benefits of RAW Over JPEG
RAW files are often described as digital negatives. They capture all the data your camera’s sensor sees, without compressing or processing it like JPEGs do.
Here’s why that matters:
- More Editing Flexibility
RAW files give you far more leeway when adjusting exposure, contrast, white balance, and shadows/highlights in post-processing. You can fix mistakes without ruining image quality. - Better Exposure Recovery
If you accidentally overexposed the sky or lost detail in the shadows, RAW gives you a better chance of bringing those details back in editing without introducing noise or artefacts. - More Accurate Colour Adjustments
Landscape scenes often rely on rich, subtle tones, like sunsets, blue skies, green forests. With RAW, you can fine-tune those tones more precisely than JPEGs allow.
File Size and Workflow Considerations
There are a few trade-offs to shooting in RAW, but most are worth it if image quality is your priority.
- RAW files are larger
Expect each image to take up 2–5x more space than a JPEG. If storage is limited, you’ll need extra memory cards and hard drive space. - RAW files require post-processing
Unlike JPEGs, which are ready to share out of the camera, RAW files need to be edited in programs like Lightroom, Photoshop, or Luminar Neo. This adds an extra step to your workflow, but it’s where the real magic happens. - Not all platforms accept RAWs
You’ll need to export your edited RAWs as JPEGs (or other formats) for sharing online or printing.
Pro tip:
If you’re not ready to go full RAW, many cameras offer RAW+JPEG mode, saving both file types so you have a ready-to-share image and a high-quality version for editing later. Of course, this then takes up even more memory space, but at times it’s worth shooting Jpegs. For instance if you’re shooting a long timelapse sequence.
How to Set Your Camera to Shoot RAW
Switching to RAW is quick and easy. Here’s how to do it on most cameras:
- Go to your camera’s main menu
- Look for a setting called Image Quality, File Format, or something similar
- Select RAW or RAW + JPEG
- Hit OK or Apply, and you’re done
Bonus tip:
If you’re using a smartphone with a pro camera app (like Adobe Lightroom Mobile or Halide), you can often enable RAW shooting there too.
Camera Settings by Subject Matter
Different landscapes pose different technical and creative challenges. The right camera settings can help you capture the scene as you envisioned it. Here’s how to approach common types of landscape photography, with settings that balance sharpness, exposure, and artistic intent.
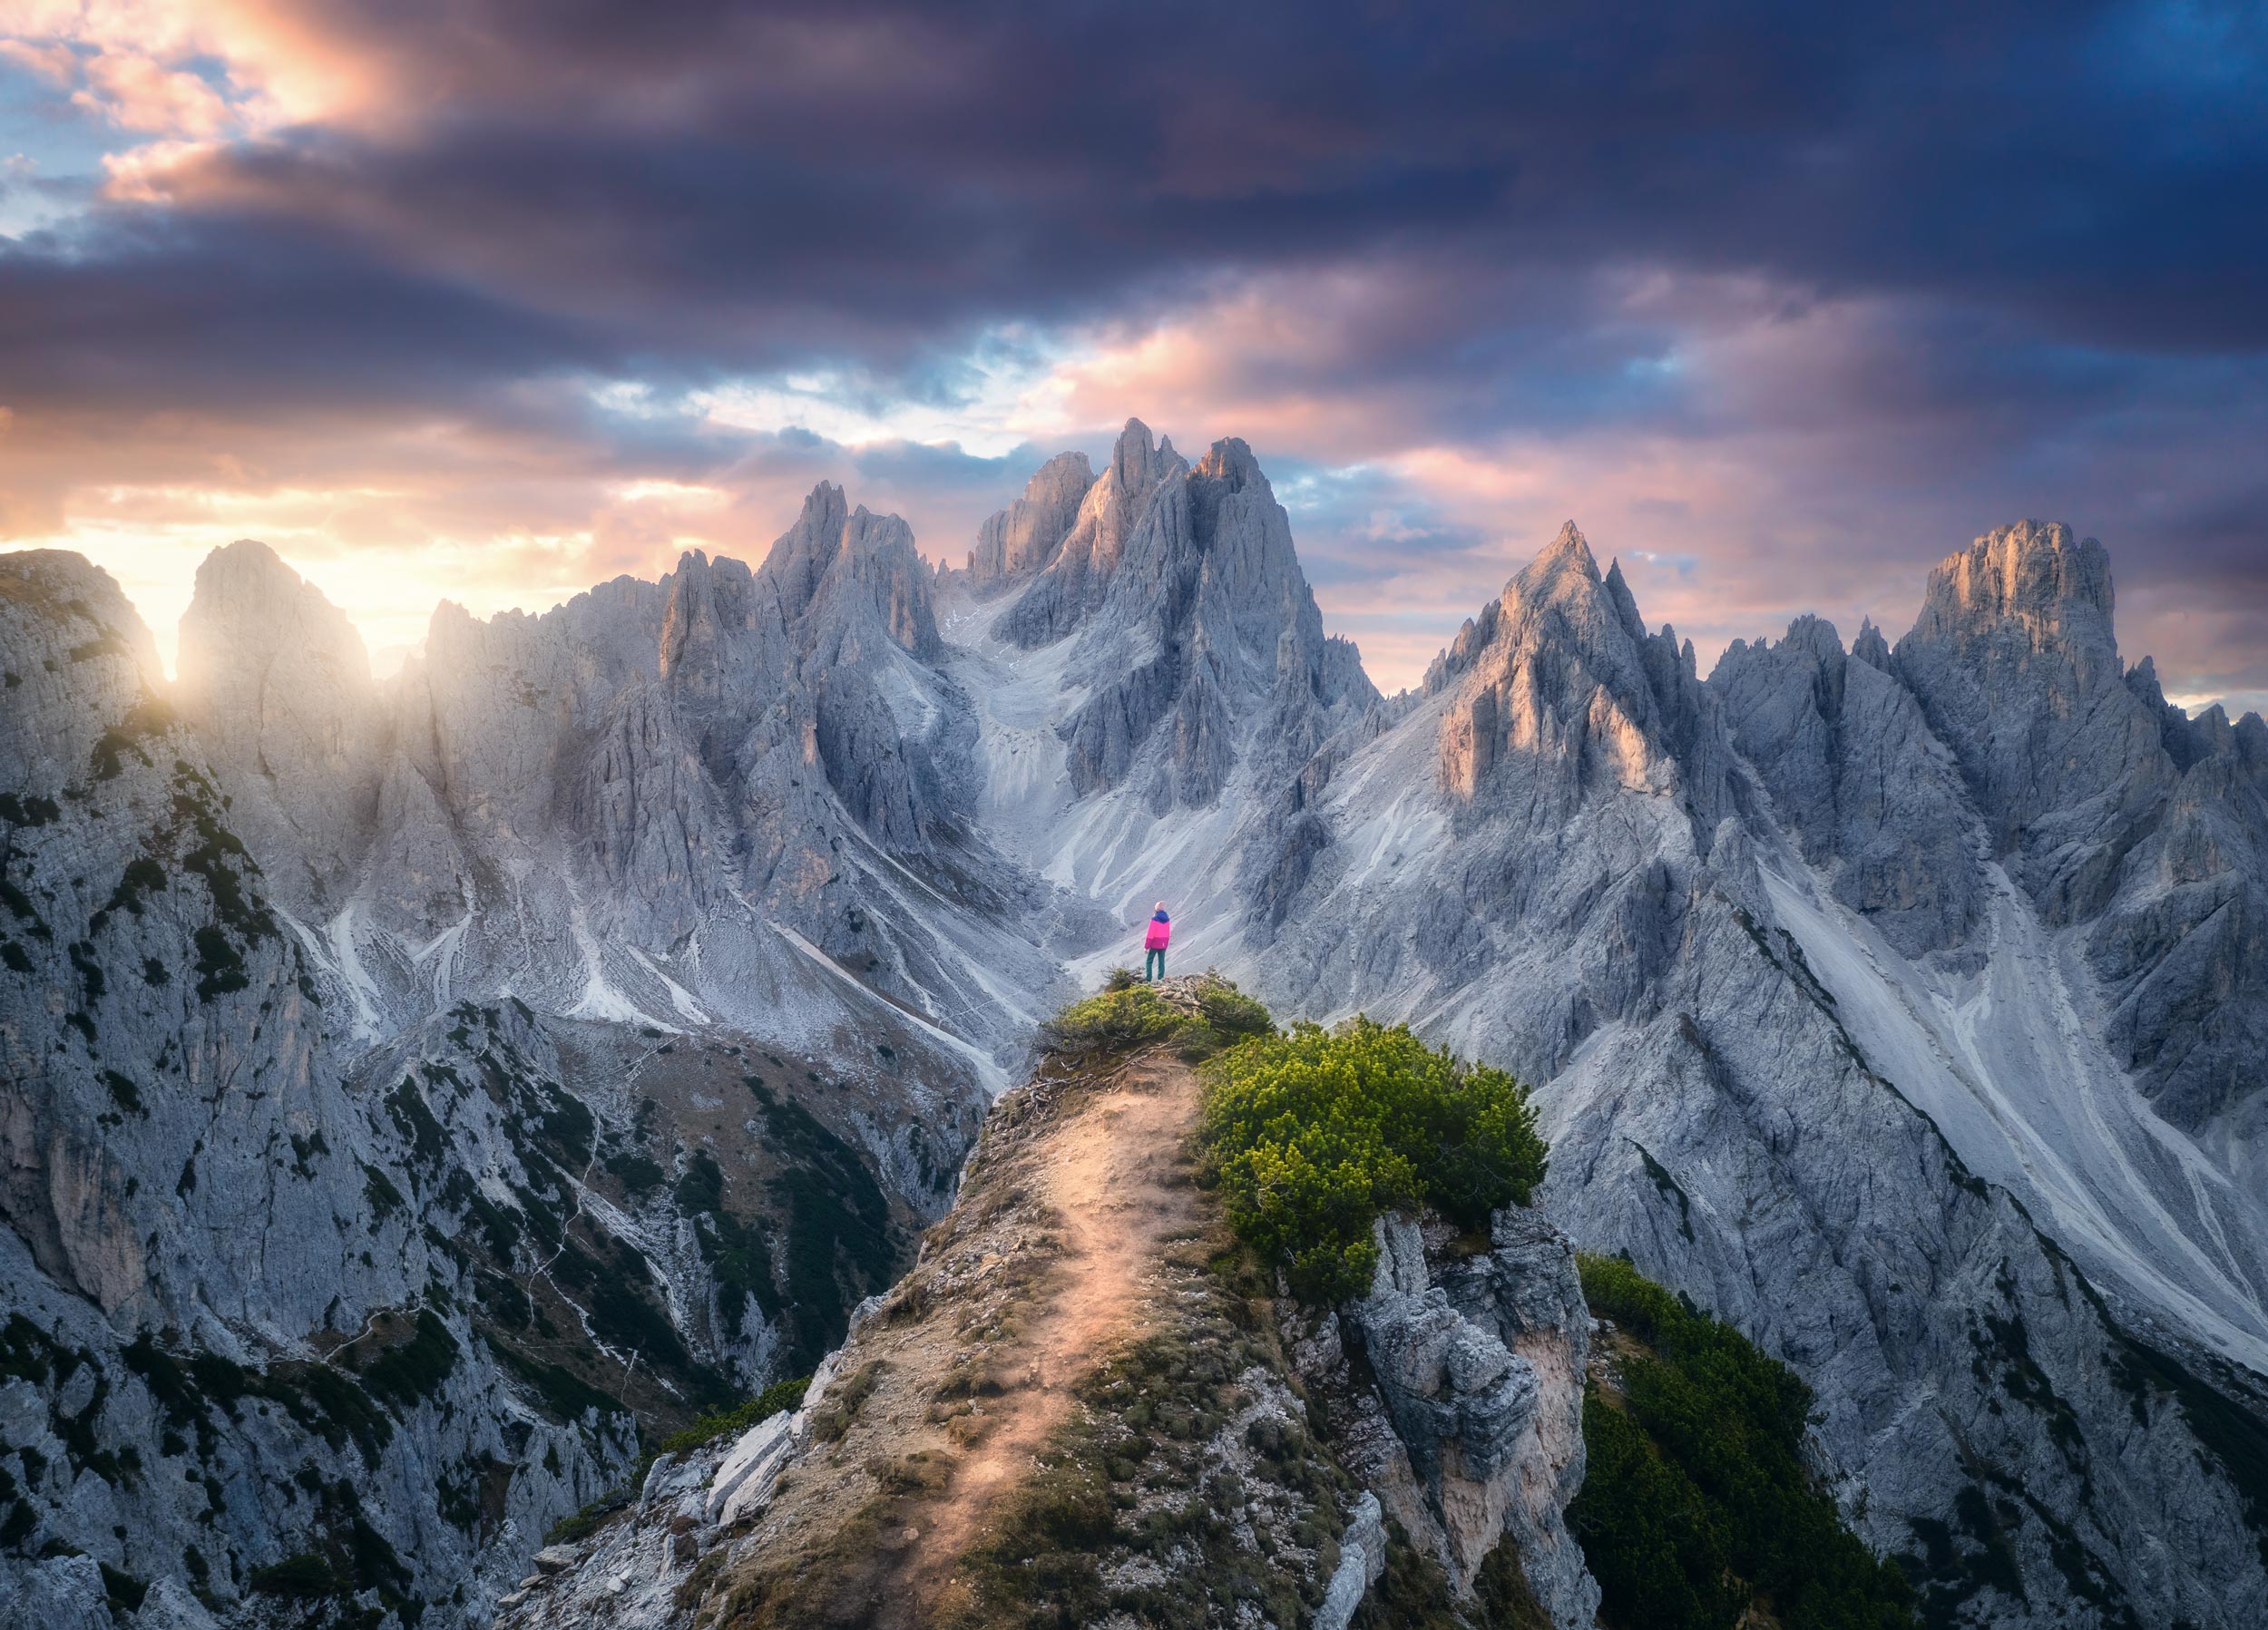
Mountains and Wide Vistas
What You’re Capturing:
Grand, sweeping views with lots of detail, from nearby rocks to distant peaks. You want everything in the frame, from the rock at your feet to the clouds in the distance, to be sharp. A smaller aperture and low ISO are key.
Recommended Settings:
- Aperture: f/8–f/16 for deep depth of field, so everything stays sharp.
- ISO: 100 (or the lowest native ISO your camera supports) for clean, noise-free images.
- Shutter Speed: 1/60 to 1/250s depending on light and wind movement. Use a tripod if you go slower.
- Focus: Focus about one-third into the scene or use hyperfocal distance for a sharp foreground and background.
Bonus Tip:
A polarising filter can reduce haze, enhance sky contrast, and deepen greens and blues, which is great for alpine scenes.

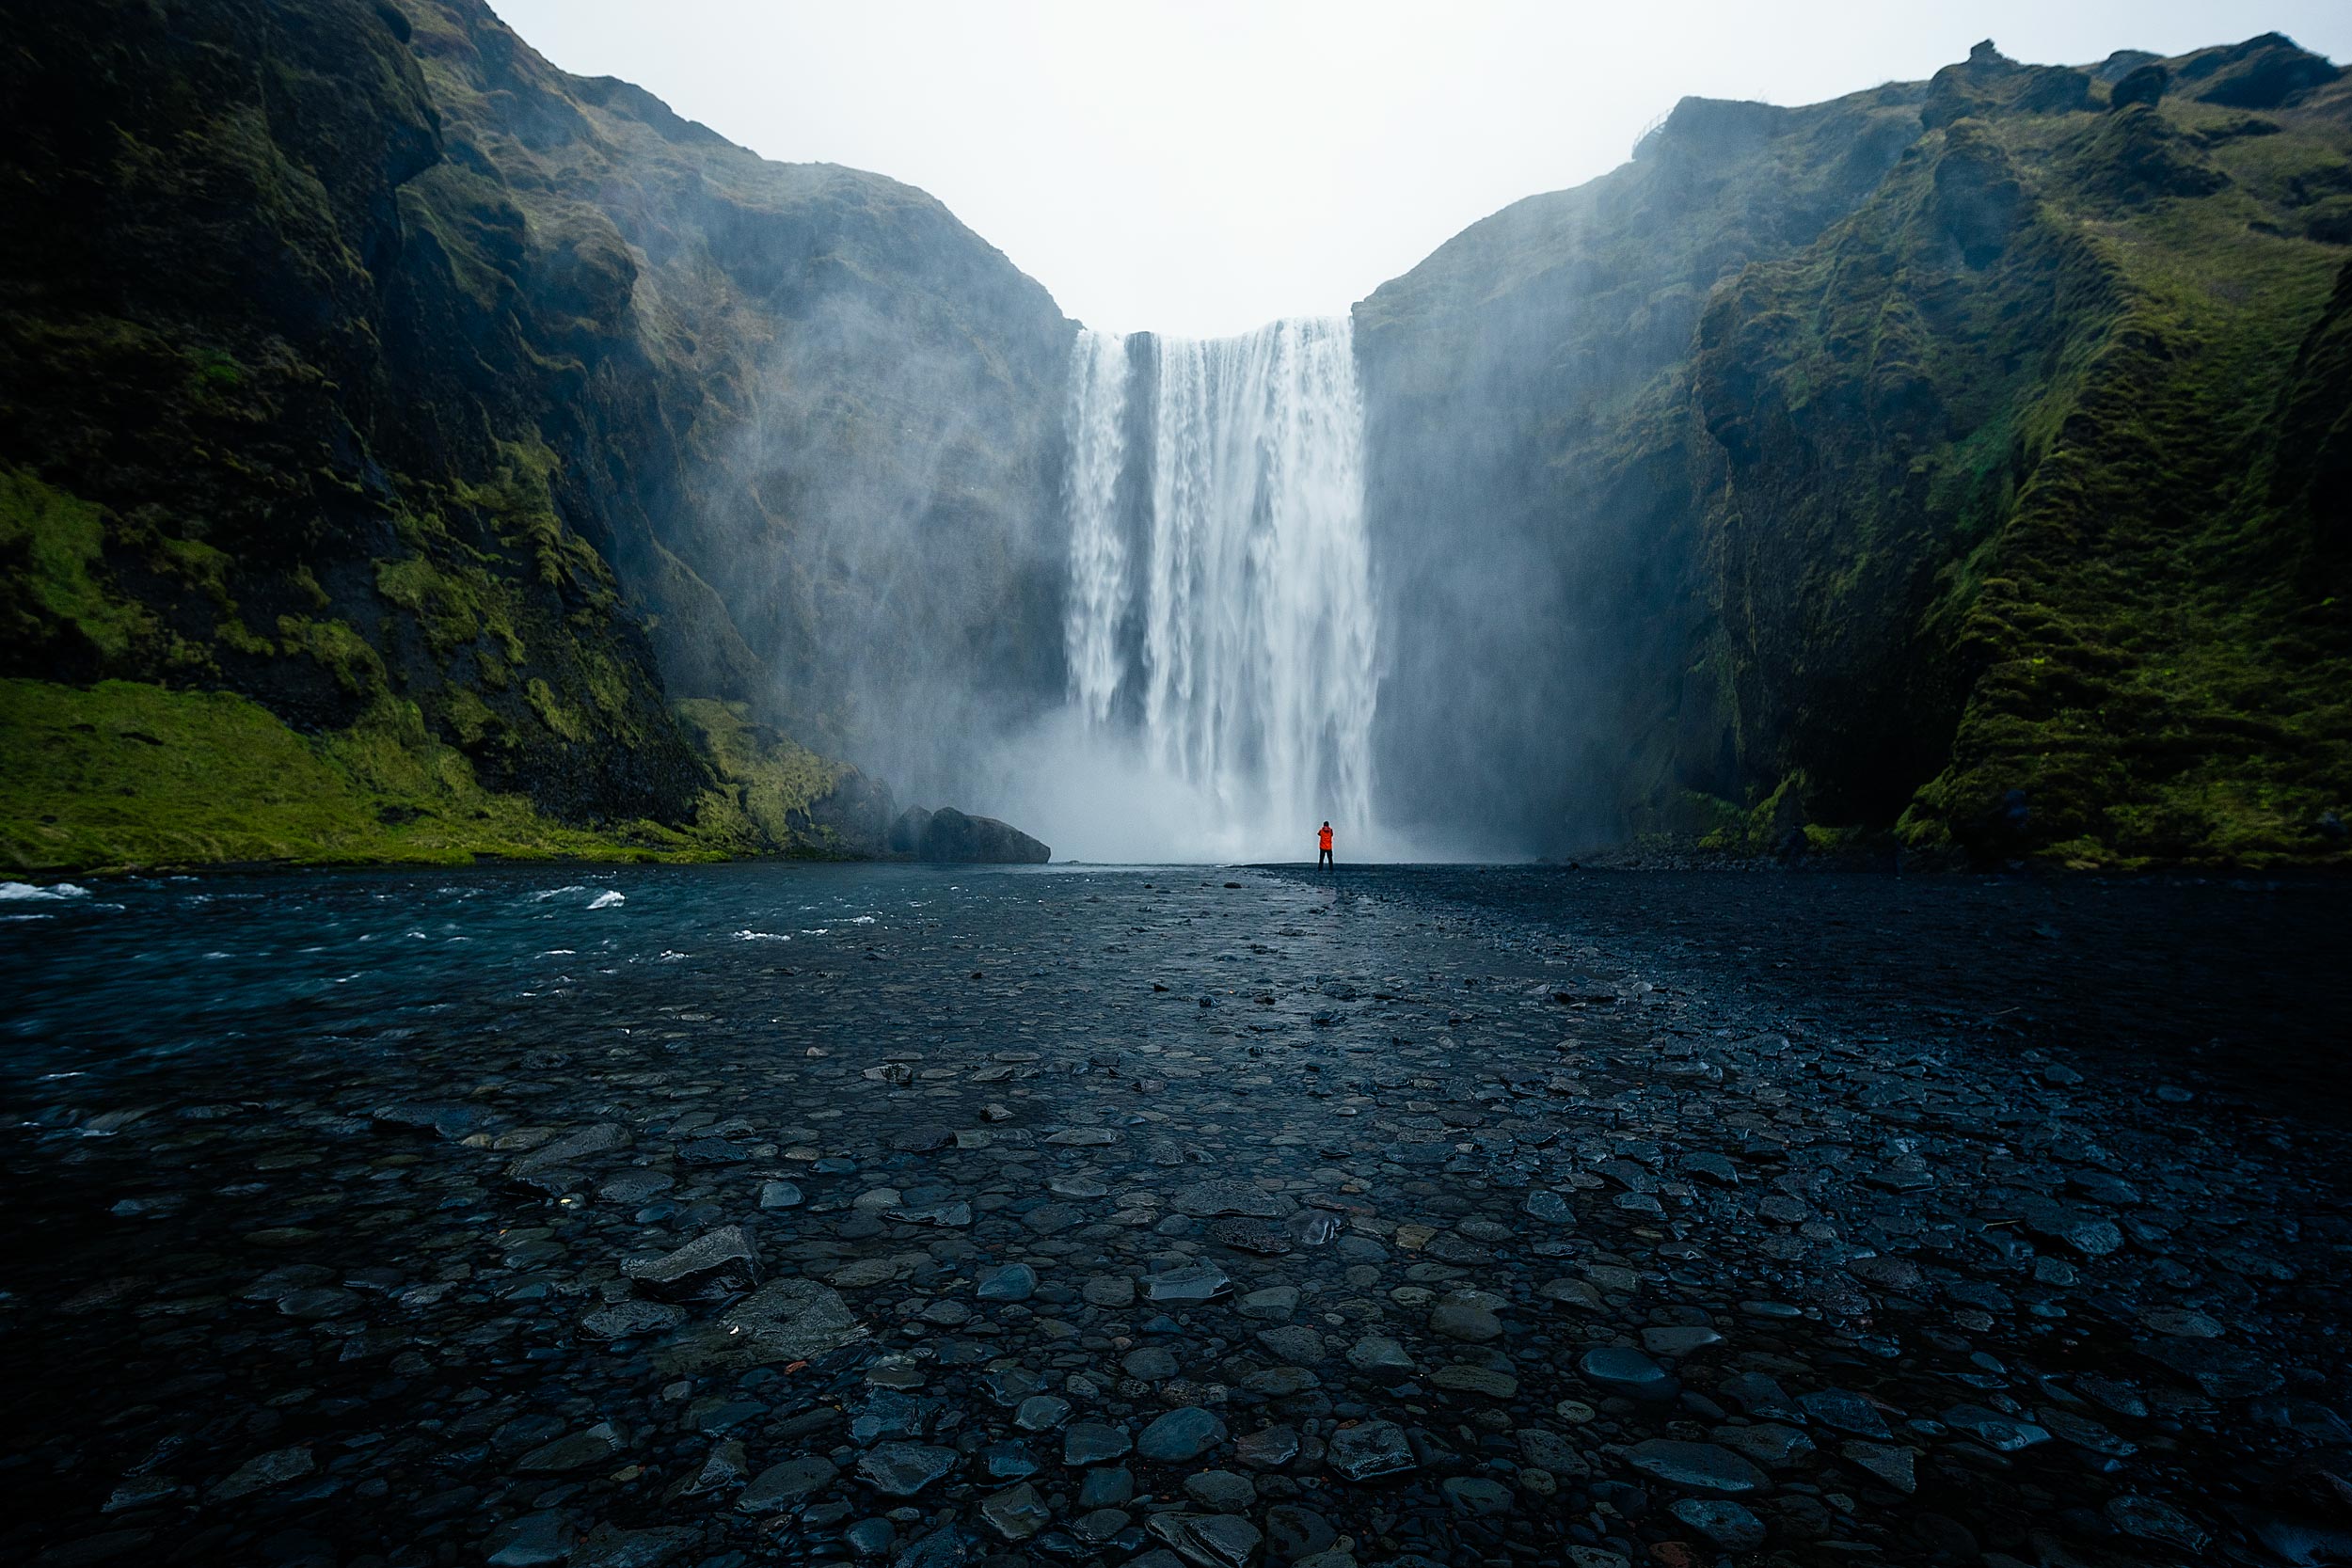
Seascapes and Waterfalls
What You’re Capturing:
Dynamic water motion, either silky smooth with long exposures or sharp, frozen action. Long exposures create that dreamy, flowing effect, while fast shutters capture every splash. The choice depends on the mood you’re going for.
Long Exposure Settings (for soft water effect):
- Aperture: f/11–f/16 to control light and maintain sharpness.
- ISO: 100
- Shutter Speed: 1/4 second to 30 seconds (use ND filters to prevent overexposure).
- Mode: Manual for precise control.
Fast Shutter Settings (for crisp water detail):
- Aperture: f/5.6–f/8
- ISO: 100–400
- Shutter Speed: 1/1000s or faster.
Bonus Tip:
Bring a microfiber cloth and a lens hood. Water spray can ruin your shots and gear quickly.
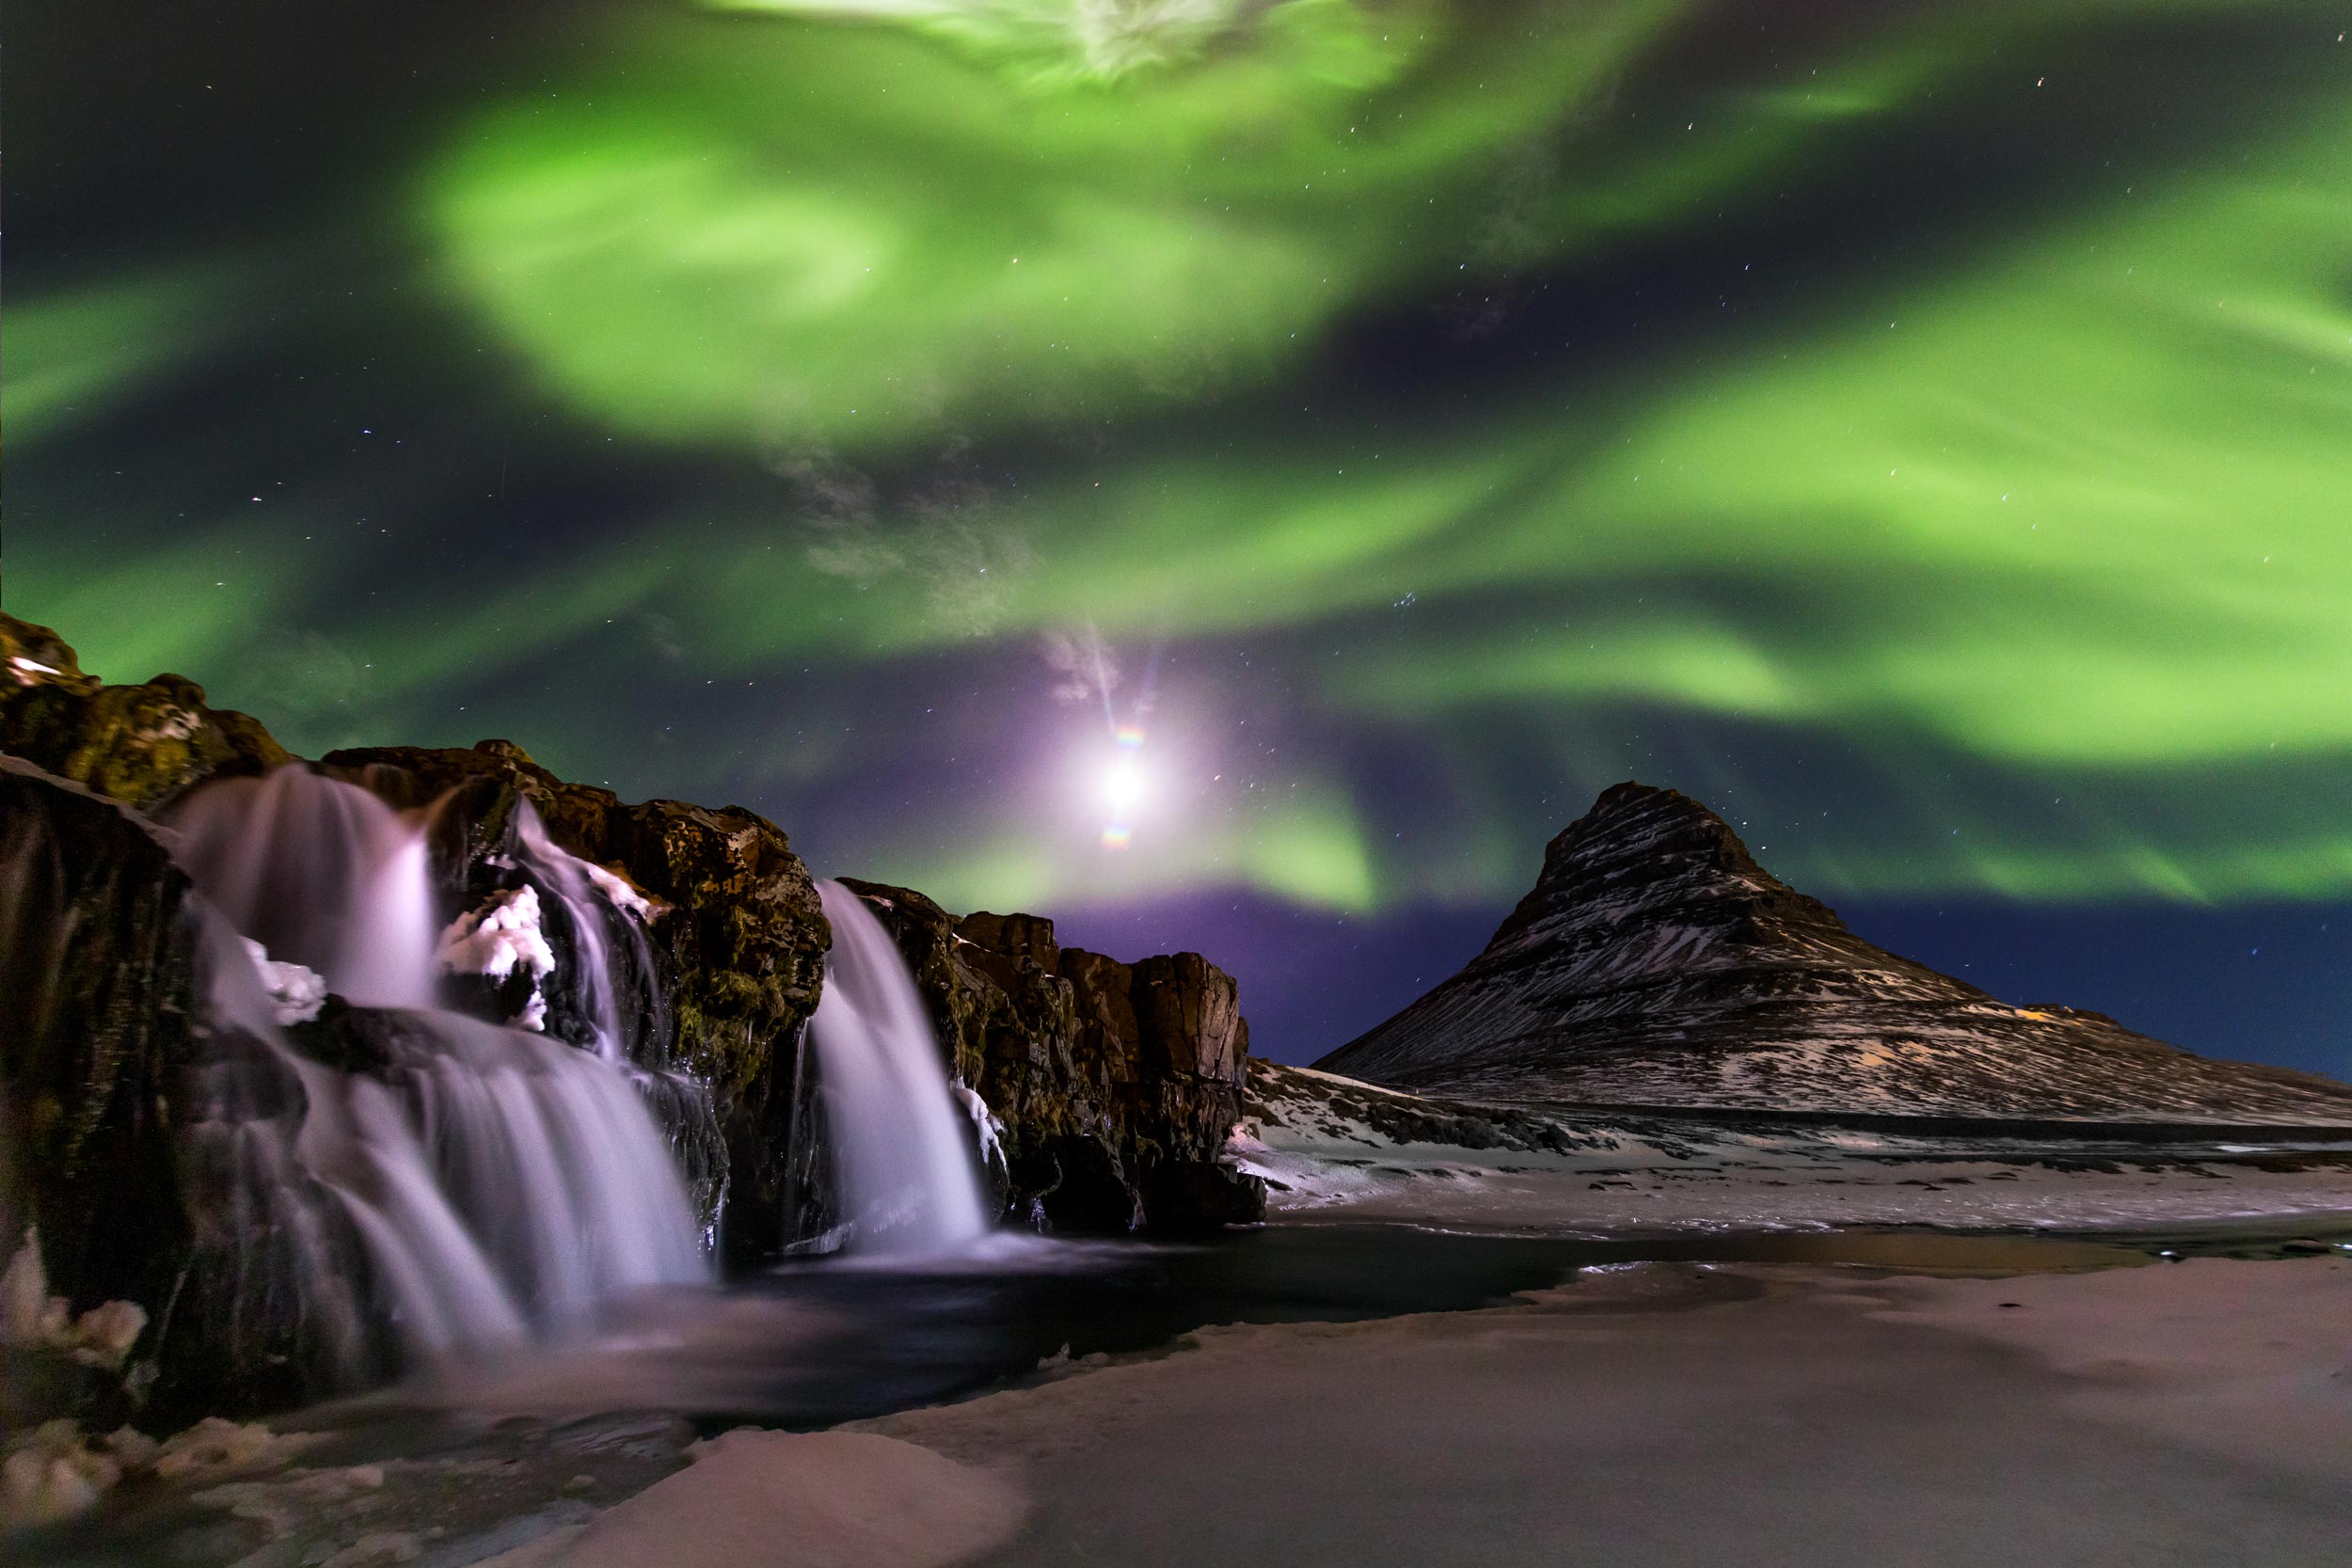
Astrophotography and Night Landscapes
What You’re Capturing:
Star-filled skies, the Milky Way, or dramatic night landscapes lit by moonlight or artificial light. At night, you need to squeeze every bit of light into your sensor. Wide apertures and high ISOs help, but balancing noise is key. You also need to be aware of motion blur caused by star trails and the Earth’s rotation if you aren’t using a star tracker.
Recommended Settings:
- Aperture: f/2.8 or as wide as your lens allows to let in maximum light.
- ISO: 3200–6400 to compensate for dark conditions.
- Shutter Speed: 10–25 seconds (use the 500 Rule: 500 ÷ focal length = max seconds to avoid star trails).
- Focus: Manually focus to infinity using Live View and zoom in for precision.
Bonus Tip:
Use a remote shutter or 2-second timer to avoid camera shake. And dress warmly. It gets cold fast when standing still under stars!
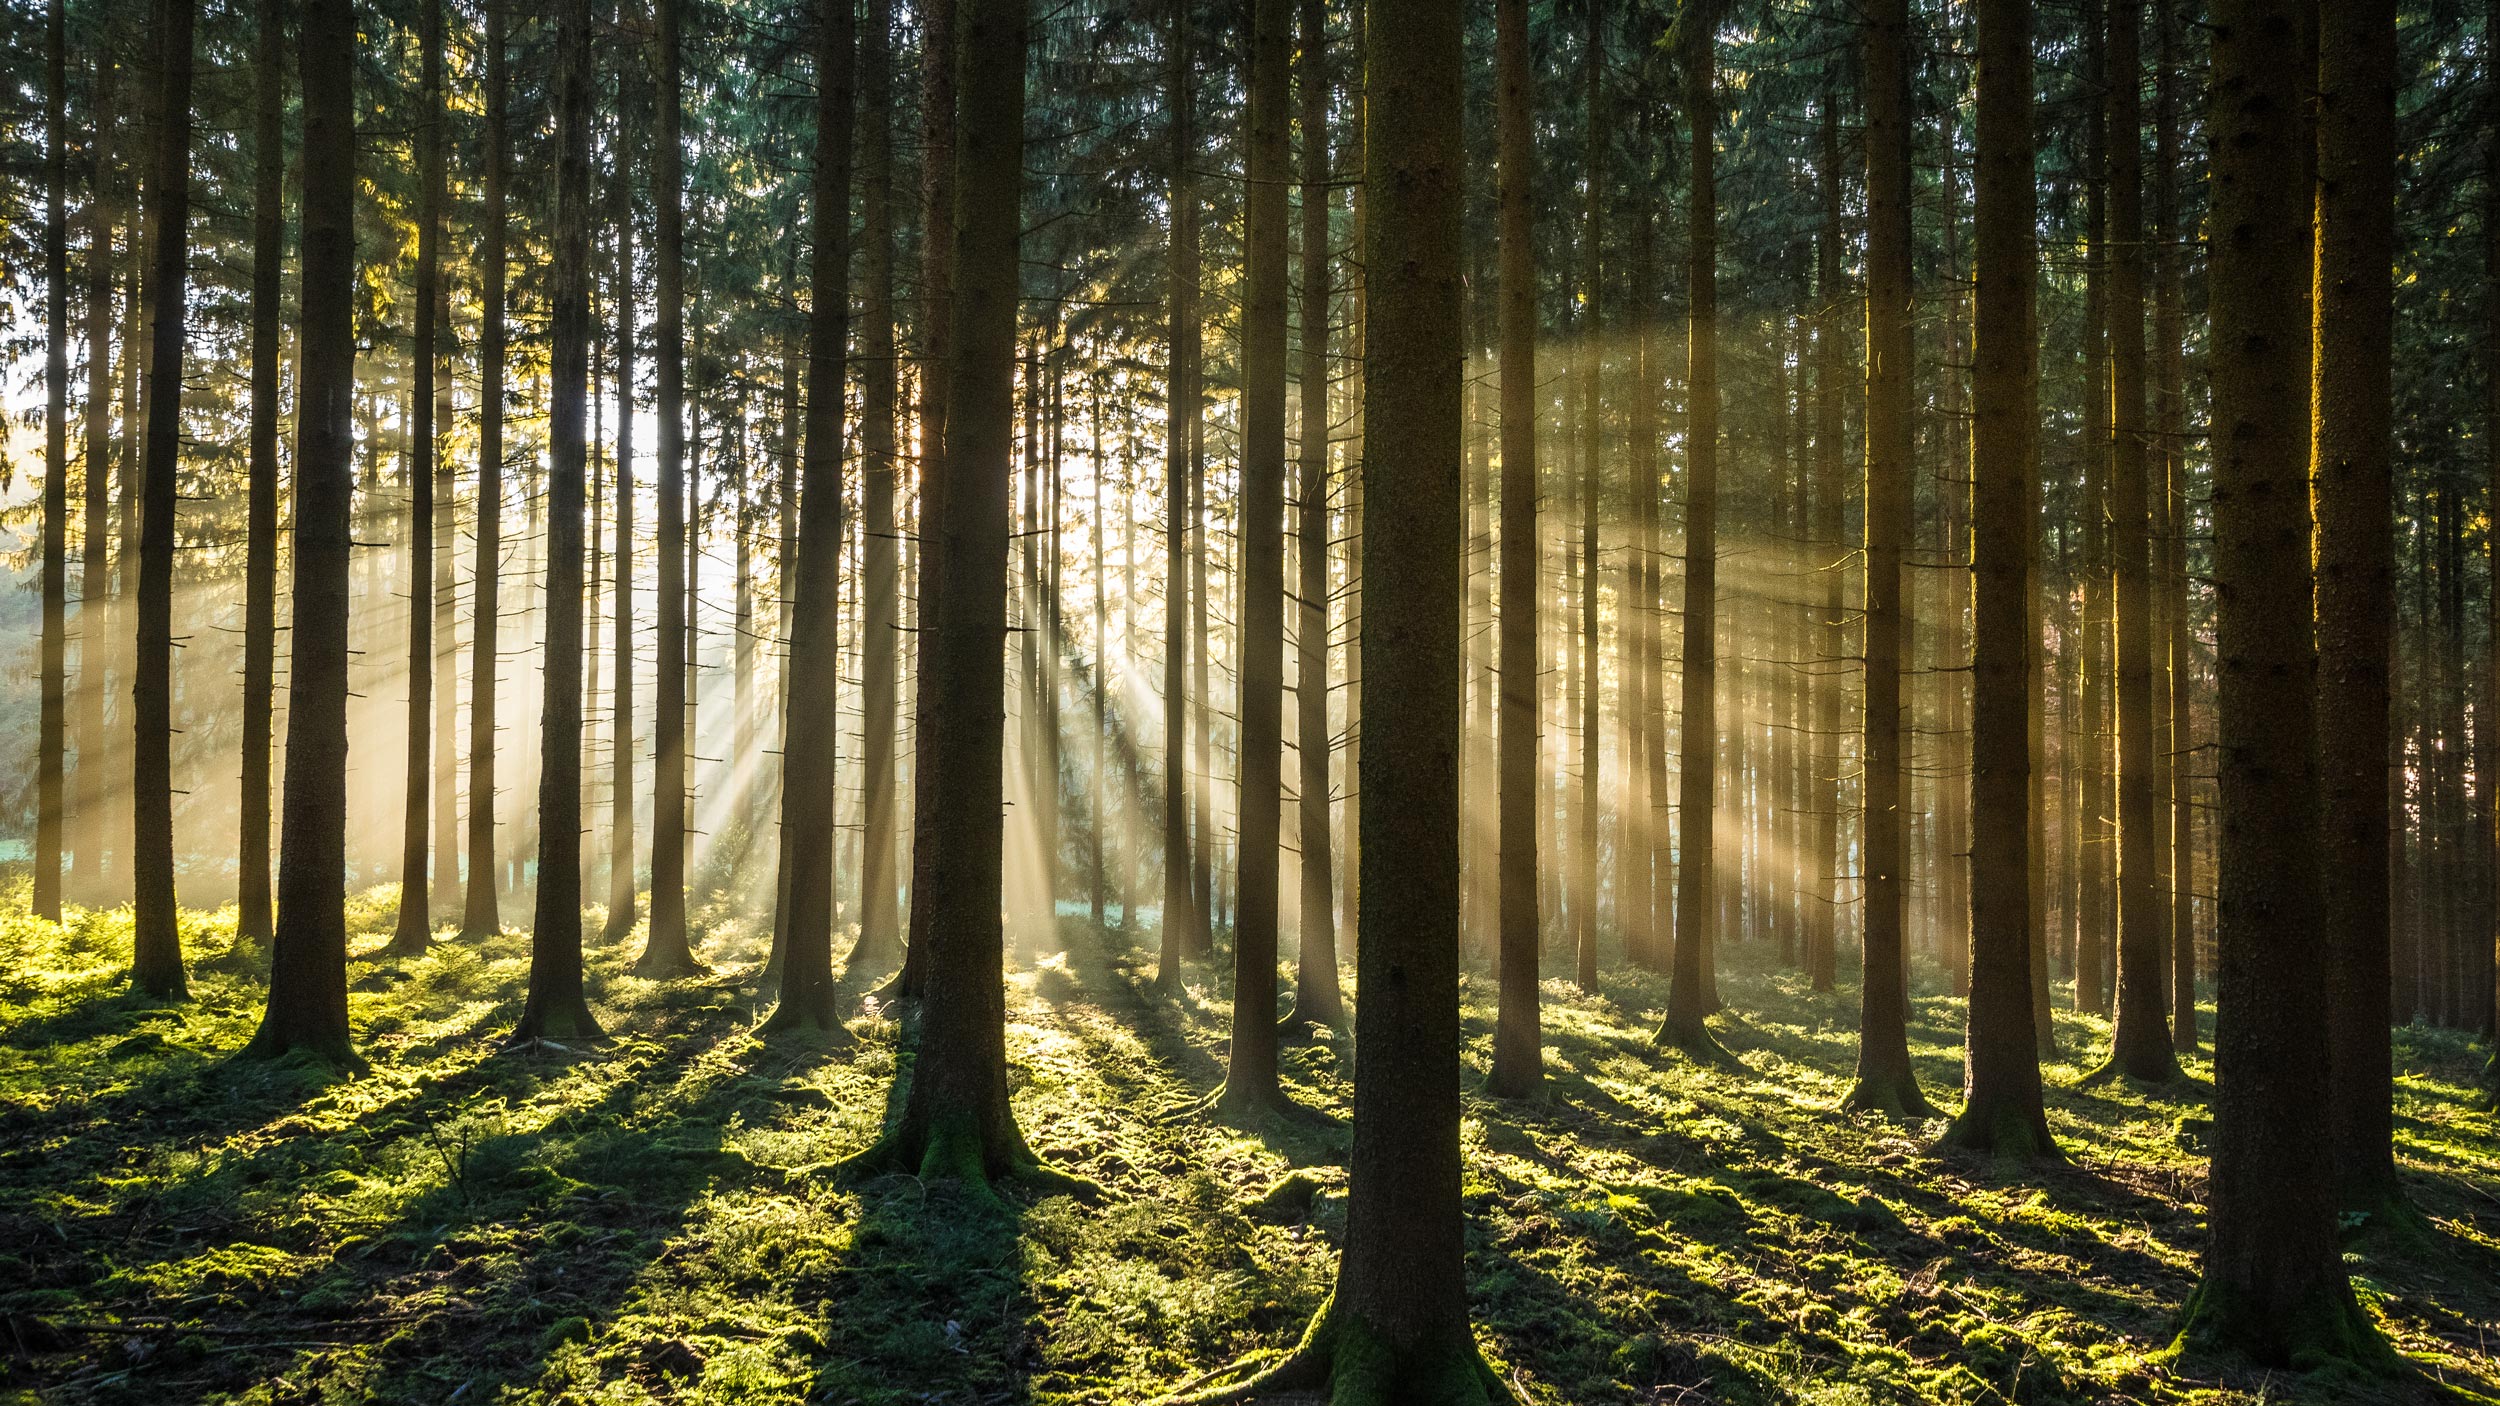
Forests and Woodlands
What You’re Capturing:
Complex scenes with lots of texture, depth, colour, and filtered light. Forests can be low on light, and autofocus may struggle. A slower shutter speed on a tripod allows for crisp detail and rich tones.
Recommended Settings:
- Aperture: f/8–f/11 for good depth of field without losing sharpness.
- ISO: 100–400 depending on the canopy coverage and available light.
- Shutter Speed: 1/60s or slower (use a tripod to avoid motion blur).
Bonus Tip:
Overcast days are your best friend here. They produce soft, even lighting that avoids harsh contrasts and blown highlights.
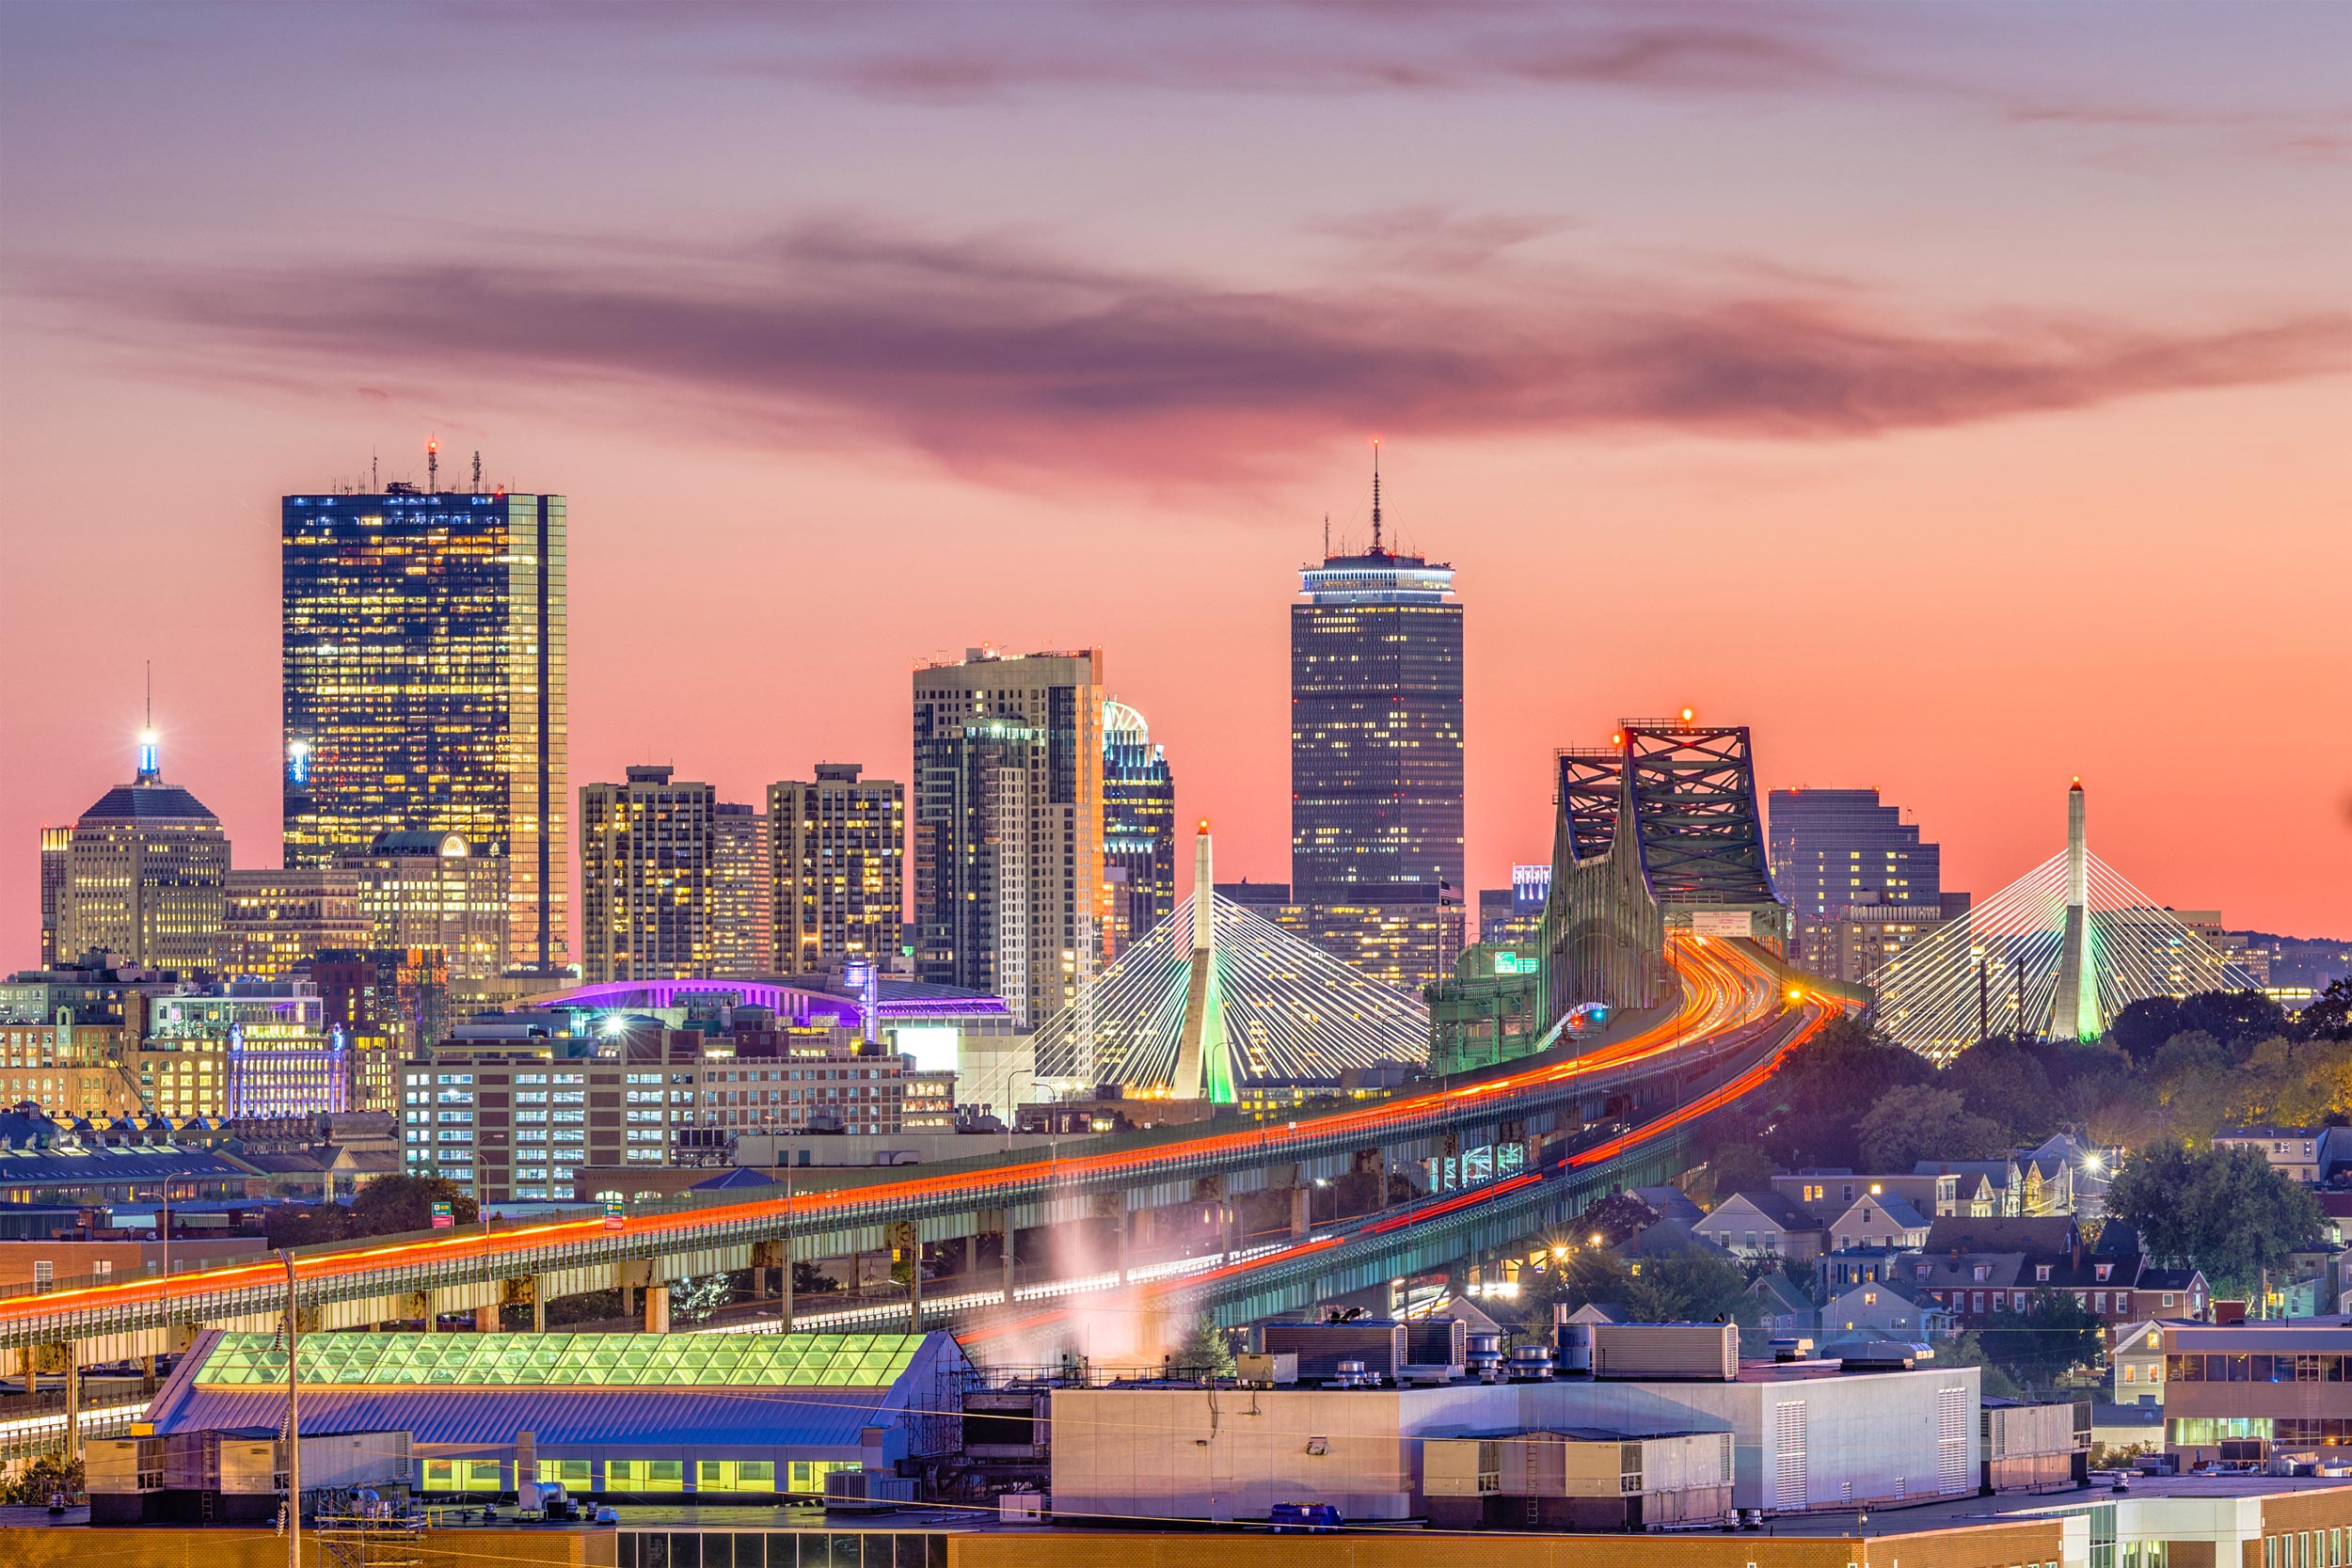
Urban Landscapes and Cityscapes
What You’re Capturing:
Architecture, city lights, skyline views, day or night. During the day, you want clean lines and rich details. At night, long exposures let you capture car trails and glowing lights without cranking ISO too high.
Daytime Settings:
- Aperture: f/8–f/11 for overall clarity.
- ISO: 100
- Shutter Speed: 1/60s or faster if handheld.
Nighttime Settings:
- Aperture: f/8–f/11
- ISO: 100–800 depending on ambient light
- Shutter Speed: Several seconds to 30 seconds (tripod required)
Bonus Tip:
Shoot during blue hour (just before sunrise or after sunset) for balanced city lights and colour in the sky.

Sunrise and Sunset Scenes
What You’re Capturing:
Colour-rich skies, glowing horizons, and balanced foregrounds. The contrast between a bright sky and darker ground can be tricky. Bracketing lets you blend exposures later for a balanced image.
Recommended Settings:
- Aperture: f/8–f/16
- ISO: 100
- Shutter Speed: Varies; use exposure bracketing or ND grads to balance the scene.
Bonus Tip:
Arrive early. The best colours often happen before the sun rises or after it sets.
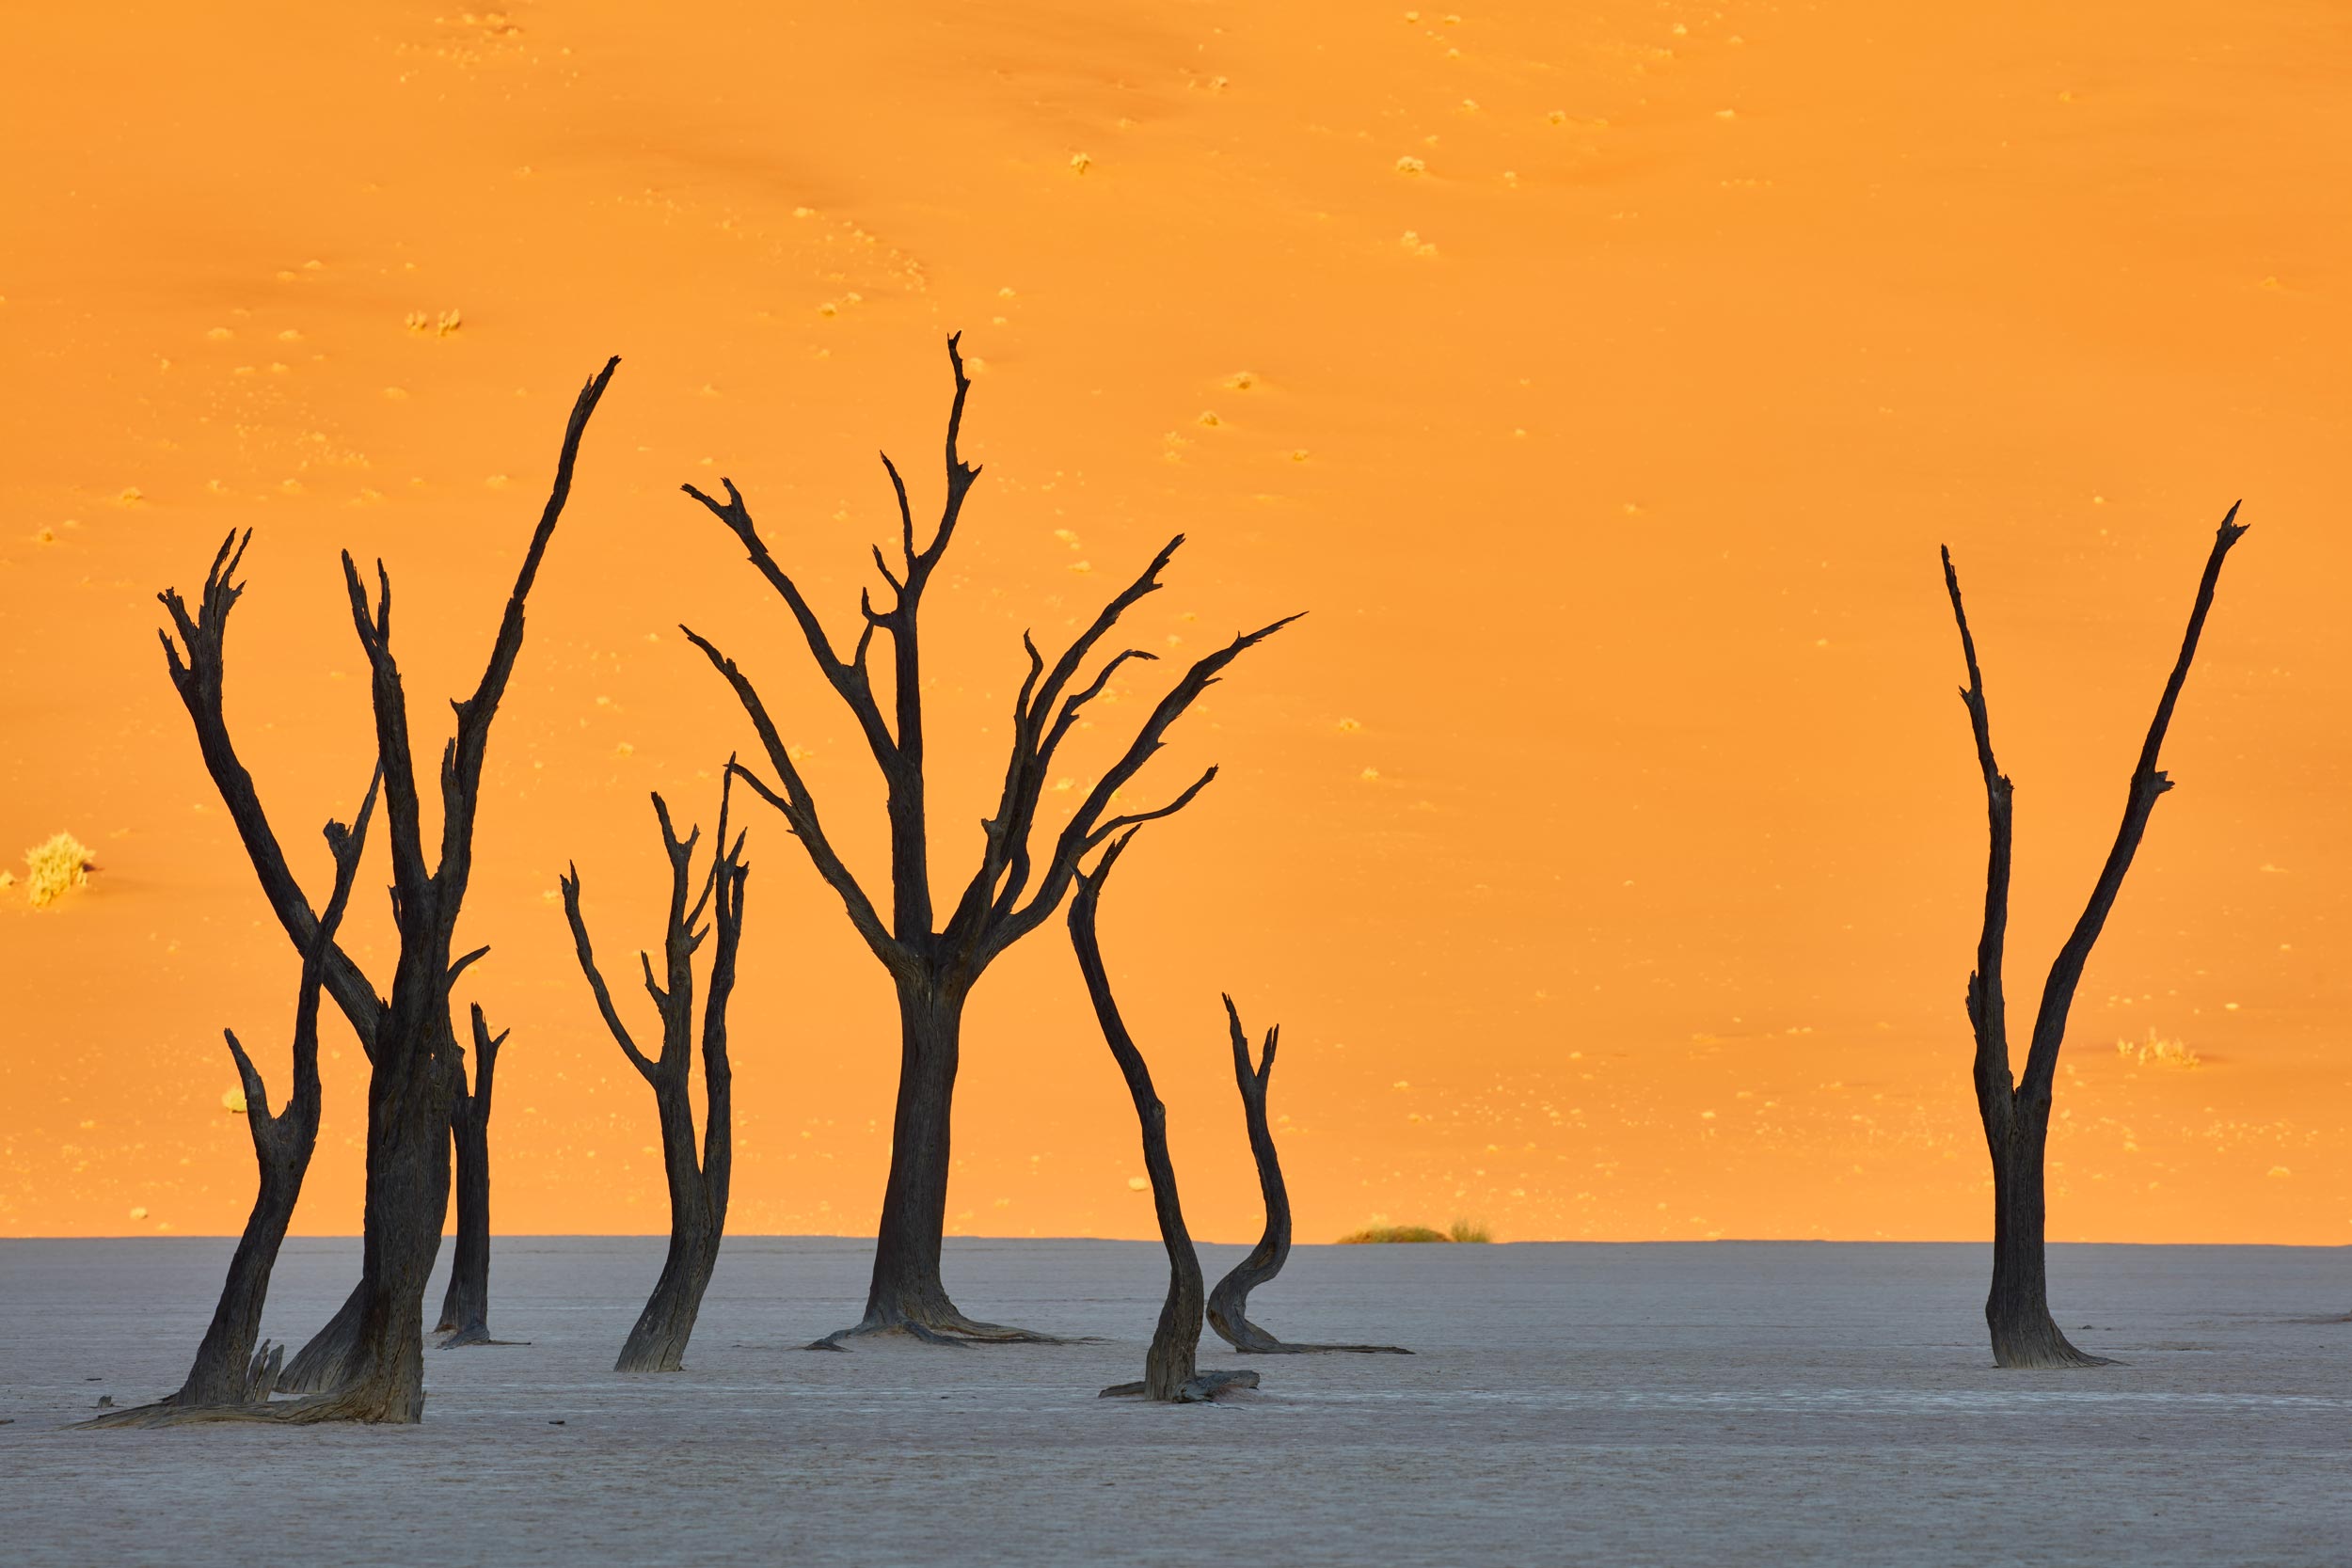
Desert and Minimalist Landscapes
What You’re Capturing:
Open spaces, strong lines, interesting textures and shadows. Deserts are bright, and light bounces everywhere. A mid-range aperture keeps things sharp, and fast shutter speeds help in heat shimmer or wind.
Recommended Settings:
- Aperture: f/8–f/11
- ISO: 100
- Shutter Speed: 1/125s to 1/250s depending on brightness
Bonus Tip:
Look for strong compositions with minimal elements, for example, a single tree, ripple patterns in the sand, or a lone figure for scale.
TLDR: Best Camera Settings for Landscape Photography at a Glance
Every landscape subject has its own quirks, but the fundamentals remain consistent: keep your ISO low, shoot RAW, and think carefully about aperture. With practice, you’ll be able to read a scene and dial in settings almost instinctively.
General Landscape Settings
- Aperture: f/8 to f/16 (for sharpness front to back)
- ISO: 100 (always start here)
- Shutter Speed: Adjust to match light + aperture (use tripod if slow)
- Focus Mode: Single-shot AF or manual with hyperfocal distance
- File Format: Always RAW for max editing flexibility
- Mode: Aperture Priority for most situations; Manual for tricky light or long exposures
Settings by Subject
| Scene Type | Aperture | ISO | Shutter Speed | Notes |
|---|---|---|---|---|
| Mountains/Vistas | f/8–f/16 | 100 | 1/60–1/250s | Use hyperfocal focus; tripod helps |
| Waterfalls/ Seascapes | f/11–f/16 | 100 | 1/4–30s (long expo) | ND filters essential for long shots |
| Night Sky | f/2.8–f/4 | 3200–6400 | 10–25s | Manual focus; use 500 Rule |
| Forest/Woodland | f/8–f/11 | 100–400 | 1/30s or slower | Overcast days = best lighting |
| Cityscapes (Night) | f/8–f/11 | 100–800 | 5–30s | Blue hour gives better colour balance |
| Sunsets/Sunrises | f/8–f/16 | 100 | Varies | Bracket exposures for dynamic range |
| Desert/Minimalist | f/8–f/11 | 100 | 1/125s–1/250s | Watch for shadows and heat shimmer |
Quick Tips:
- Use a tripod whenever possible.
- Enable histogram on playback for better exposure checks.
- Shoot multiple exposures when in doubt—you can always delete, but you can’t go back!
See more from DIYPhotography.net on Google
Add DIYPhotography.net as a trusted source. This makes
our stories more likely to appear in your Google Search results.
 Add as a preferred source on Google
Alex Baker
Alex Baker is a portrait and lifestyle driven photographer based in Valencia, Spain. She works on a range of projects from commercial to fine art and has had work featured in publications such as The Daily Mail, Conde Nast Traveller and El Mundo, and has exhibited work across Europe



Join the Discussion
DIYP Comment Policy
Be nice, be on-topic, no personal information or flames.