


Improve your travel photography immediately with these two tips
Oct 14, 2024
Ian Pack

Alex Baker is a portrait and lifestyle driven photographer based in Valencia, Spain. She works on a range of projects from commercial to fine art and has had work featured in publications such as The Daily Mail, Conde Nast Traveller and El Mundo, and has exhibited work across Europe
Share:
I visited the South of France recently and was enjoying sauntering around, camera in hand, taking in the sights and ambience of a new place. This is one thing I greatly enjoy about being a photographer, and street photography is always a joy.
However, it got me thinking that even though I tend to travel extremely light camera-wise, I almost always use a couple of simple but powerful techniques that can make a huge difference in your shots. With just a few tweaks to how you handle light and reflections, you’ll be amazed at the boost in quality.
Reduce lens flare
Lens flare is mostly unwanted light in an image. Some see it as a creative effect, others see it as annoying image degradation. Basically, it’s light that appears in a frame of an analogue film or digital image created by a light source brighter than the rest of the frame, creating haze, lack of contrast, shaped artefacts and rainbow colours throughout the image.
As the bright light enters the lens, it is scattered by the lens elements; this is known as internal reflection. The light splits, reflecting off the lens surfaces reaching the sensor or film plane in unexpected places. This normally occurs when the bright light source is between ten o’clock and two o’clock relative to the front of the lens and either in the frame or out of the frame. Shooting at smaller aperture settings can also increase lens flare.
Lens flare will vary according to lens construction and manufacturer. Some older lenses exhibit flare, which is sought after for particular looks. Zoom lenses can be more susceptible to lens flare than fixed focal length prime lenses.
Lens flare can be reduced or eliminated by casting a shadow on the lens front element by introducing an opaque object between the bright light source and the lens. Much of the time, all it takes to reduce lens flare is positioning a hand to create a shadow on the front lens element.

Sometimes, a larger area is needed. You can also use a notebook, tablet computer or bounce card. You could even make a bounce card with a black surface for such instances. There are commercially available flags available. These attach to either a camera rig or light stand, providing a much larger surface area.

I have not mentioned lens hoods as in my experience on a wide-angle or standard lens – full-frame camera lenses 50mm and below. Mirrorless 35mm and below – the lens hoods are quite shallow and/or petal-shaped to prevent vignetting or the darkening of the frame corners.
Shallow lens hoods have little effect on image contrast by reducing lens flare. I use them mainly as a means to offer protection to the front of the lenses. In my experience deeper lens hoods used with telephoto lenses afford better reduction of lens flare.
Another option is to change the framing or perspective of the shot to change the position of the brighter light source.

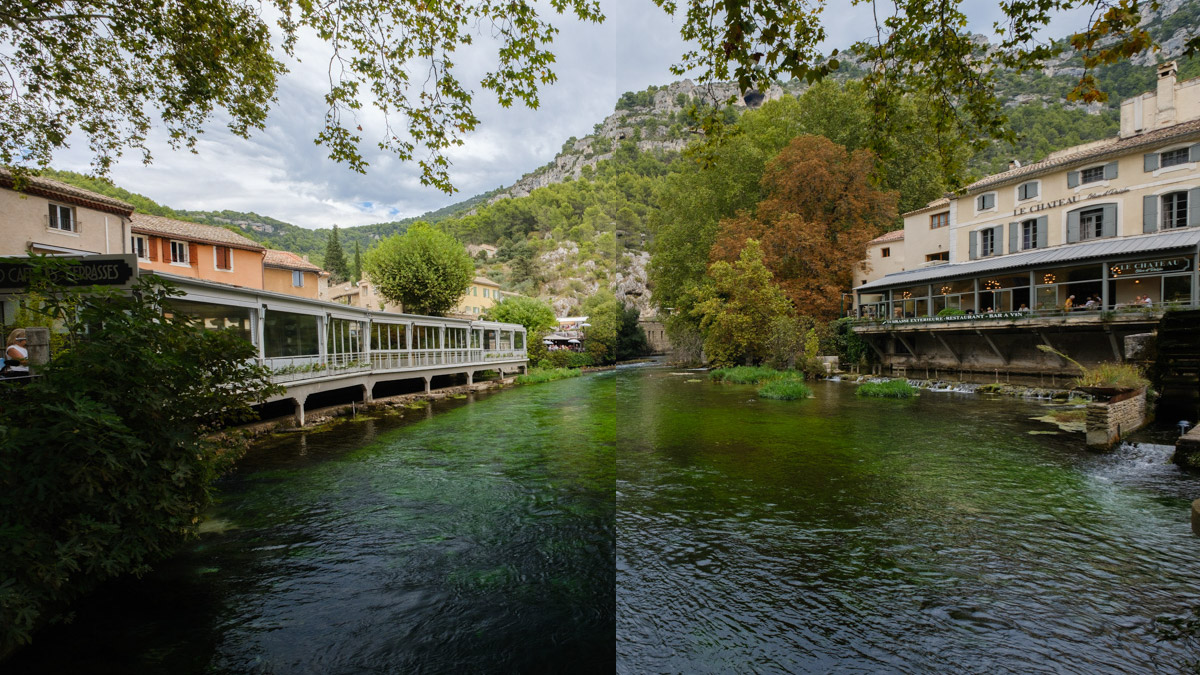
Sun in the frame creates lens flare.

Change position and framing to eliminate lens flare.
Use a polarising filter
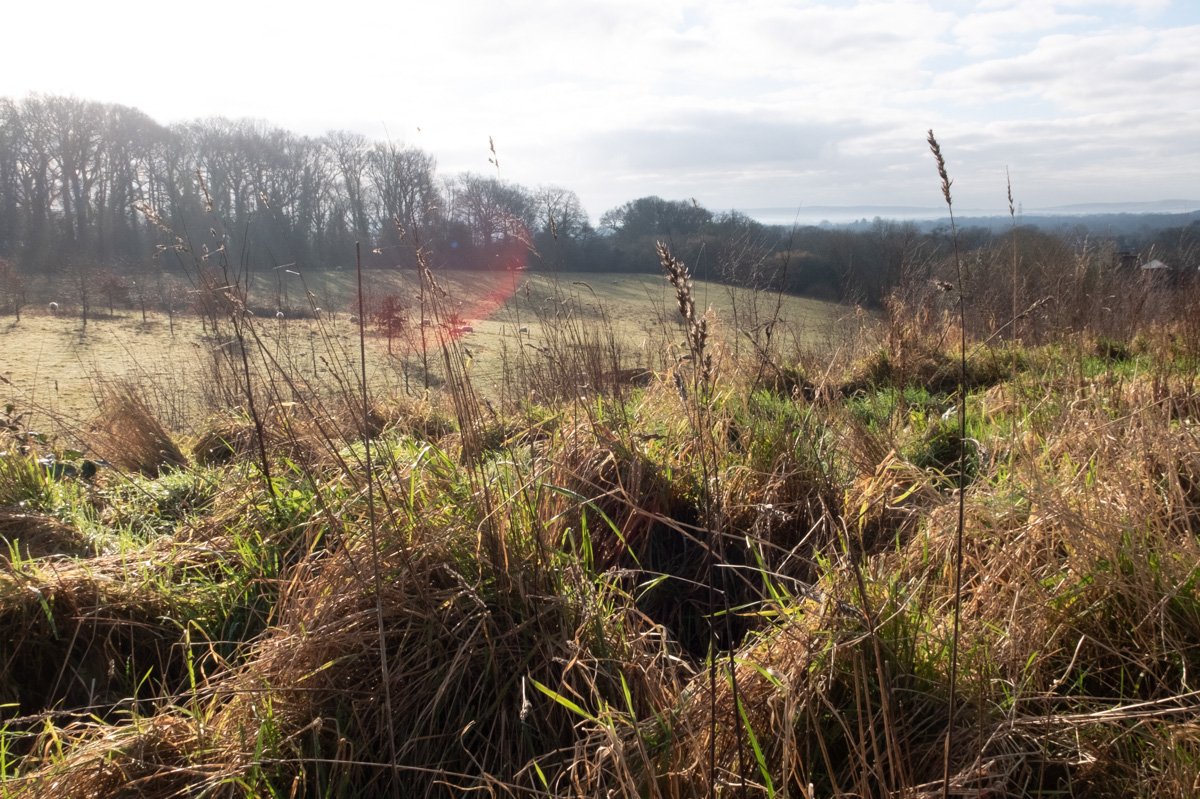
Camera lens polarising filters are one of the only lens filters that cannot no replicated in digital photo post-production. They’re an essential tool for landscape and travel photographers for increasing colour saturation and contrast by reducing glare from surfaces such as water, glass, roads, rocks and vegetation. They also reduce reflections in water and enhance the contrast between clouds and sky.
For a lens polarising filter to work effectively, the sun needs to be at 90º to the scene before you. Polarising lens filters by filtering out sunlight, which is directly reflected toward the camera at certain angles. Most polarising filters screw into the camera lens filter thread and rotate within the mount for optimum polarisation. The strength of the polarising effect is controlled by changing the camera’s angle relative to the sun.

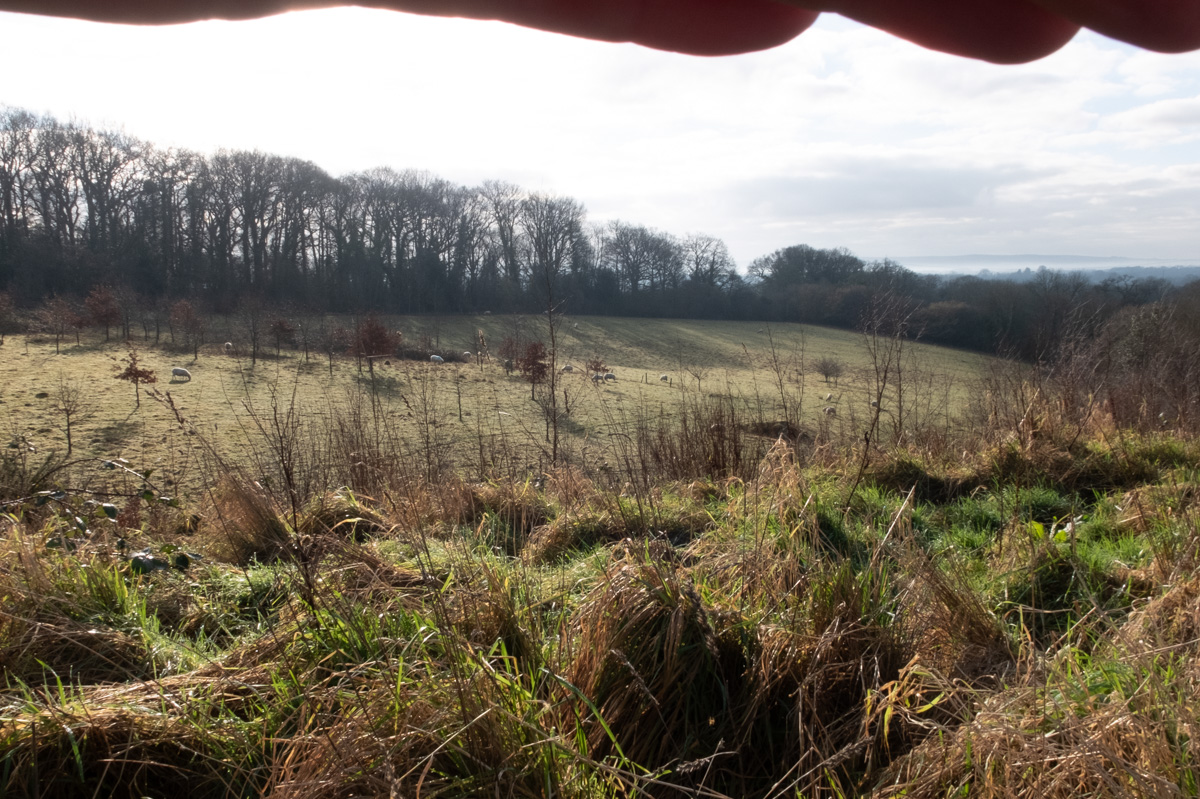
To help visualise this, point your index finger at the sun with your thumb straight up and move your hand whilst still pointing at the sun. This will give you a rough idea of the maximum polarised effect and few laughs from those around you!
The best way to see the effect of a polarising filter is to rotate it whilst looking through the camera viewfinder. Looking at the external display could be tricky if the ambient light level is too high. Remember that a lens polarising filter will reduce the amount of light reaching the camera’s sensor by between 2 – 3 stops extra exposure. It’s best not to keep a polarising filter on your lens or lenses because of the light reduction and their specific use. Lens polarising filters do not remove reflections from metal surfaces.
Polariser as a make-shift ND filter
Another use for a lens polarising filter is a substitute ND or Neutral Density filter. ND filters are used to reduce light reaching the camera sensor and use slow or long shutter speeds, which show moving parts of a still frame as blur, rather than frozen with a shorter or faster shutter speed.

Buying a polarising filter
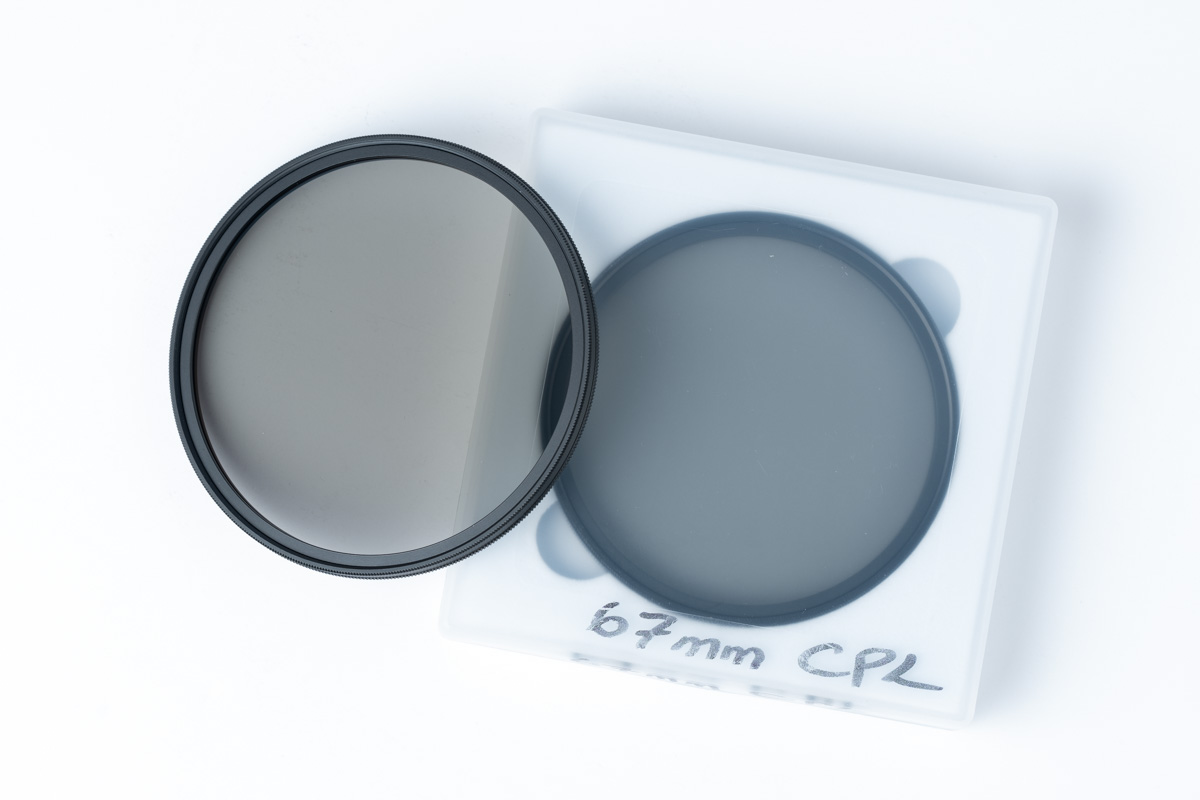
When buying a polarising filter, look for CPL or circular polarising filters, these don’t interfere with camera TTL metering. If you intend to use a polarising lens filter with a wide-angle lens, ensure that the mount is thin and designed for use with wide-angle lenses to reduce vignetting and the darkening of the frame edges and corners. In addition to screw-in lens filters, there are drop-in systems and also lens filters which are magnetic that attach to a metal ring screwed in the lens filter ring. The advantage of magnetic filters is the ease of use and less chance of damaging the lens filter thread.
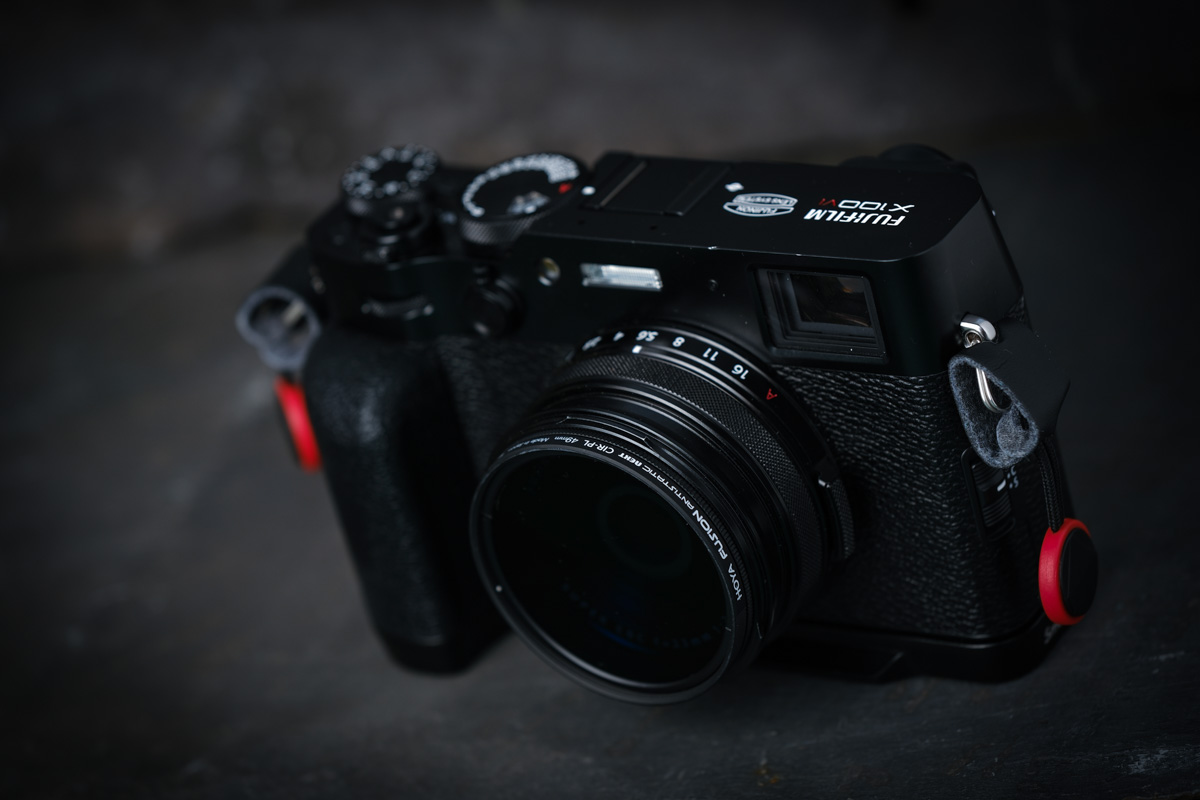
Buy the best lens polarising filter you can afford. I recently purchased one for my Fujifilm X100VI that cost over $100 for a 49mm filter. The same filter was used for some of the images in this article.
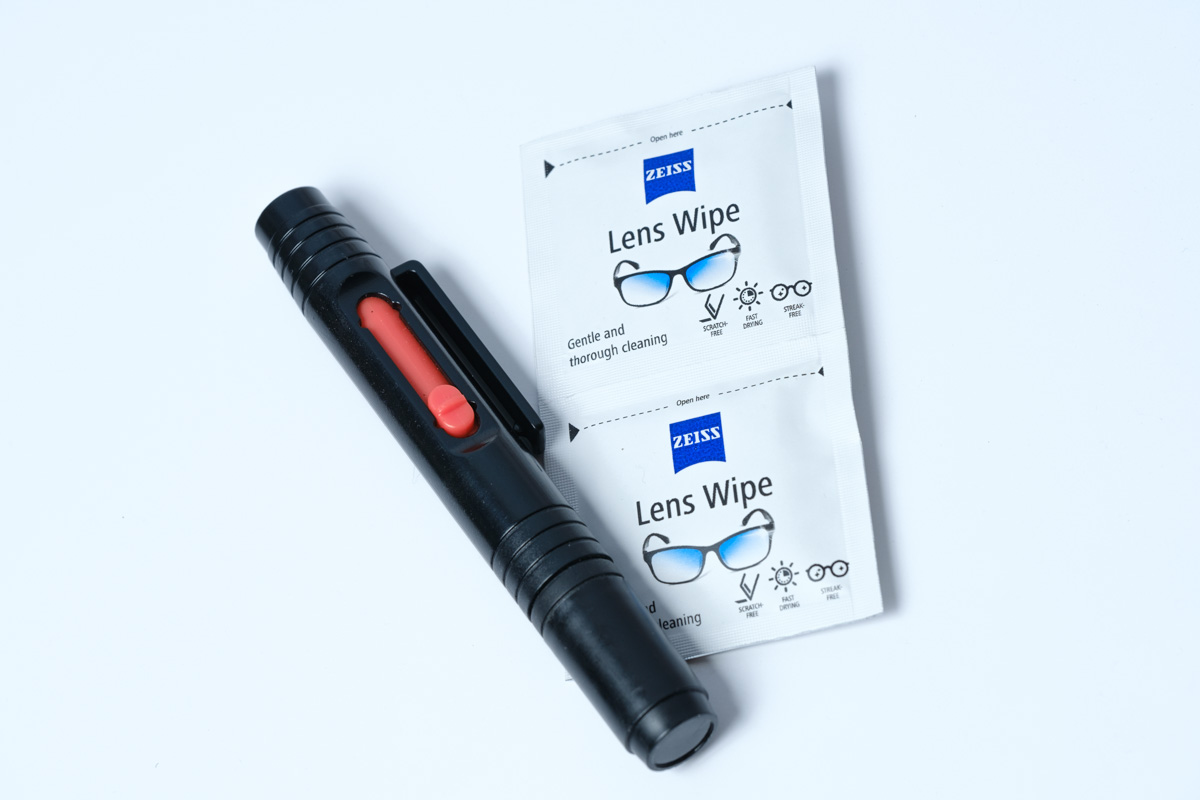
Lens polarising filters need to be spotlessly clean in order to maintain image quality. I carry a lens pen cleaner and Zeiss pre-packed moist lens wipes which are also good for my spectacles.
As with all camera skills and techniques go and practice and experiment at any available opportunity.
About Ian Pack
Ian Pack is a creative commercial product and portrait photographer based in Sussex. He likes working with small and developing businesses, establishing their brand images, empowering staff to create content for websites and social media along with advising on the best gear and establishing in-house studios. Ian has broad experience in the media business, having worked in corporate video production, print and design. His work is widely published in print and online and heÔÇÖs a regular contributor to Amateur Photographer magazine in print and online. You can see more of IanÔÇÖs work on his website or follow Ian on Instagram.
We love it when our readers get in touch with us to share their stories. This article was contributed to DIYP by a member of our community. If you would like to contribute an article, please contact us here.


Join the Discussion
DIYP Comment Policy
Be nice, be on-topic, no personal information or flames.