


What’s the Best Camera for Professional Photography in 2026?
Jun 10, 2026
Leonard Skapp

Alex Baker is a portrait and lifestyle driven photographer based in Valencia, Spain. She works on a range of projects from commercial to fine art and has had work featured in publications such as The Daily Mail, Conde Nast Traveller and El Mundo, and has exhibited work across Europe
Share:

It’s one of the most common questions asked by beginner photographers: “What’s the best camera for photography?” Unfortunately, it’s also one of the hardest questions to answer. Not because there aren’t plenty of great cameras available (trust me, there are so many great cameras out there!), but because there is no single camera that’s best for every photographer.
The truth is that the best camera depends on what you shoot, how you work, and what features matter most to you. For example, a camera that’s perfect for a wildlife photographer may be completely wrong for someone shooting portraits, landscapes, or weddings.
The best camera is the one that fits your needs
Photography covers a huge range of genres, and each has different requirements. Sports and wildlife photographers often need fast autofocus and high burst rates, while landscape photographers may prioritise resolution and dynamic range. Portrait photographers, for example, might focus more on lens selection and colour rendition, whereas travel photographers often value compact size and low weight.
That’s why asking for the “best camera” is a bit like asking for the best vehicle. A sports car, a pickup truck, and a camper van are all excellent at different things, and the same is true of cameras.
What makes a camera professional?
Many people assume professional photographers all use the most expensive cameras available, but that’s not necessarily true. A professional camera isn’t defined by its price tag, it’s simply a camera that allows someone to do their job reliably.
Professional photographers typically look for features such as durable weather-sealed bodies, full-frame sensors, dependable autofocus, strong battery life, dual memory card slots, and access to a wide range of lenses. Beyond that, the specific camera often depends on the type of work they’re doing.
A wedding photographer and a commercial product photographer may have completely different equipment needs, despite both being professionals, and in many cases, a ten-year-old DSLR is perfectly capable of doing the job as a brand new top-of-the-range mirrorless camera.
Modern cameras are better than ever
One reason this question has become more difficult to answer is that modern cameras are incredibly capable. Even many entry-level cameras today, such as the Canon EOS R8, offer image quality that would have been considered professional just a decade ago. Autofocus systems are smarter, sensors perform better in low light, and video capabilities have improved dramatically.
As a result, most photographers will reach the limits of their skills long before they reach the limits of their camera. That’s actually good news because it means you don’t need to spend thousands on the latest flagship model to create excellent photographs.
Mirrorless or DSLR?
If you’re buying a new camera today, you’ll likely be choosing between mirrorless and used DSLR systems. Mirrorless cameras are where manufacturers are focusing most of their development, offering advanced autofocus, powerful video features, and compact designs. For most new buyers, they’re the obvious starting point.
But that doesn’t mean DSLRs are obsolete. Many professional photographers still use them successfully, and the second-hand market offers some excellent value for money. The best choice often comes down to budget, preferred handling, and whether you want access to the latest technology.
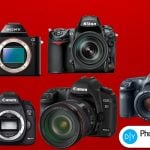
Some of the best cameras available today
While there isn’t a single camera that’s best for everyone, a few models consistently appear on photographers’ shortlists. For beginners and enthusiasts, cameras such as the Canon EOS R10, Sony A6700, and Nikon Z50 II offer an excellent balance of image quality, autofocus performance, and value.
Photographers looking for a full-frame camera often consider models such as the Canon EOS R6 Mark II, Sony A7 IV, and Nikon Z6 III. These cameras are popular with everyone from enthusiasts to working professionals because they offer strong all-around performance.
For high-resolution landscape, commercial, and studio work, cameras such as the Sony A7R V, Nikon Z8, and Canon EOS R5 Mark II provide exceptional image quality and advanced features. Of course, these are only examples. Most modern cameras from Canon, Sony, Nikon, Fujifilm, Panasonic, OM System, and Leica are capable of producing professional-quality images in the right hands.
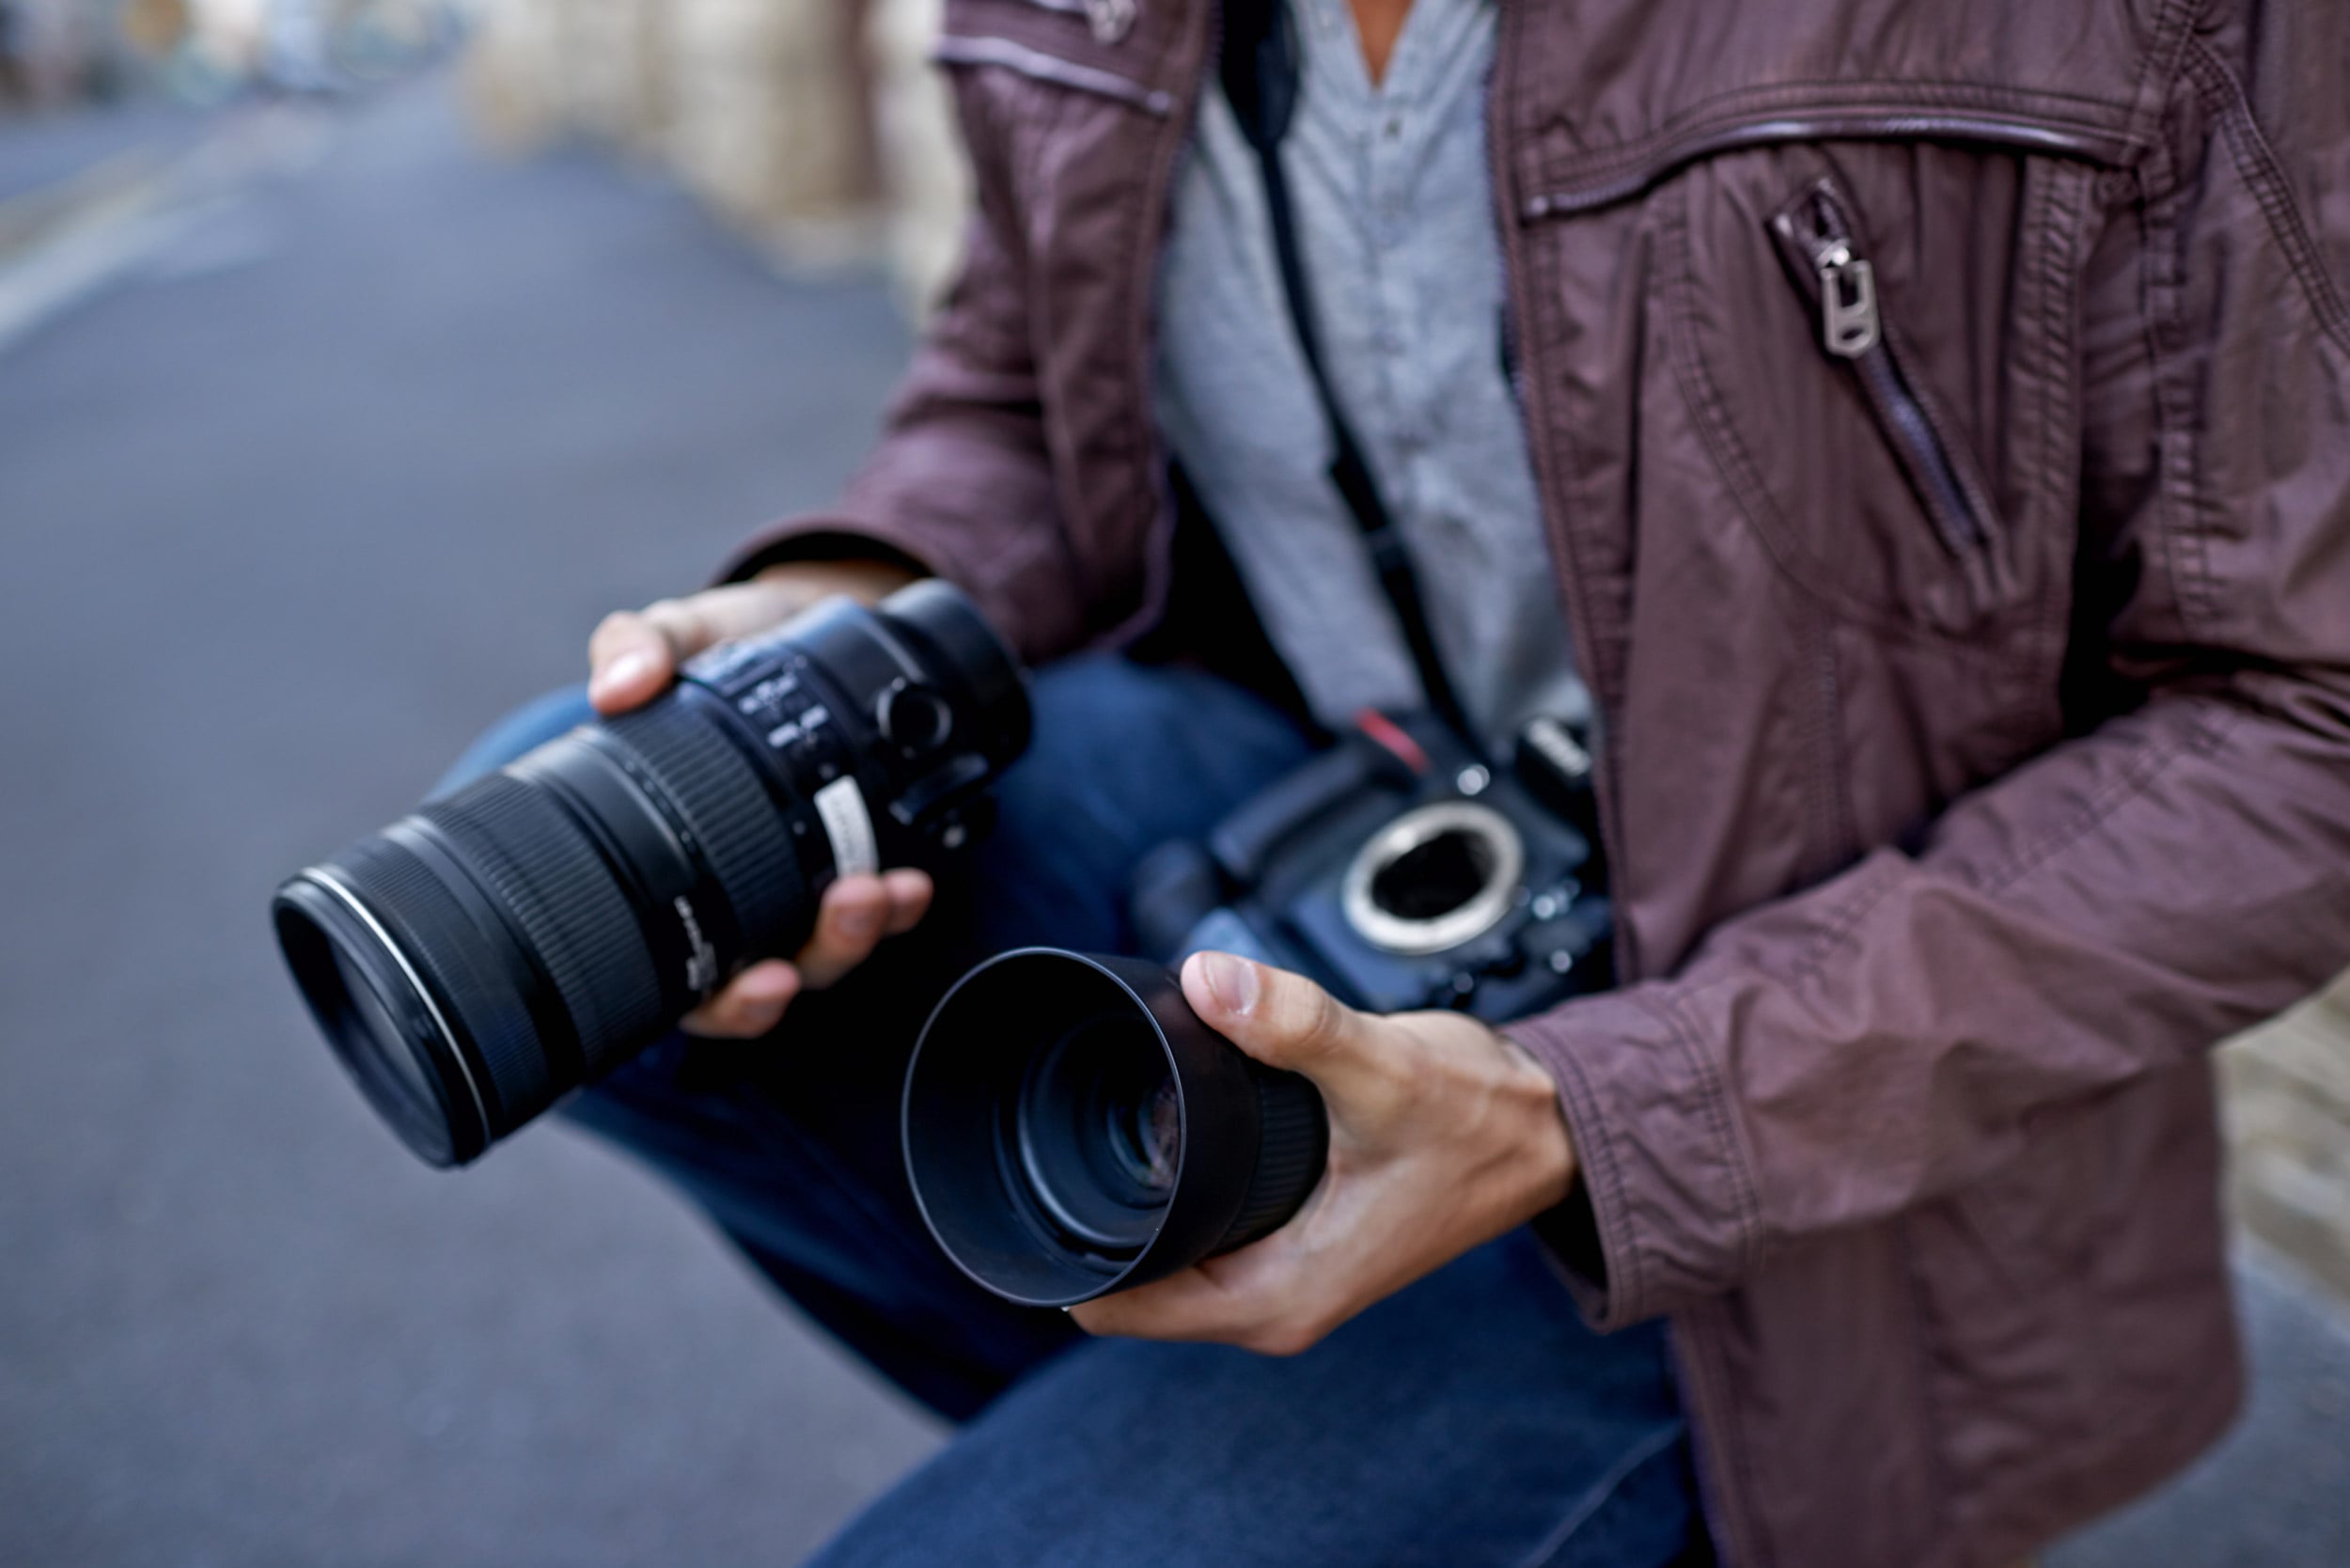
Focus on the camera system, not just the camera
One mistake many first-time buyers make is choosing a camera body without considering the wider system. Lenses often have a greater impact on your photography than the camera itself. A good lens can stay in your kit for years, even as camera bodies come and go.
Before buying a camera, it’s worth looking at the range of lenses available, the long-term upgrade path, and whether the system supports the kind of photography you want to pursue. Canon’s mirrorless system, for example, doesn’t allow third-party lens manufacturers, which pushes lens prices up considerably. In contrast, Nikon and Sony, are compatible with plenty of other lens manufacturers like Sigma and Tamron.
So, which camera is best?
The honest answer is that there isn’t one. The best camera for photography is the one that suits your budget, your style of shooting, and your goals as a photographer. The best professional camera is the one that reliably helps you deliver results for your clients.
If you’re just starting out, a camera such as the Canon EOS R10, Sony A6700, or Nikon Z50 II will be more than enough for most types of photography. If you’re working professionally, cameras like the Sony A7 IV, Canon EOS R6 Mark III, Nikon Z6 III, or Nikon Z8 are widely used across the industry.
The important thing to remember is that the “best” camera isn’t necessarily the most expensive one, it’s the one that fits your needs and helps you create the photographs you want to make. It’s not the answer most people want to hear, but photography has never been about owning the most expensive camera. It’s about using the right tool for the job and learning how to get the most out of it.
About Leonard Skapp
Leonard “Len” Skapp is a photographer with a particular interest in cameras, lenses, accessories, camera bags, lens filters, tripods, camera straps, and, on rare occasions, photography itself. Equal parts reviewer and enthusiast, he enjoys digging into the technical details behind the latest gear and translating them into plain English for fellow photographers. He maintains that every purchase is a carefully considered investment, although his bank account and overflowing camera cupboard continue to dispute this claim.
We love it when our readers get in touch with us to share their stories. This article was contributed to DIYP by a member of our community. If you would like to contribute an article, please contact us here.


Join the Discussion
DIYP Comment Policy
Be nice, be on-topic, no personal information or flames.