How to use Photoshop’s “Blend If” feature like a pro
Feb 5, 2018
Share:
Blend If is a very useful Photoshop tool. Jesús Ramirez of Photoshop Training Channel calls it “the unsung hero,” and he wants to teach you how to use this handy feature. In his video tutorial, you’ll learn some theory about “Blend If” and how to use it to replace the sky, create special effects and apply textures in Photoshop.
Introduction
Jesús starts with the theoretical part, to demonstrate how the “Blend If” works. He uses a graphic and a grey background to illustrate the effect. By double-clicking the layer with the graphic, he gets the Layer Style window. The “Blend If” section is set to Grey by default, but there are other options as well.
As you can see in the video, if you click and drag the black point to the left, everything with the selected value and darker will disappear. The same goes for white: if you drag the white point to the right, everything from the selected point and brighter will disappear.
If you want smoother transition, you can hold the Alt/Option key and then click and drag the point to split it.
Creating special effects
You can use the “Blend If” feature to add some special effects to text. Jesús uses a photo of clouds and a text layer as an example.
If you double-click on the text layer, you can use Blend If on the underlying cloud layer. Click and drag the white point to the left so only the bright pixels come through. Hold Alt/Option to split the point and get a much smoother transition. Here’s what it looks like:
Adding texture to text
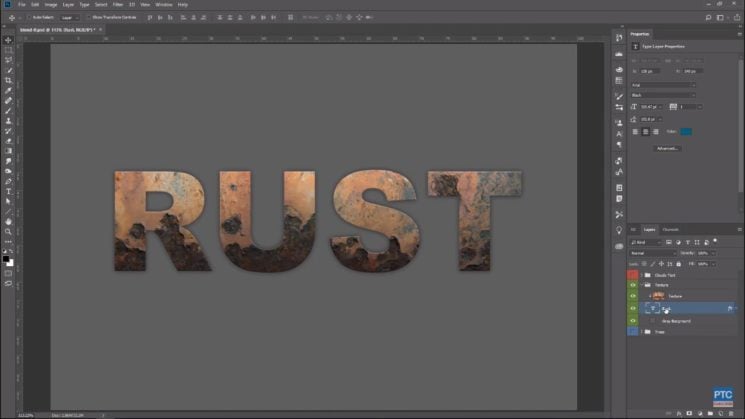
Another use of the “Blend If” feature is to add texture to text. This time, Jesús uses a text layer and a texture layer. He creates a clipping mask by pressing Ctrl/Cmd + Alt/Option + G on the texture layer.
You can choose to hide bright or dark pixels of the texture when blending it with the text. For hiding the dark pixels, drag the black point to the right. Again you can split the point and create a smoother transition. For hiding the bright pixels, click and drag the white point to the right.
Blend If – RGB channels
As mentioned before, the “Blend If” feature is set to Grey by default. But, you can also choose one of the channels: Red, Green, and Blue. For example, if you select the Red channel, the scale will go from black to red. If you click and drag the red point to the right, you’ll hide red pixels. If you click and drag the black point to the left, you’ll hide all cyan pixels (the opposite of red). The same goes for Green and Blue channel.
Sky replacement
You can use the “Blend If” feature to replace the sky quickly and easily. Jesús uses the image with trees and birds you can see in the video, but he wants to add a more interesting sky to it. So, he adds the sky layer underneath and opens the Layer Style window for the first image. He chooses the Blue channel and hides the blue from this layer. You’ll immediately see the clouds from the underlying layer appear in the image. As before, he holds the Alt/Option key to split the point and make a smoother transition, and that’s it. You can read more about this technique here.


[How To Use “Blend If” In Photoshop Like a PRO: The Definitive 7-Minute Guide via FStoppers]
Dunja Đuđić
Dunja Djudjic is a multi-talented artist based in Novi Sad, Serbia. With 15 years of experience as a photographer, she specializes in capturing the beauty of nature, travel, concerts, and fine art. In addition to her photography, Dunja also expresses her creativity through writing, embroidery, and jewelry making.


Join the Discussion
DIYP Comment Policy
Be nice, be on-topic, no personal information or flames.
One response to “How to use Photoshop’s “Blend If” feature like a pro”
Nicely done! Great tutorial.