


Beginner’s Guide to Making Small Rooms Look Bigger in Photos
Aug 20, 2025
Darlene Lleno
Darlene Lleno brings a unique perspective to DIY Photography as someone who grew up surrounded by camera gear but chose words over lenses. With five years of writing experience, she specializes in photography content that’s both technically informed and genuinely passionate. Growing up with a photographer twin brother meant camera talk was everyday conversation in her household. While he mastered capturing moments, Darlene discovered she preferred being the subject and the storyteller behind the scenes. As a travel enthusiast and mother of two, she understands the importance of preserving life’s precious moments. When not exploring new destinations or writing for DIY Photography, you’ll find her reading or tending to her garden. Her approach to photography writing is refreshingly authentic, she may not be behind the camera, but she knows exactly what it takes to help others capture the shots that matter most.
Share:
Making small rooms look bigger in photos can turn any cramped room into something that looks way more open and spacious. You don’t need expensive gear or years of practice to pull this off. Just some smart camera tricks and the right approach will do the job.
Small rooms are tricky to shoot, but they don’t have to stay that way. The secret is knowing how to work with what you’ve got instead of fighting against it.
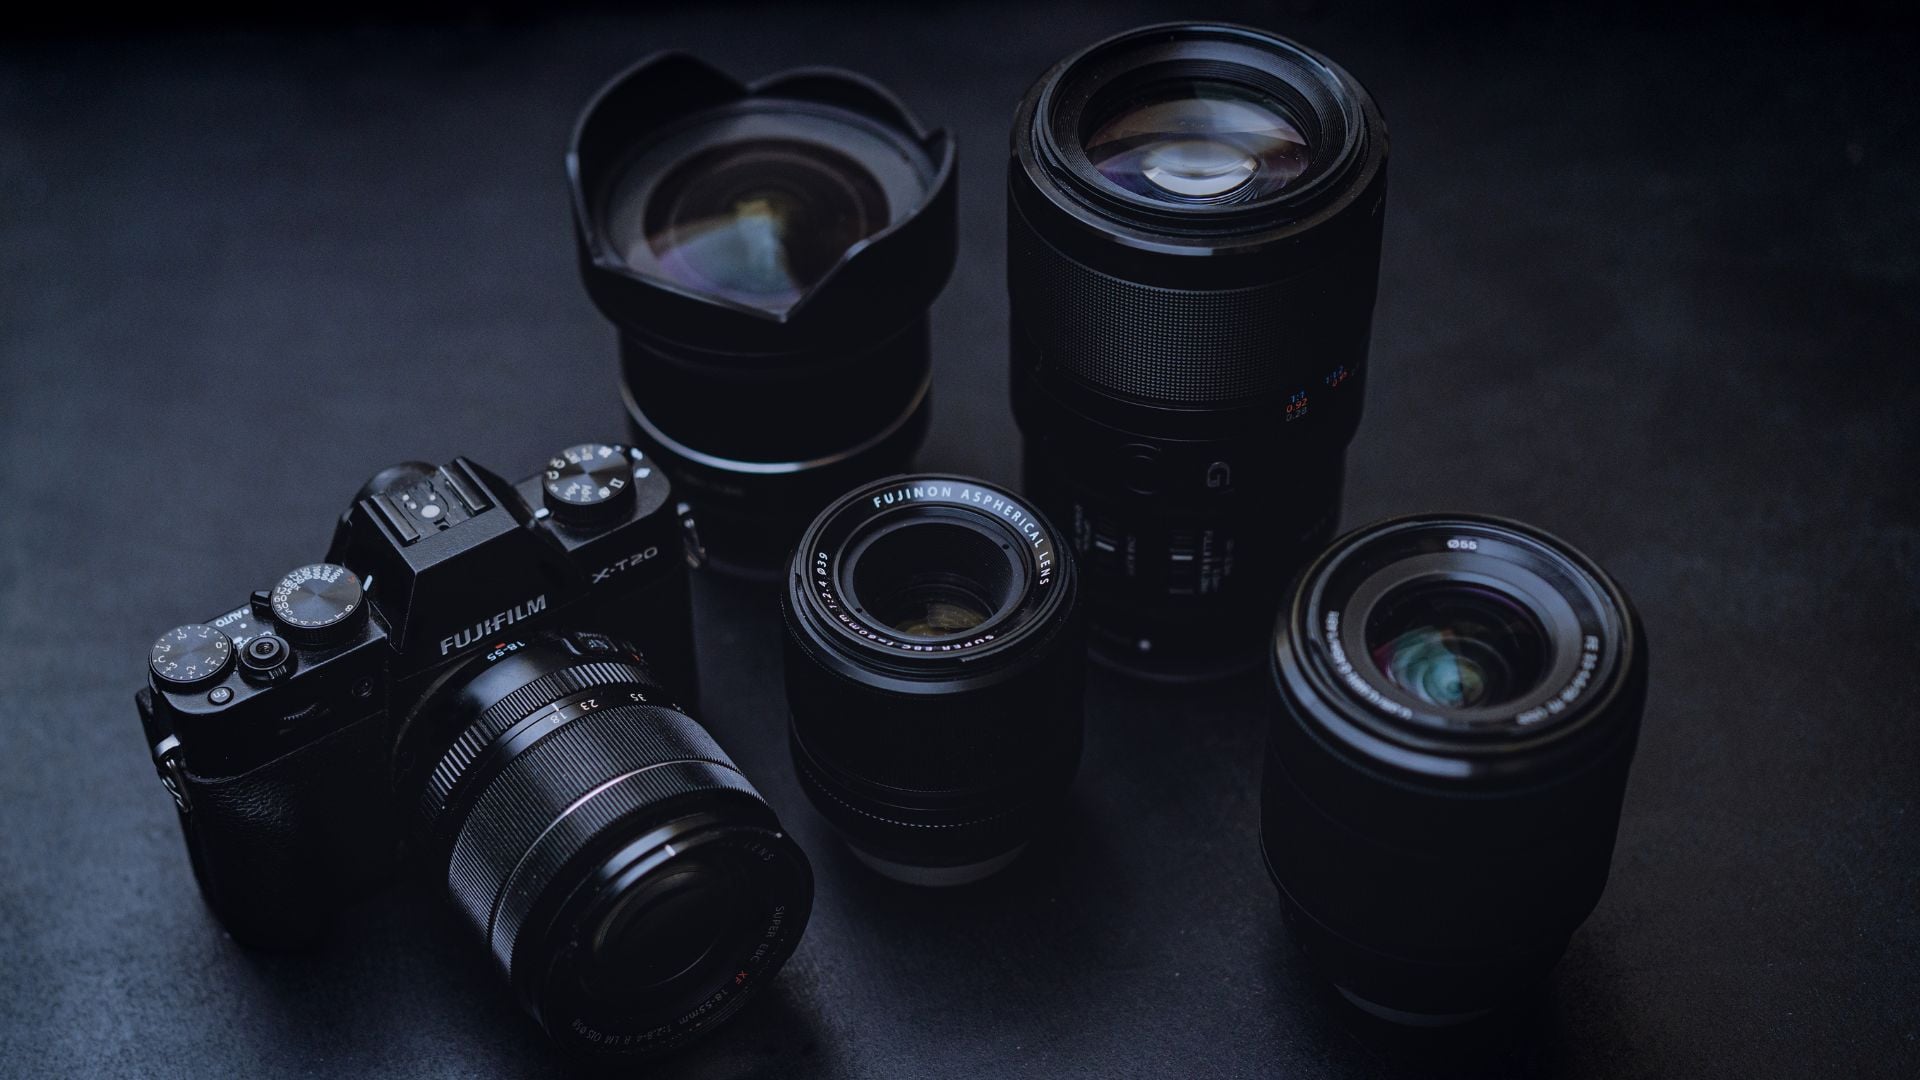
Get Your Wide Angle Lens Working
Your wide angle lens is going to be your best friend here. These lenses grab more of the room in one shot, which instantly makes things feel more open. The trick is understanding how wide angle lenses actually work.
Stand in corners or doorways to get the most coverage. When you position yourself right, you can show way more of the space than people expect. Objects close to your lens will look bigger while stuff in the background gets smaller. This creates depth that makes rooms feel less cramped.
Most people mess this up by standing too far back. Get closer to your main subject while letting the wide lens capture everything around it. This creates way more interesting compositions than backing up and trying to fit everything in.
Camera Settings That Actually Work
Set your aperture somewhere between f/8 and f/11. This keeps everything sharp from front to back, which is what you want for room shots. These photography tips for beginners work just as well for interior spaces.
Use a tripod whenever you can. Small spaces usually don’t have great light, so you’ll need slower shutter speeds. A tripod keeps everything steady and gives you time to get your composition just right.
Smart Positioning Makes All the Difference
Get low to change how the room looks. Shooting from down low makes ceilings look higher and gives you more space to work with. This works great in living rooms and bedrooms where most furniture sits close to the floor.
Try shooting from the corner that’s farthest from what you want to highlight. This shows multiple walls and makes people think the space keeps going beyond what they can see.
Lighting Tips for Making Small Rooms Look Bigger in Photos
Natural light is your friend here. Open every curtain and blind you can find before you start shooting. Bright, even light gets rid of those dark shadows that make rooms feel tiny and closed in.
You can also add some DIY lighting to brighten up dark corners. White foam boards work great for bouncing existing light into shadowy spots. This evens out the lighting techniques without making it look fake.
Working With Low Light
Skip the direct flash. It creates harsh shadows and makes everything look flat. Instead, bounce your light off white walls or the ceiling to get that soft, natural look. Your room will keep its normal feel while still being bright enough for sharp photos.
Try bumping your ISO up to 800 or 1600 instead of using flash. Most cameras handle this just fine, and a little grain looks way better than that harsh flash look.
Composition Tricks That Open Up Space
Look for lines that lead your eye through the photo. Floorboards, ceiling beams, and furniture arrangements all create natural lines that pull attention deeper into the space. This makes rooms feel bigger because your eye travels through the whole area.
Include doorways and windows when you can. These openings suggest there’s more space beyond what you’re showing. Frame your shots to give little glimpses of other rooms if possible.
Using Empty Space
Don’t try to show every single thing in the room. Empty areas are just as important as the stuff that’s there. Strategic empty space makes rooms feel less cluttered and more open.
Clean up before you shoot. Clear off surfaces, hide cords, and get rid of clutter that doesn’t need to be there. A clean space naturally looks bigger than one that’s packed with stuff.
Shooting Vertical for Height
Turn your camera vertical to show off ceiling height. Portrait photography techniques work great for interior shots too. Vertical compositions show the full height of rooms and make normal 8-foot ceilings look taller.
Include things like crown molding or light fixtures in your vertical shots. These details draw attention upward and really emphasize how much height the room has.
Color and Light Balance
Light colors bounce more light around and make spaces feel airier. Adjust your white balance to make the space look slightly cooler if you can. This small change makes rooms feel more open and less stuffy.
Try to avoid huge differences between light and dark areas. Use proper exposure techniques to keep detail in both bright and dark spots. When everything is properly exposed, no part of the room disappears into darkness.
Fixing Your Photos Later
Use lens correction tools to fix the warping that happens with wide angle lenses. A little distortion can add drama, but too much makes spaces look weird. Apply gentle corrections to keep things looking natural while maximizing that sense of space.
Brighten up shadows a bit when you’re editing. This opens up the whole space without making it look fake. Use graduated adjustments to target specific areas that need more light.
Common Mistakes to Avoid
Standing too far back actually makes spaces look smaller by showing more walls and boundaries. Get closer to your main subject and let the wide lens capture the surrounding space. This creates much more dynamic shots.
Shooting everything from the same height gets boring fast. Mix it up. Try shooting from chair height, then get down low, then maybe use a step stool if it’s safe.
Don’t include too much personal stuff in your shots. While some personal touches add character, too much clutter makes rooms look smaller and more cramped.
Take Your Photography to the Next Level
Practice these tips for photographing small spaces in your own home first. Every space is different, so you’ll need to figure out what works best for each situation. The more you practice with different camera settings, the better you’ll get at spotting opportunities to make spaces look their best.
Remember, you’re not trying to trick anyone. You’re just showing the space at its best and helping people see its real potential. With some practice and the right macro photography approach adapted for interiors, even the tiniest spaces can look open and inviting through your camera.

Darlene Lleno
Darlene Lleno brings a unique perspective to DIY Photography as someone who grew up surrounded by camera gear but chose words over lenses. With five years of writing experience, she specializes in photography content that’s both technically informed and genuinely passionate. Growing up with a photographer twin brother meant camera talk was everyday conversation in her household. While he mastered capturing moments, Darlene discovered she preferred being the subject and the storyteller behind the scenes. As a travel enthusiast and mother of two, she understands the importance of preserving life’s precious moments. When not exploring new destinations or writing for DIY Photography, you’ll find her reading or tending to her garden. Her approach to photography writing is refreshingly authentic, she may not be behind the camera, but she knows exactly what it takes to help others capture the shots that matter most.


Join the Discussion
DIYP Comment Policy
Be nice, be on-topic, no personal information or flames.
One response to “Beginner’s Guide to Making Small Rooms Look Bigger in Photos”
Really appreciate this helpful article on photographing small spaces! 🌟 It’s full of practical tips that can truly make interiors look more spacious and appealing. For anyone interested in more insights on interior editing, check out this guide on interior real estate photo editing tips.