




















First hands on review with the NiSi close-up lens
Apr 25, 2020
Ole Henrik Skjelstad
Ole Henrik Skjelstad is a Norwegian math teacher and landscape photographer. He fell in love with photography in 2013 when he got a camera as a birthday present.
Share:

I was on thin ice again when I received the Nisi close-up Lens a few days ago. It meant that I had to immerse myself in macro photography, something which takes years of practice to master.
The close-up lens works as a magnifying glass that you can attach to a telelens. In practice, this means that you can get much closer to your subject and that you can shoot macro without having to invest in a more expensive dedicated macro lens.
In these corona times, macro photography is a great past time activity, and you can just walk into your garden to find interesting subjects and compositions.
Build quality
The lens is well built, and just by the feel and weight, you know that it is made from high-quality glass. It comes in a pouch for safe storage.

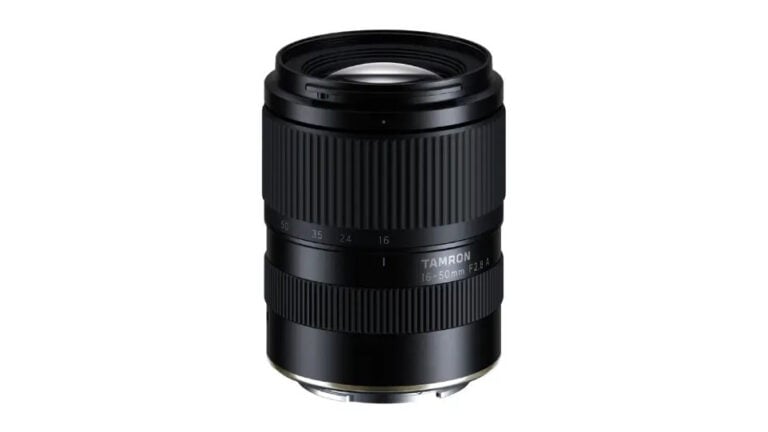
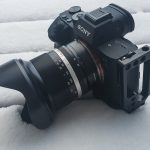
You can screw the close-up lens directly onto a lens with 77mm filter threads. Included in the package are also step down rings for 72 and 67mm filter threads. This meant that I could attach the lens to the Tamron 70-180, which is 67mm.
The close-up lens works best with lenses between 70-300mm, and at 200mm, you achieve a 1:1 magnification. Most (but not all) of the macro lenses offered today are 1:1.

Handling
It took some trial and error before I understood that I had to move very close to the subject before autofocus began to work. Then it took me two days to grasp that manual focus is the better option when it comes to macro photography. I also learned that if you want a decent depth of field, you need around f14 to f18 at 200mm.
At such narrow apertures, good light is a must, and you also need to crank up the ISO. Since I am troubled with some hand-shake I needed to shoot at fast shutter speeds.
The second day with the lens, I found out that going very low improved everything. So, I lay there flat on the ground, trying to nail the compositions until it struck me that I could use the camera display instead of the viewfinder. I was learning by doing.


Conclusion
I had never imagined that macro photography could be so fun and addictive. The Nisi Close-Up lens preserves detail and enhances bokeh, and it helps you move very close to your subjects. For me, the lens opened up a whole new world. Also, I can now just walk out into the garden to enjoy photography.
You can order the Nisi close-up lens here for $139.

All images: Sony a7riii and Tamron 70-180.
See more from DIYPhotography.net on Google
Add DIYPhotography.net as a trusted source. This makes
our stories more likely to appear in your Google Search results.
 Add as a preferred source on Google

Ole Henrik Skjelstad
Ole Henrik Skjelstad is a Norwegian math teacher and landscape photographer. He fell in love with photography in 2013 when he got a camera as a birthday present.



Join the Discussion
DIYP Comment Policy
Be nice, be on-topic, no personal information or flames.
8 responses to “First hands on review with the NiSi close-up lens”
“Built quality” ?
How different will the results be from an extension tube?
I don’t know – have never used an extension tube.
Generally with extension tubes, wider is better, with 50mm probably being the optimal choice, (but I haven’t tested 35mm. 24 is a no go) for close up/macro where as with a lens like this longer is better.
I’m amazed at how good your high iso images look, have they had much pp?
I have edited the images a little in Lightroom, that is, adding some noise reduction (between 15-20), cropping if necessary, adding saturation (all images are shot in raw) and adjusted highlights, whites, shadow and blacks to achieve a decent histogram.
Thanks mate, they look great
Thanks a lot!