How To Create Digital Double Exposure Portraits
Feb 11, 2016
Boris Untereiner
Share:

This technique is inspired by what was possible way back using film, by exposing the same position of the roll for several times. Doing this, enabled re-exposing the dark parts of a film to a new light. (assuming they were dark and unexposed on the first exposure). Of course doing this well, required lots of film and lots of patience.
With Photoshop, this technique is not expensive anymore and has infinite possibilities. The idea is very similar: overlay a second image on the dark parts of a first one.
This is how it’s done:
1. First, shoot a portrait. The light on the model must allow to have clearly marked light and dark areas. A “flat” light would lessen the effect. The background is lit by flash to be completely white and so no texture of the second image will appear there (as in the film).

2. turn the picture to black and white, you can add some contrast as long as you keep a range of gray tones on the model. Here I used nik software silver efex plugin. I also added a little noise.

3. That’s when the magic is starting to happen, import the second image on a new layer, that will texture/cut the first. This layer should be above that of the first image.

4. change the blending mode of the second image layer to “screen”, the dark tones are textured, the light tones much less, and the white background not at all. Add a layer mask to the second image and paint with a black brush the parts in the picture where you want to make the effect disappear. For example on the hands and face, to keep them “clean”.

5. Now add a levels adjustment layer. I create a clipping mask between this layer and the adjustment layer of the second image that is located just below. Using the white picker tool, I click on the yellowish area of the second image to indicate that these colors are white for me. Now, the second image also cuts the first. The effect is created.

6. Now there are only details left. I chose to slightly warm the medium and dark tones with a photo filter layer. And finally, I created a last layer to fix the last details with the spot healing brush/ healing brush/clone stamp.

This file shows all the layers in photoshop

The gif file shows an animation of the different step.

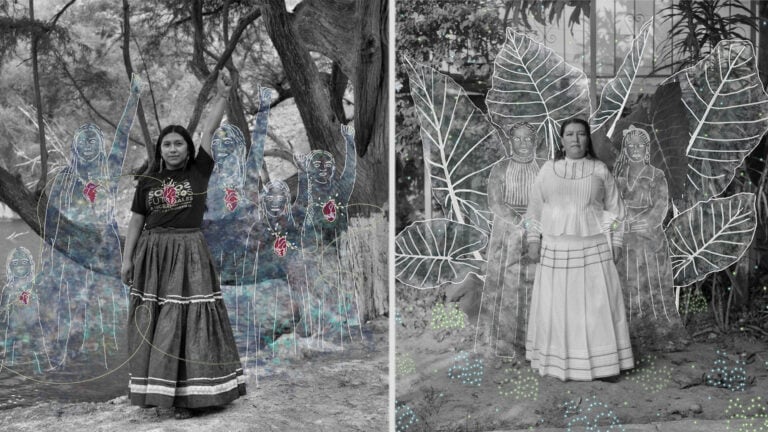
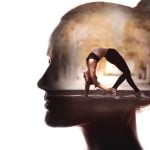
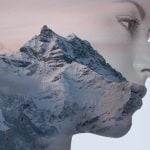
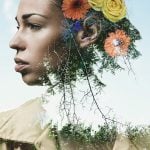
Here are some more photos I created using this method


About The Author
Boris Untereiner is a photographer based in Metz, France. You can see more of his work on his site and follow him on Instagram, 500px, Flickr and Facebook.

We love it when our readers get in touch with us to share their stories. This article was contributed to DIYP by a member of our community. If you would like to contribute an article, please contact us here.






Join the Discussion
DIYP Comment Policy
Be nice, be on-topic, no personal information or flames.
5 responses to “How To Create Digital Double Exposure Portraits”
You wanted to do this right?? Katrina XinHui
yup
I’m a bit of a purist but I like to do this in camera. Though you can’t always achieve quite the same effects. I also like to break the mold and not do so much portrait work.
https://500px.com/apfilmworks/galleries/double-trouble
I remember when we used to call them composites or photoshopping…..
This to me is getting like selective colouring in photos…